
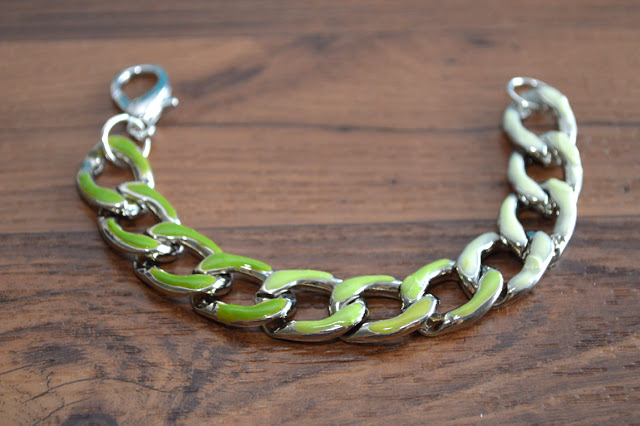

When I found out that Martha Stewart x Plaid was coming out with a new jewelry line, I may or may not have died a little inside. Many of you know that jewelry is my main area of focus/interest/love, and all of the Martha Stewart lines are nothing short of amazing (even my planner is by her. Completely customizeable, of course!). Thanks to Plaid Crafts and Martha Stewart Jewelry, I recently had the opportunity to try out some supplies from the collection. As soon as I saw the enamel paints, I decided to create an ombre bracelet. The fact that I can add metal enamel to my own jewelry is already exciting, but of course I had to have fun with the shades and create a gradient.

Here, I paired the finished bracelet with some of my favorite arm candy. Looking at this picture now, I actually think the bracelet would be great by itself.
Martha Stewart Jewelry supplies are now available at Michael’s. Keep reading to see how I made this statement accessory! —


What I Used:
– Chunky curb chain, cut to fit my wrist
– Jewelry clasp (and two jump rings!)
– Martha Stewart Crafts Round Nosed Pliers
– Martha Stewart Crafts Silicone Mat and Silicone Brush
– Martha Stewart Crafts Jewelry Enamel Activator
– Martha Stewart Crafts Jewelry Enamel in Green Olive and Meringue
– Chunky curb chain, cut to fit my wrist
– Jewelry clasp (and two jump rings!)
– Martha Stewart Crafts Round Nosed Pliers
– Martha Stewart Crafts Silicone Mat and Silicone Brush
– Martha Stewart Crafts Jewelry Enamel Activator
– Martha Stewart Crafts Jewelry Enamel in Green Olive and Meringue

Before starting, I cleaned the chain with rubbing alcohol.
1) On the silicone mat, I applied two parts activator with one part enamel in Green Olive. Next, I mixed them together using a straight pin (a toothpick is suggested, but I didn’t have any on hand!). You’ll know they are mixed thoroughly when the color is uniform.
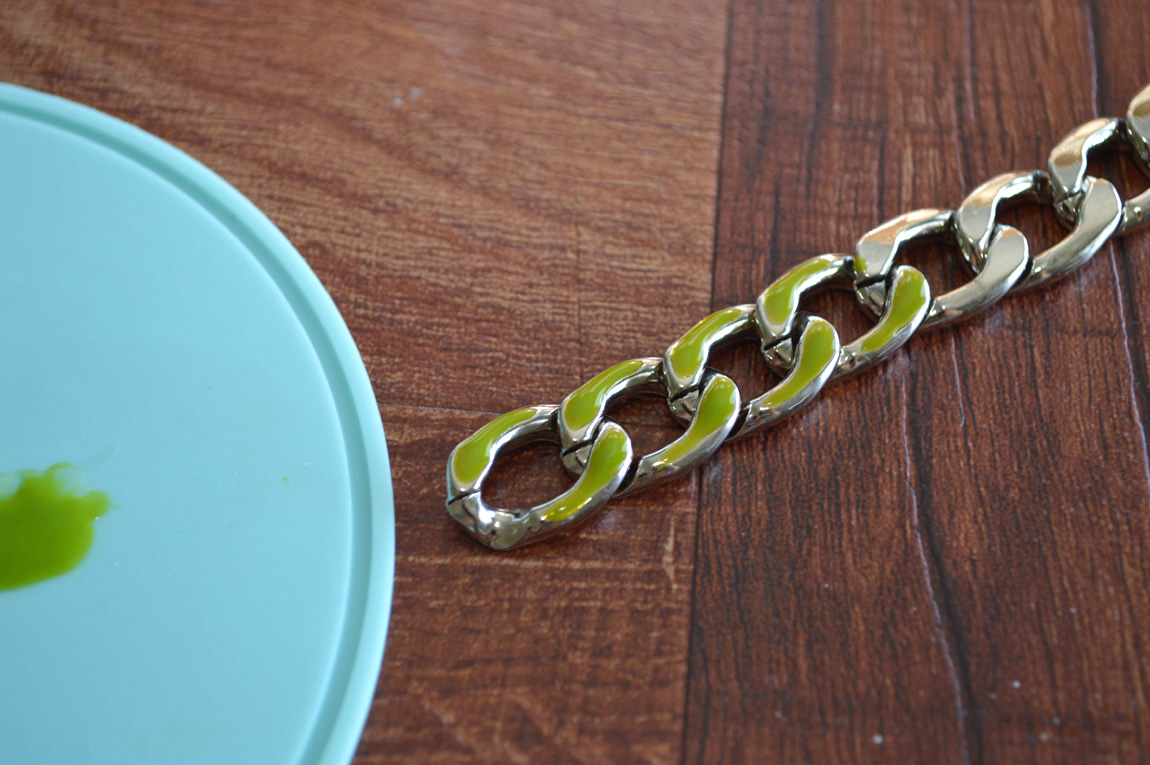
2) With the silicone brush, apply carefully to the surface of the curb chain. Be sure to keep the chain flat while doing this. As with many things, a little goes a long way! I added this darkest shade to the first third or so of the chain (so the first 4 links).
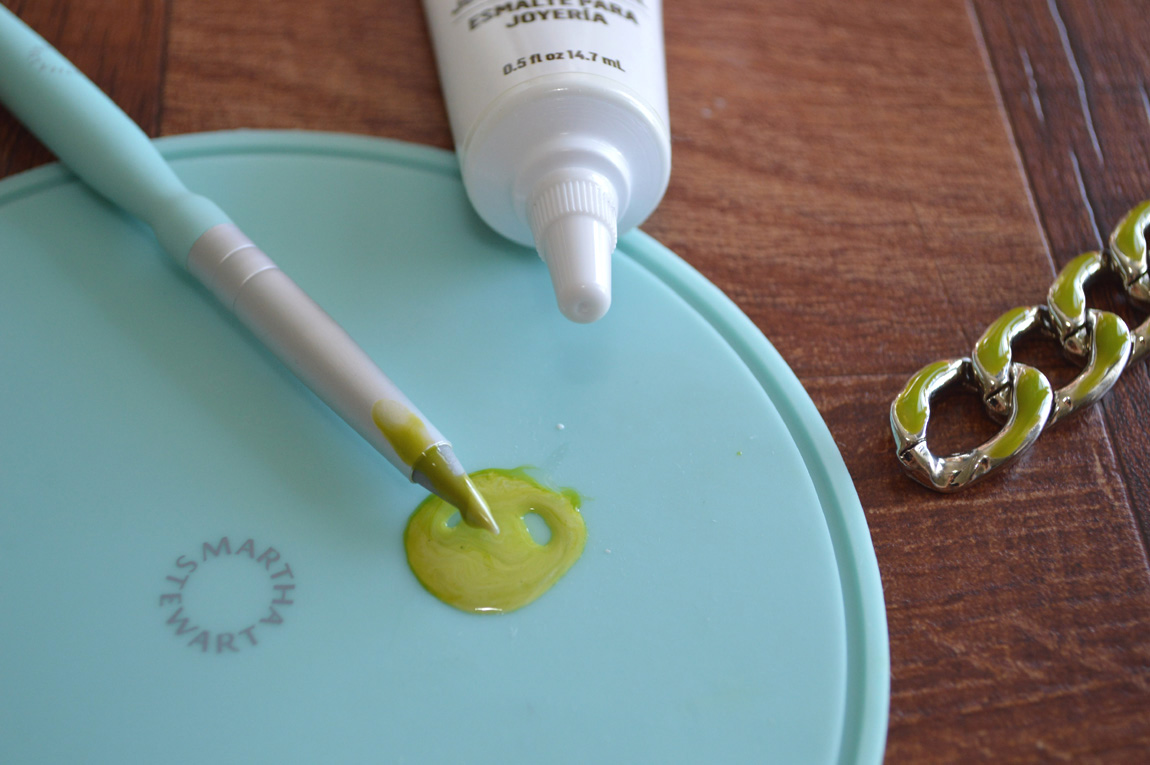
3) I mixed in a little white (Meringue) to get the second medium color.
I would actually recommend creating a separate “batch” of 2-to-1 activator enamel mix, on another area of the mat, for the white. Then, mix with the green. This way, you won’t be adding too much enamel to the green mixture, throwing off the proportion of enamel to activator.
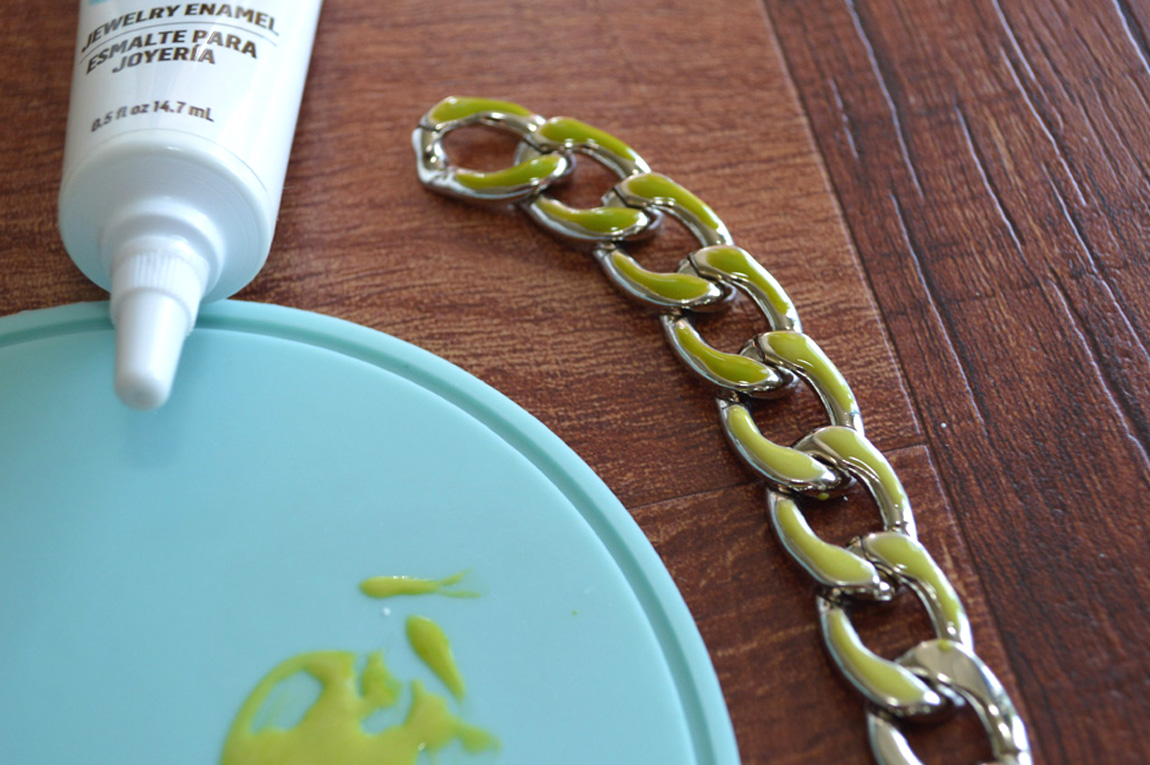
4) I applied the medium color to the middle links of the chain.

5) For the lightest shade, I did the reverse and added a bit of green to the white. This resulted in a super pretty minty color!
I added the last shade to the last few links.
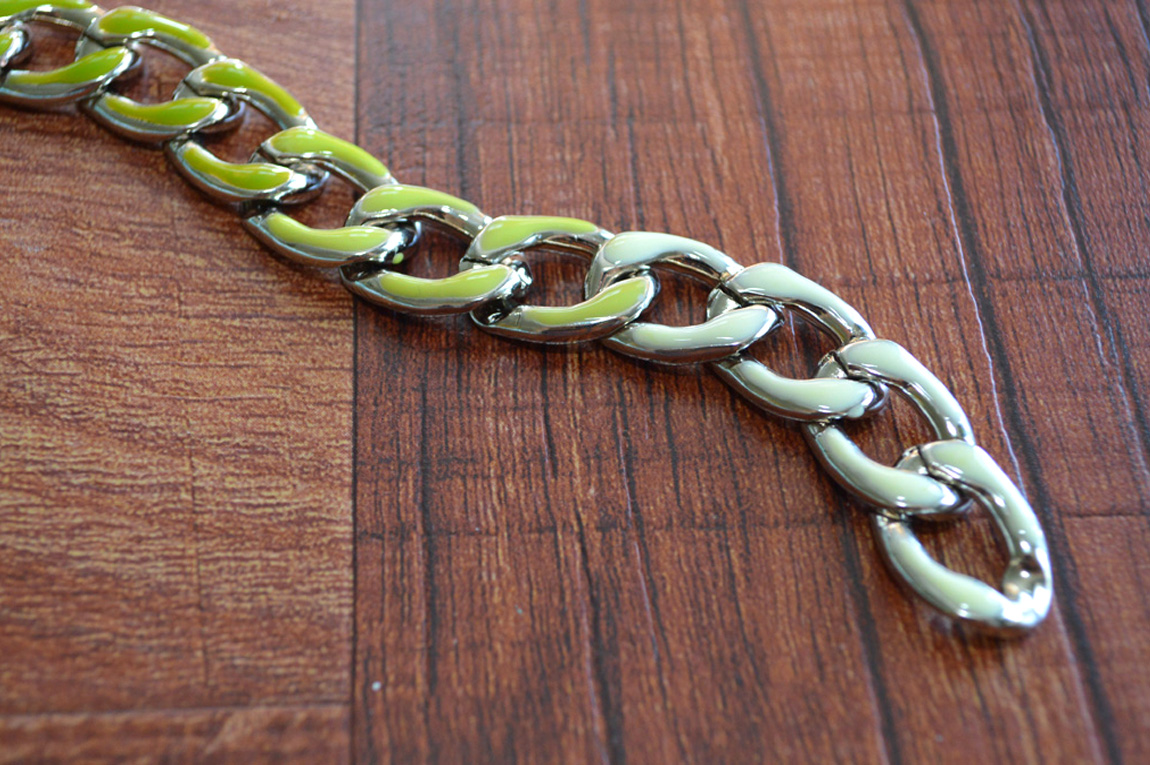
Depending on paint thickness and humidity, the enamel paint will thicken and harden in 24-72 hours. The colors will also deepen during this time.
.jpg)
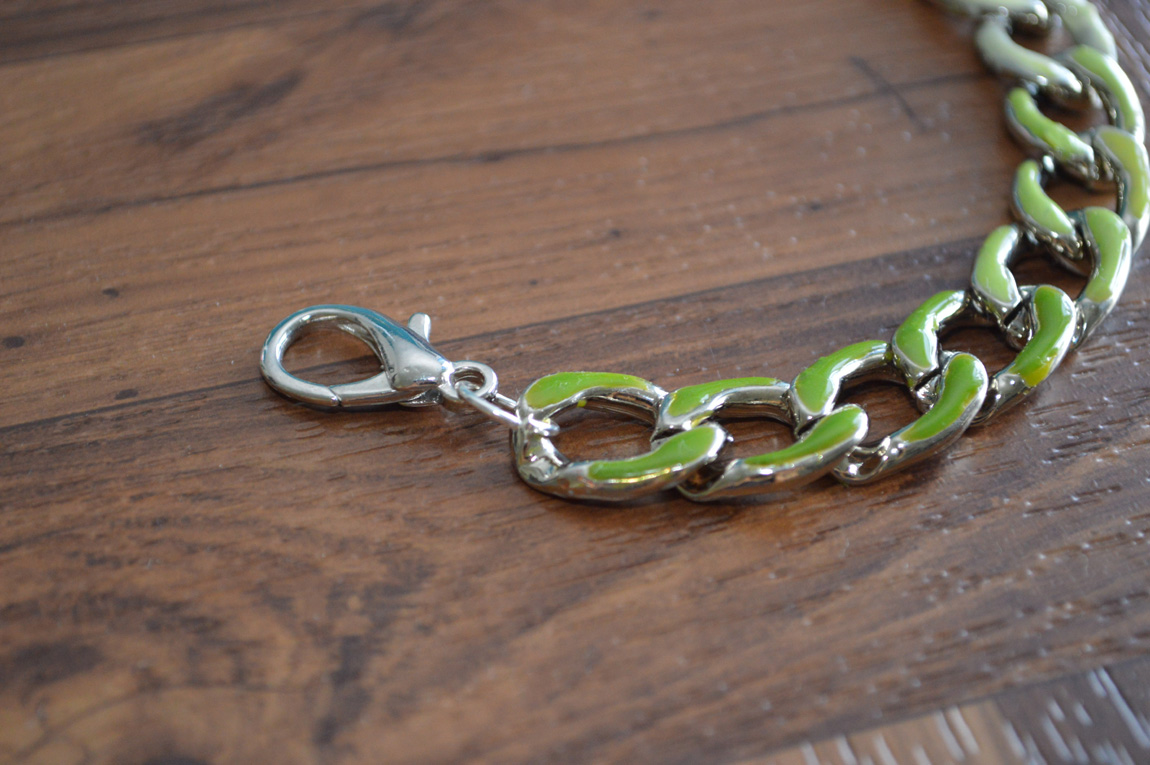
When the enamel was perfectly set, I added a clasp and a jump ring to the ends.

Love, love, LOVE! I’m honestly going to have way too much fun with this enamel paint. A plain black enameled brass chain bracelet is on my to do list, because you can never go wrong with black and metal jewelry.
Plaid Crafts is home to many amazing supplies and products. Click here to become a fan of Plaid on Facebook, and don’t forget to follow Plaid on Twitter and Pinterest!

FTC Disclosure:
This is a sponsored post. Martha Stewart Jewelry supplies were provided by Plaid Crafts & Martha Stewart Jewelry, as part of a blogger campaign through The Blueprint Social. All opinions are my own.
This is a sponsored post. Martha Stewart Jewelry supplies were provided by Plaid Crafts & Martha Stewart Jewelry, as part of a blogger campaign through The Blueprint Social. All opinions are my own.