

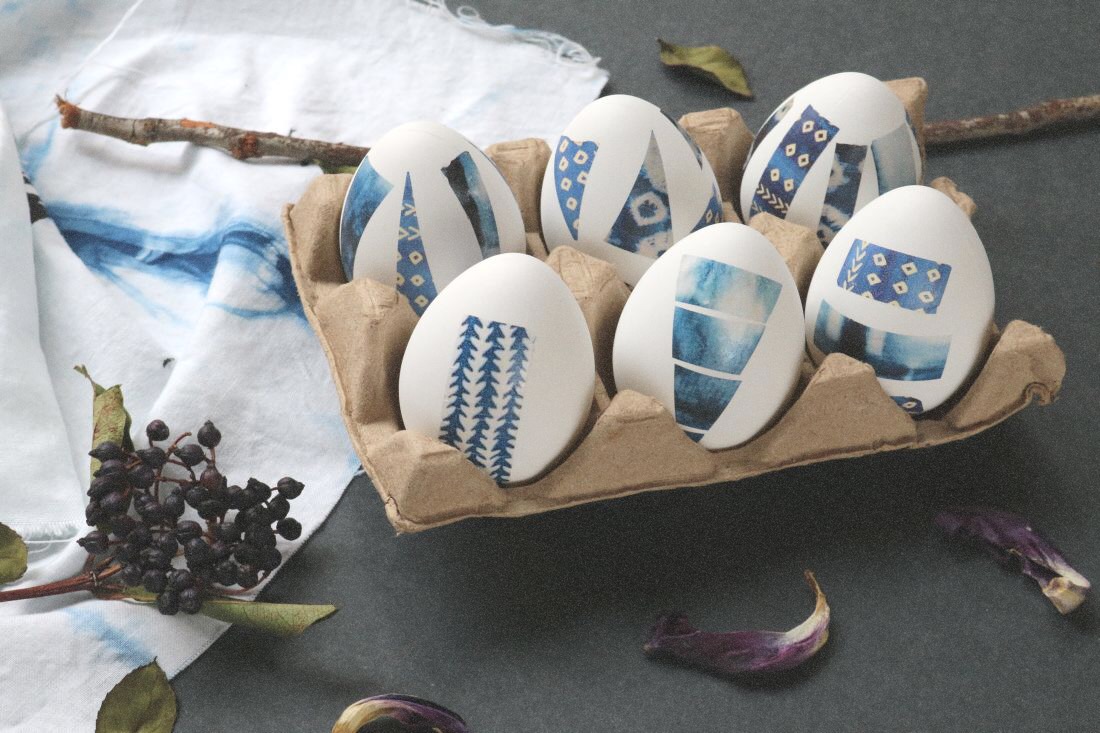
With Easter less than two weeks away, spring is creeping right around the corner. And if you’re anything like me, all of this means that it’s time for a seasonal project (or five). This year, I’m welcoming the spring season with a batch of Easter eggs spruced up with my latest obsession: indigo shibori. The secret ingredient? Printable tattoo paper. This stuff is amazing, guys.
Last year, I used printable tattoo paper to make Sailor Jerry tattoo themed eggs. I basically fell in love with this magical paper. It’s a crafty lady’s dream come true.
Fast forward to this year and I knew I had to combine my adoration for indigo shibori and tattooed eggs. Here’s how to make your own!
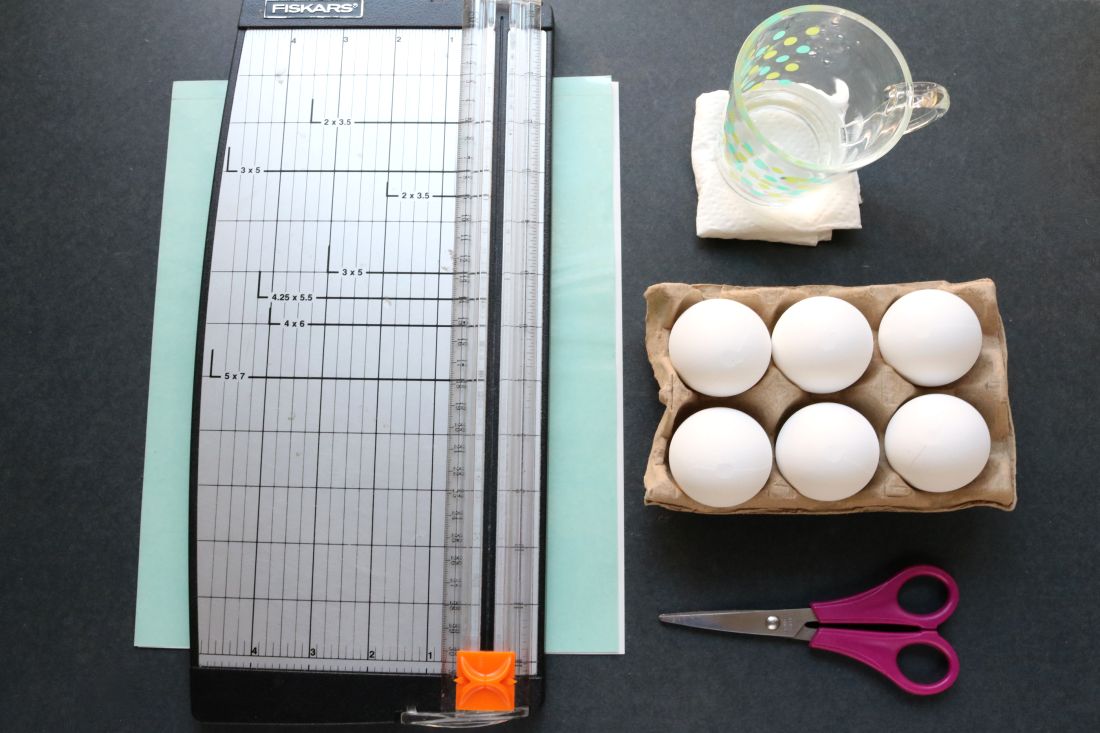
Supplies:
- Printable tattoo paper
- Paper cutter (optional)
- Scissors
- Faux eggs
- Water
- Paper towel
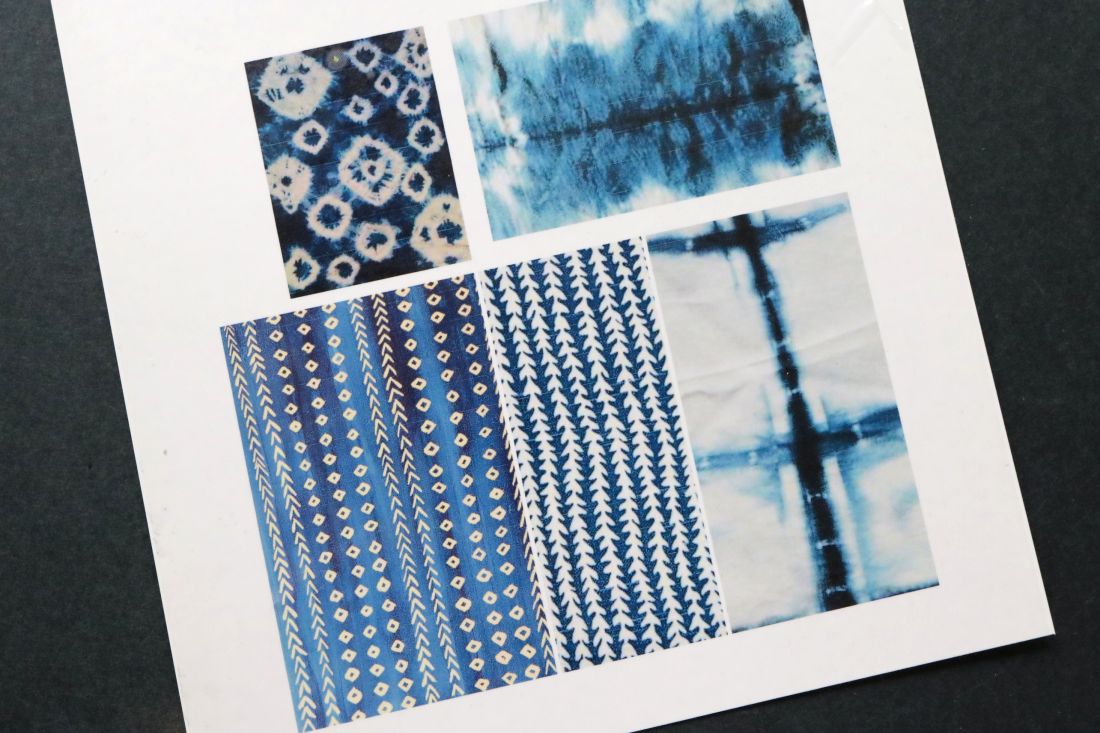
1. Print a couple rectangles of indigo shibori on the printable tattoo paper. Make sure to read the directions on the packaging; the images should be printed on a specific side of the paper.
For this step, I simply searched for “indigo shibori” on Google. I cropped down a few images into rectangles using good ol’ Photoshop then pasted them into Microsoft Word. You could easily do this with any graphic program.

2. Apply the adhesive side of the printable tattoo paper. Again, read the instructions carefully!
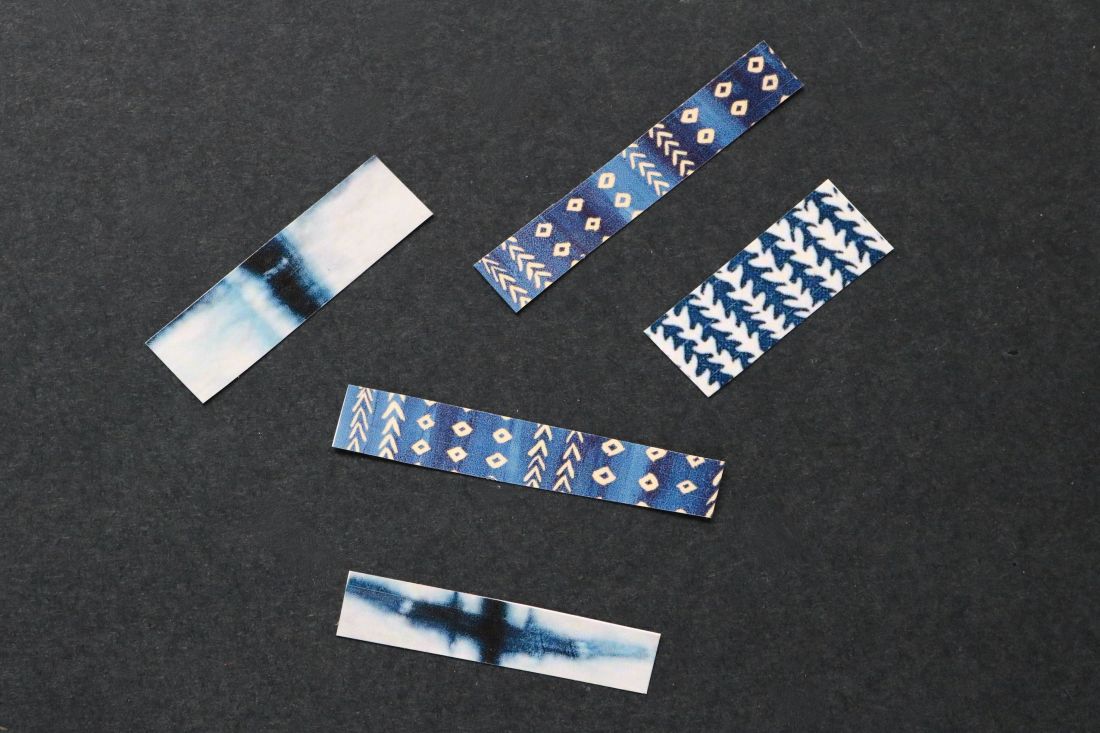
3. Using the scissors, cut the indigo shibori print in your desired shapes. I started off with a few rectangles.

4. Carefully peel away the plastic adhesive baking from the indigo shibori shape.
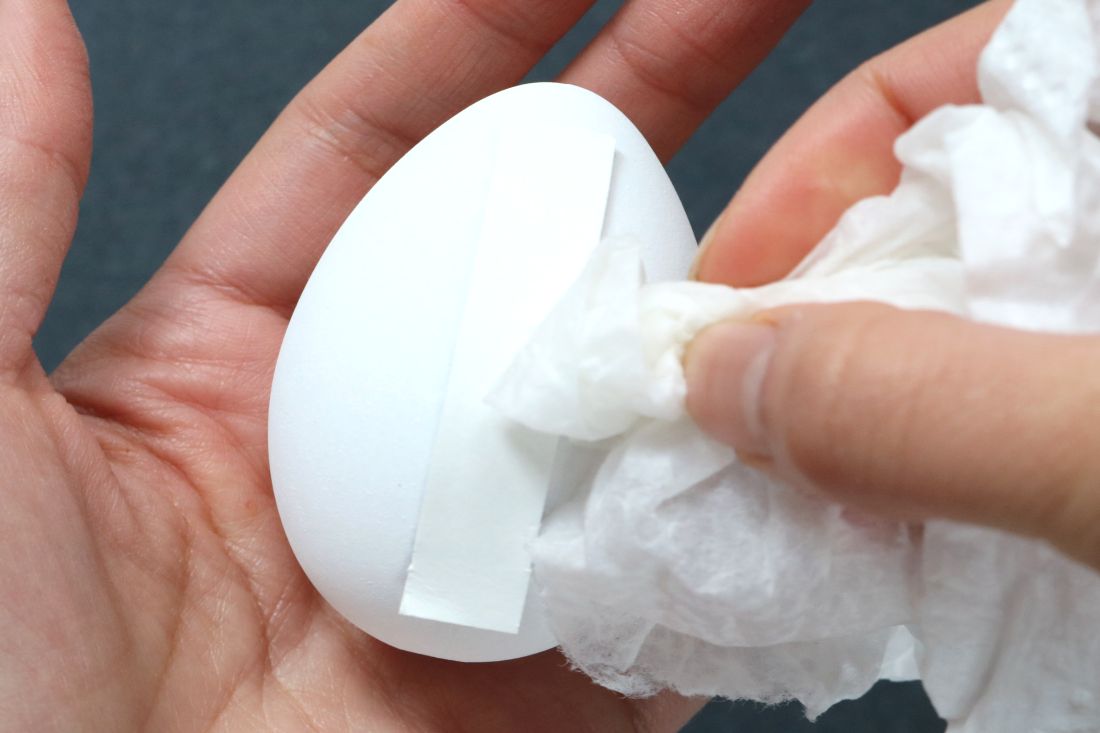
5. Place the paper on an egg, printed side down. Wet the image with a damp paper towel.
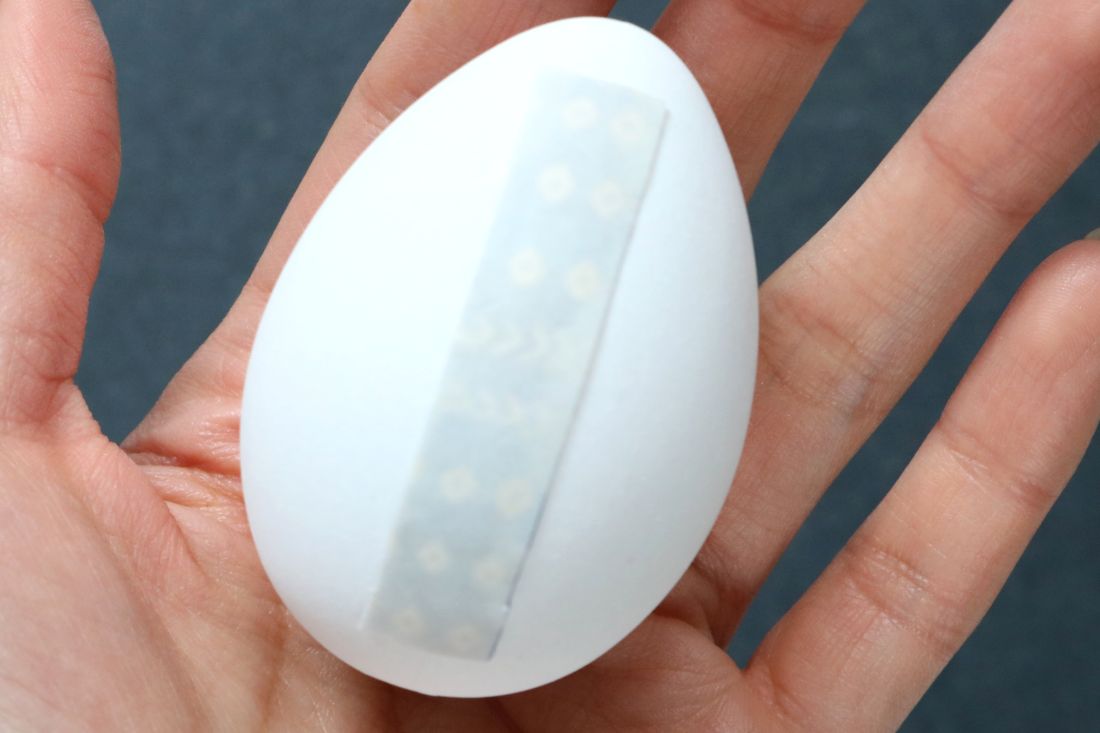
6. Make sure to dampen the entire image. Hang tight for a minute or two.
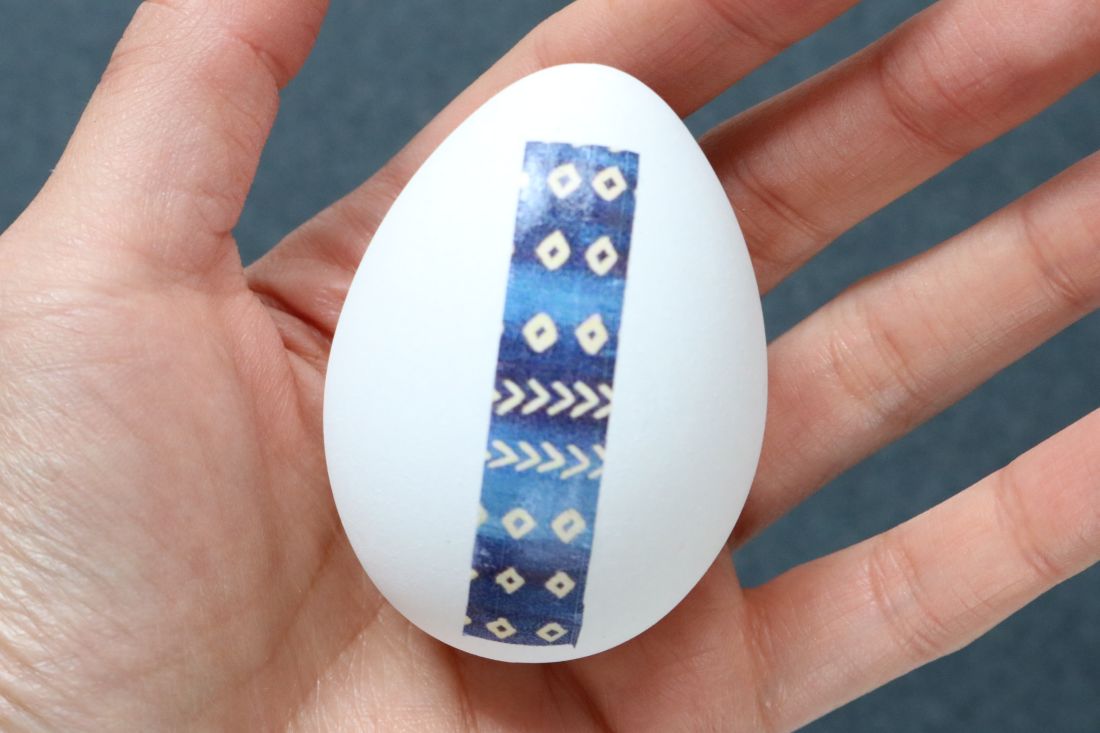
7. Carefully peel away the paper. It should easily slide off, leaving the image behind. If it doesn’t, you’ll have to dampen the paper a bit more.
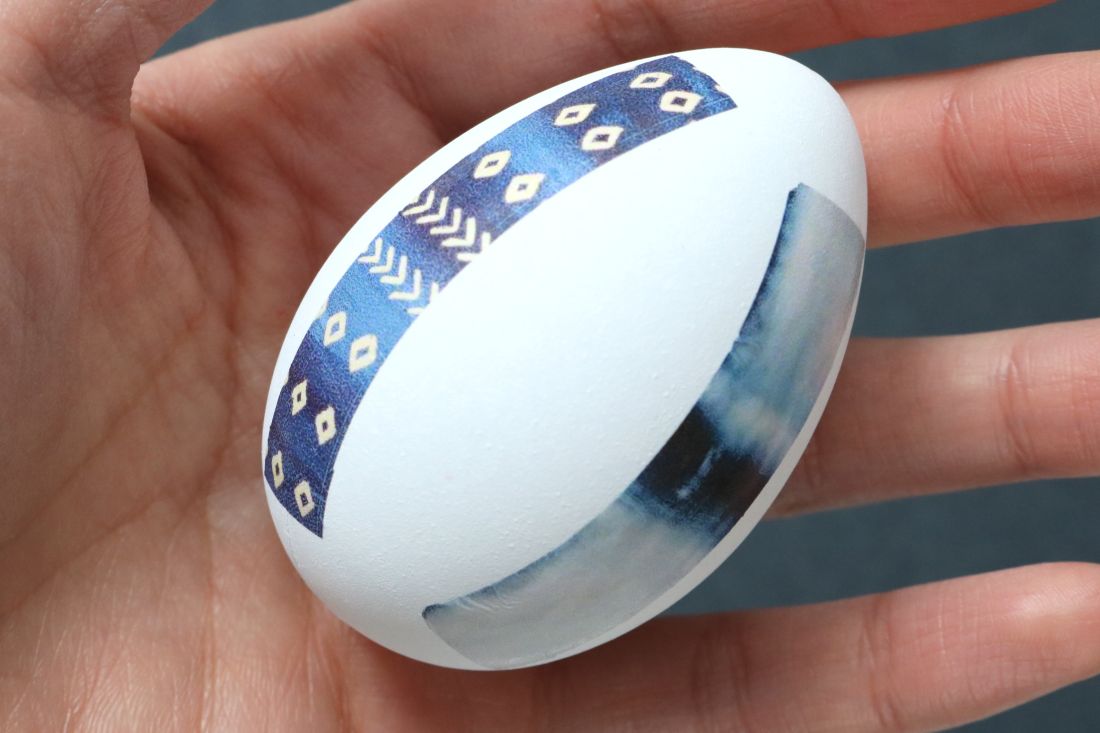
8. Add the remaining tattoos.
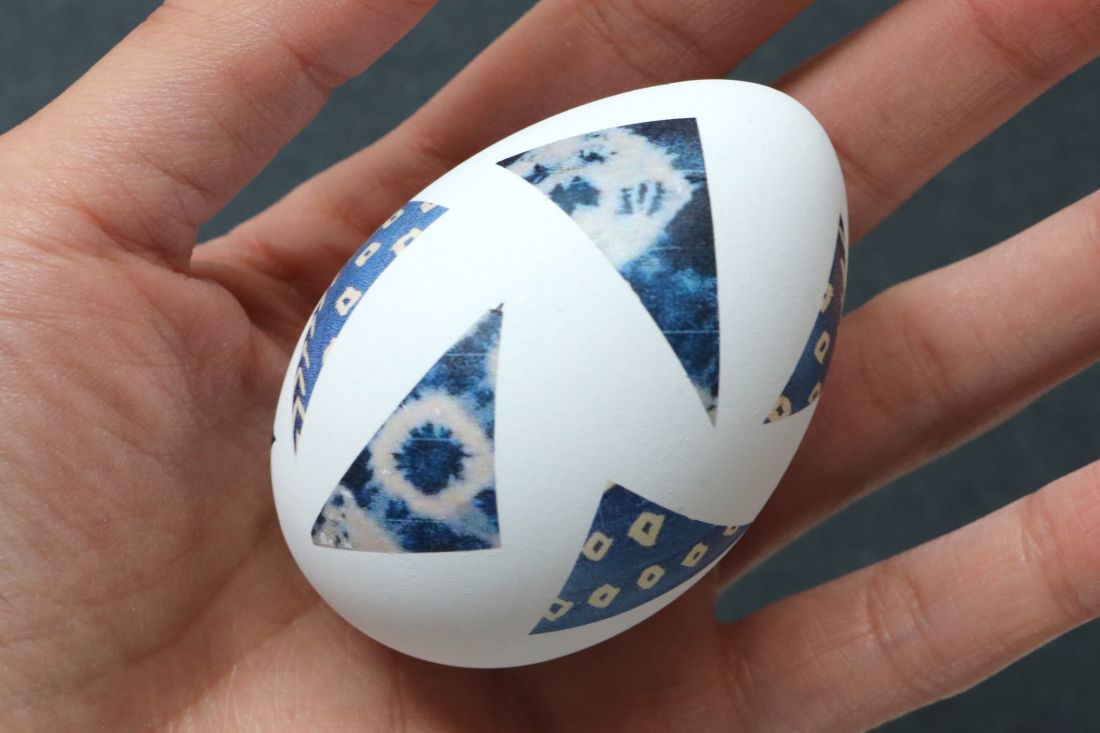
9. Repeat Steps 3-8 for the remaining eggs. Feel free to switch it up with different shapes and sizes of indigo shibori tattoos. For this one, I cut the paper into triangles.
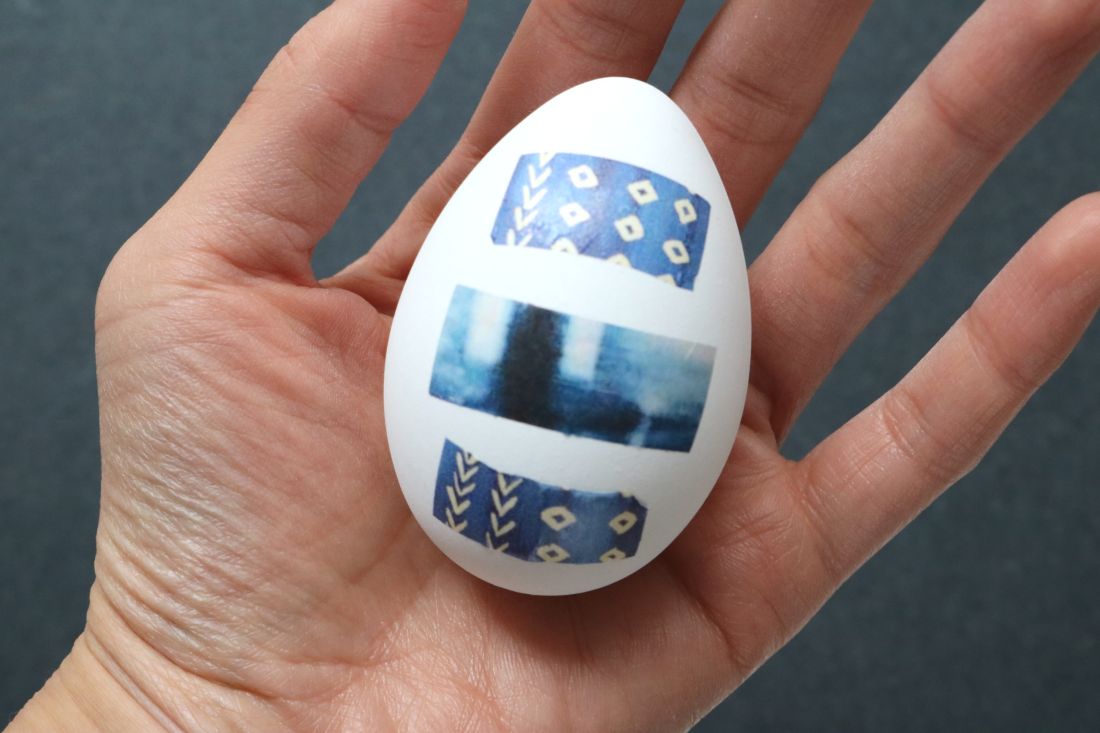
I also tried out a stack of smaller rectangles.
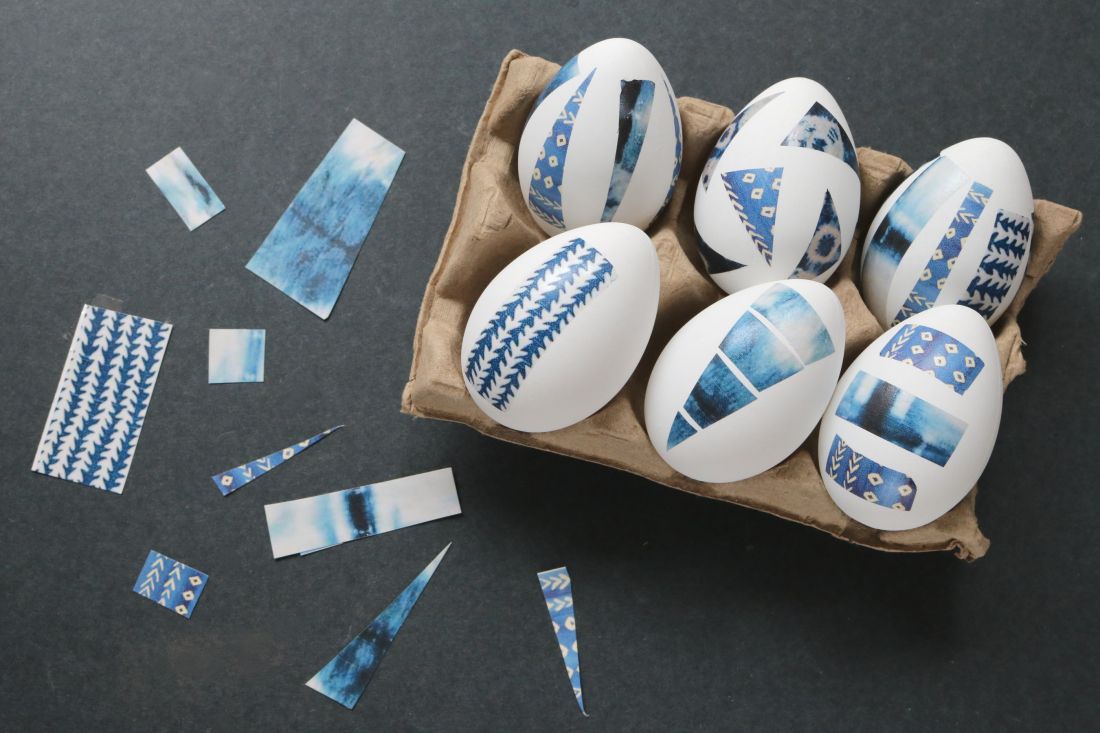
Alternating skinny triangles, chopped up large triangles, and thick rectangles are some other ideas. Feel free to experiment!
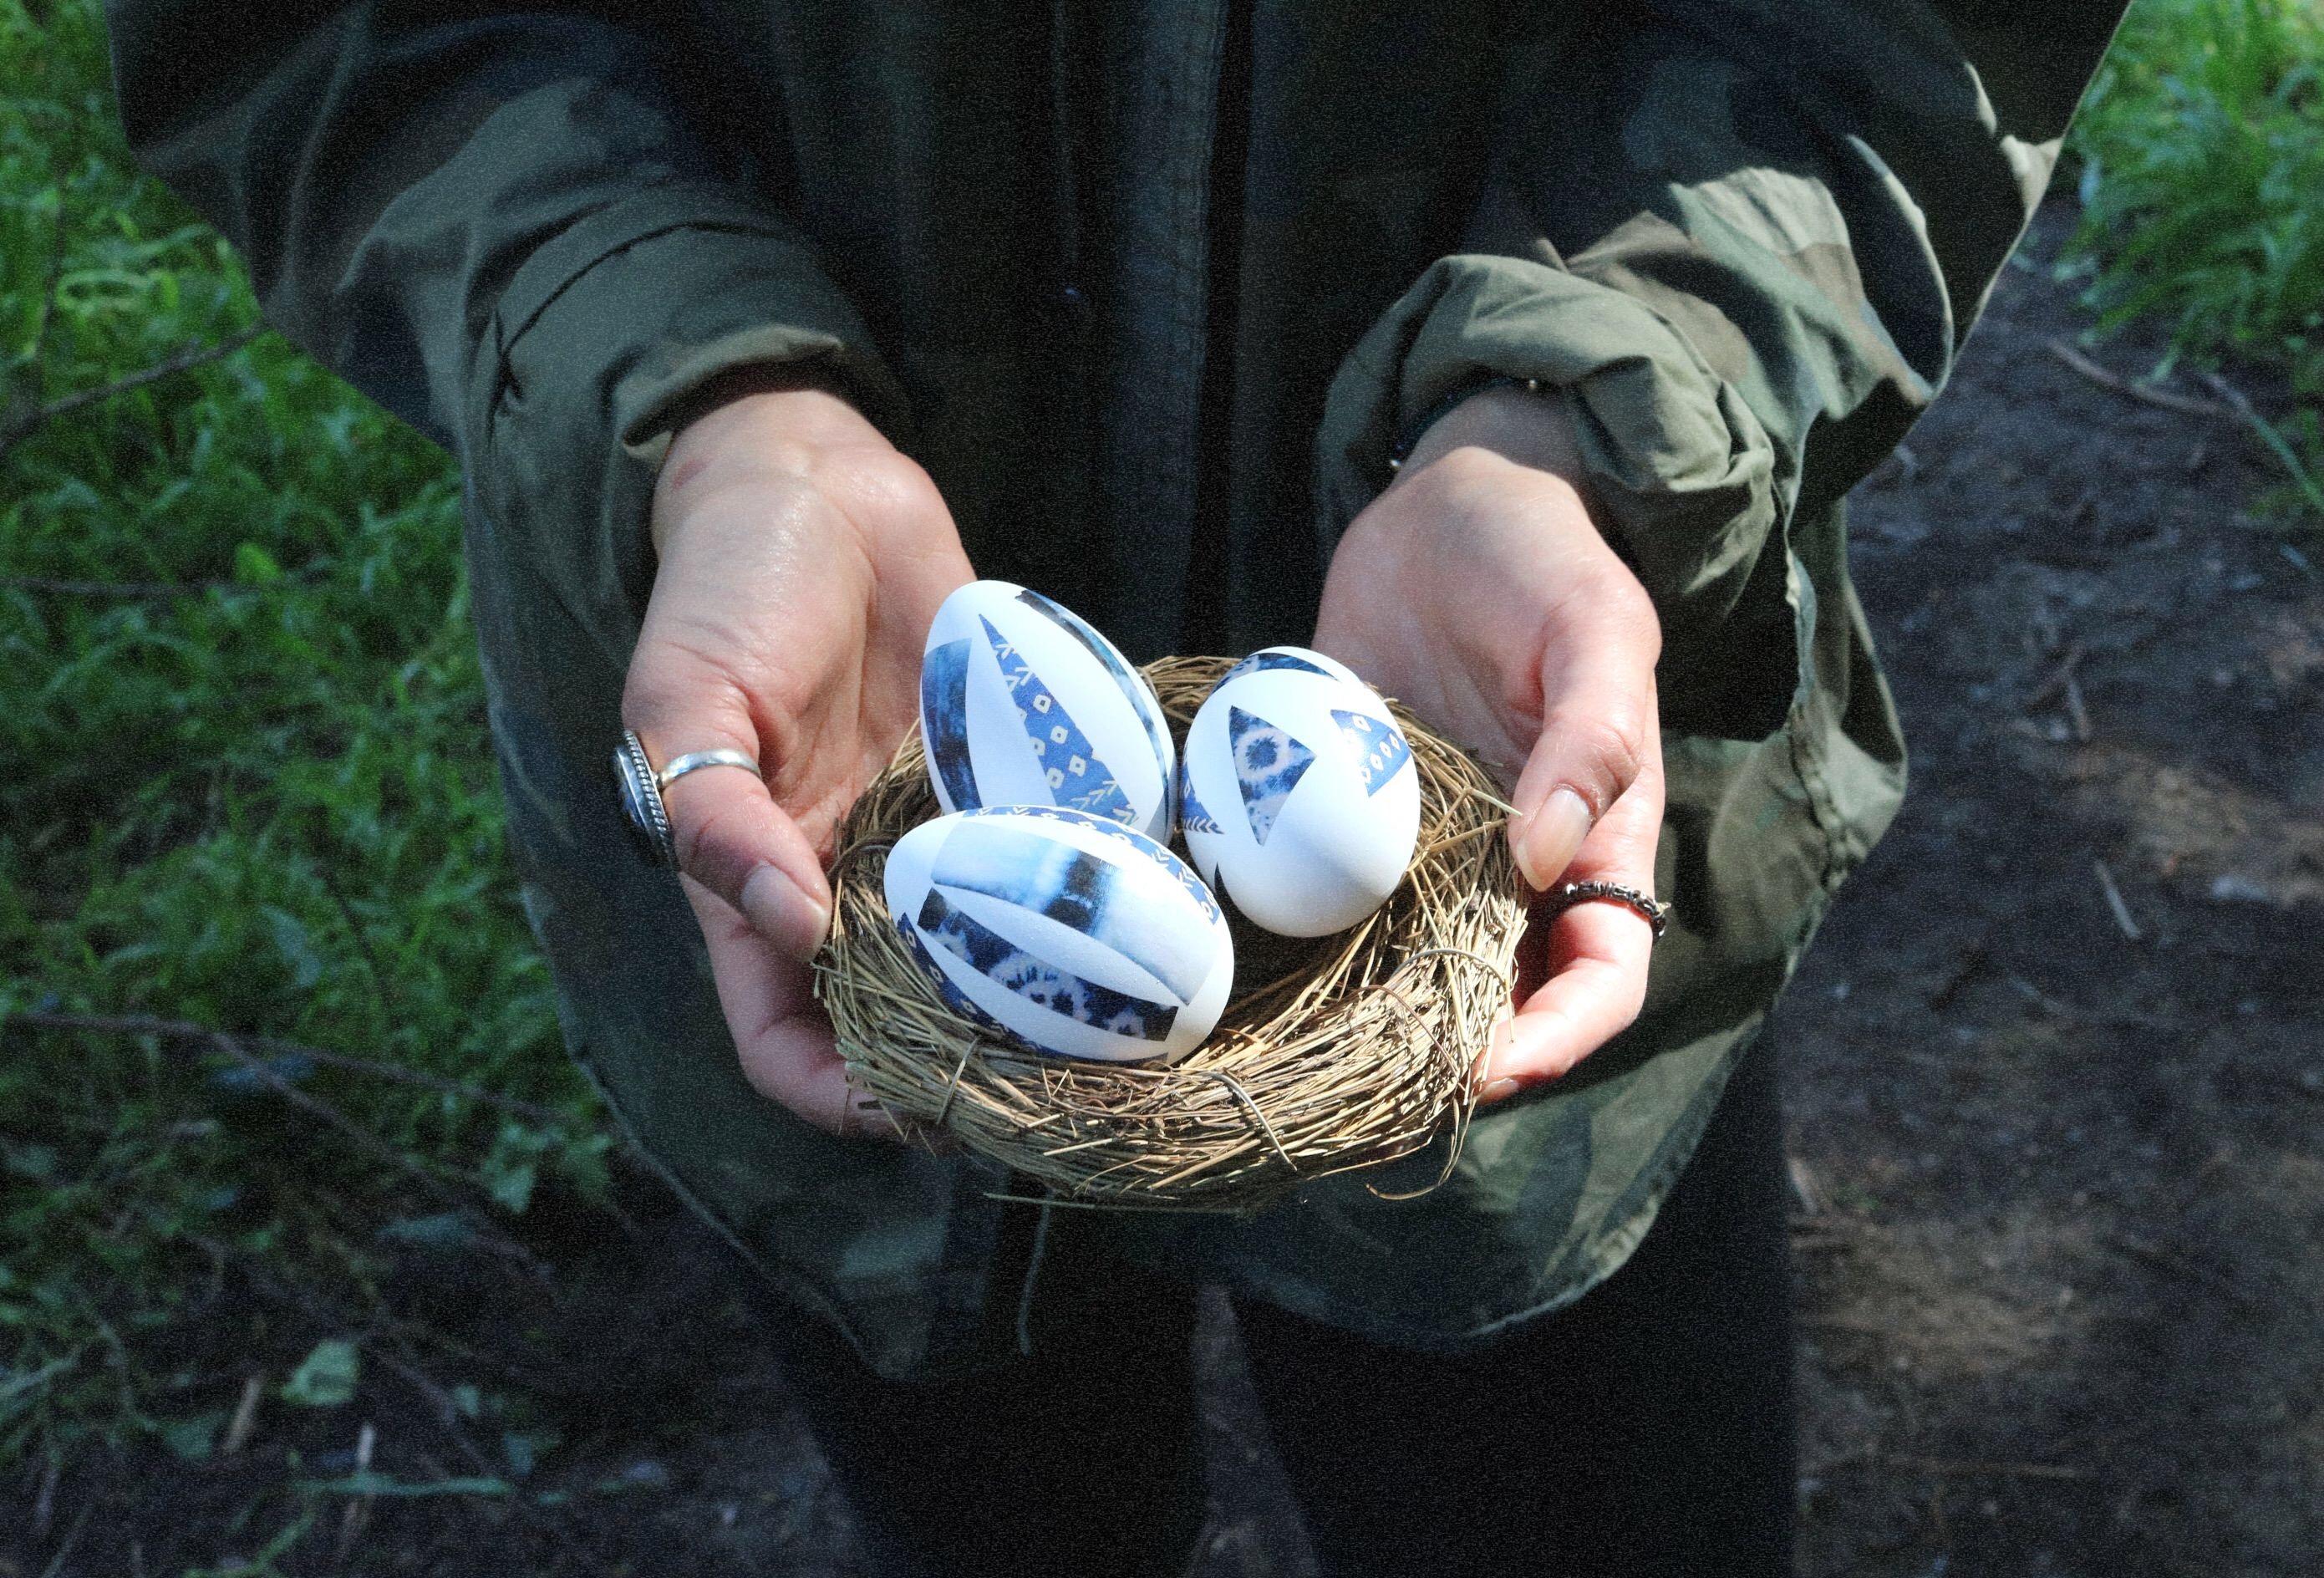
The indigo hues are so soothing. I’m pretty obsessed with how these lovelies turned out.

Remember, don’t hesitate to play around with different shapes. You can even take it up a notch and carve out more detailed shapes with an X-acto knife and cutting mat.
For more Easter and spring-themed projects, check out these DIY tutorials:

These Sailor Jerry tattoo themed eggs were also made with Silhouette’s printable tattoo paper. Elle Decor even featured them, too! (Wild Amor)
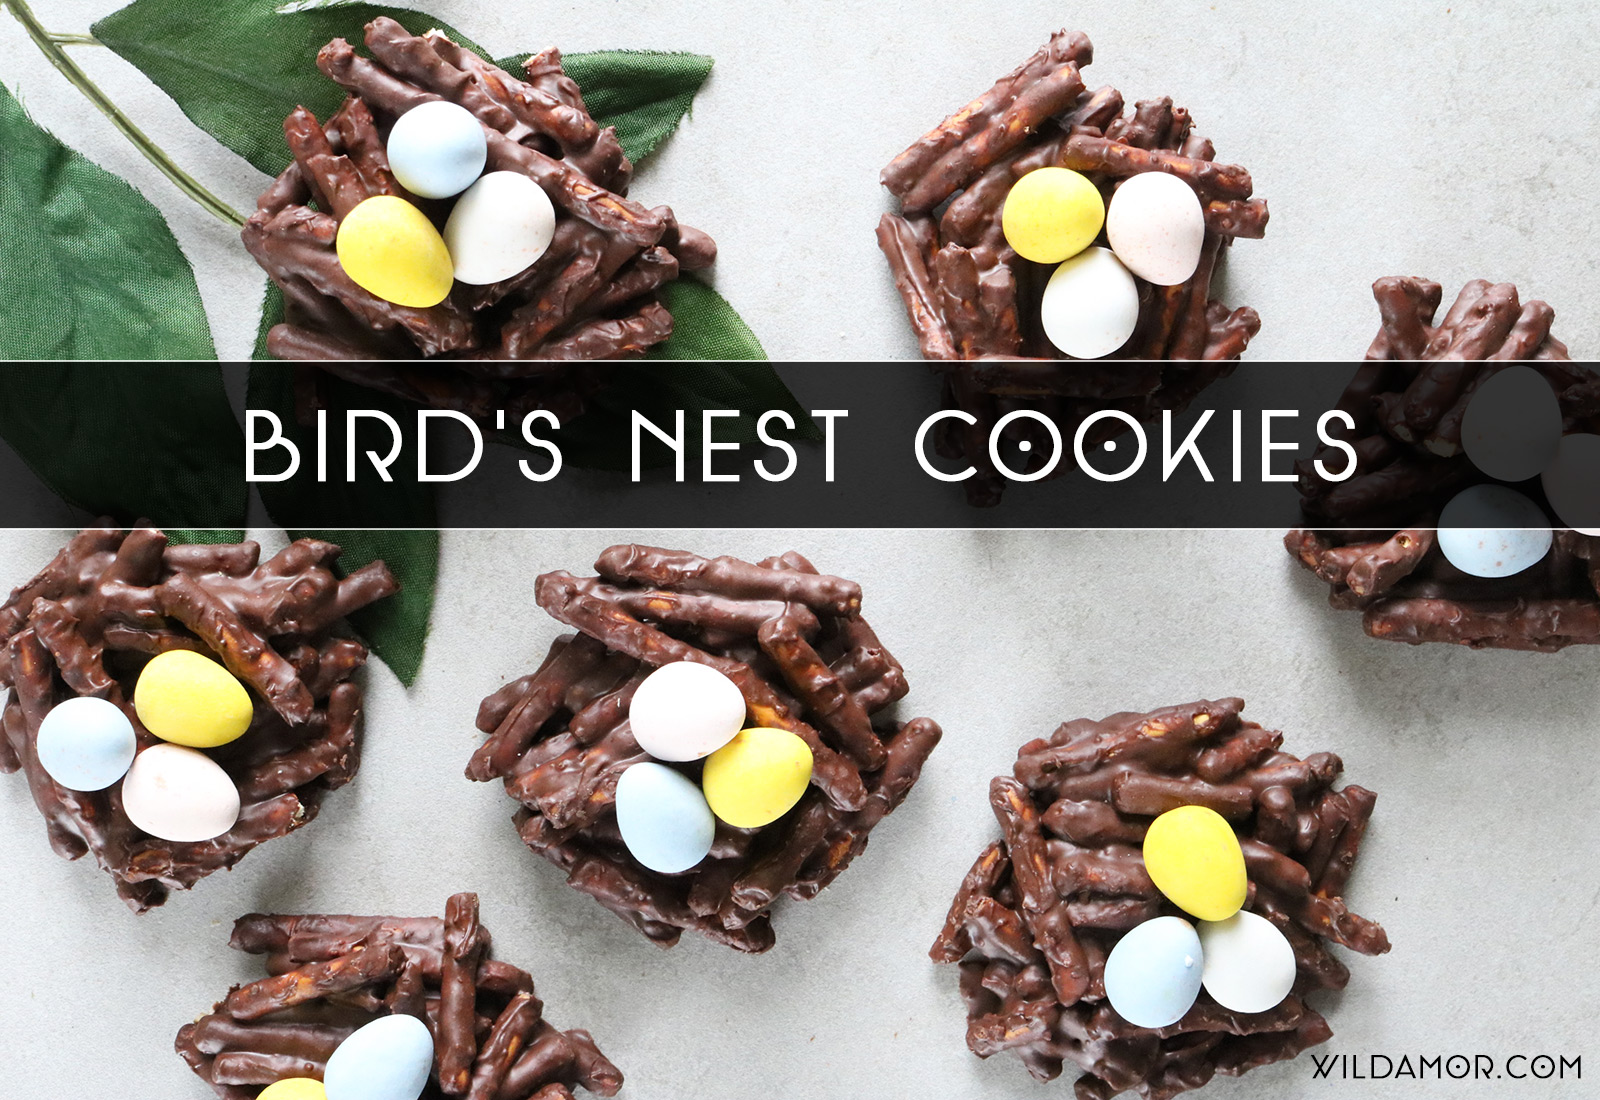
If you’re a fan of chocolate-covered pretzels and adorable themed treats, these bird’s nest cookies will be right up your alley. (Wild Amor)

This DIY floral Venus wreath is a unique take on the average wreath. This one was made with fake light pink roses and eucalyptus, but feel free to use blooms that fit your style and personality. (Wild Amor)
Happy spring crafting!
xx K