

With a little inspiration from a $795 Isabel Marant sweatshirt, I recently whipped up this studded top with some iron on studs. It’s simple, but a great way to dress up a fairly plain sweatshirt. It’s also a great beginner DIY! Not to mention, if you’re looking for an intro on how to apply iron on studs – this is a perfect start. Check it out, after the jump:

Supplies:
– Sweatshirt

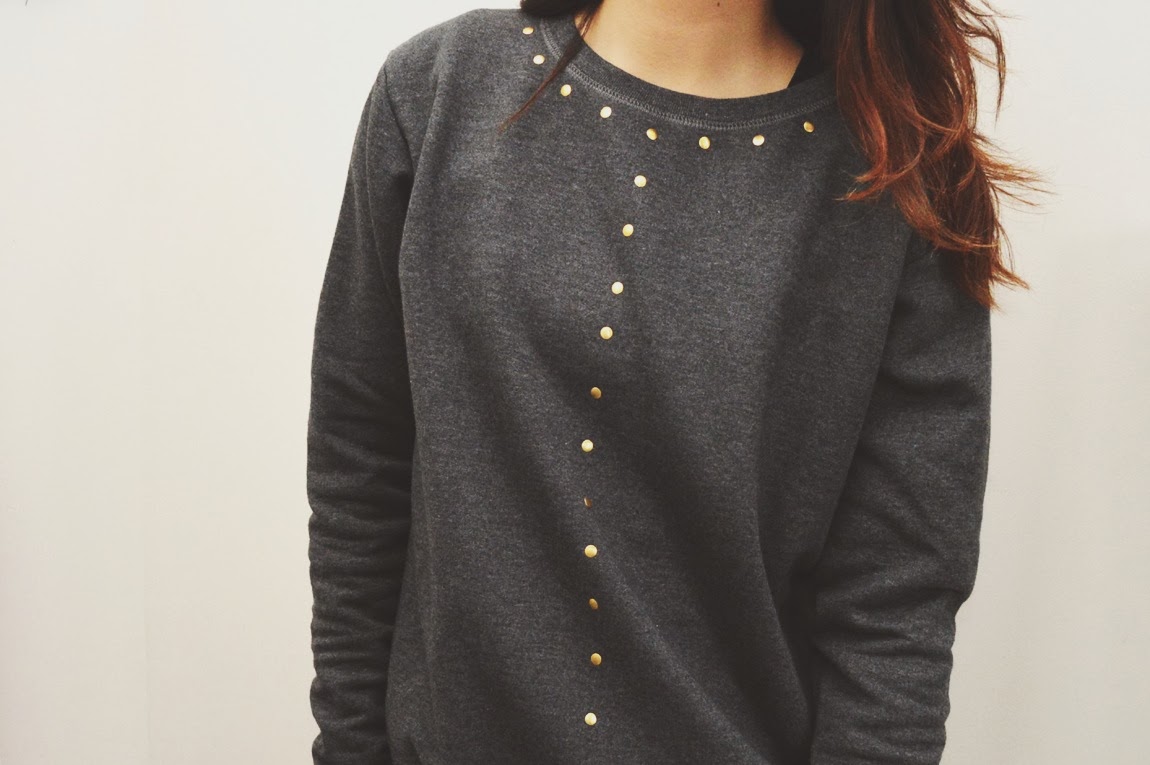
1) First, I added studs along the collar. In order to create some kind of symmetry, I added one at the very center. I used the sweatshirt’s middle fold as a guide!

2) I placed the scrap jersey on top of the stud and pressed firmly with the iron (set to the “Cotton” setting). Technically, you can apply the iron directly to the stud to heat set it. I usually prefer to use some scrap jersey to protect both surfaces, but it’s up to you.

3) One by one, I added a stud to both sides of the center stud. You could add multiple studs at a time, but you never know when one might shift under the iron. Therefore, I like to do them one by one to ensure precision.
I added a vertical line of studs down the middle, again following the sweatshirt’s fold. To serve as a guide, I first added studs at large intervals.

4) Then I added studs in between those intervals, to “fill” them in and create a fuller line like the studs along the collar.
Easy enough, right? You can use iron on studs to add a little bit of edge to practically any article of clothing. I’m kind of obsessed with them!
Xo, Kirsten