
There are honestly SO many thread-wrapped-rhinestone-cord-chain-etc etc etc tutorials out there. Regardless, I still decided to make and share this because of the actual supplies it uses. The cord used in this project is actually something extremely ordinary and will cost you practically nothing.
…It used to be the handle of a gift bag! Actually, many shopping bags for slightly “fancier” stores (in other words, the stores that don’t use plastic bags) have cord handles as well. I just looked at a few shopping bags I have from several stores that are currently storing supplies and other things; Juicy Couture, Barneys NY and Sephora all have bags with cord handles.

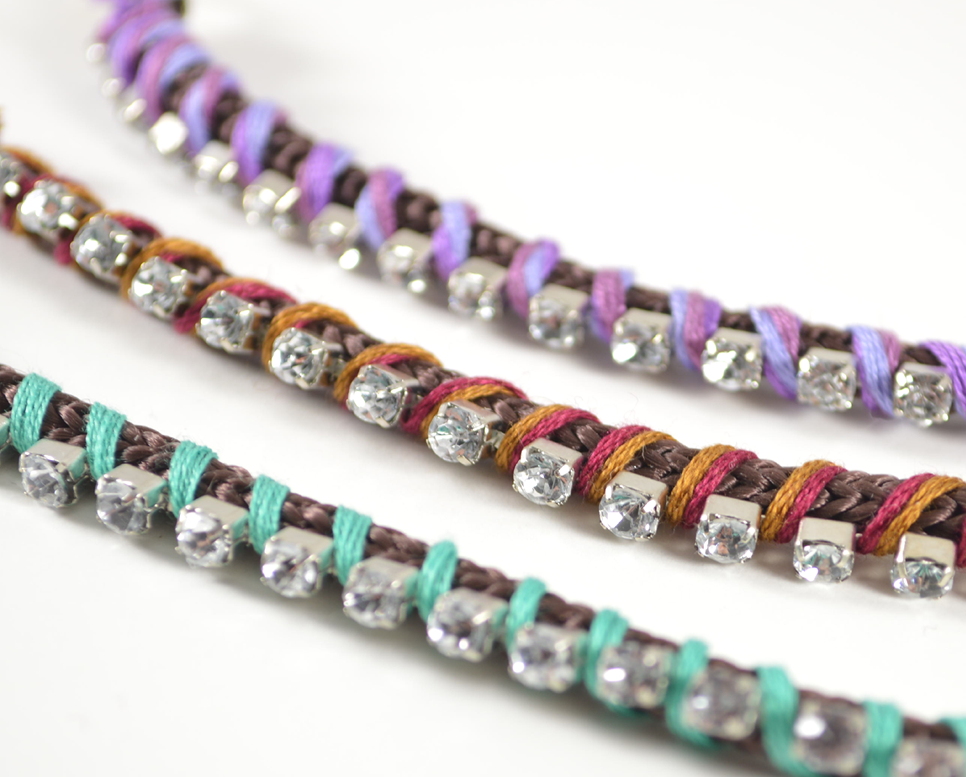
A while back, I was doing some cleaning and was going to recycle a worn in gift bag I had received from someone. I had cut off and saved the cord for possible DIY use (a habit of mine) and found it in my stash of jewelry supplies a few days ago. So, this project was born. The rhinestone chain was probably the most expensive, at a couple dollars. Embroidery thread is super cheap and the cord is more or less free.
See how I made it, below! >>

Supplies:
– Embroidery thread
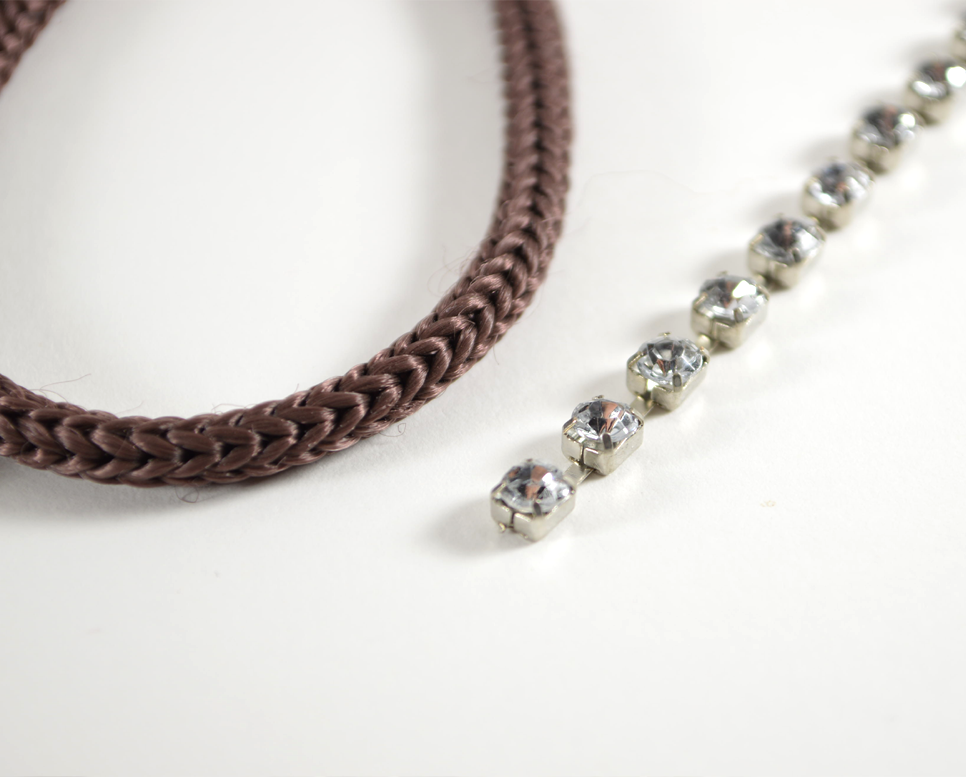
– Cord or any kind of thinner rope, many kinds can work!
– Rhinestone chain
– 2 head pins
– 2 bead caps
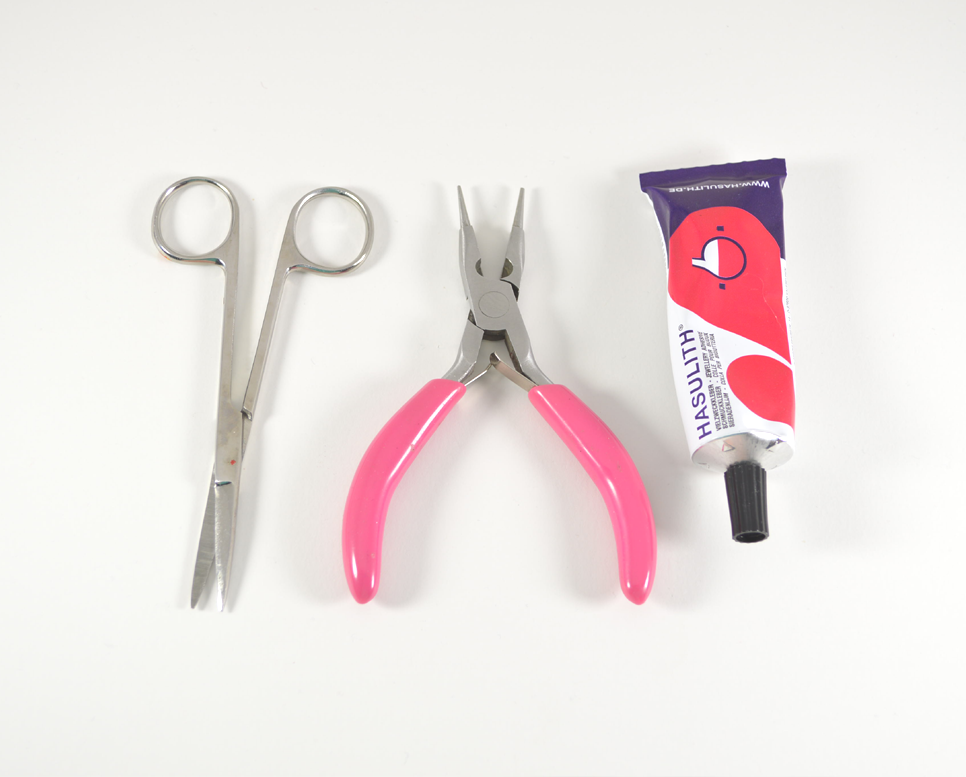
– Scissors, jewelry pliers, strong craft glue
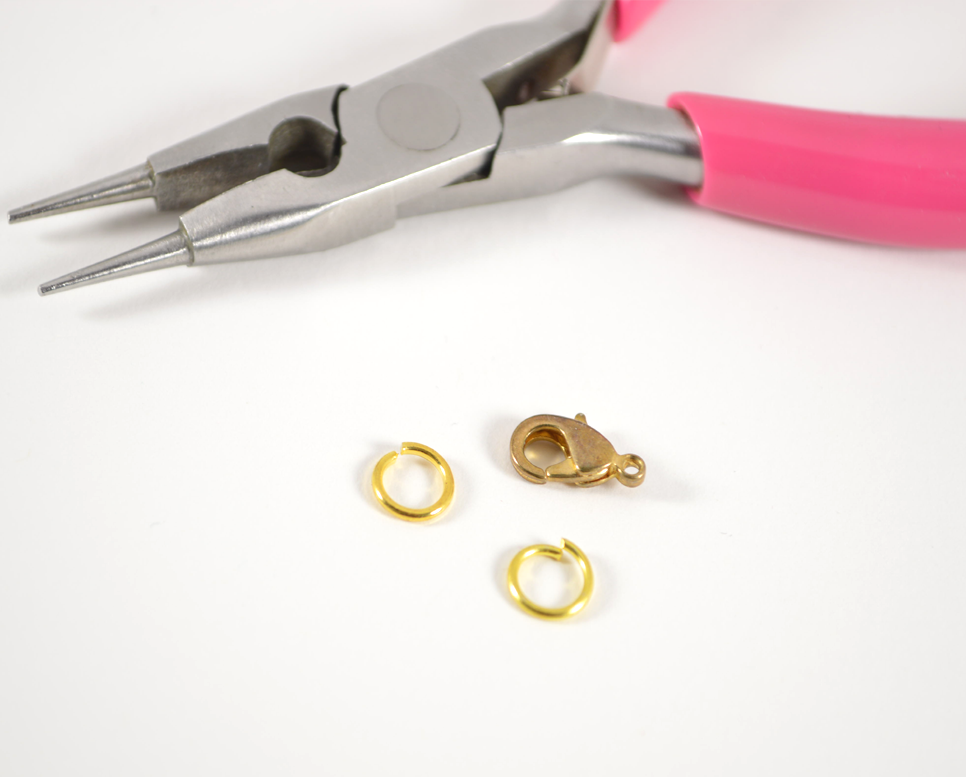
– Jewelry clasp and a few jump rings
– Optional: clear nail polish or Fray Check (liquid seam sealant)

Closeup of head pins and bead caps.
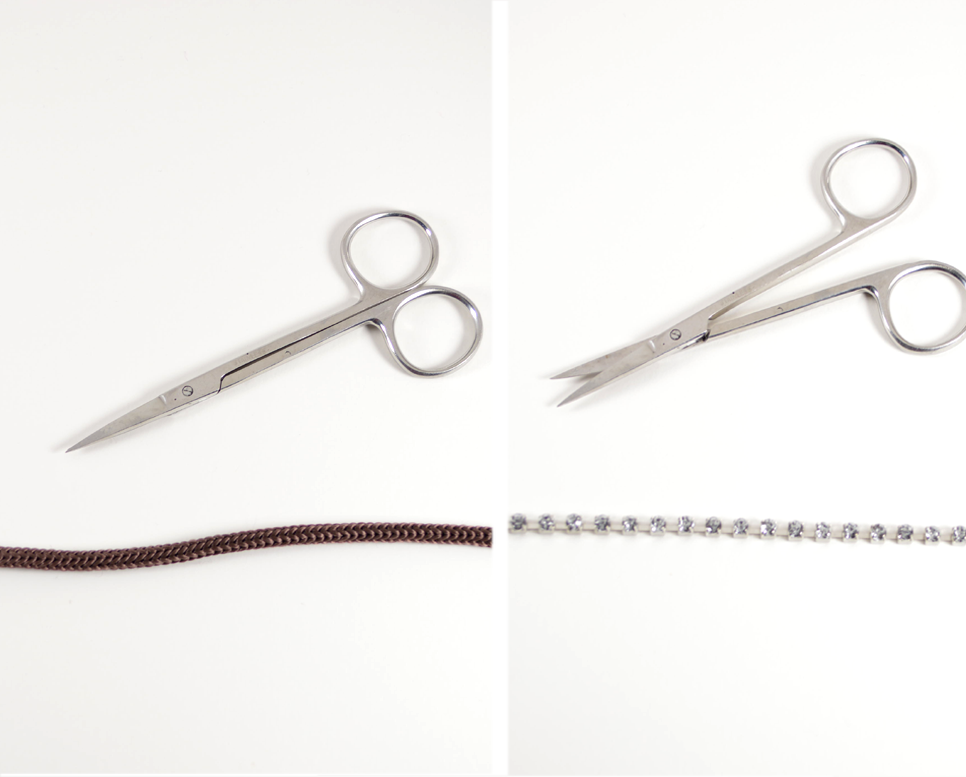
1) Cut a strand of cord measured to fit your wrist, plus about .5 in (1.27 cm). Cut a strand of rhinestone chain, measuring about the same length.
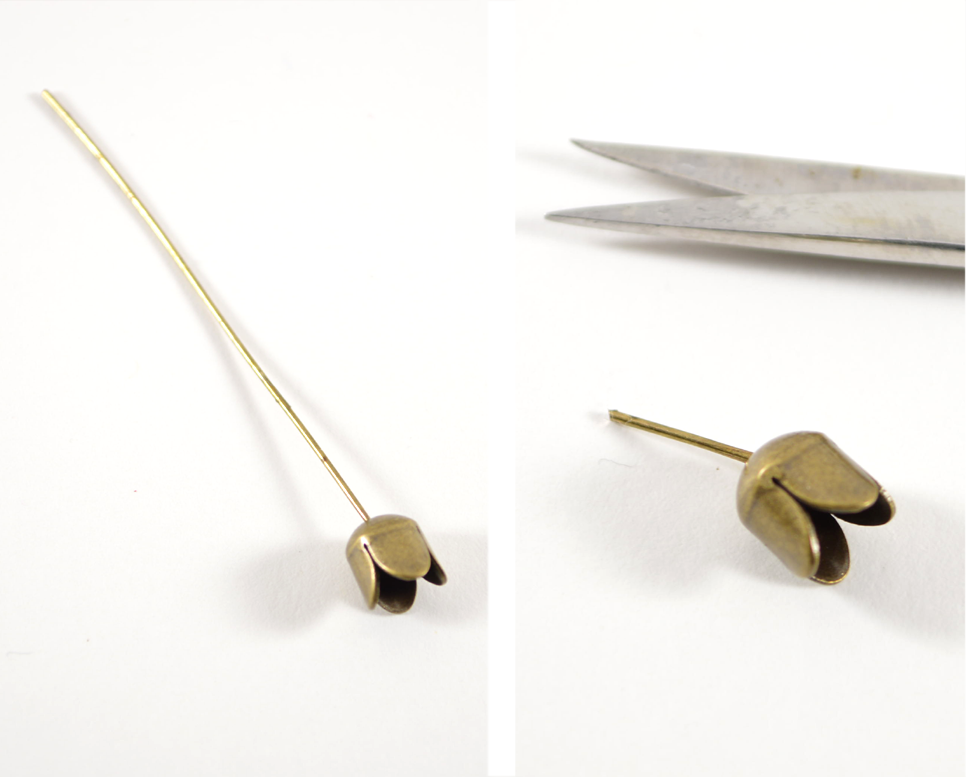
2) Insert a head pin through the bead cap, and trim down so that there’s just a small amount left.
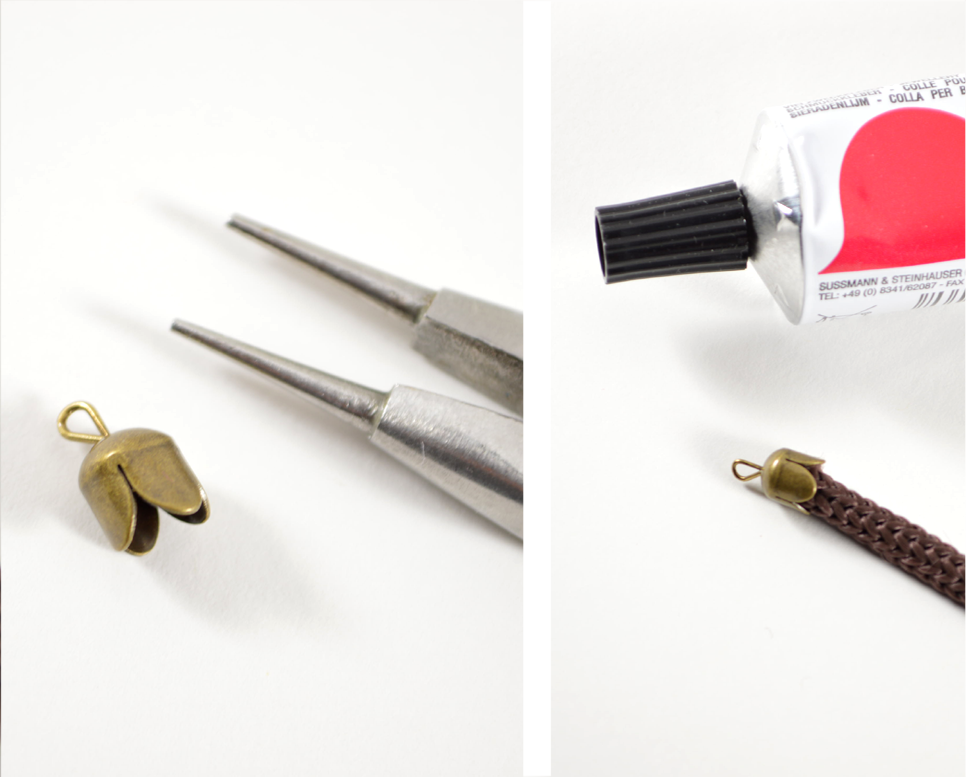
3) Create a wire loop with the jewelry pliers. Apply some glue in the actual bead cap, and insert the rope/cord into the cap. Let dry a bit.
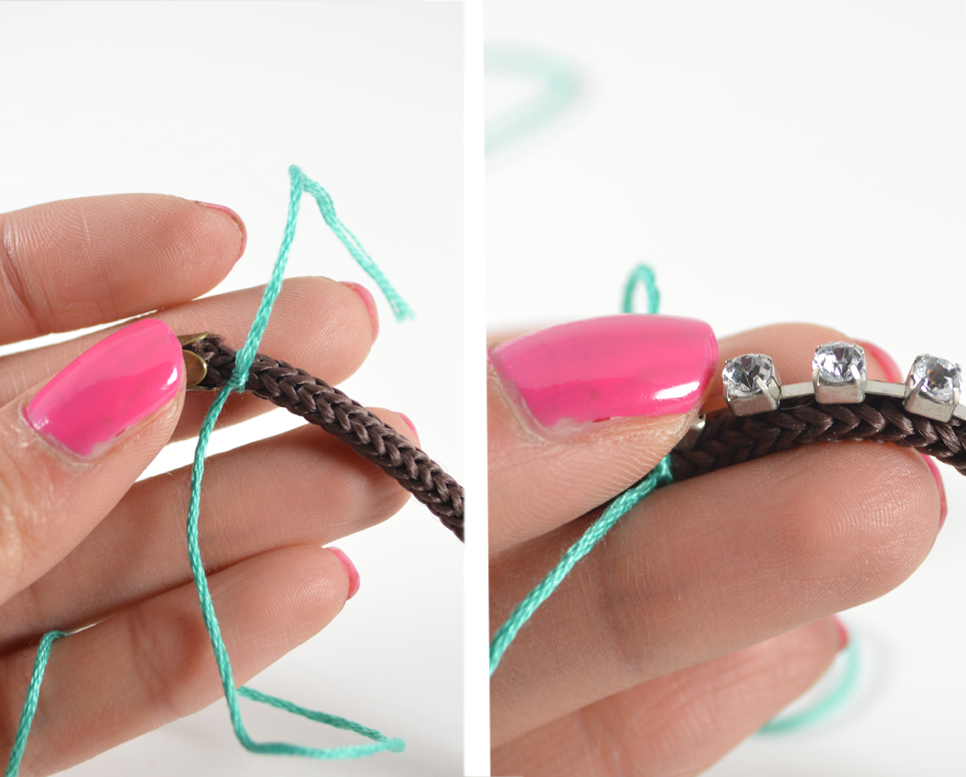
4) Tightly tie one end of the embroidery thread near the bead cap. Hold the rhinestone chain on top of the cord.
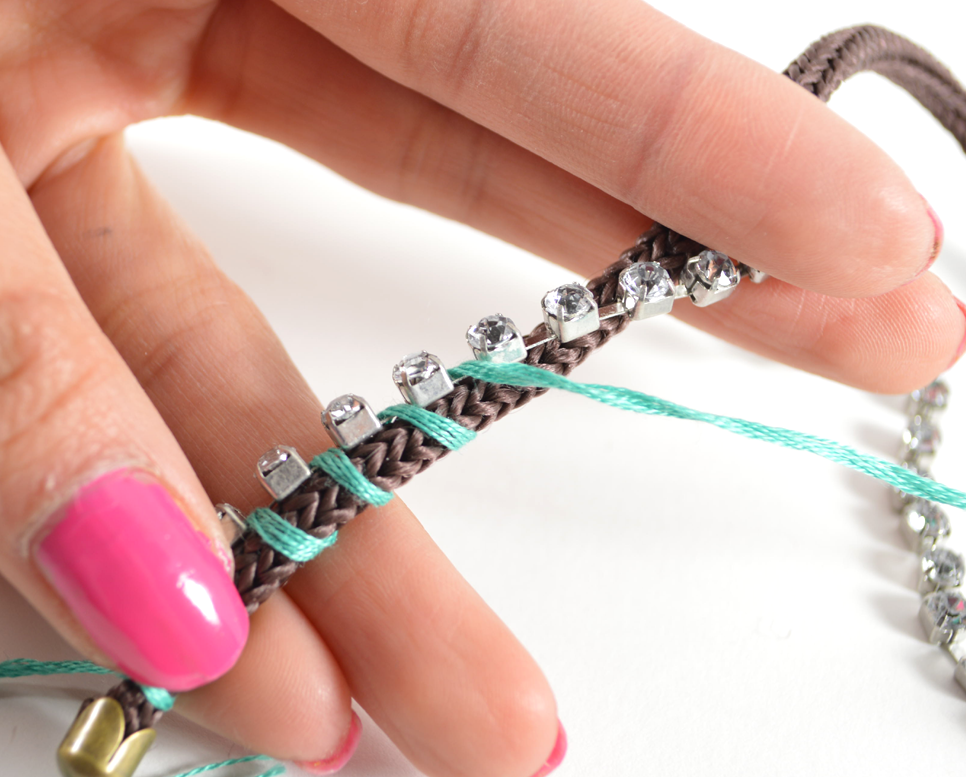
5) Begin wrapping the embroidery thread around the rhinestone chain, in between each stone. Wrap tightly, but not too tight.
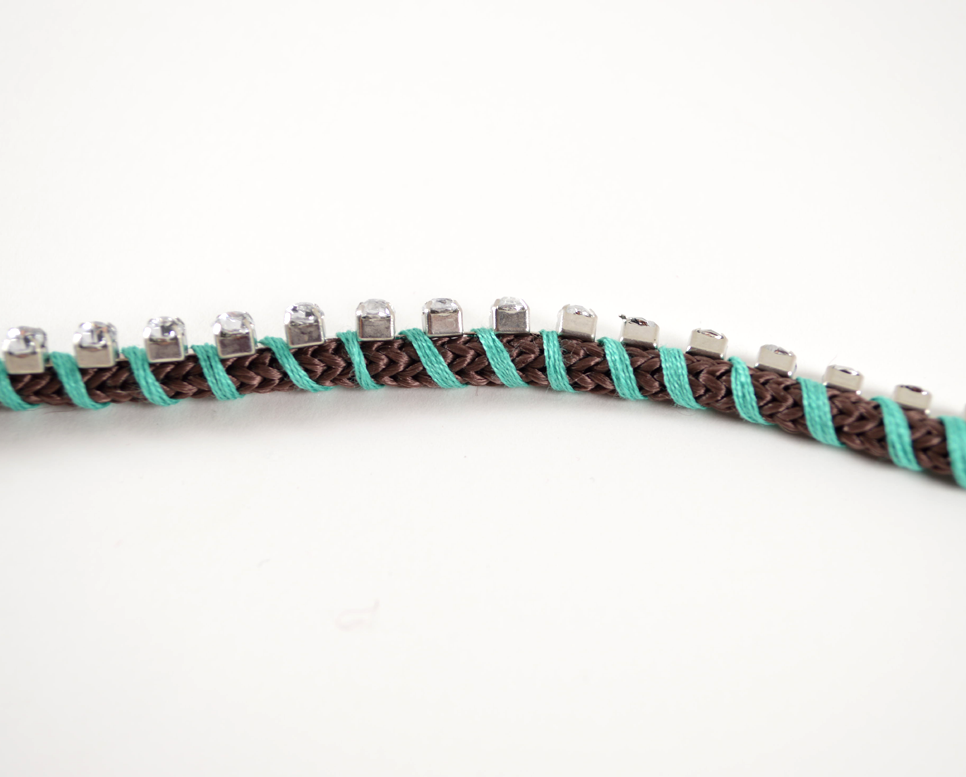
6) Continue along the cord.
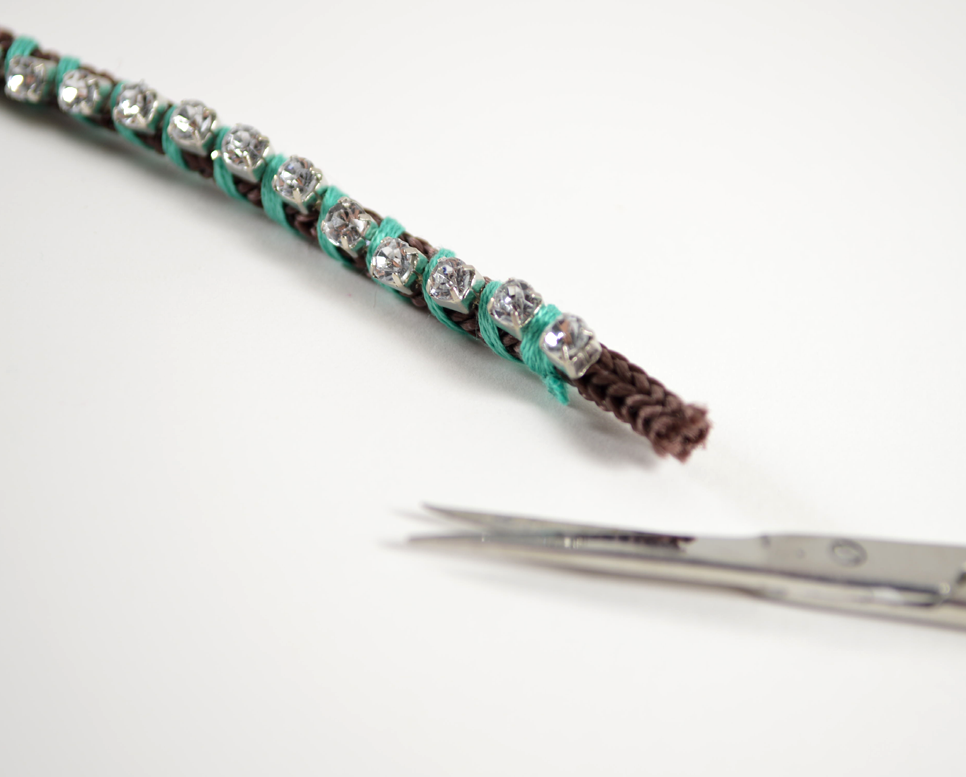
7) At the end, tightly tie the thread and cut the excess. Trim the rhinestone chain (if needed) and the cord so that there’s just a small bit left, just enough for another bead cap.

8) Repeat Steps 2 and 3 with the second head pin and bead cap.
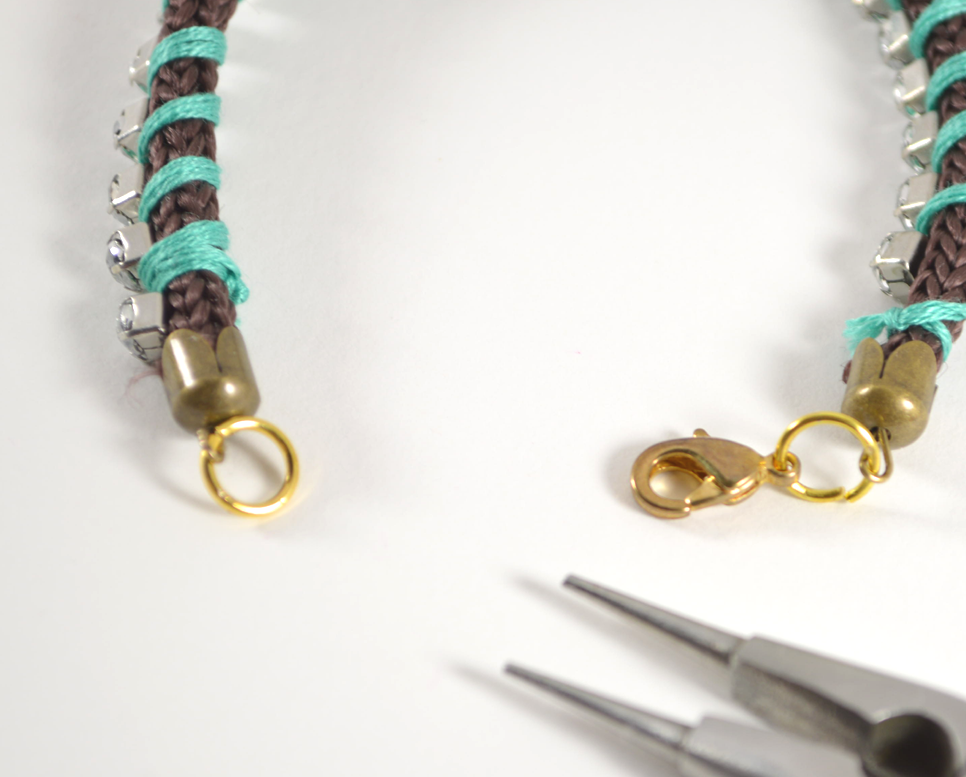
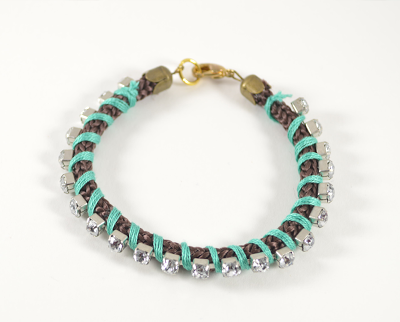
9) Glue to the cord, and attach a jump ring to the wire loop. At the other end, also attach a jump ring and a jewelry clasp.

If you’d like, place a small dot of clear nail polish or Fray Check (liquid seam sealant) on the embroidery thread knots. This will make sure they are secure and don’t unravel.
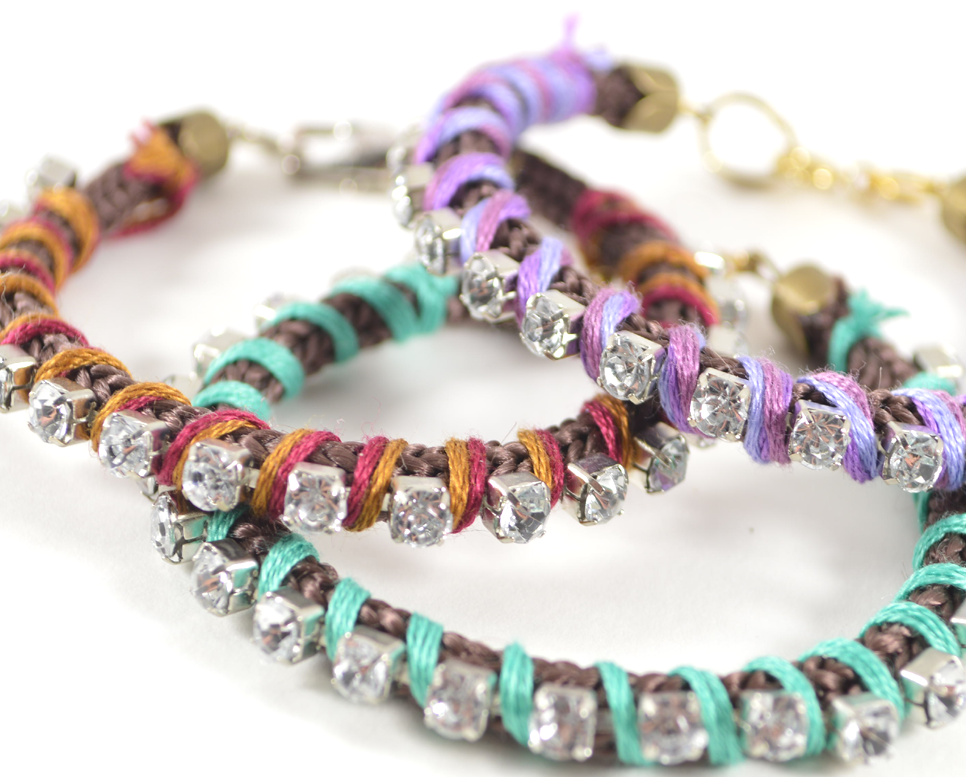
Of course, I had to make a few variations. One with two colors, and a third with three colors. I think the 2 color version is my favorite!