

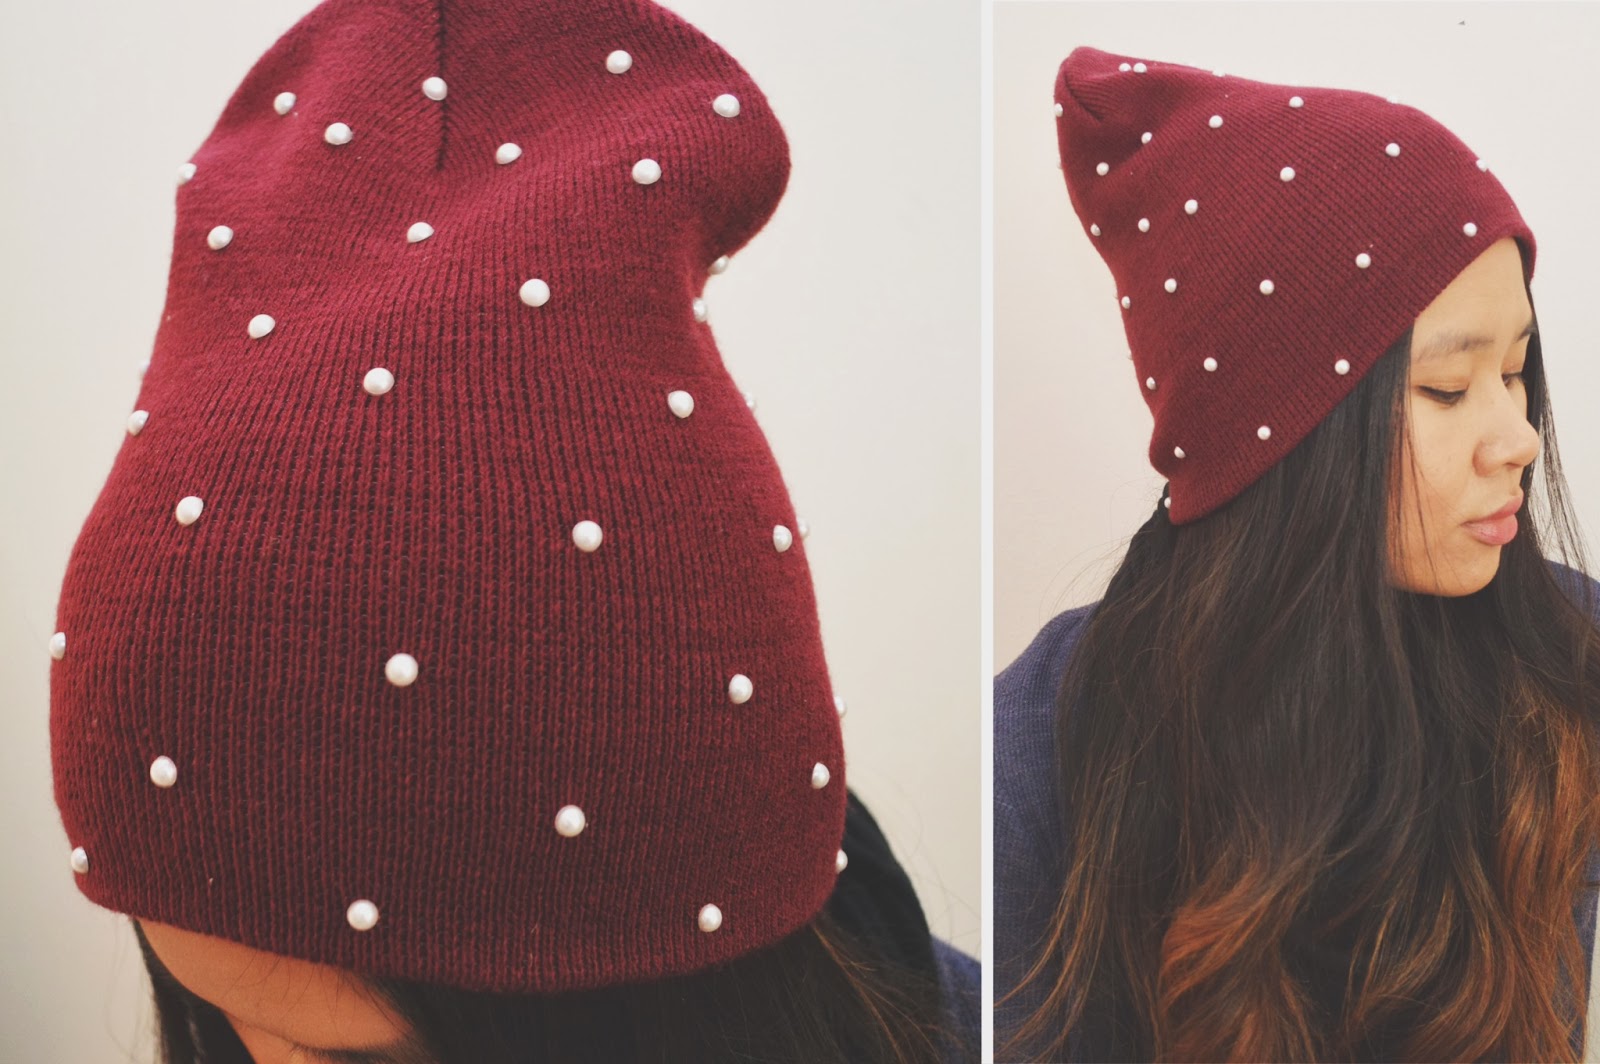
Equal parts edgy and sweet, I’m head over heels in love with this week’s DIY! The pearl flat backs – which I found in the Scrapbook section of Michael’s – add a feminine touch to this maroon Men’s beanie I picked up at Target. Inspired by the classic vibe of pearl details, I knew I had to use them in a cool weather project.
This is also another quick and easy one – ideal for a chilly weekend afternoon. Keep reading to see how I made it!
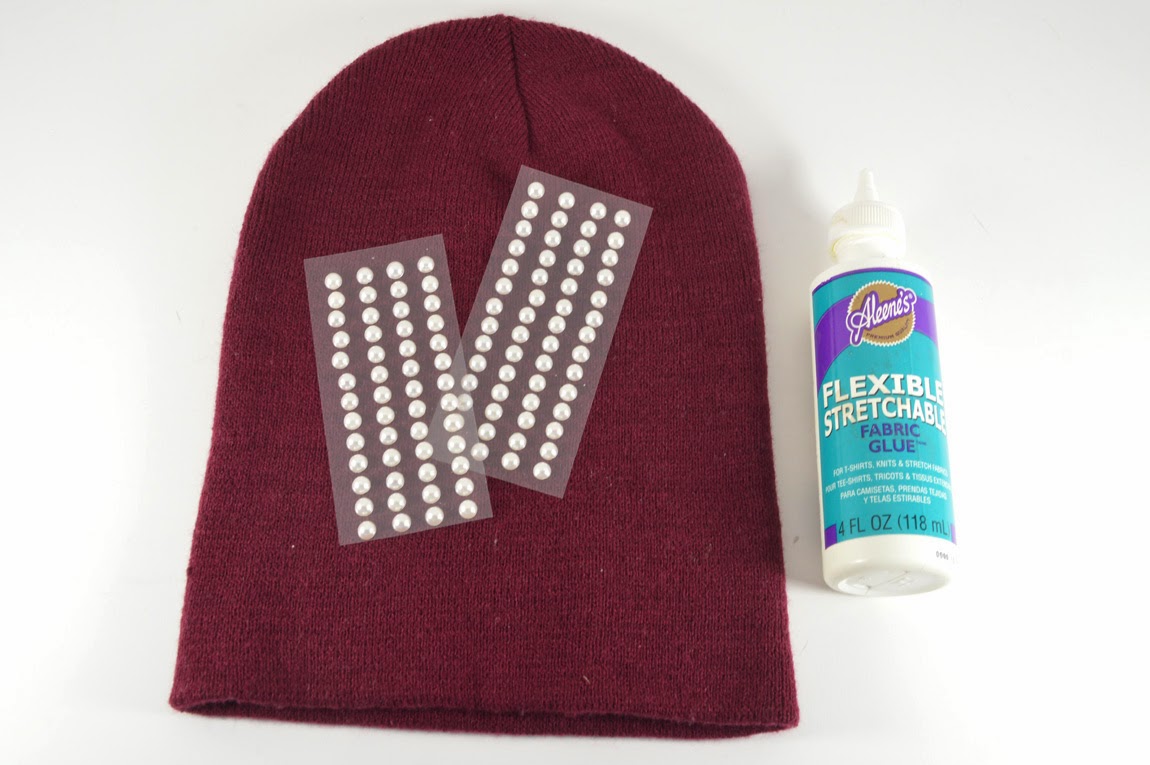
Supplies:– Beanie
– Flat Back Pearl Embellishments
(From the Scrapbook section at Michael’s. I bought 2 packs of 56 each, and used about 34 on EACH side of the beanie)
– Fabric Glue
– Recommended/Optional: Sewing Pin
(To help with precision and ease during glue application)
– Flat Back Pearl Embellishments
(From the Scrapbook section at Michael’s. I bought 2 packs of 56 each, and used about 34 on EACH side of the beanie)
– Fabric Glue
– Recommended/Optional: Sewing Pin
(To help with precision and ease during glue application)
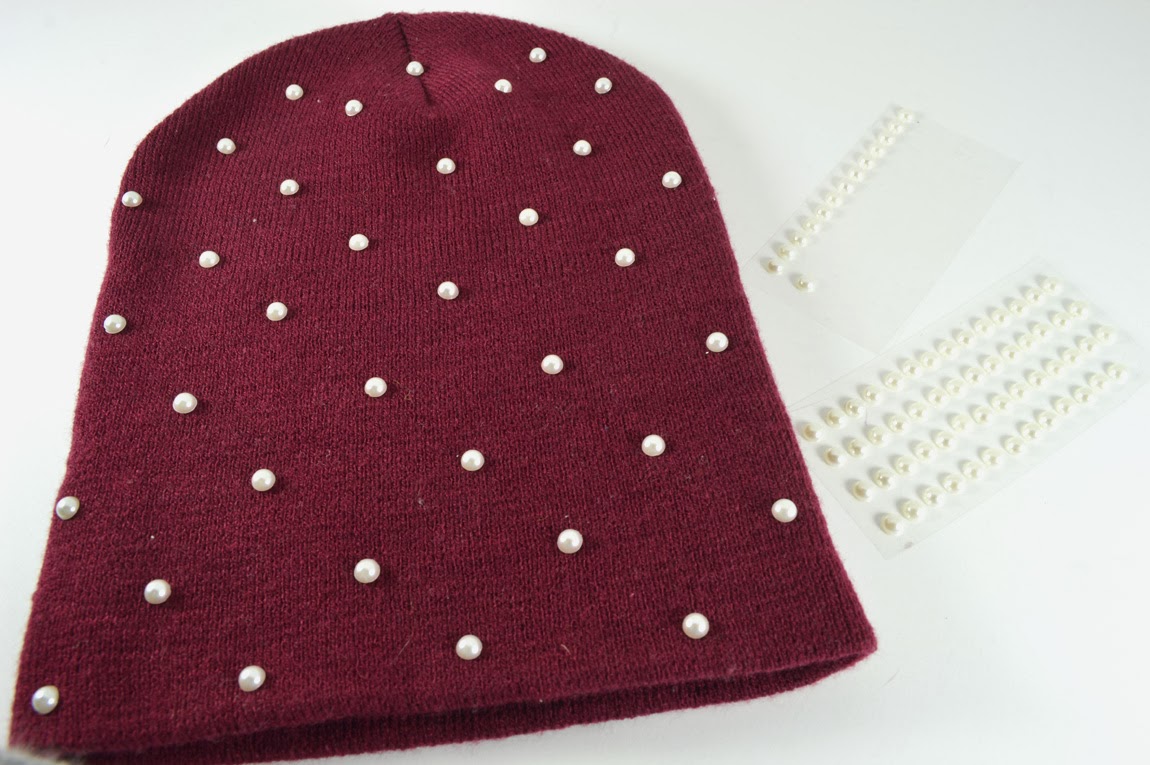
1) Lay the beanie on a flat surface and determine the placement of the flat back pearls. You’ll be working with one side of the beanie at a time.Flat back pearls from the scrapbook section will typically have an adhesive backing, but you’ll obviously need a much stronger bond. That’s where the fabric glue will come in.
Note: I spaced the pearls about 1.75 inches apart. There was about 2 inches in between the “rows”. You can use a straight edge while determining each row, or you can just eyeball it!
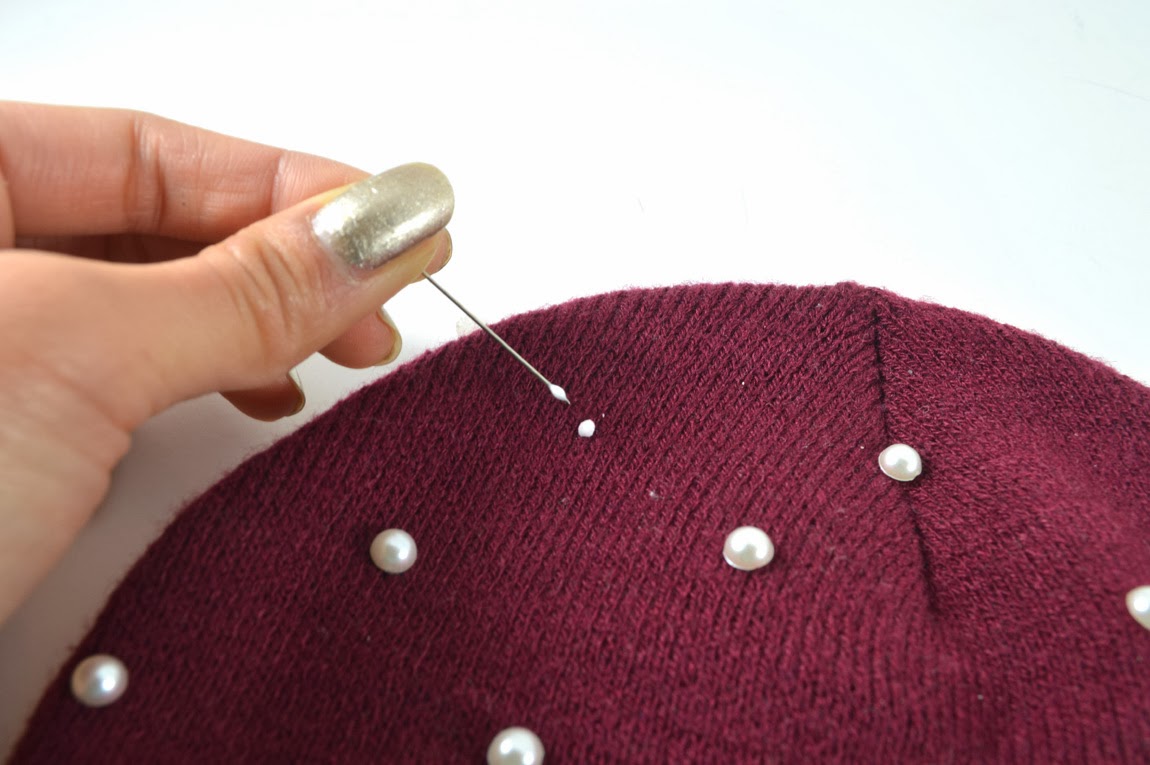
2) One by one, add a dot of fabric glue to the beanie. Repeat until the entire side is complete, then let dry completely. Repeat Steps 1 & 2 on the reverse side. Once that’s dry, you’re good to go.

Xo, Kirsten