
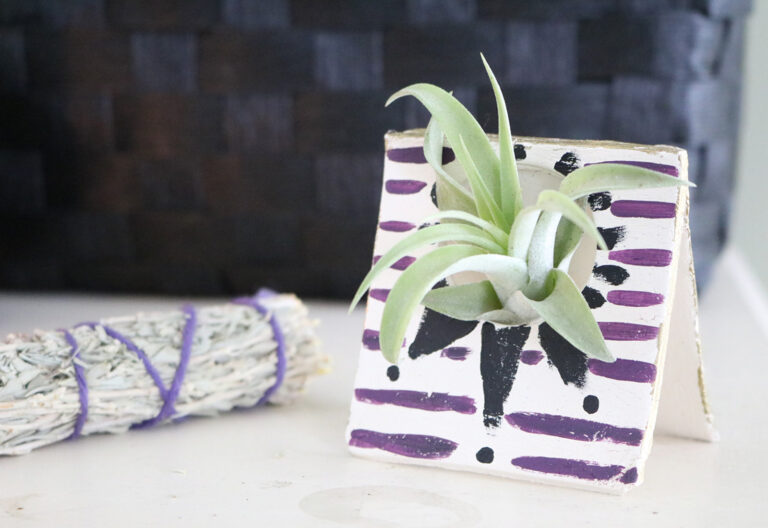
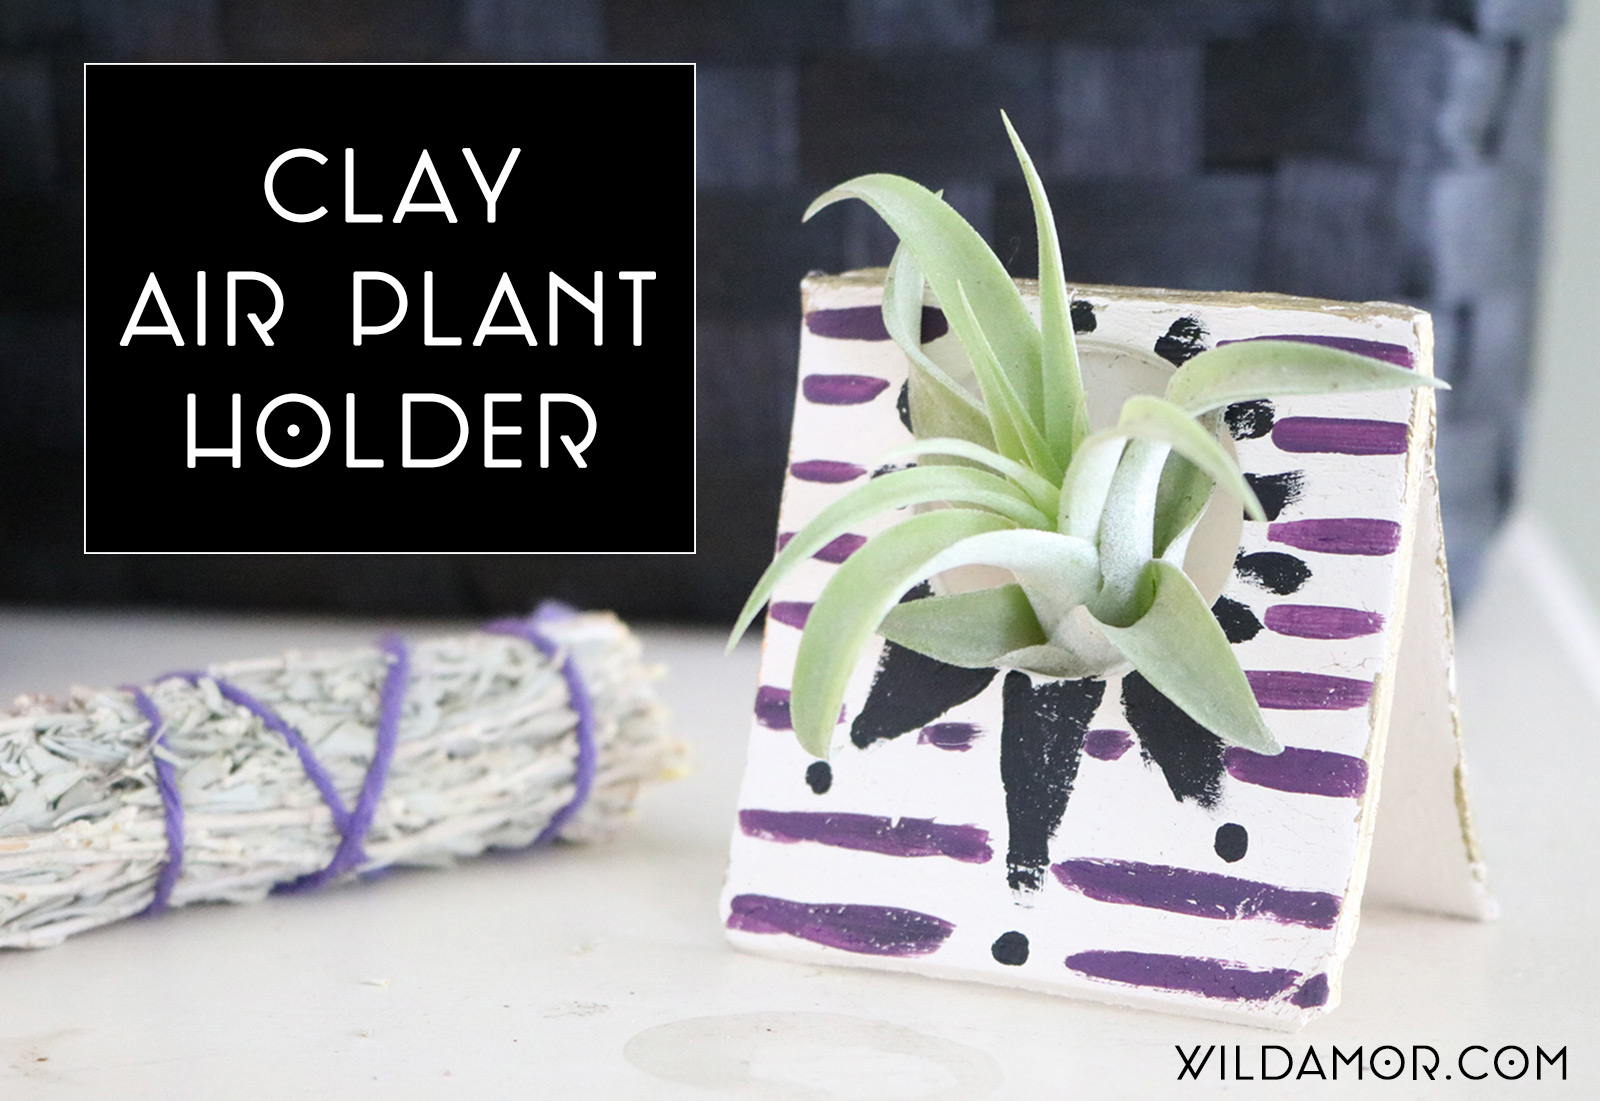
My love for plants has always been strong. But for whatever reason, it’s been in full force during these last few months. Like, growing-radishes-and-chamomile-in-my-small-apartment kind of full force. This means 9873284 more botanical DIY projects are on the way, obviously! So, for this week’s craft tutorial, I whipped up a little air plant holder with air drying clay and paint. It’s an easy, creative way to display these resilient little guys. Keep reading to make it yourself.
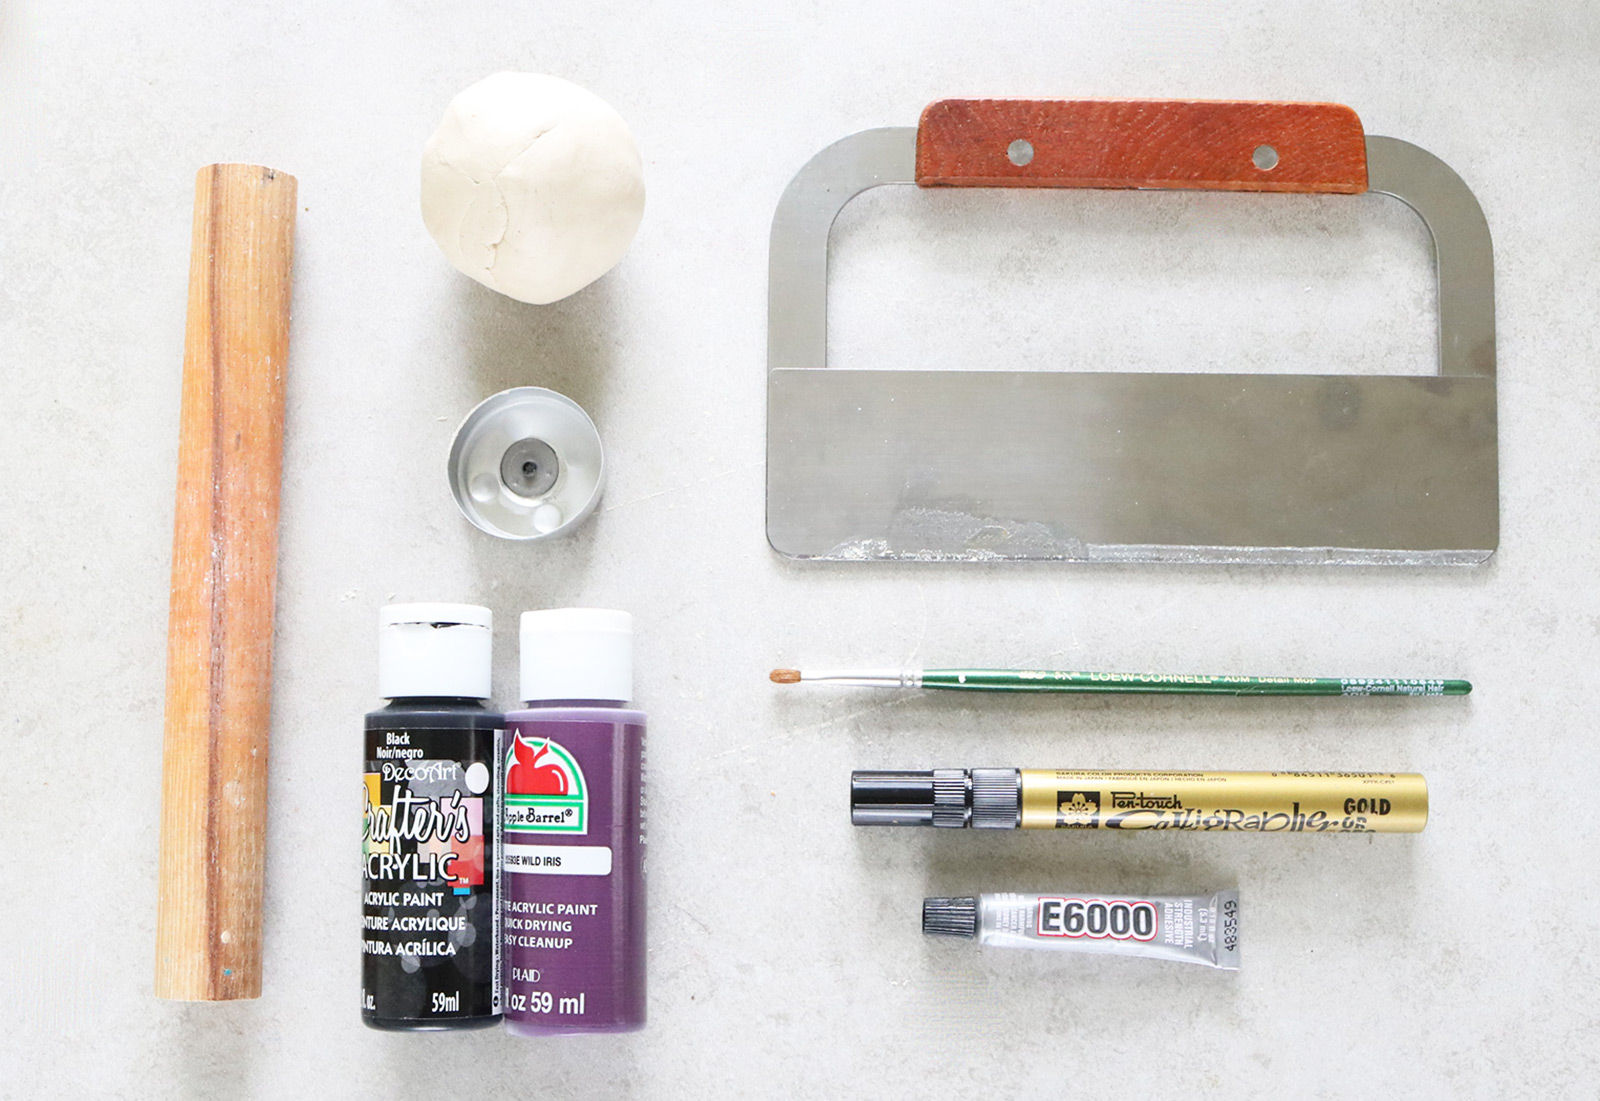
Supplies:
- Air drying clay
- Bottle cap, empty tealight tin, etc.
- Wooden rolling pin
- Soap/clay cutter*
- Acrylic paint
- Paint brush
- Liquid gilding pen
- Strong craft glue or hot glue gun
* Any hard straight edge works. Even a ruler will do the trick.
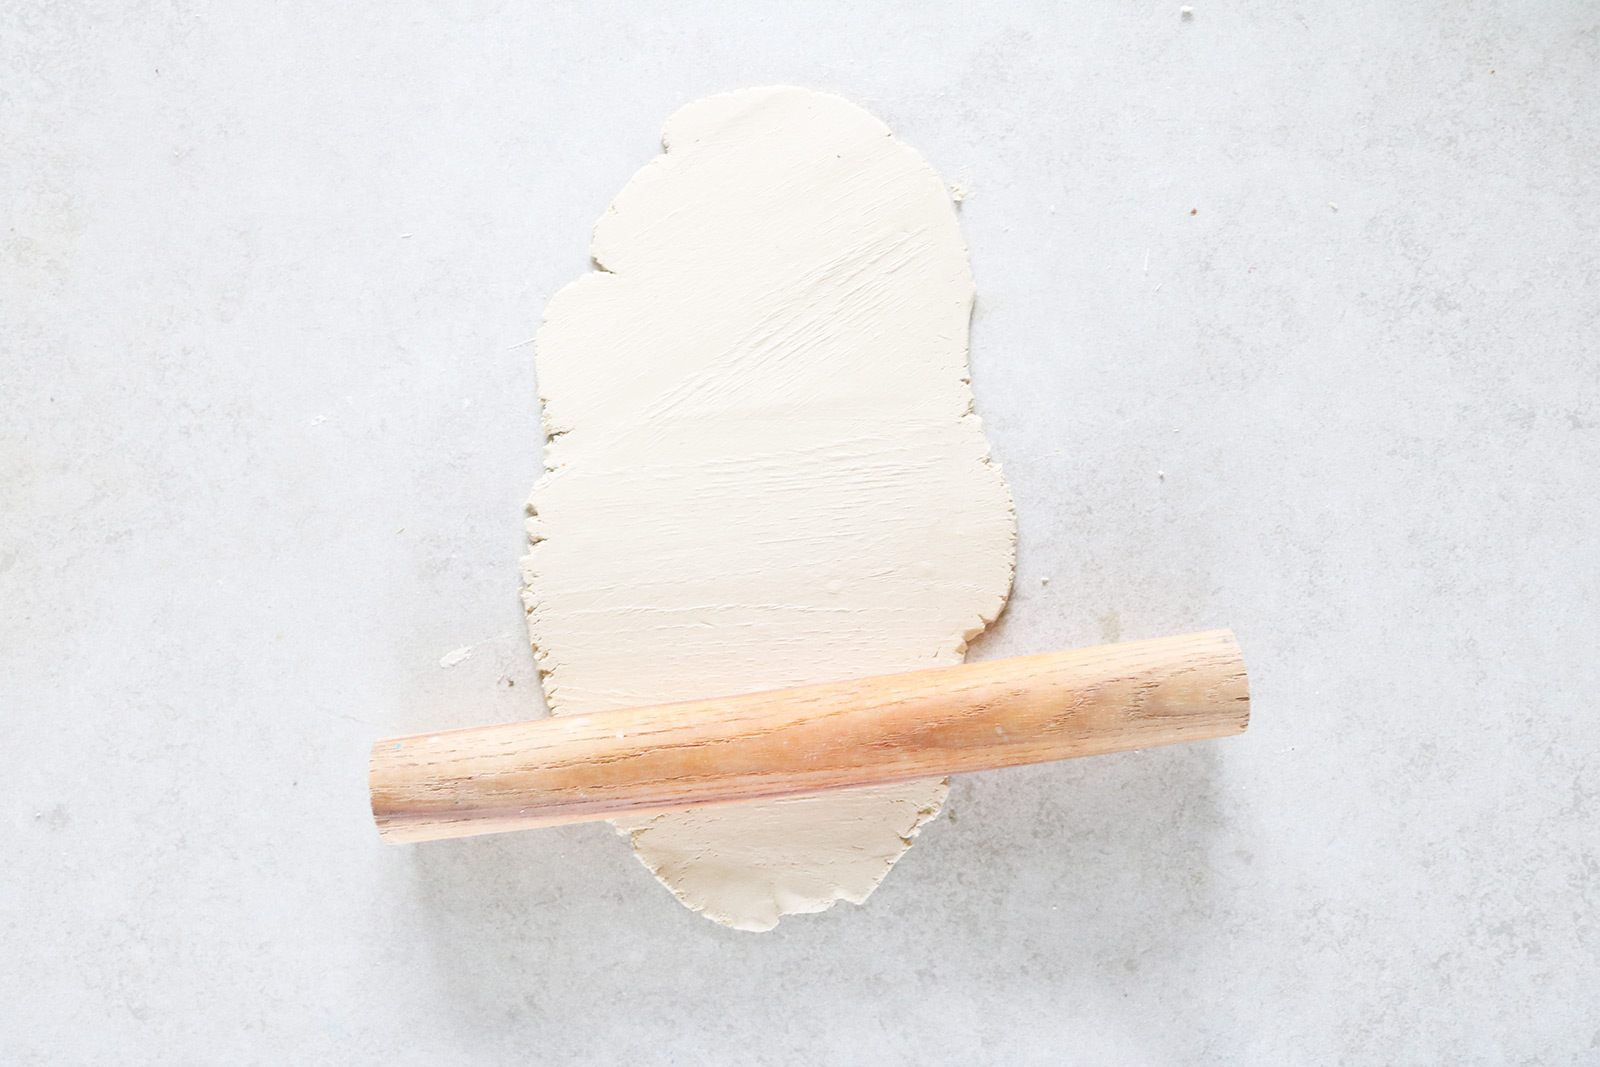
1. Roll the clay into a flat sheet. Do this on a hard surface, and make sure the thickness of the clay is even. I rolled mine out to the same thickness as three quarters stacked on top of each other.
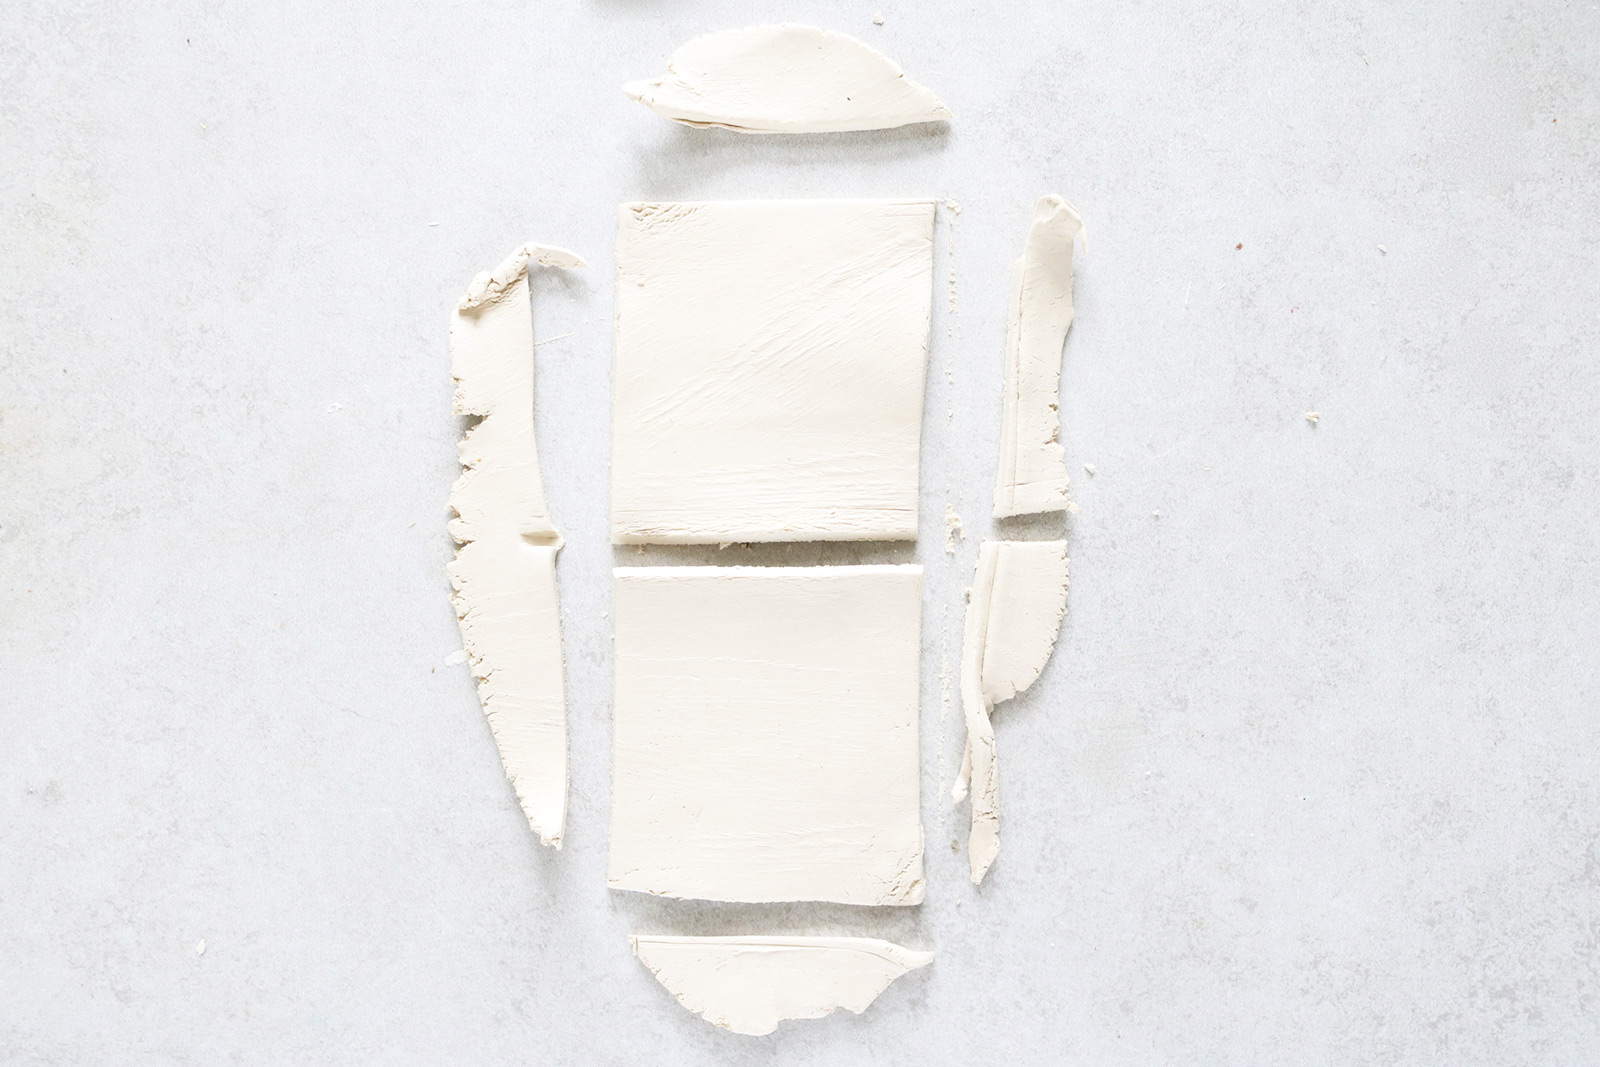
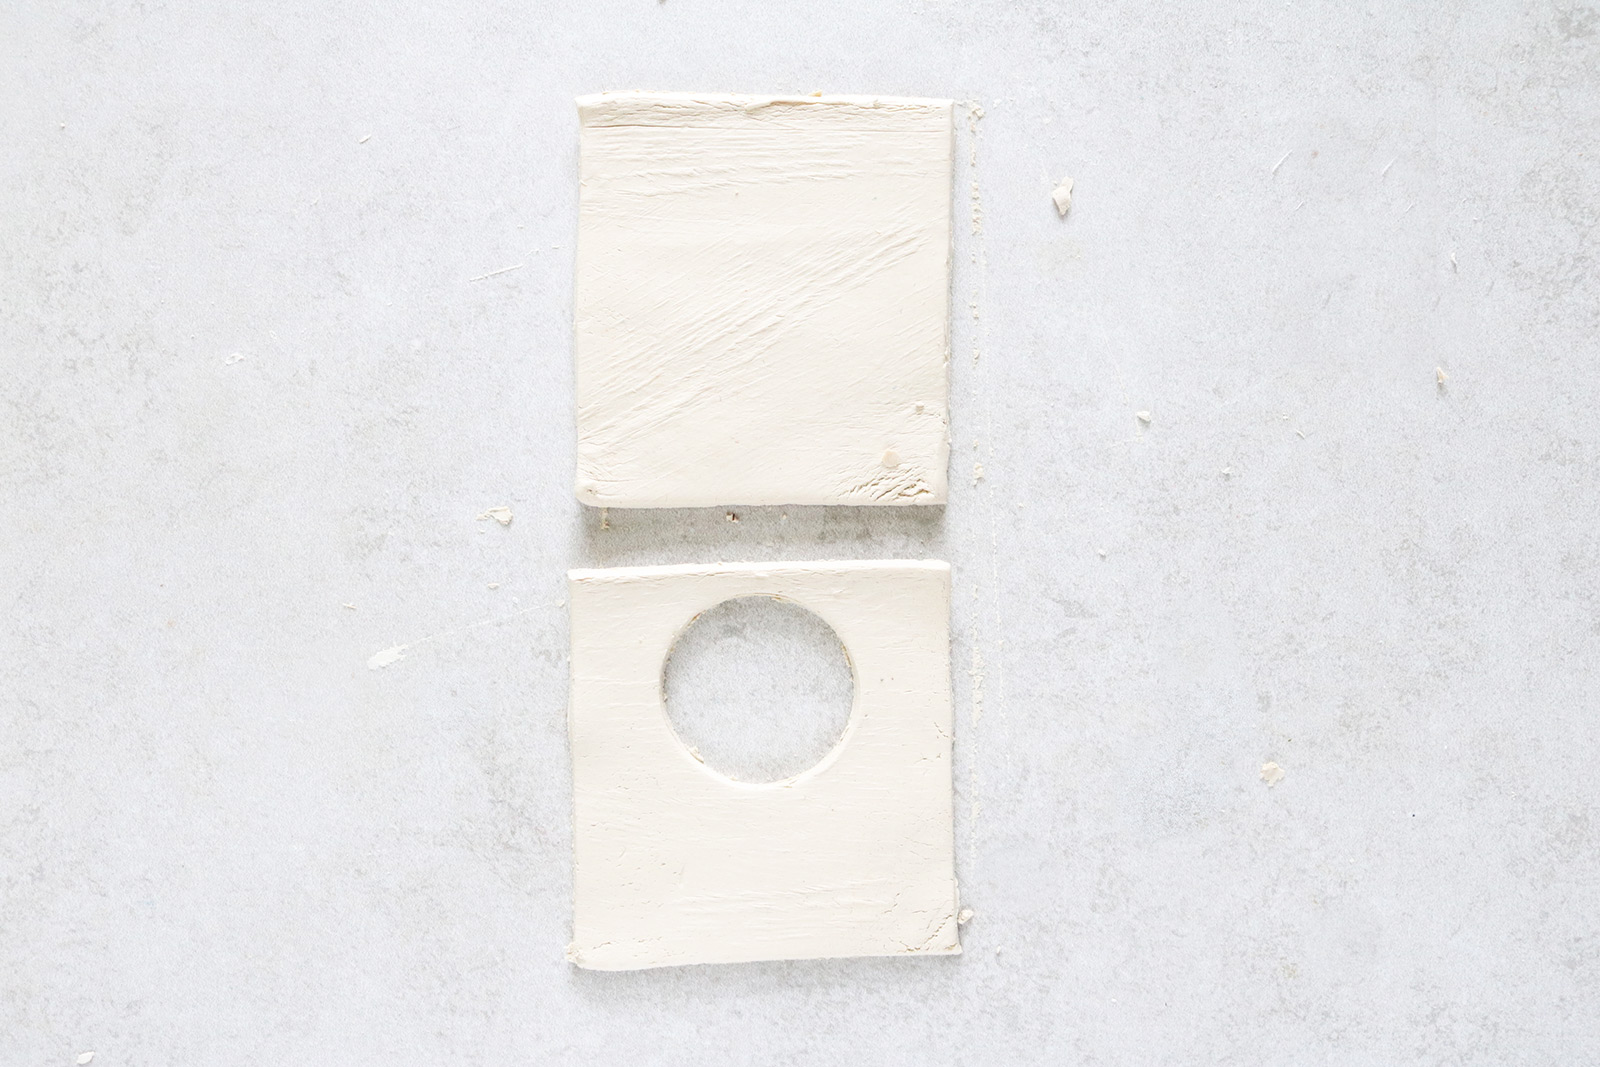
2. Using a hard edge of your choice, cut the clay into two squares measuring 3 x 3 inches. Cut the edges to straighten as necessary.
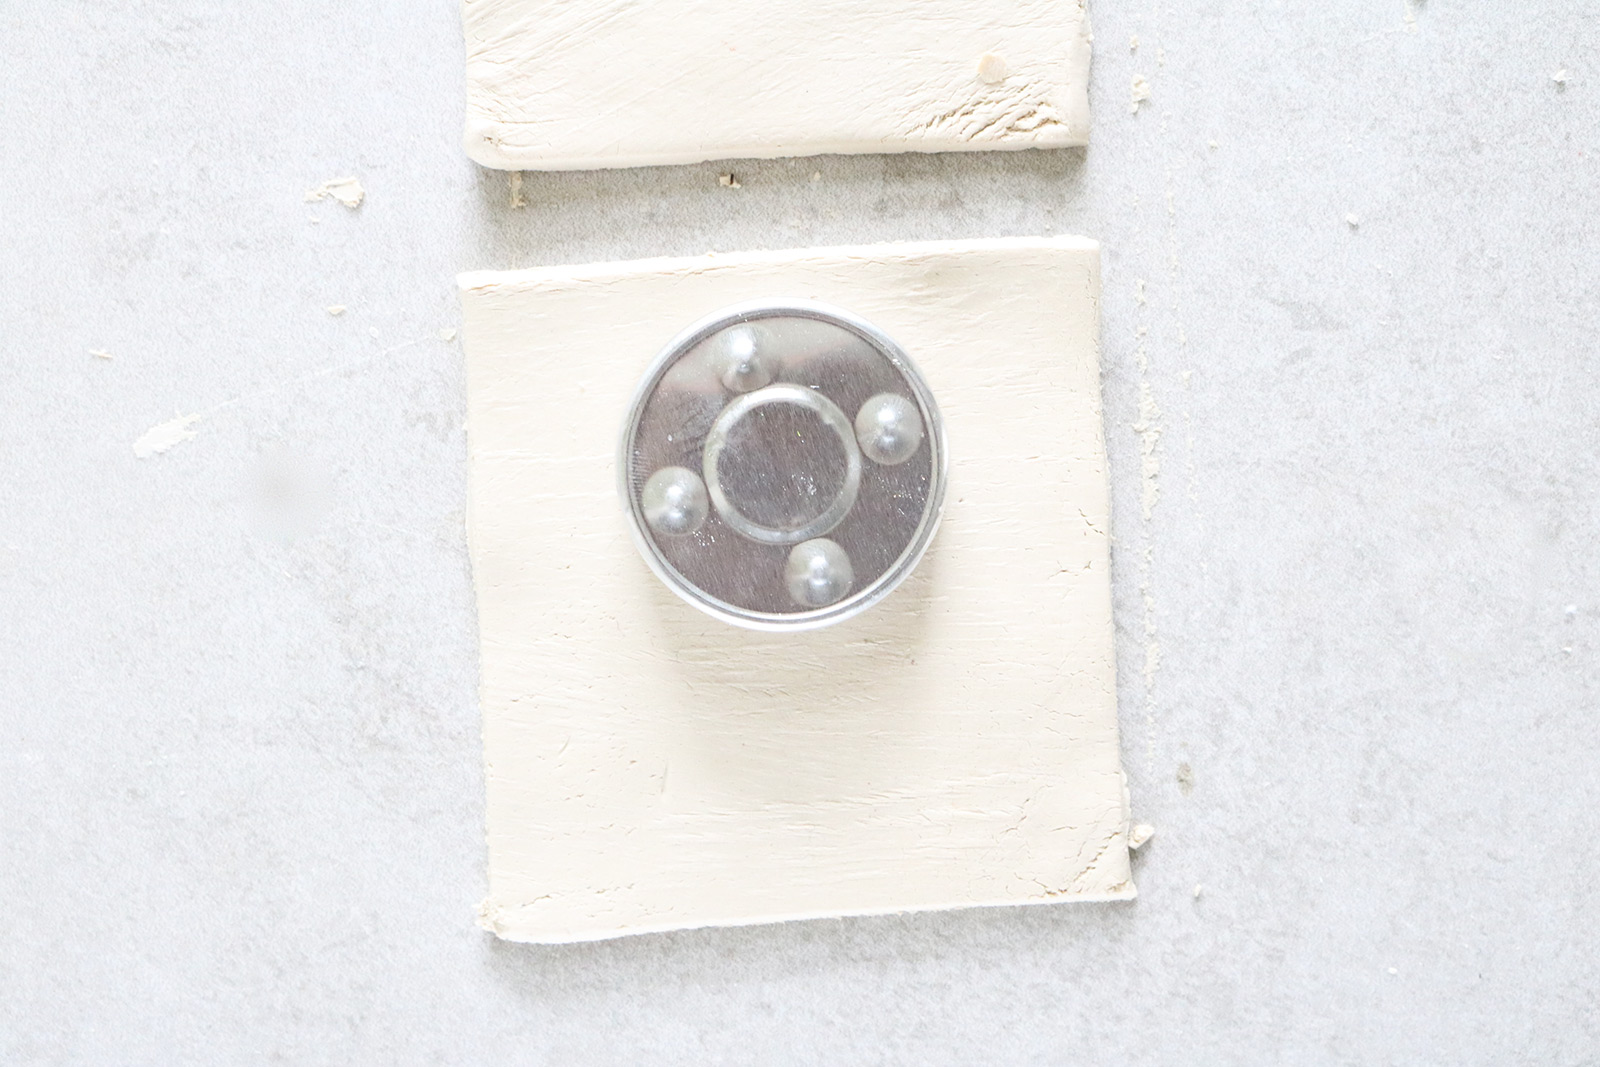
3. Using the bottle cap or empty tea light tin, press into one of the squares to cut out a hole. Take into consideration the size of the air plant you’ll be using.

4. Remove the inner circle. If you’d like, turn it into a pendant.
5. Let the clay squares dry completely. Refer to the package’s directions, if needed. Most brands of air drying clay need 24 hours to harden.
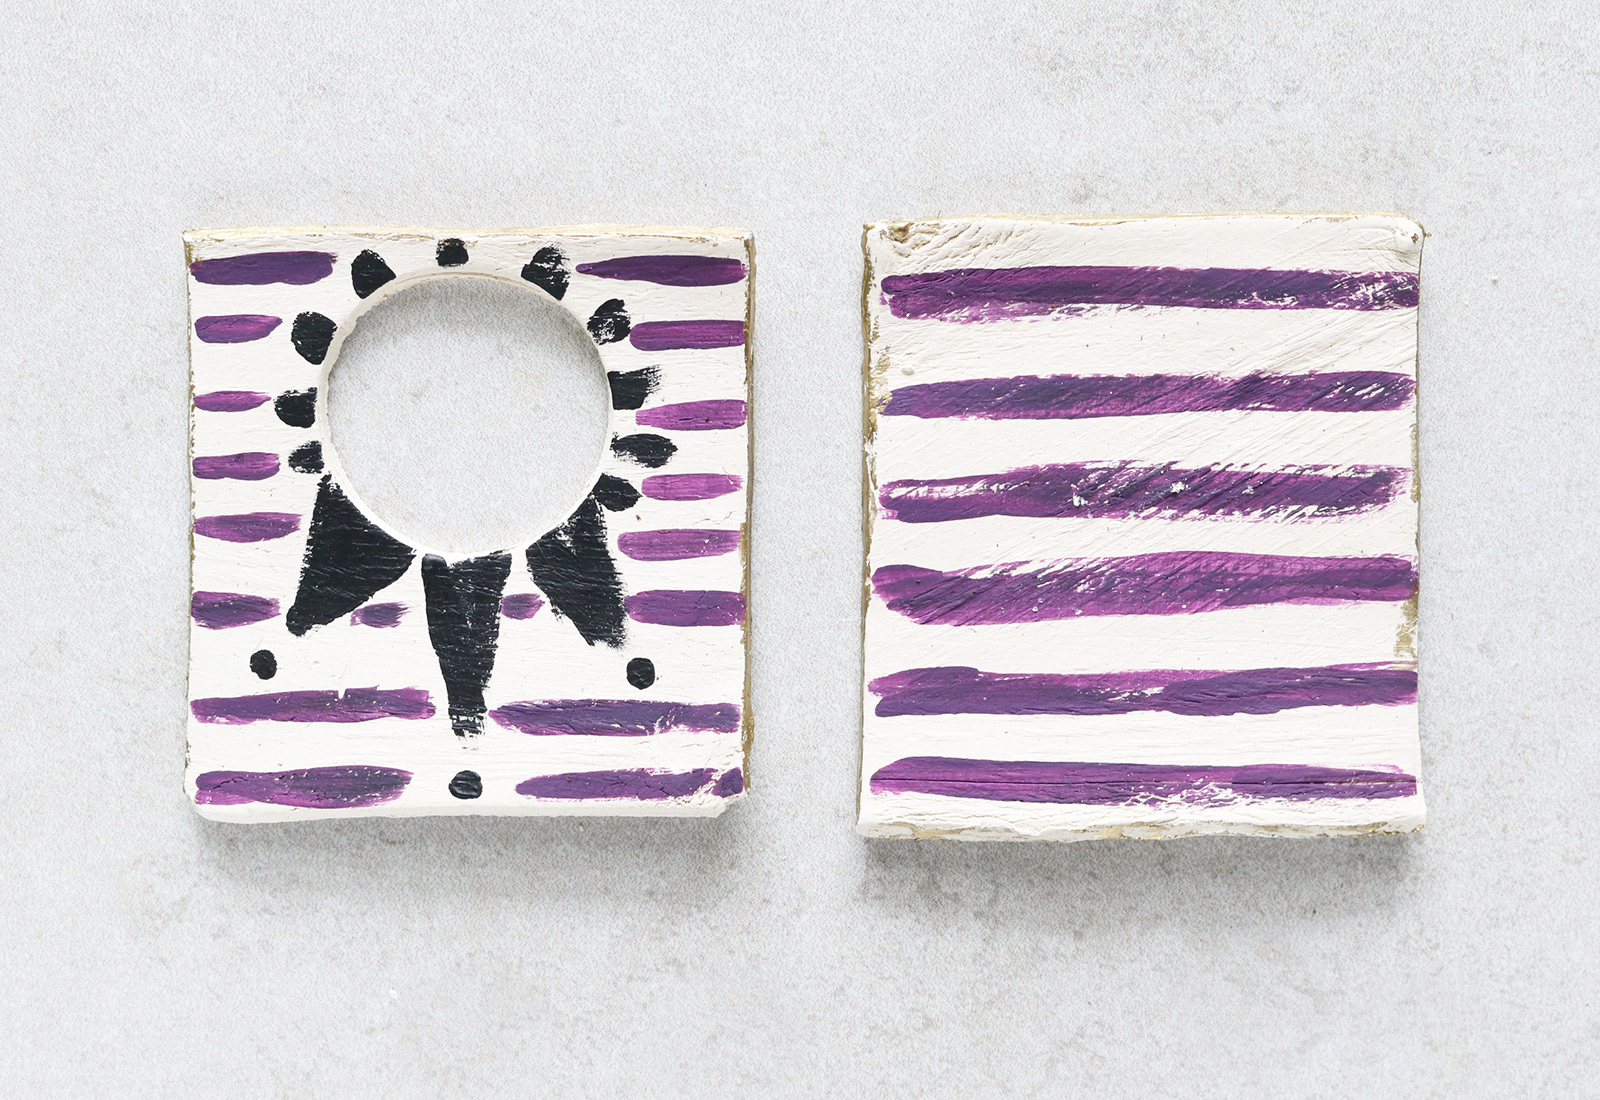
6. Once dry, paint a pattern or design of your preference. I purposely went for the artsy, uneven look. It suits the texture of the clay, which I love. Don’t be afraid to get creative!
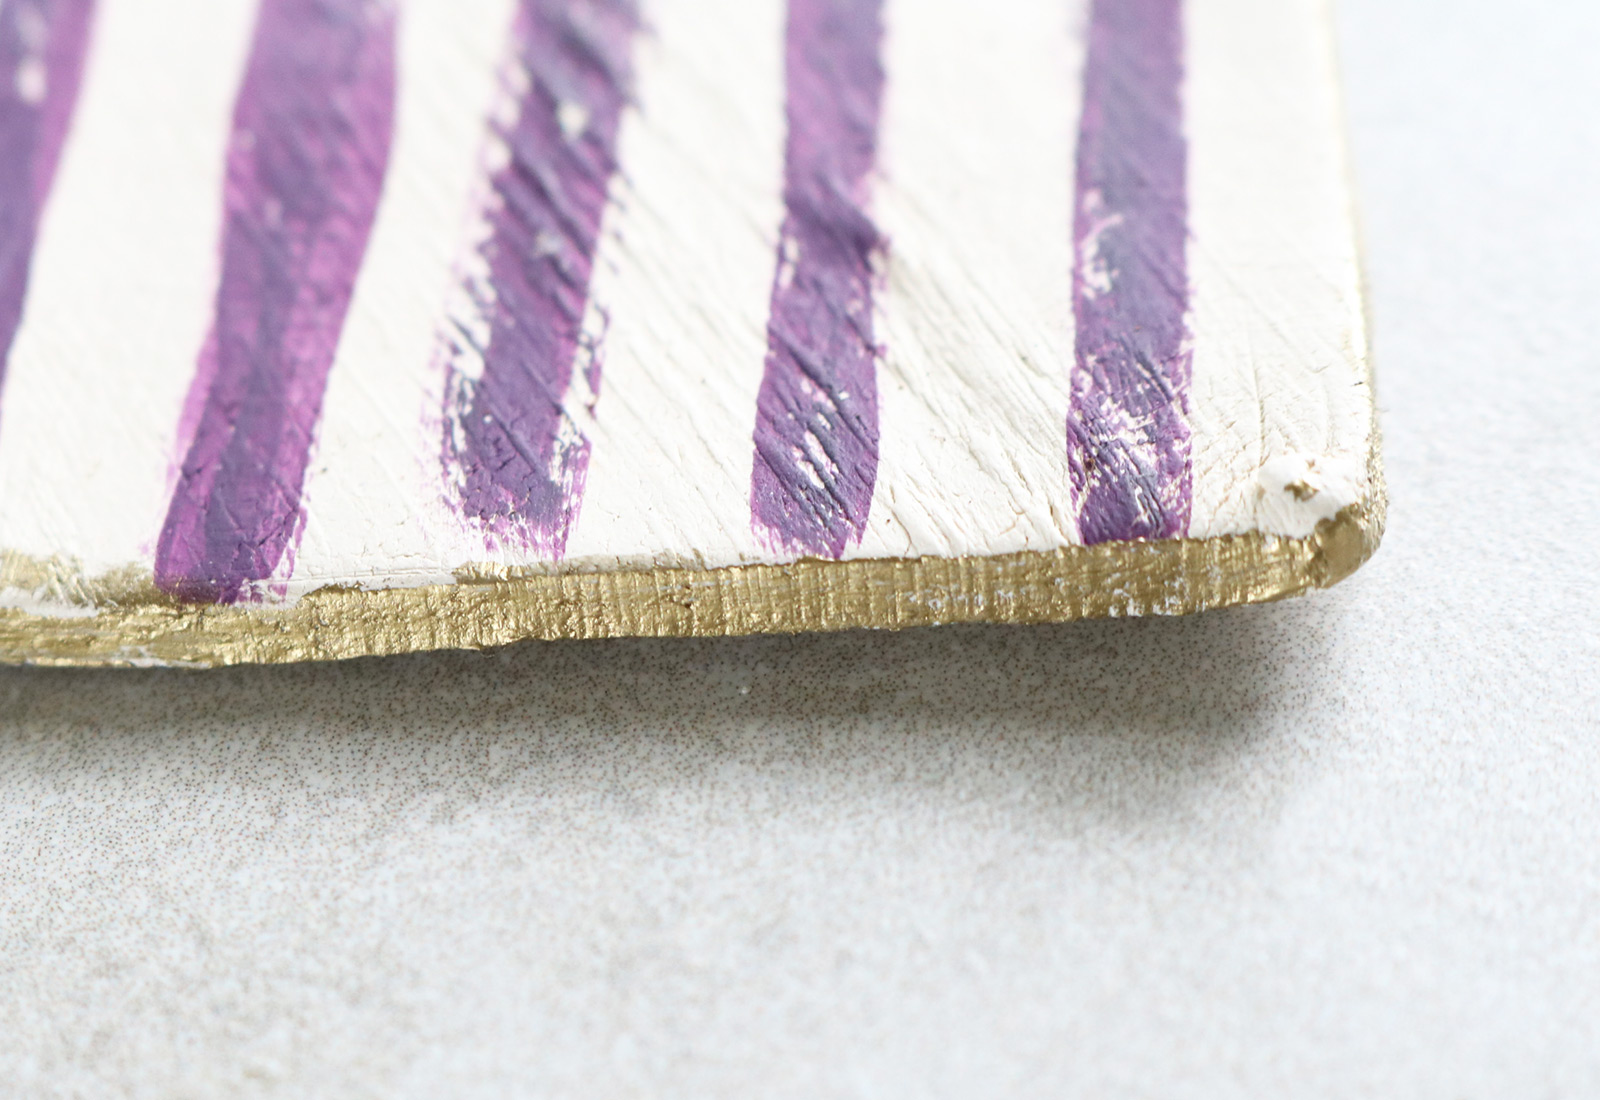
7. If you’d like, apply liquid gilding to the edges of each square. Leave to dry.
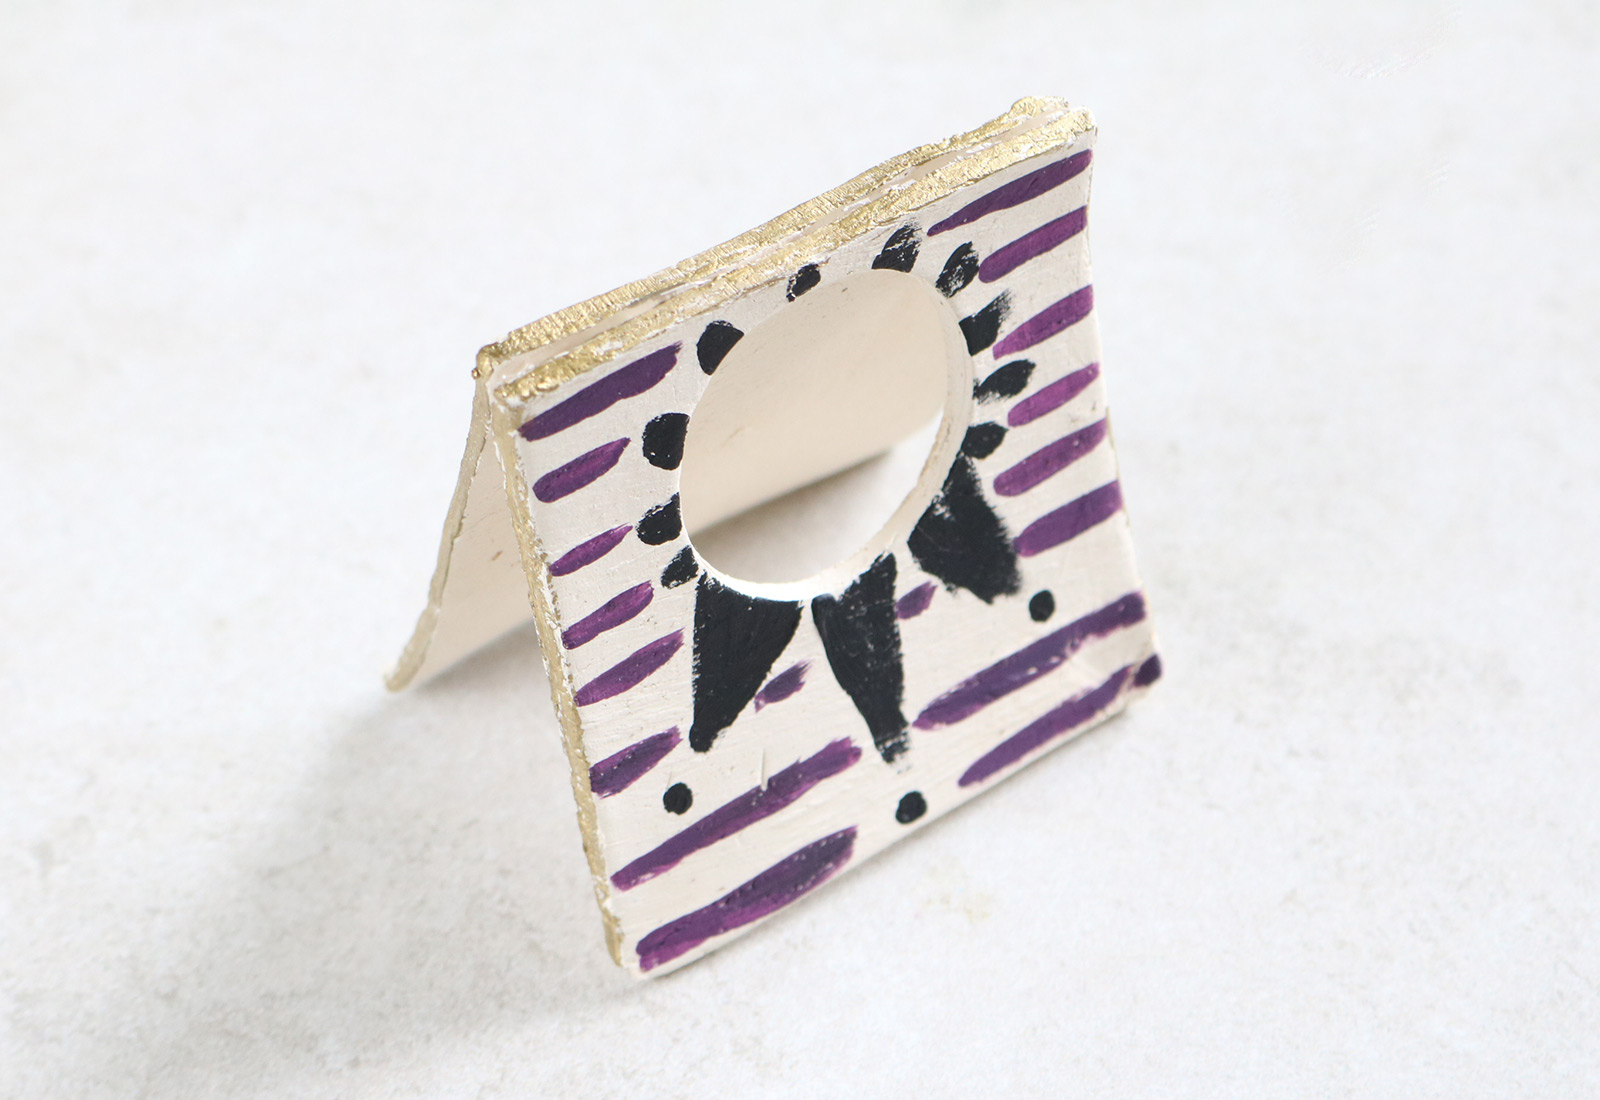
8. Glue the top edges together. I ended up using hot glue instead of E6000, but either one can work.
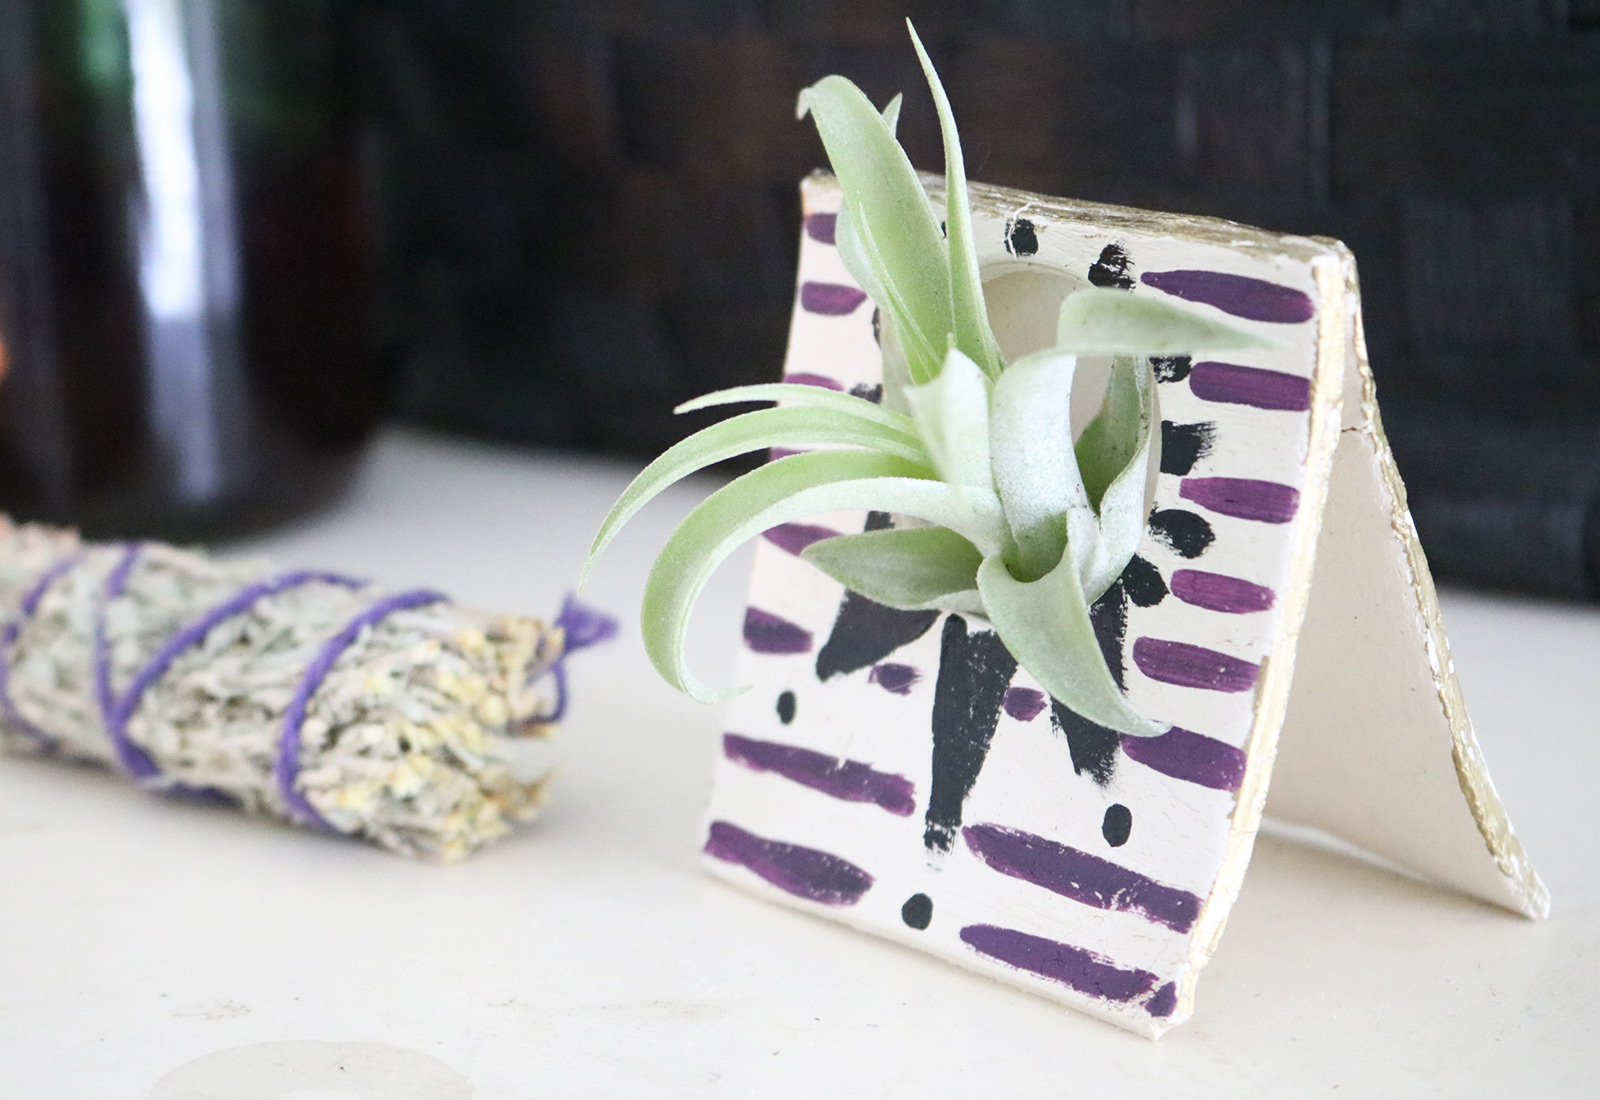
9. Add an air plant. So easy!
As always, this project has so much room for customization. Choose colors and patterns that match your existing decor. You can even make a set of these to display on a windowsill, bookshelf, or dresser. I’m obsessed.
PS: I purchased my Tillandsia from Etsy seller PlantInTheAir. 120% recommended.
xx, K