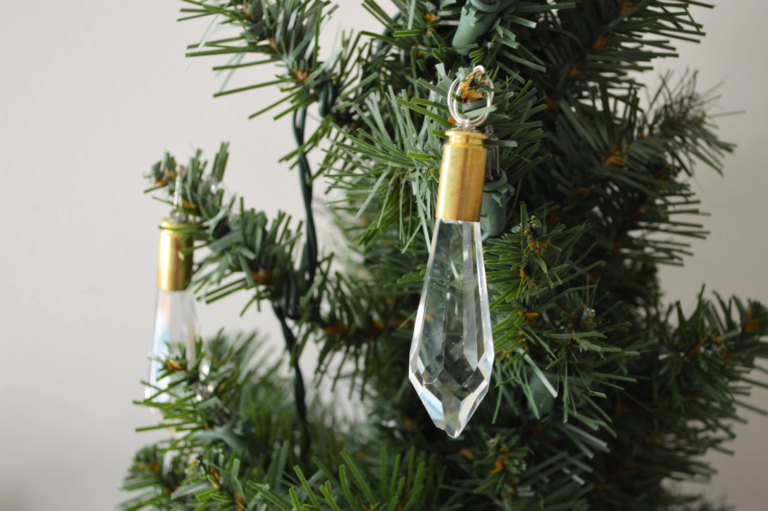
I’m such a sucker for anything unconventional. This is even true for my Christmas ornaments; no plain jane decor for this lady! In addition to the Pearl Snowflakes, I whipped up these ornaments using spent bullet shells and crystals from a vintage chandelier. I love the way the two elements compliment each other. See I how I made them, below:
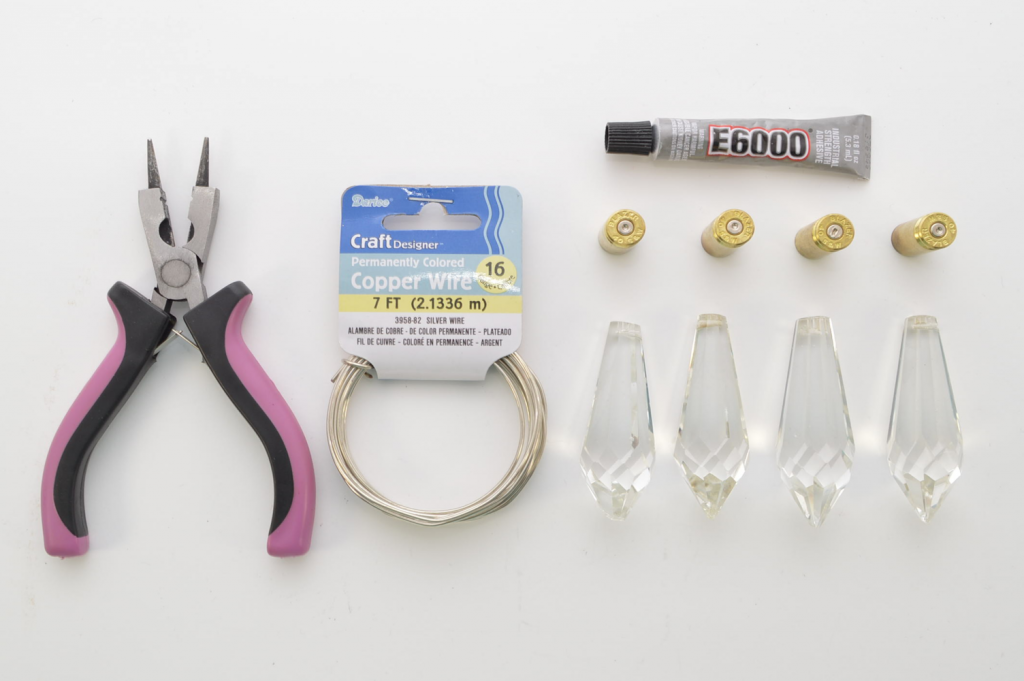


Supplies:
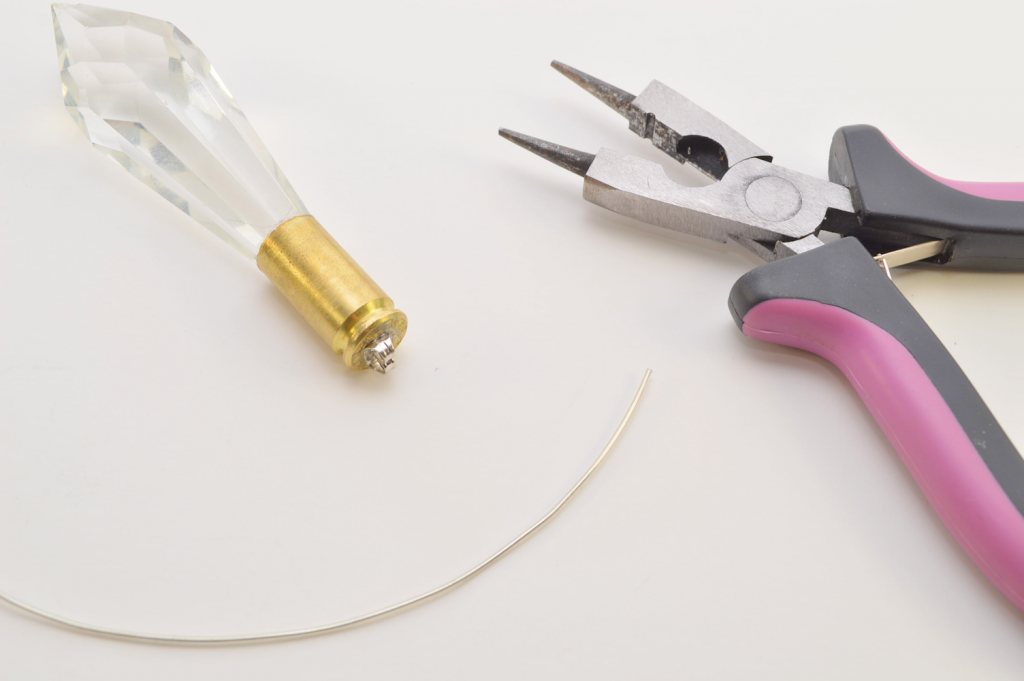
- 3-in-1 Jewelry Pliers
- Craft Wire (16 Gauge)
- Strong Craft Glue (I used E6000)
- .40 Caliber Spent Bullet Shells (I bought mine on Etsy)
- Crystal Chandelier Pieces
- Earring Stud Backings
It’s important to note that not all crystal chandelier pieces will be the same size (in terms of the width of the top portion), so you might end up bigger or smaller bullet shells. Don’t be afraid to message the seller to ask for width measurements! I have also found many, many chandelier pieces at flea markets for very cheap.

1) Add a healthy amount of glue to the inside of the bullet shell.

2) Insert the crystals into the shells. Leave them to dry, standing up.
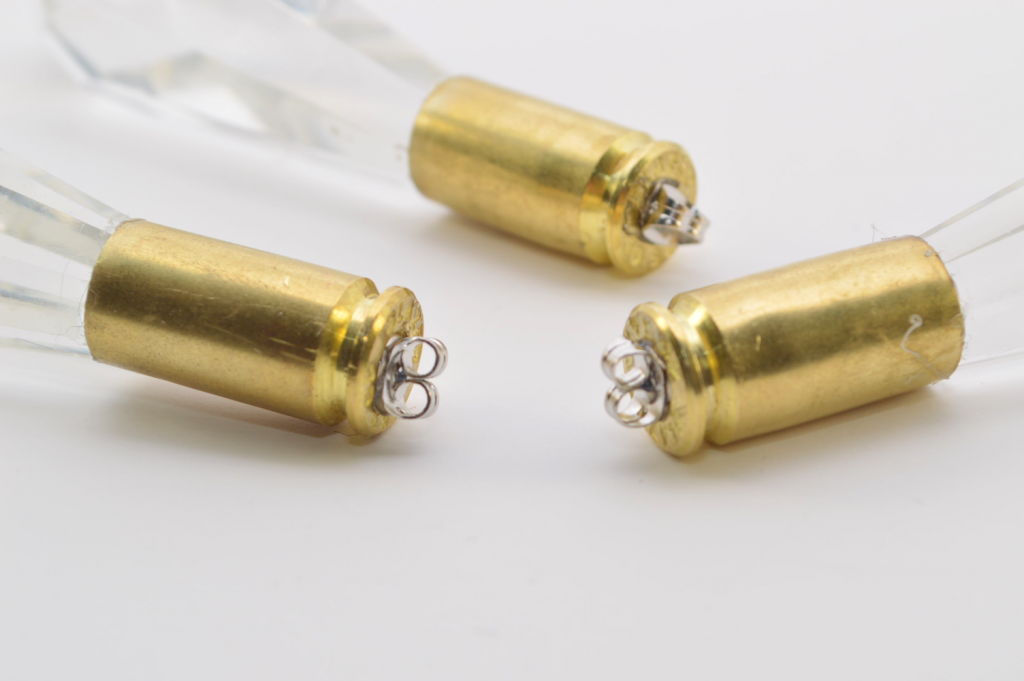
3) Glue an earring backing to the top of each shell. Let dry completely.
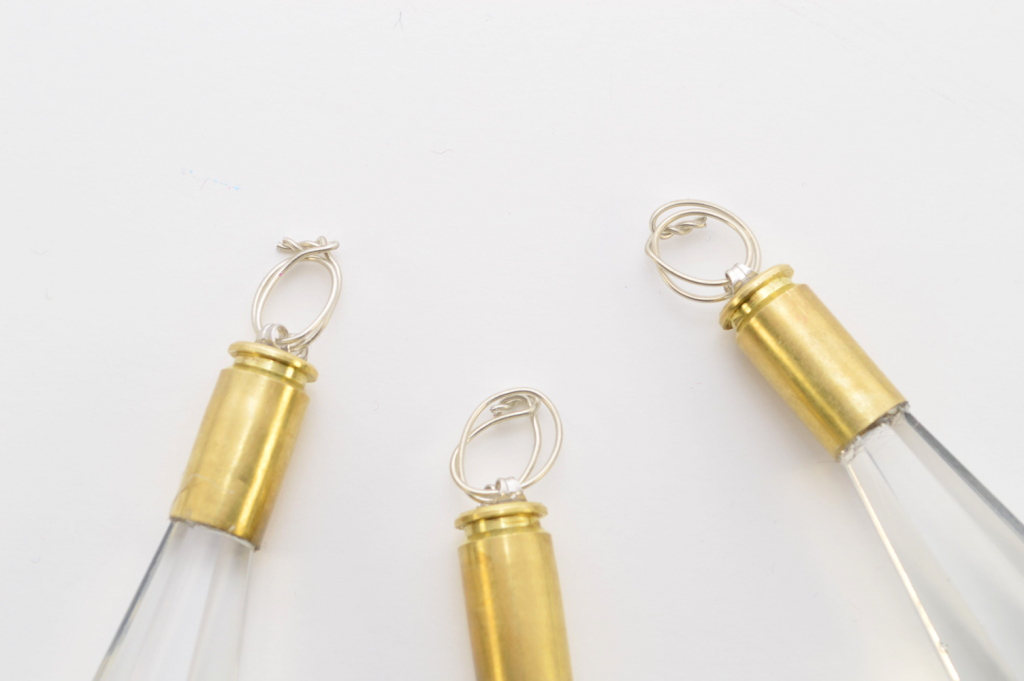
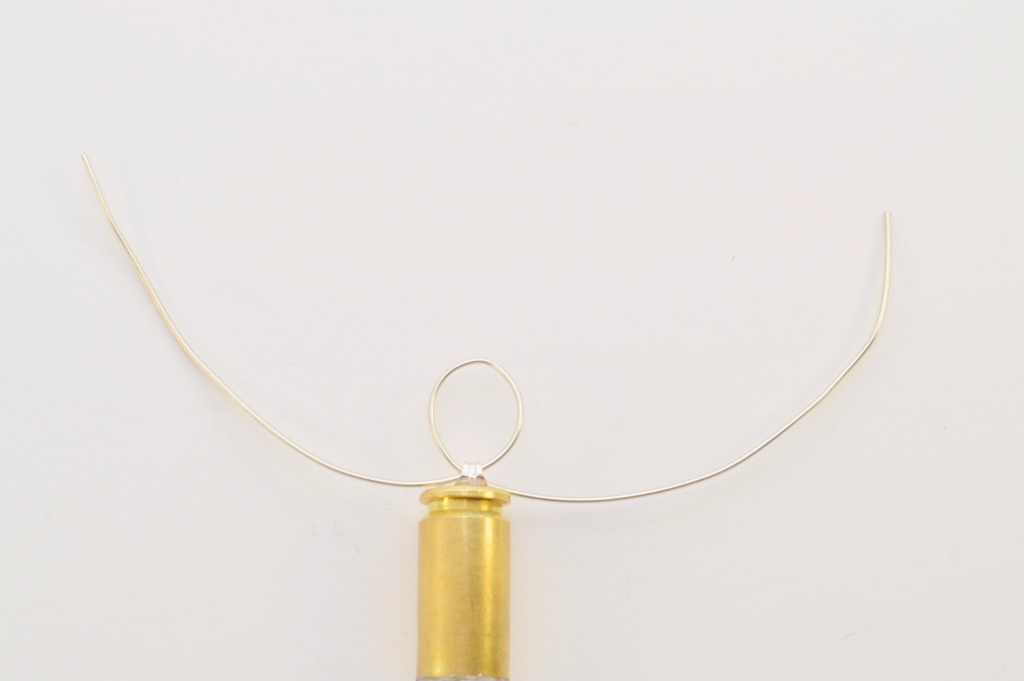
4) Cut a strand of wire measuring about 6 inches (15.24 centimeters).

5) Insert through one side of the earring backing.
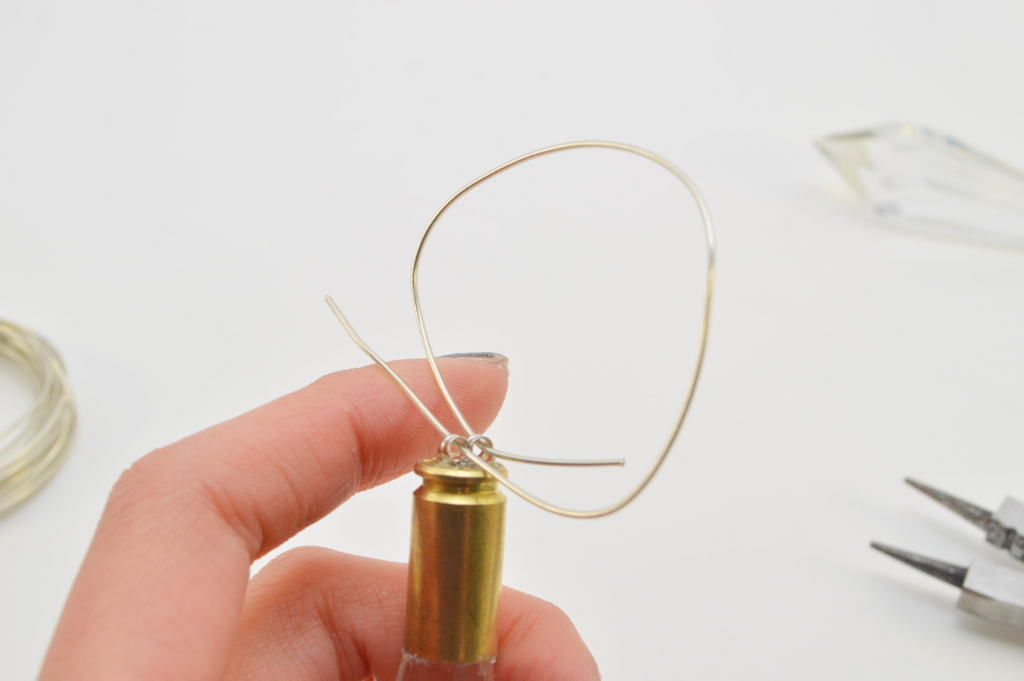
6) Take one end and bring it around and through the second hole, coming in at the opposite end that you started. You should now have the ends of the wire facing each side.
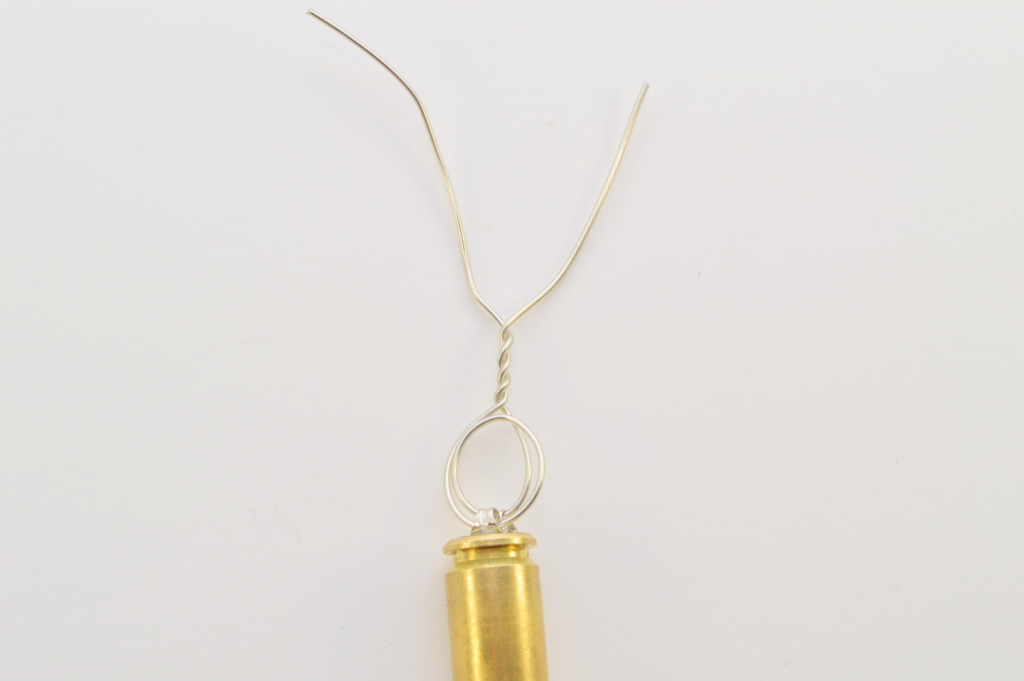

9) With the cutting portion of the pliers, trim the twisted wire, leaving about 3/4 inch (1.9 centimeters).