This time of the year is perfect for everything metallic, shiny, and glittery. I recently whipped up this skirt just in time for NYE, but I’ll probably be bringing it out for many dinner parties throughout the year. I’m in love with the liquid-y metal look of this jersey. Want to make it, too? Follow along, below!
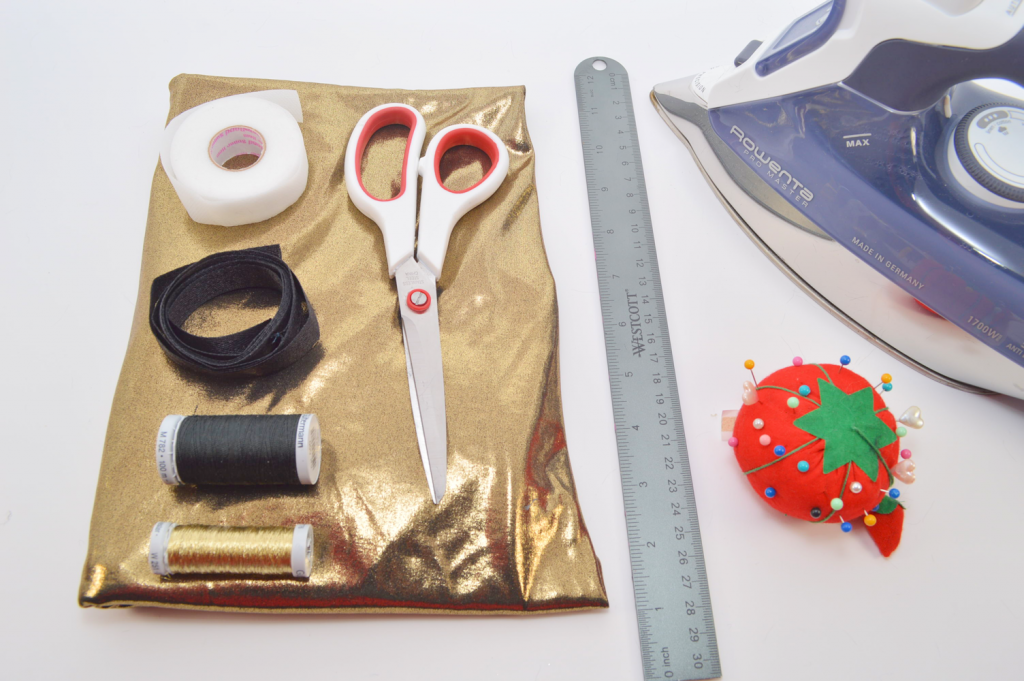
Supplies:
– Metallic Jersey*
– 5/8-inch Wide Fusible Webbing Tape (1 inch wide can be trimmed down)
– 5/8-inch Wide Grosgrain Ribbon
– Coordinating Thread(s)
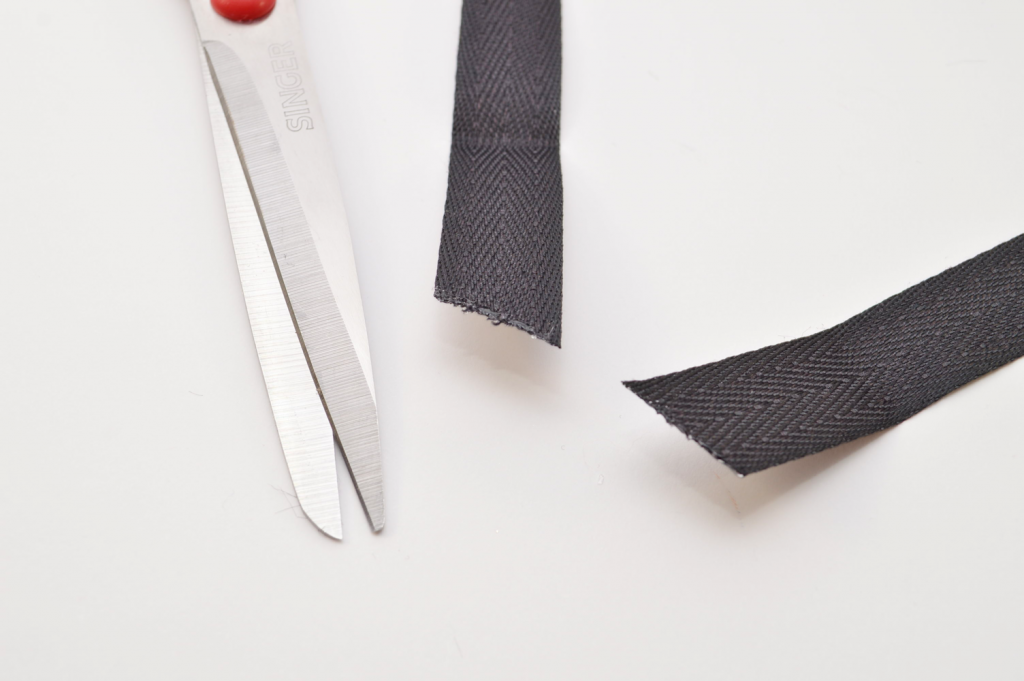
– Fabric Scissors
– Measuring Tape/Ruler
– Straight Pins & Hand Sewing Needle
– Iron
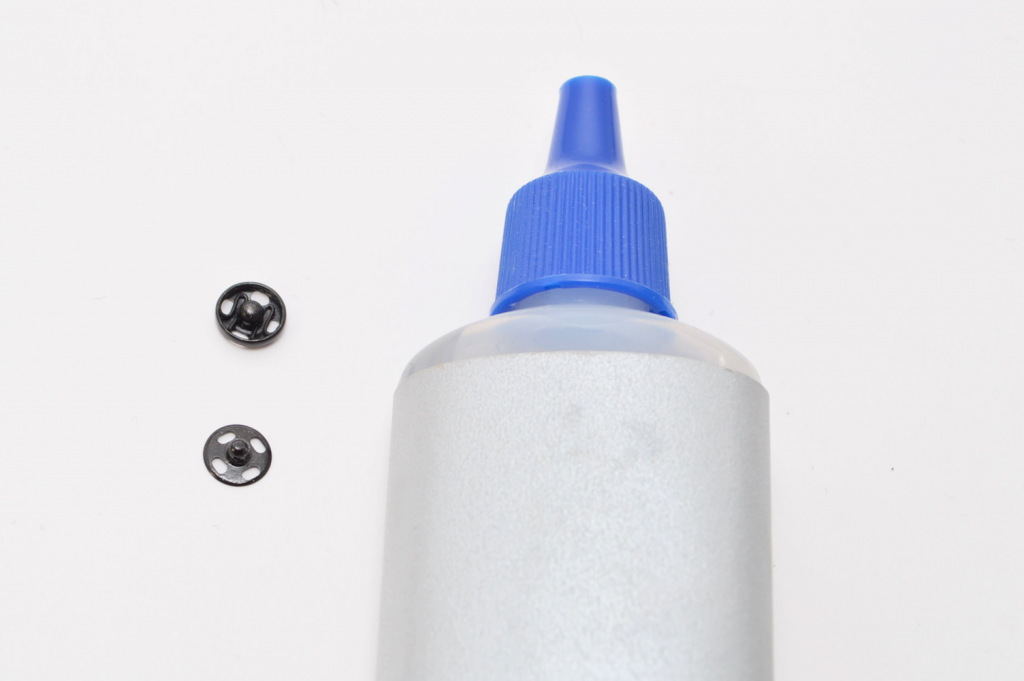
– Sew-On Snap Fasteners (or a pair of hook & eye closures)
– Liquid Seam Sealant (such as Fray Check) or Clear Nail Polish
– Sewing Machine
* Width: Your waist measurement + 15 inches / Height: Up to you!
The extra 15 inches takes into account 5 pleats.
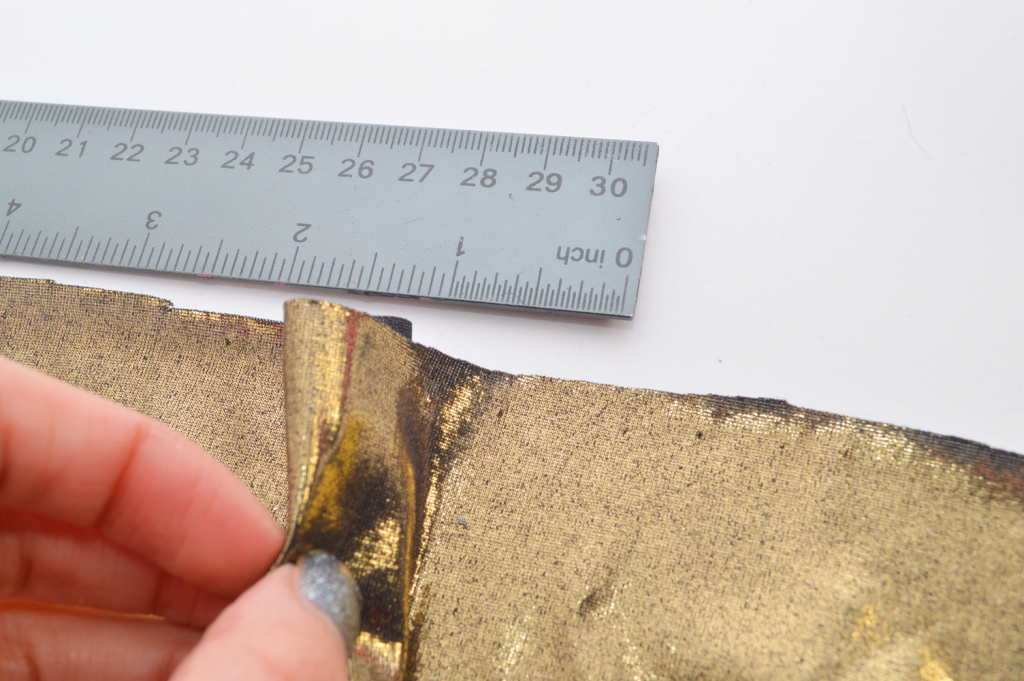
1) Choose a spot to start your pleats. This is totally up to you – keep in mind that the horizontal edges will be the slit in your maxi, so you can place your pleats accordingly.
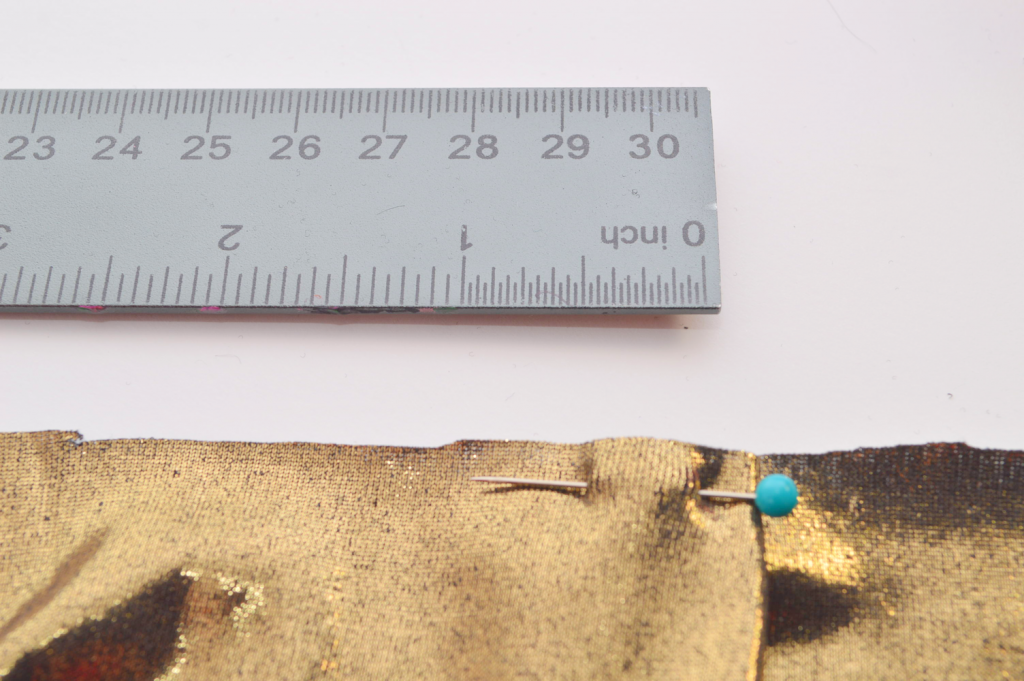
Create a fold 1 inch wide (2.54 centimeters). Essentially, you’re taking a 2 inch section and pinching it so that there is 1 inch on either side.
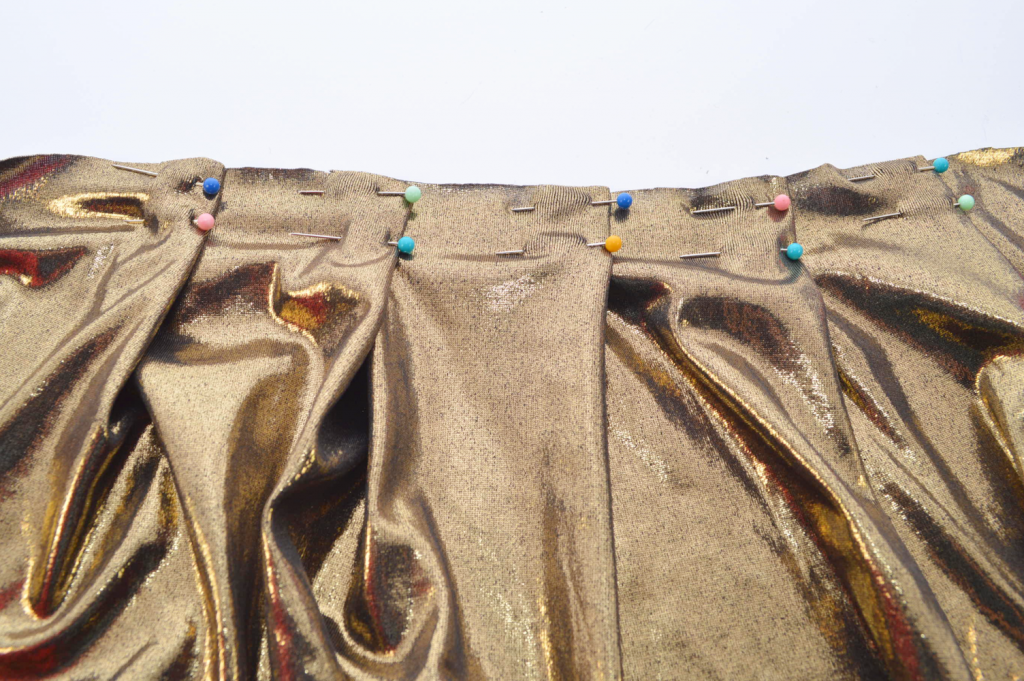
2) Lay flat and pin in place.
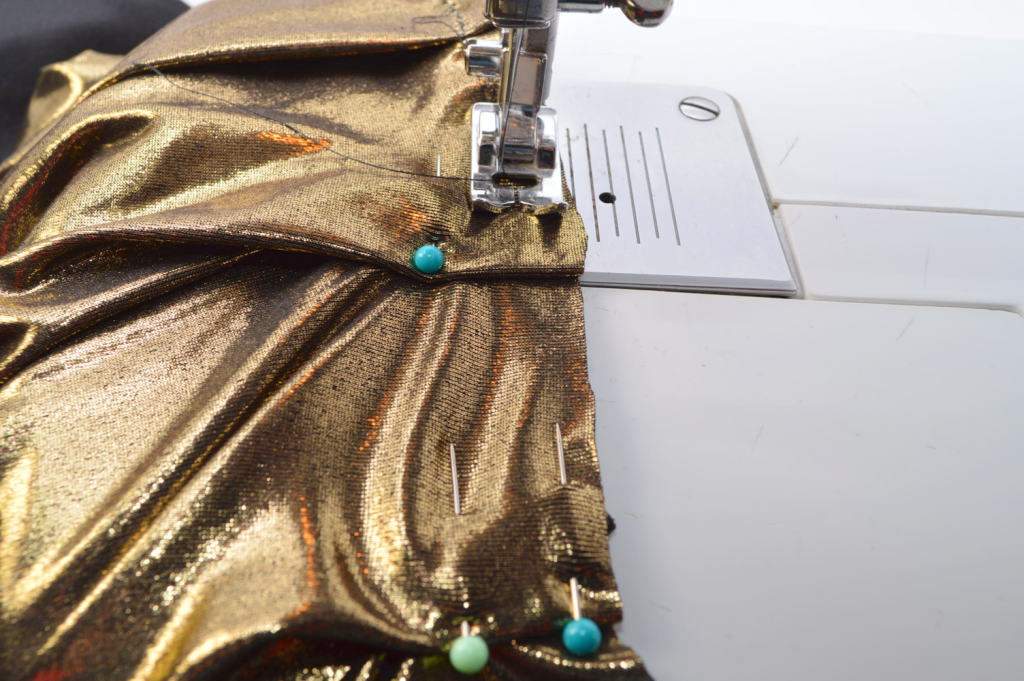
4) Sew the pleats in place. The stitching will be eventually covered, so it doesn’t really matter which thread you use.

5) Trim a strand of fusible webbing tape measuring the width of of your skirt so far (laying down), minus 8 inches. This will allow for the skirt to be overlapped for the wrapped look; you’ll see this part later on.

6) Cut a strand of ribbon measuring the width of your skirt (laying down) plus 45 inches. You can always trim this down later if it’s too long.
Lay the ribbon on top of the fusible webbing tape.
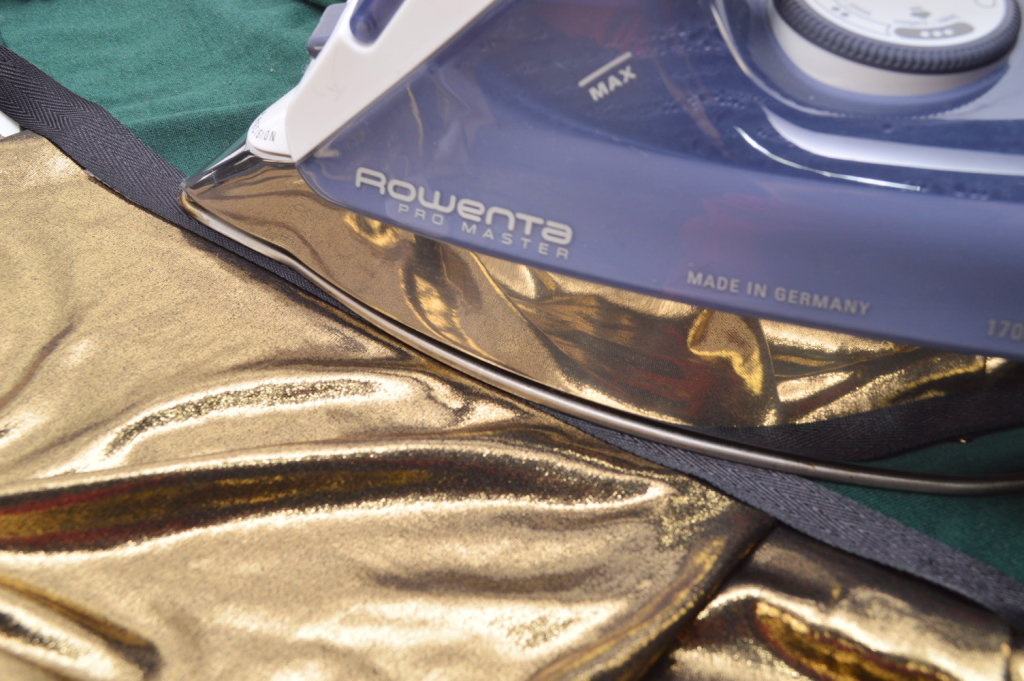
7) Carefully apply the iron onto the ribbon, working in intervals. I’d recommend keeping the iron away from the metallic jersey, as heat might destroy the shiny finish (and your iron!). I worked on top of an old t-shirt so that the majority of the iron’s surface wouldn’t touch the metallic jersey.
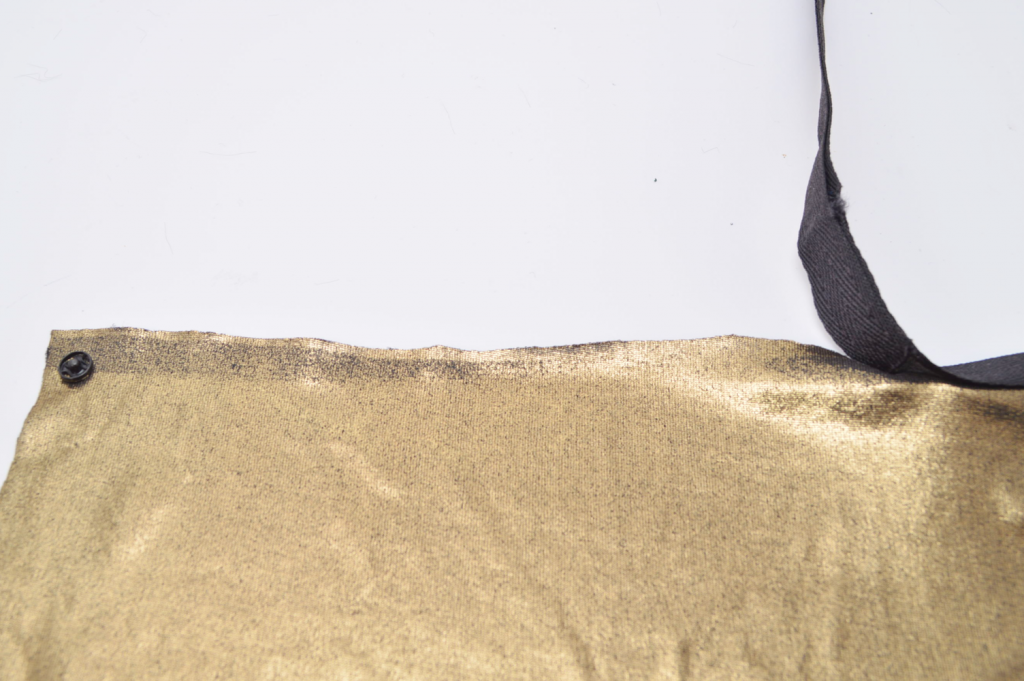

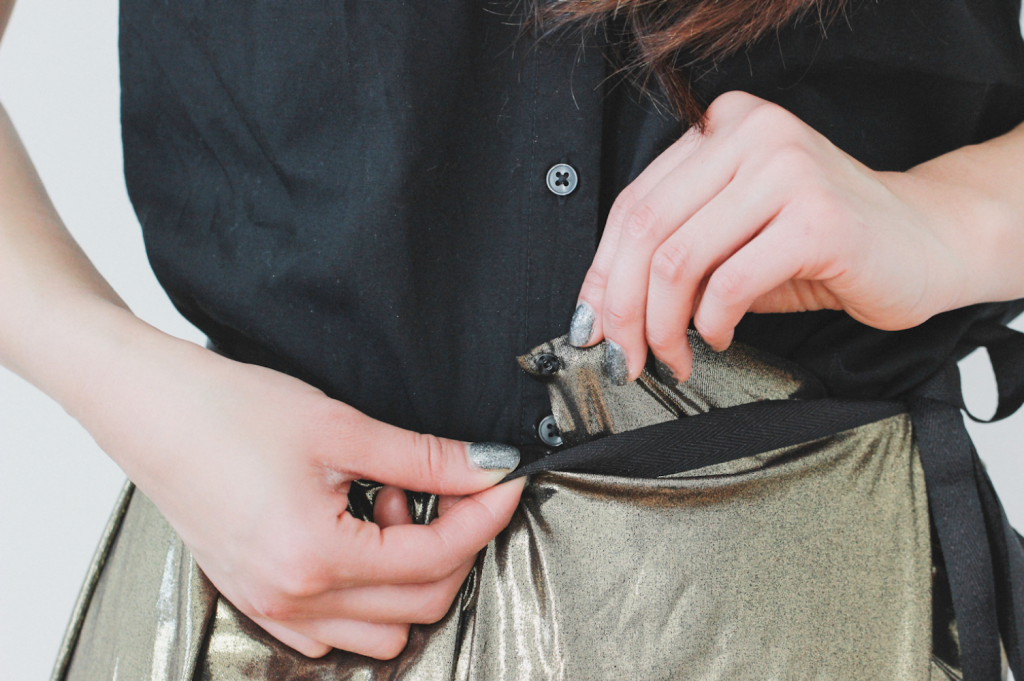
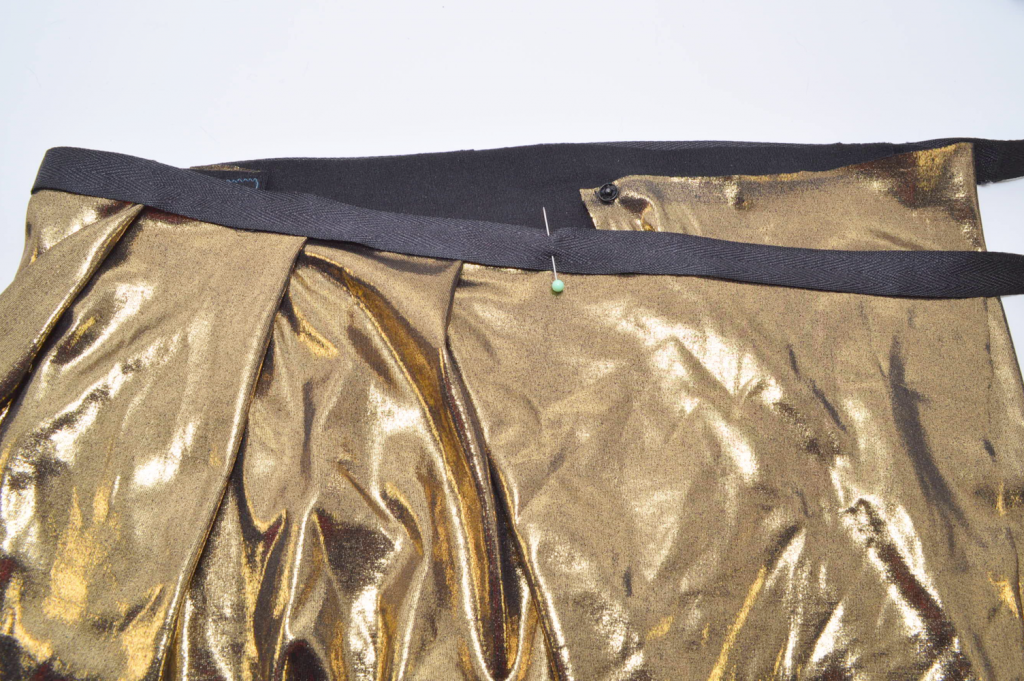
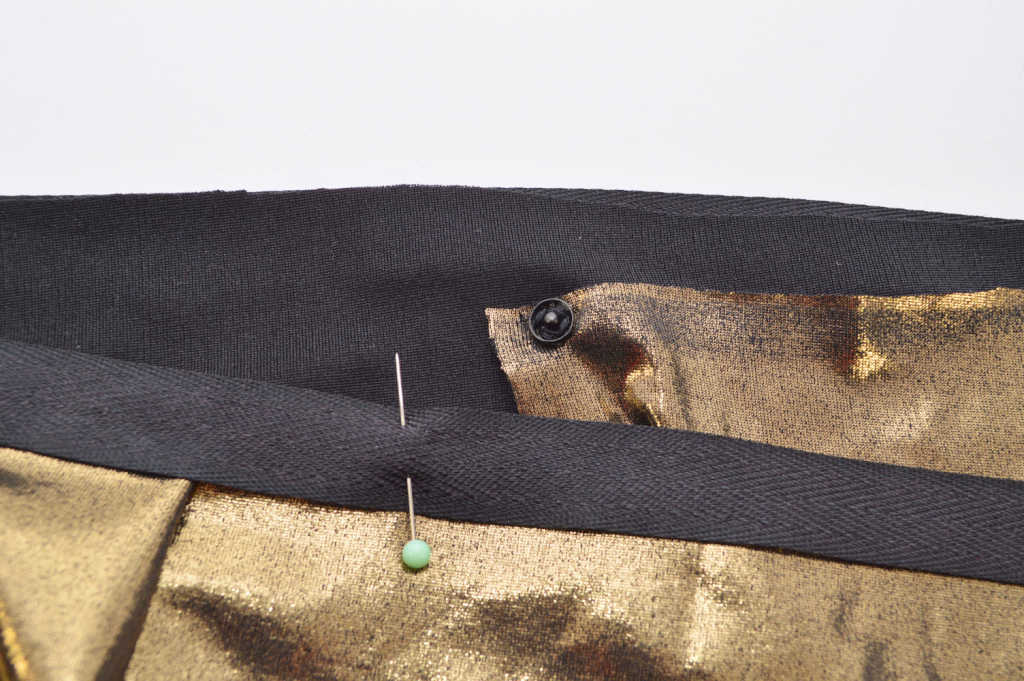
10) I added a straight pin to save the spot. Stitch the other half of the snap fastener closure, along the underside of the ribbon/fabric.