
When I was younger, I used to adore Hello Kitty. Today, I might be (almost) in my mid-20’s, but I still love her just as much. It’s one of those things that keeps life fun and cute…especially when you have to start growing up. We all know gets life super stressful sometimes, so I think it’s always nice to have something not-so-serious around. (This is coming from a girl who takes notes for graduate classes in bright green gel pens. Might as well make it fun!).
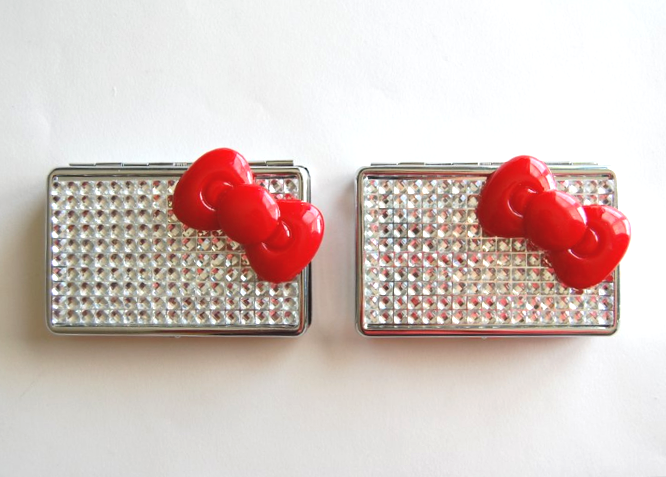
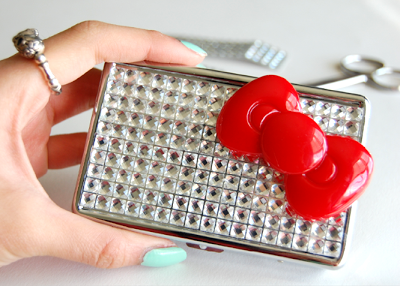
I recently made an ID case, inspired by Hello Kitty. I kind of like that it isn’t exactly Hello Kitty, but her bow is iconic enough to stand on its own. It was inspired by this card holder by Swarosvki:

Photo Credit: Swarovski.com, $195
Of course, my version wasn’t made out of Swarovski crystals. I spent less than $10 to make this…much less than the original! Check out how I made it below:


Supplies:
– Large plastic flatbacked bow*
– Plain ID case
(…or an ID case with a decal that can be removed, like mine.)
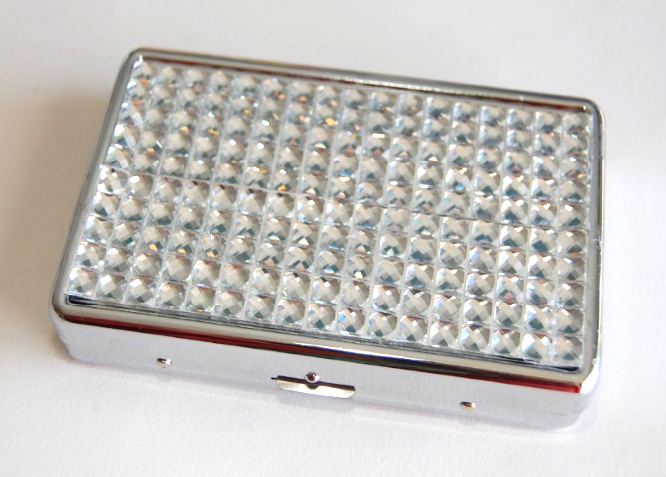
– Rhinestone trim
– Super glue/E6000
– Scissors and jewelry pliers
– Rhinestone flat gem (optional)
*I bought mine from Etsy. It’s about 2 inches wide. You can also use an actual ribbon bow, or an applique.
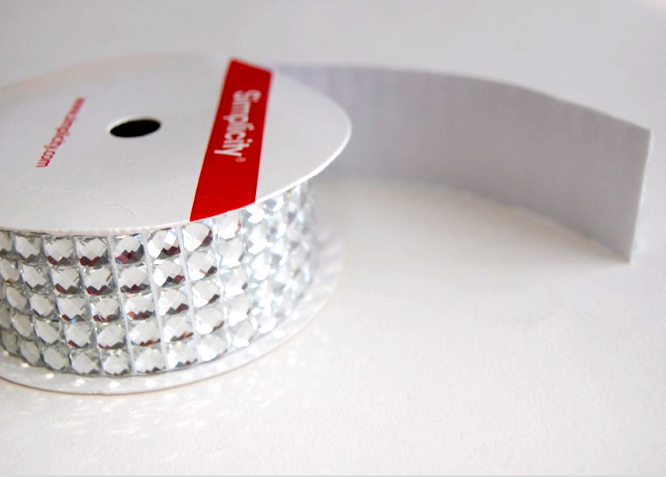
The rhinestone trim I used was from Michael’s. It was fairly inexpensive – a couple of dollars – and even has adhesive on the back. It’s essentially like one long sticker. Of course, it’s up to you if you’d like to spend a little extra and buy really nice, more expensive rhinestone trim. There’s a lot of options at fabric and trimming stores, like MJtrim.com!
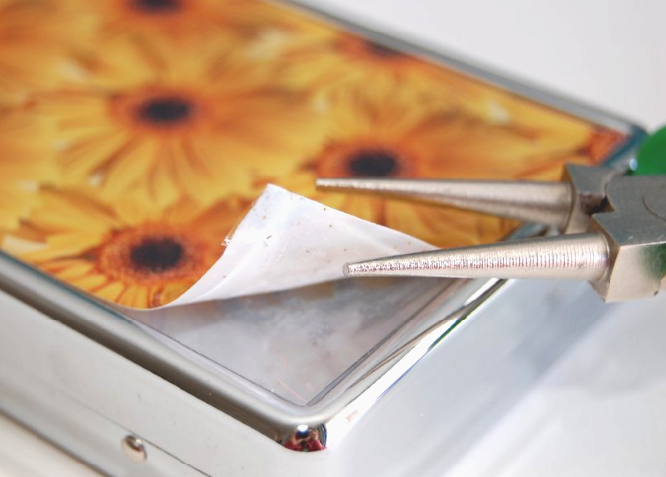
Using the pliers, I lifted up a corner of the decal and carefully peeled it off. If your ID case is just a flat surface, then you can just skip to the next step.

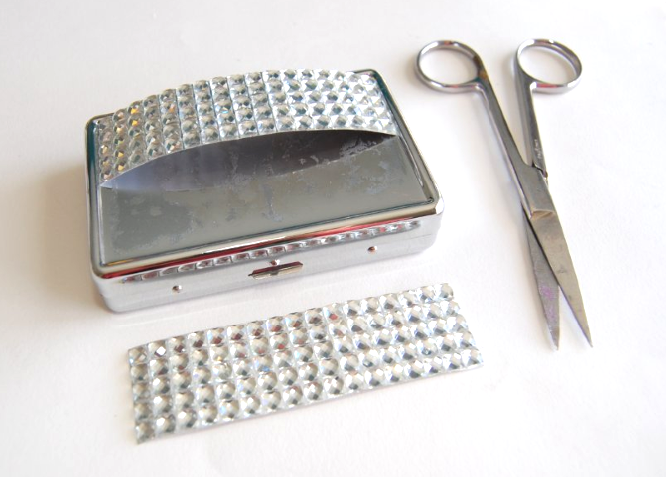
2) I cut the rhinestone trim to fit into the width of the ID case. Because the trim is fairly wide (1.25 inches), two strips was just enough. Each strip was about 3.25 inches long. Obviously, this might differ depending on the width of your trim.

4) Next, I glued on the bow, then let it dry overnight.