
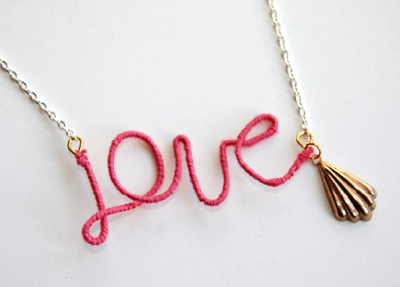


I opted for a charm instead of a tassel, but you can obviously use whatever you’d like. Check out how I made it below!
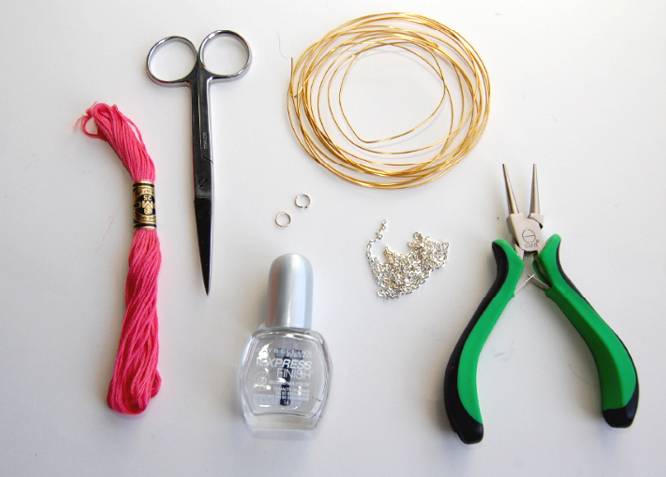
Supplies:
– Craft wire (I used 24 gauge)
– Embroidery thread, one skein
– Scissors
– Round nosed jewelry pliers
– Chain (length is up to you)
– Clear nail polish (you’ll use this in more than one way!)
– Jump rings and jewelry clasp (optional)
– Charm or tassel (optional, not shown)
– Ruler (not shown)

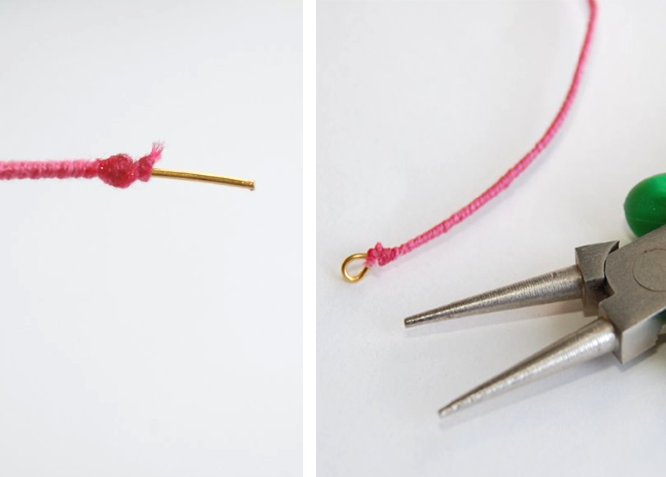
1) Cut a length of wire. About 10 or so inches should be enough. Using the round nosed jewelry pliers, create a loop at one end of the wire.

2) Keeping the skein of thread in tact/in the packaging (this makes it easier to work with), tightly tie the thread near the loop you just made. Triple or quadruple tie it for extra security.

3) Begin tightly wrapping the thread around the wire. I found that it was easier to do this if you hold the entire skein of thread in one hand while wrapping. Be sure to wrap the thread as tight as possible.

4) Continue wrapping the thread, until you’ve reached about 9 (or so) inches of wrapped wire.

5) Tightly triple or quadruple knot the thread.

6) Cut off the excess thread, and secure the knot with clear nail polish. Let dry.
7) Cut off the excess wire, leaving about half an inch. Use the pliers to create a loop, just like you did earlier.

8) Go back to the end that you started with, and cut off the excess thread. Secure with clear nail polish and let dry.

9) Start creating the “L” at one end. Bend the wire to the left, like the first picture above. Wrap the wire back over to the right, around the pliers as shown above. This will create the bottom portion of the L.

10) To make the “O”, wrap the wire around the cap of the nail polish bottle. This will help guide the general shape. Remove the bottle and mold the “O” as you wish.
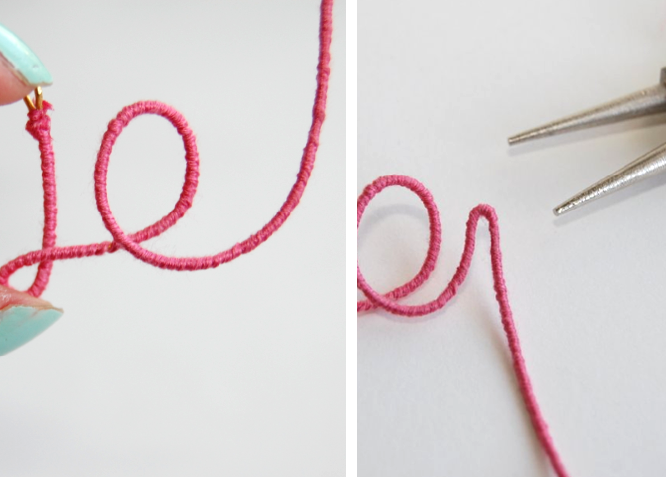
11) After you’re done with the “O”, make the sure the wire is bending up, like the first picture above. Sharply bend it back down to begin the “V”. Tighten the sharp bend by squeezing it with the pliers.

12) Bend the wire back up, then horizontally. This will create the “V”.

13) Wrap the wire around and over the pliers for the “e”.

14) Bend the wire back up to complete the last letter.


15) Attach the chain to both ends. You can either use jump rings, or simply open up the loops with the pliers. You can also attach the chain to one end of the pendant, so that it hangs differently. It’s totally up to you.
16) Attach a charm or tassel, if you’d like. I decided to add a vintage gold charm.
Pretty easy! With some practice and playing around, you can create other words as well. Each one for a lot less than $48, as well.


