
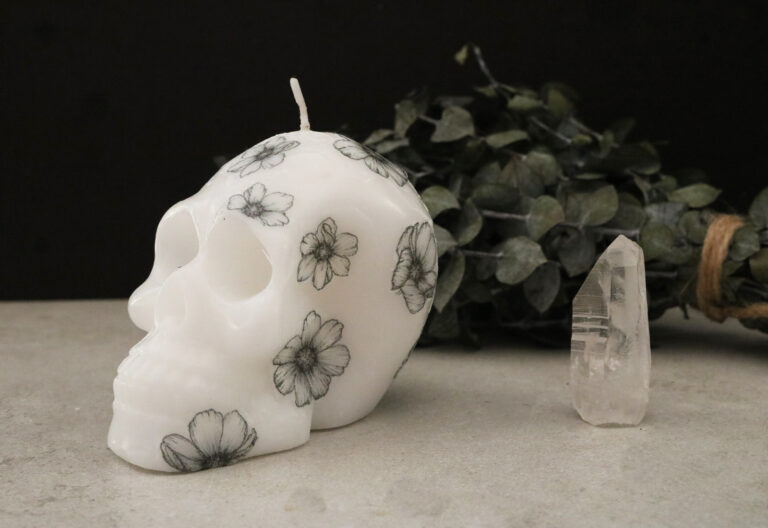
When you’re mildly obsessed with skulls, Halloween season is like a field day. In my mind, it’s prime time to stock up on Halloween year-round decorations for the apartment. I mean, from where I’m sitting at my desk, I can spot at least 8 of them around my apartment. And that’s not even counting what’s in the kitchen area, bathroom, and in my craft supplies. So for my latest project, I took a past photo candle DIY for a spin and applied it to a skull candle I’ve had for a few years. But this time? I used flower motifs, because you can’t go wrong with spooky florals. The combination is basically a dream come true. Here’s how to make a floral skull candle.
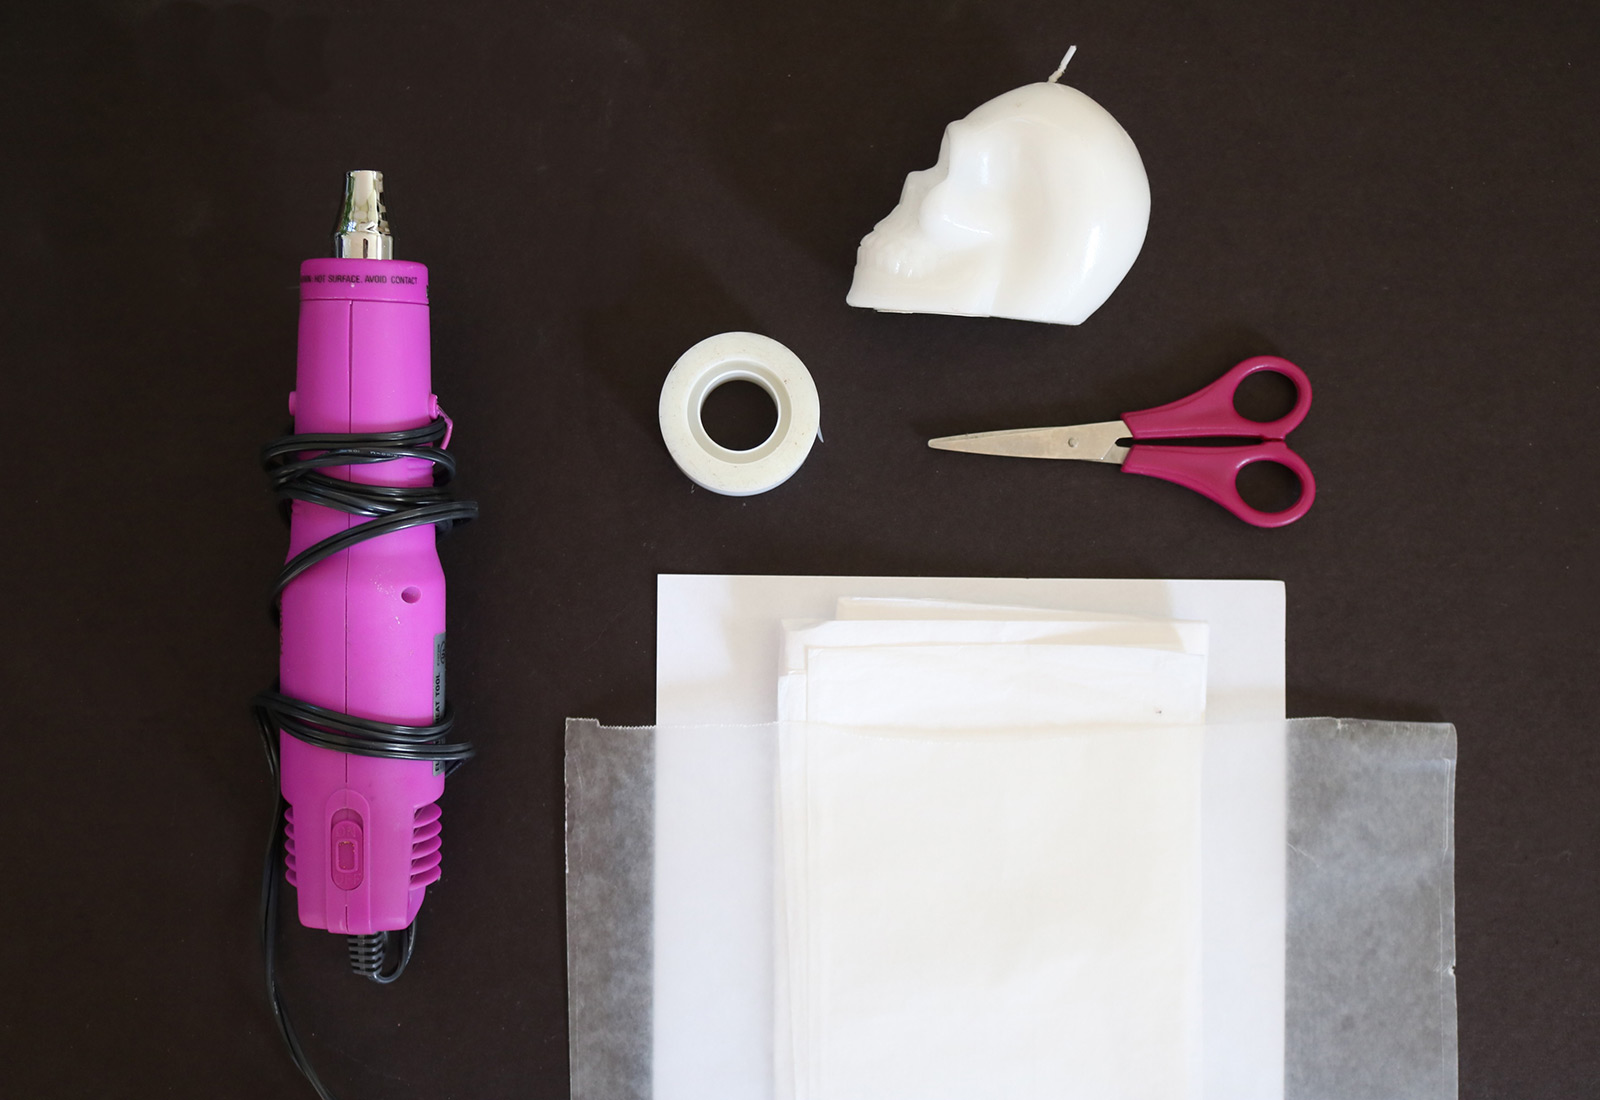
Supplies:
- Heat gun
- White skull candle (Craft stores are full of them right now)
- Scotch tape
- Scissors
- Printer paper
- White tissue paper
- Wax paper
- Printer
Before starting, prep a Word document of flower images of your choice. Center the images so you can be sure that it won’t run off the edges of the tissue paper. (Google and Pinterest are your friends, but remember that this project is for personal use only!) Re-size the images according to your preference and size of candle. For this project, I printed out 1-inch wide flowers for a — skull.
Important Note:
Because of the heat gun, the candle won’t keep its smooth and even surface. Keep this in mind before making this project. I like the uneven and rough surface (and it’s honestly hard to notice), but this is a personal preference.
Additionally, this project requires you to pay close attention. Be extra careful with your fingers. The wax on these decorative candles will likely heat and cool very fast, so it’ll be OK to touch if you need to smooth down images. I included a few safety tips below.
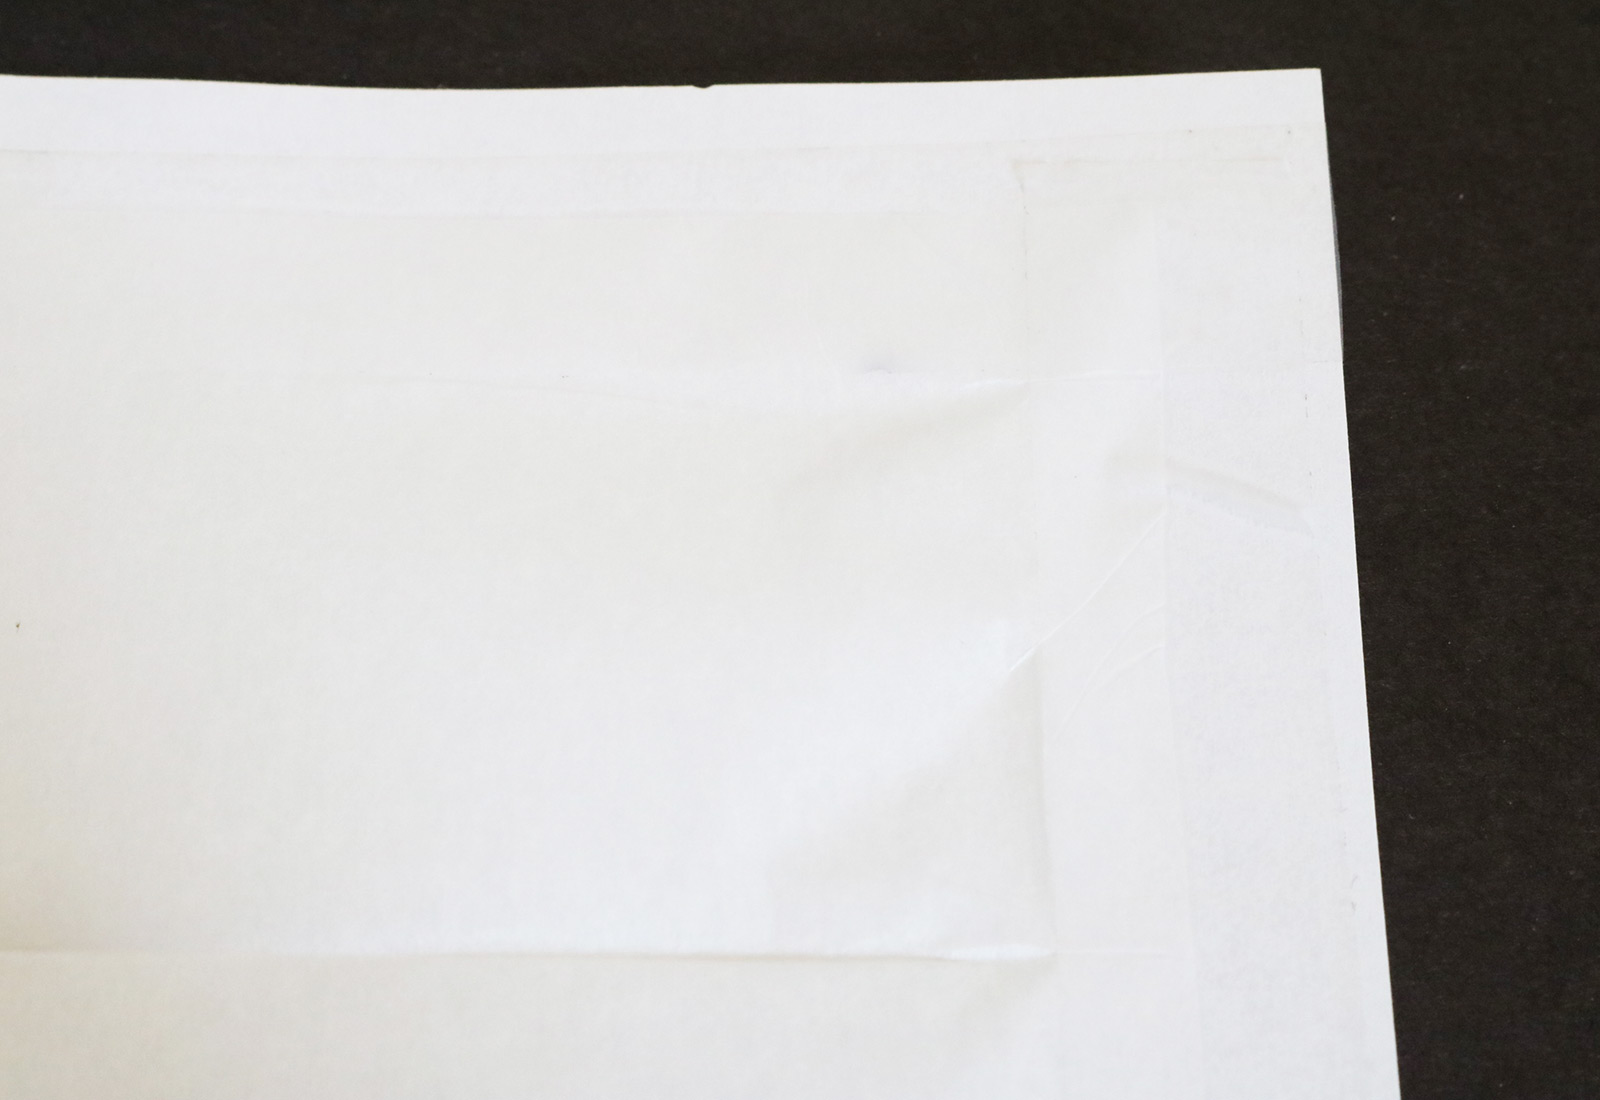
1. Cut a segment of white tissue paper that’s smaller than the sheet of printer paper. About 1 inch less on each side works perfectly.
Tape all four sides down, keeping the tissue paper as flat as possible. Firmly smooth out the tape to make sure no edges are bent or creased. Otherwise, it’ll snag in your printer.
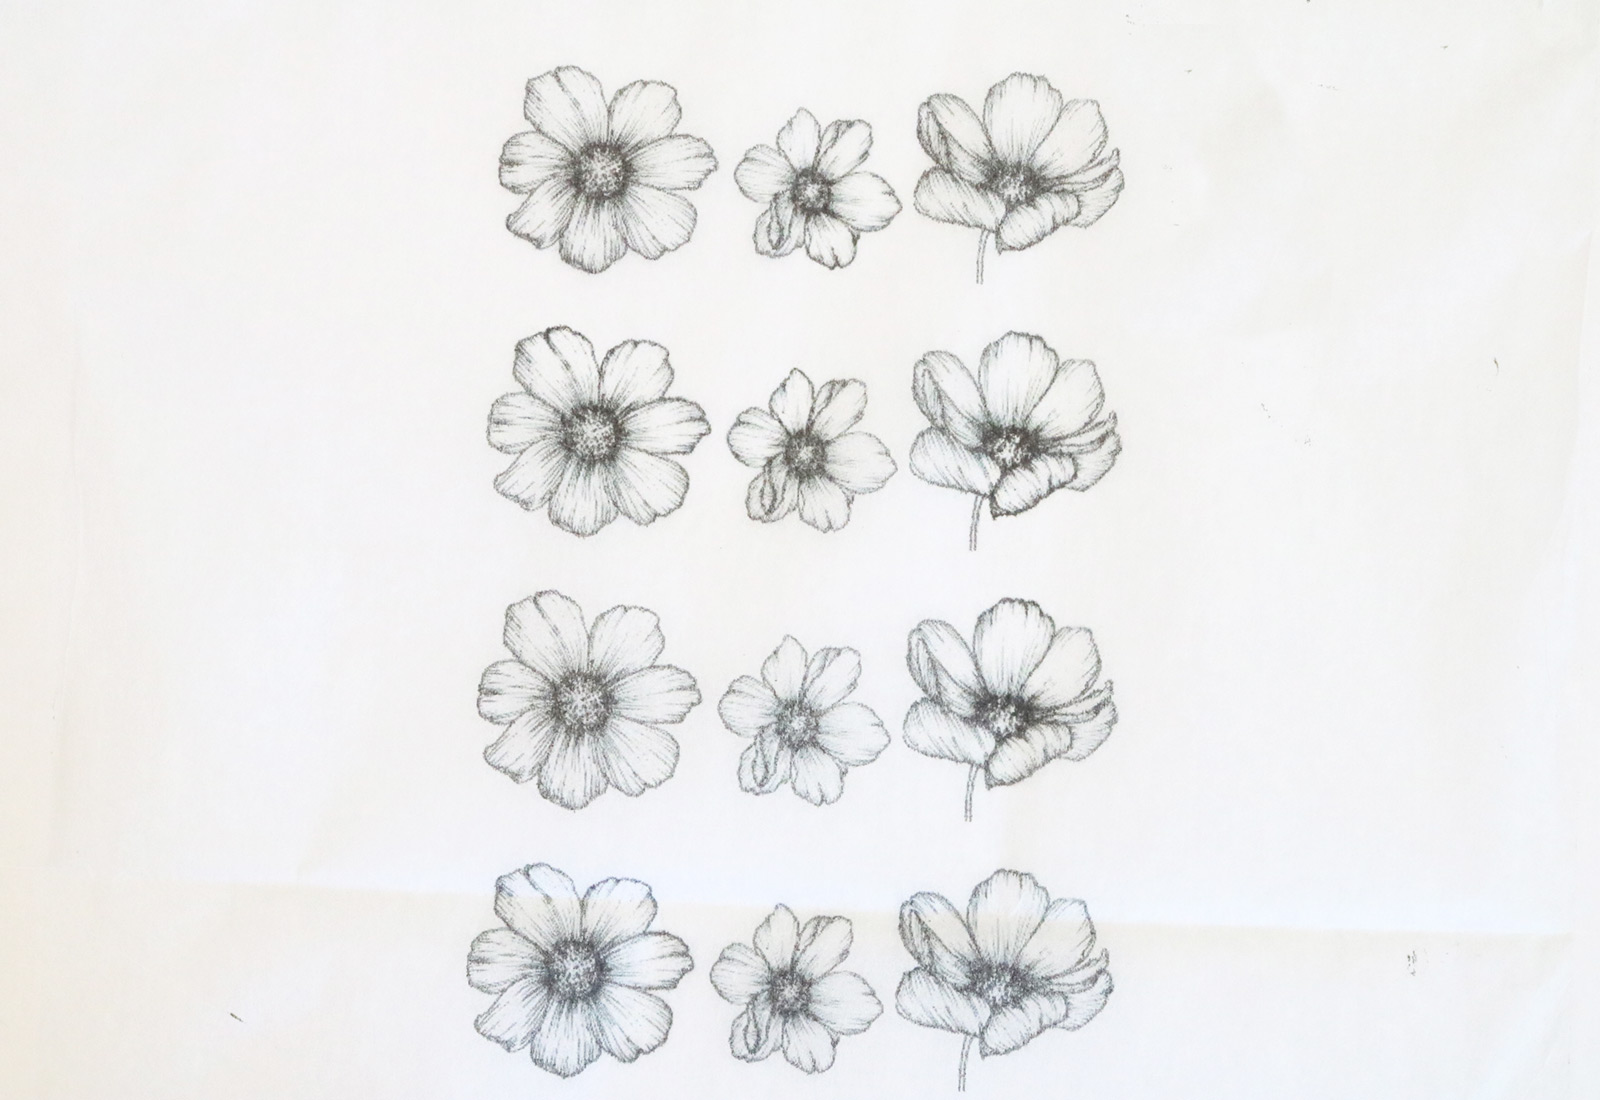
2. Print the flower images. If you’d like, do a test run on a plain sheet of paper before printing the real thing.
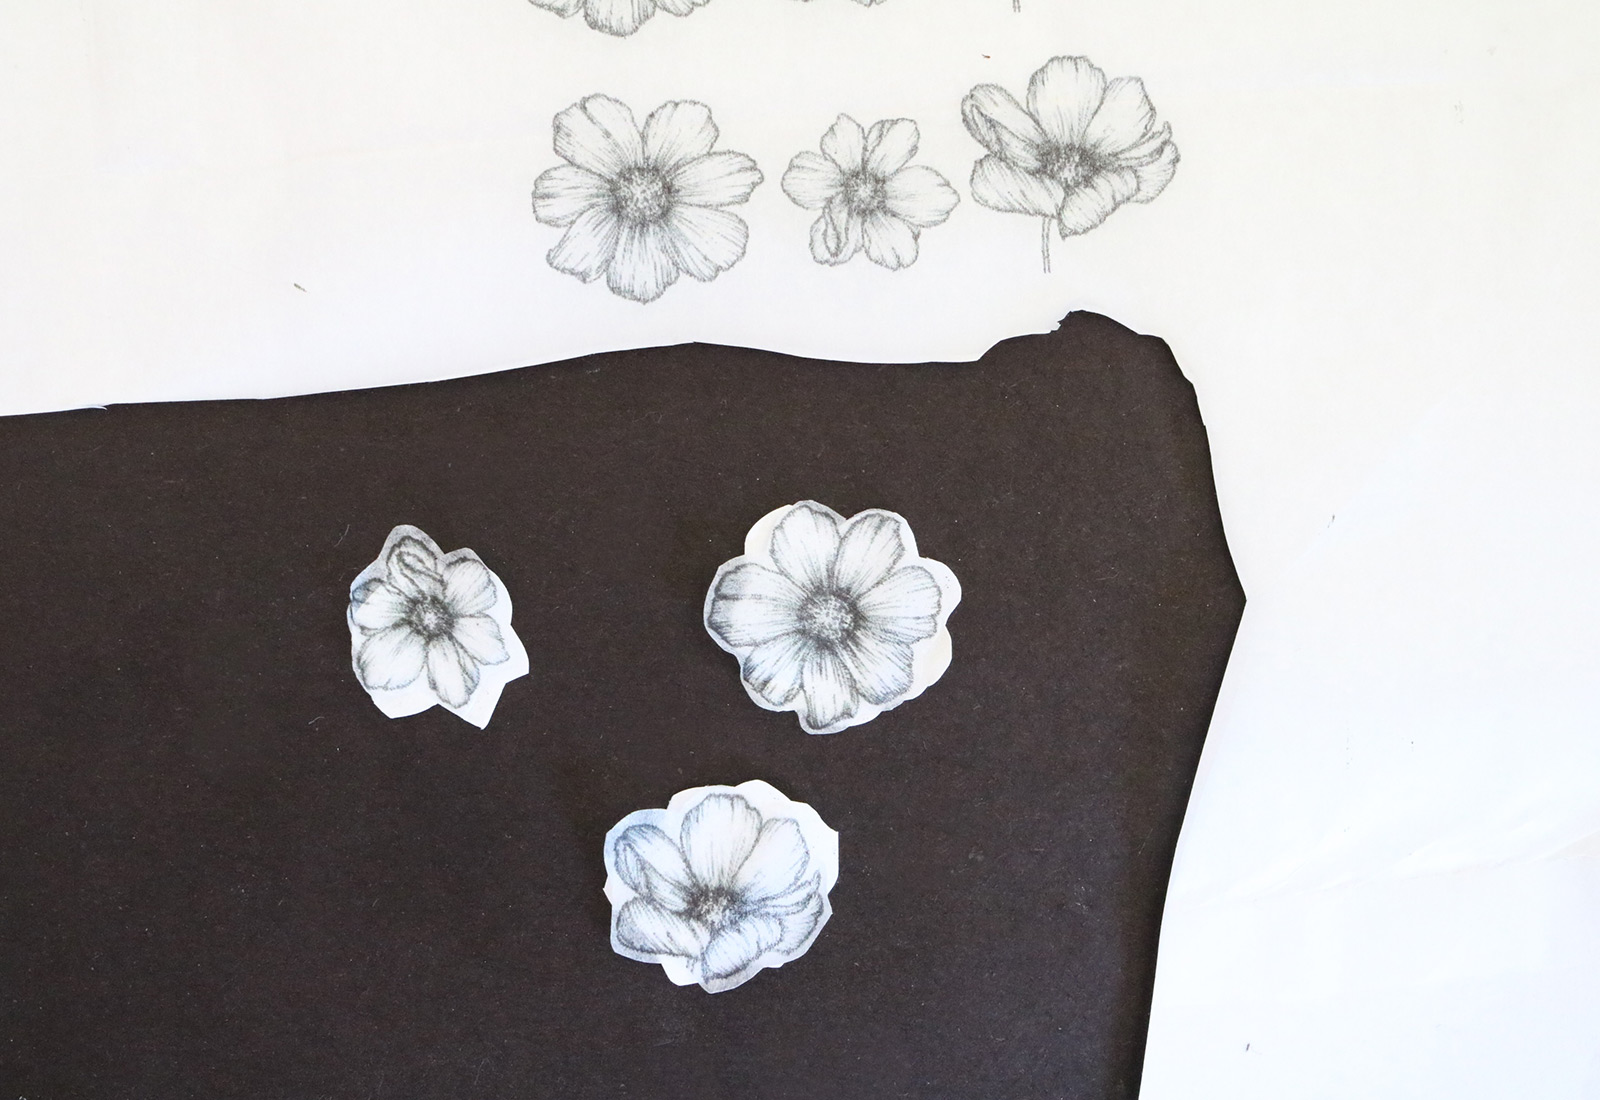
3. Cut out each flower, straight through both layers.
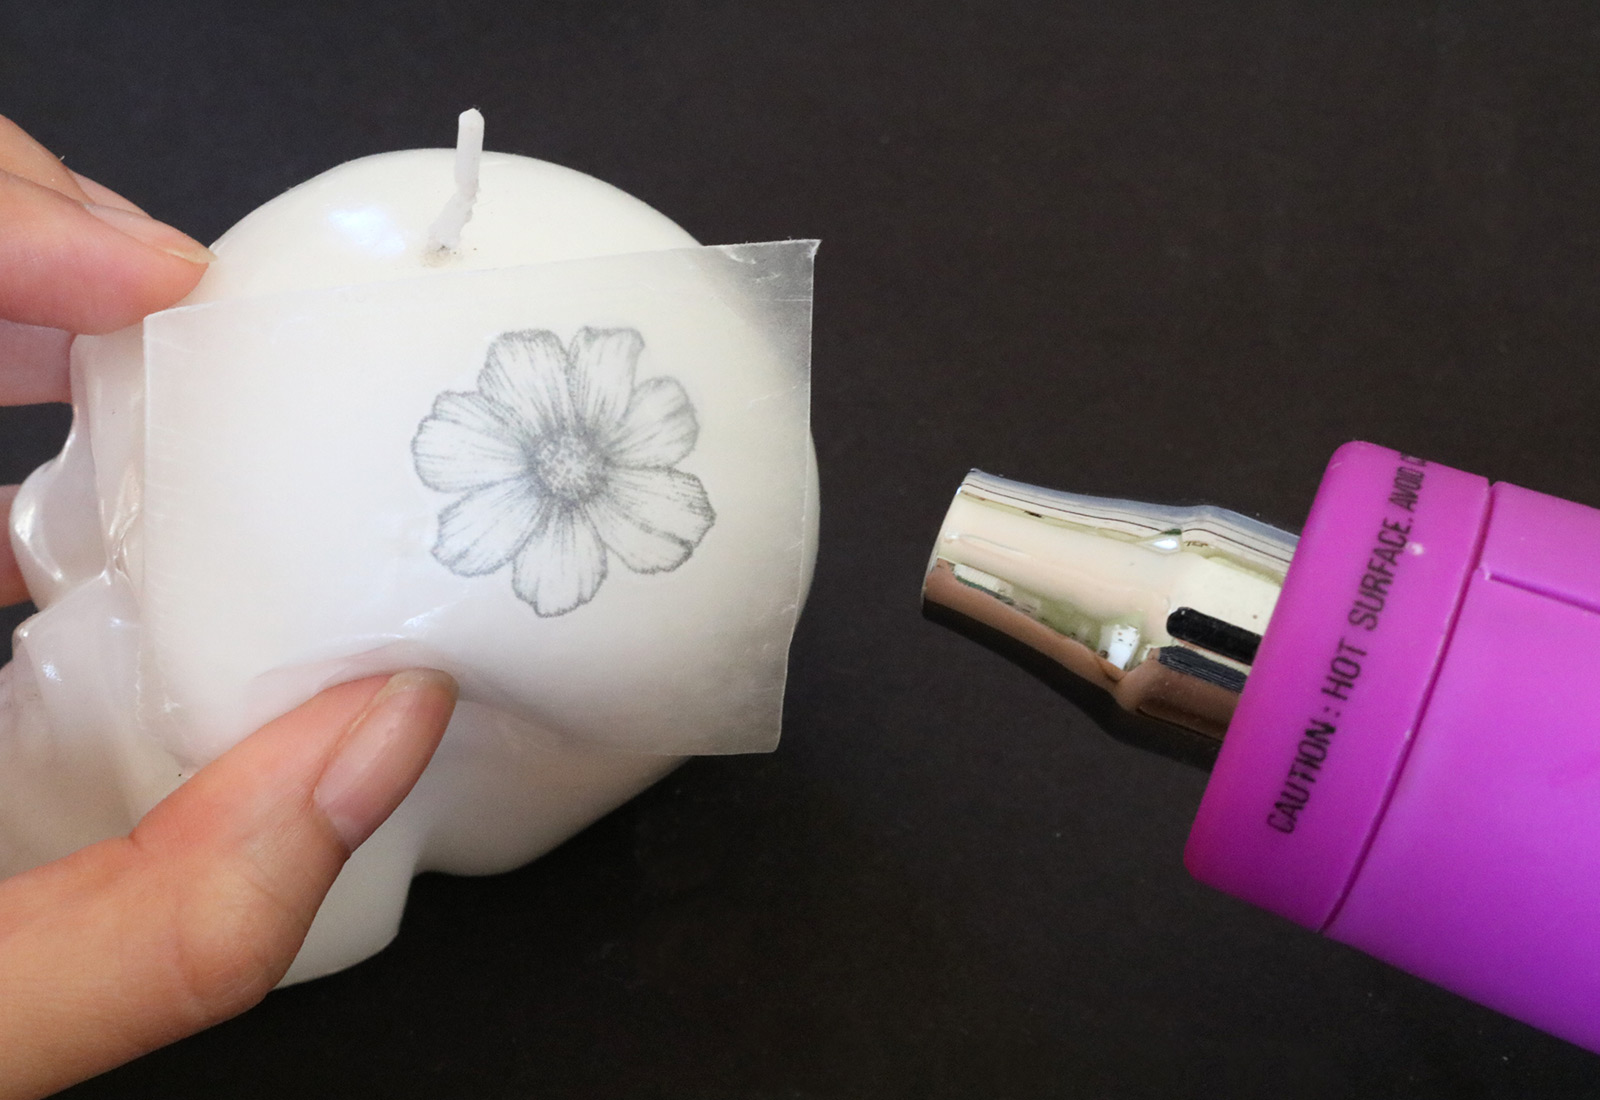
4. Place a tissue paper flower on the skull candle. Lay a segment of wax paper right over it, and carefully heat with the heat gun. Watch your fingers! The candle wax will melt quickly, so I’d recommend doing this in short bursts.
5. Tip: When possible, use a long, skinny segment of wax paper so you can keep your fingers far away from the heat gun. This was a game changer.
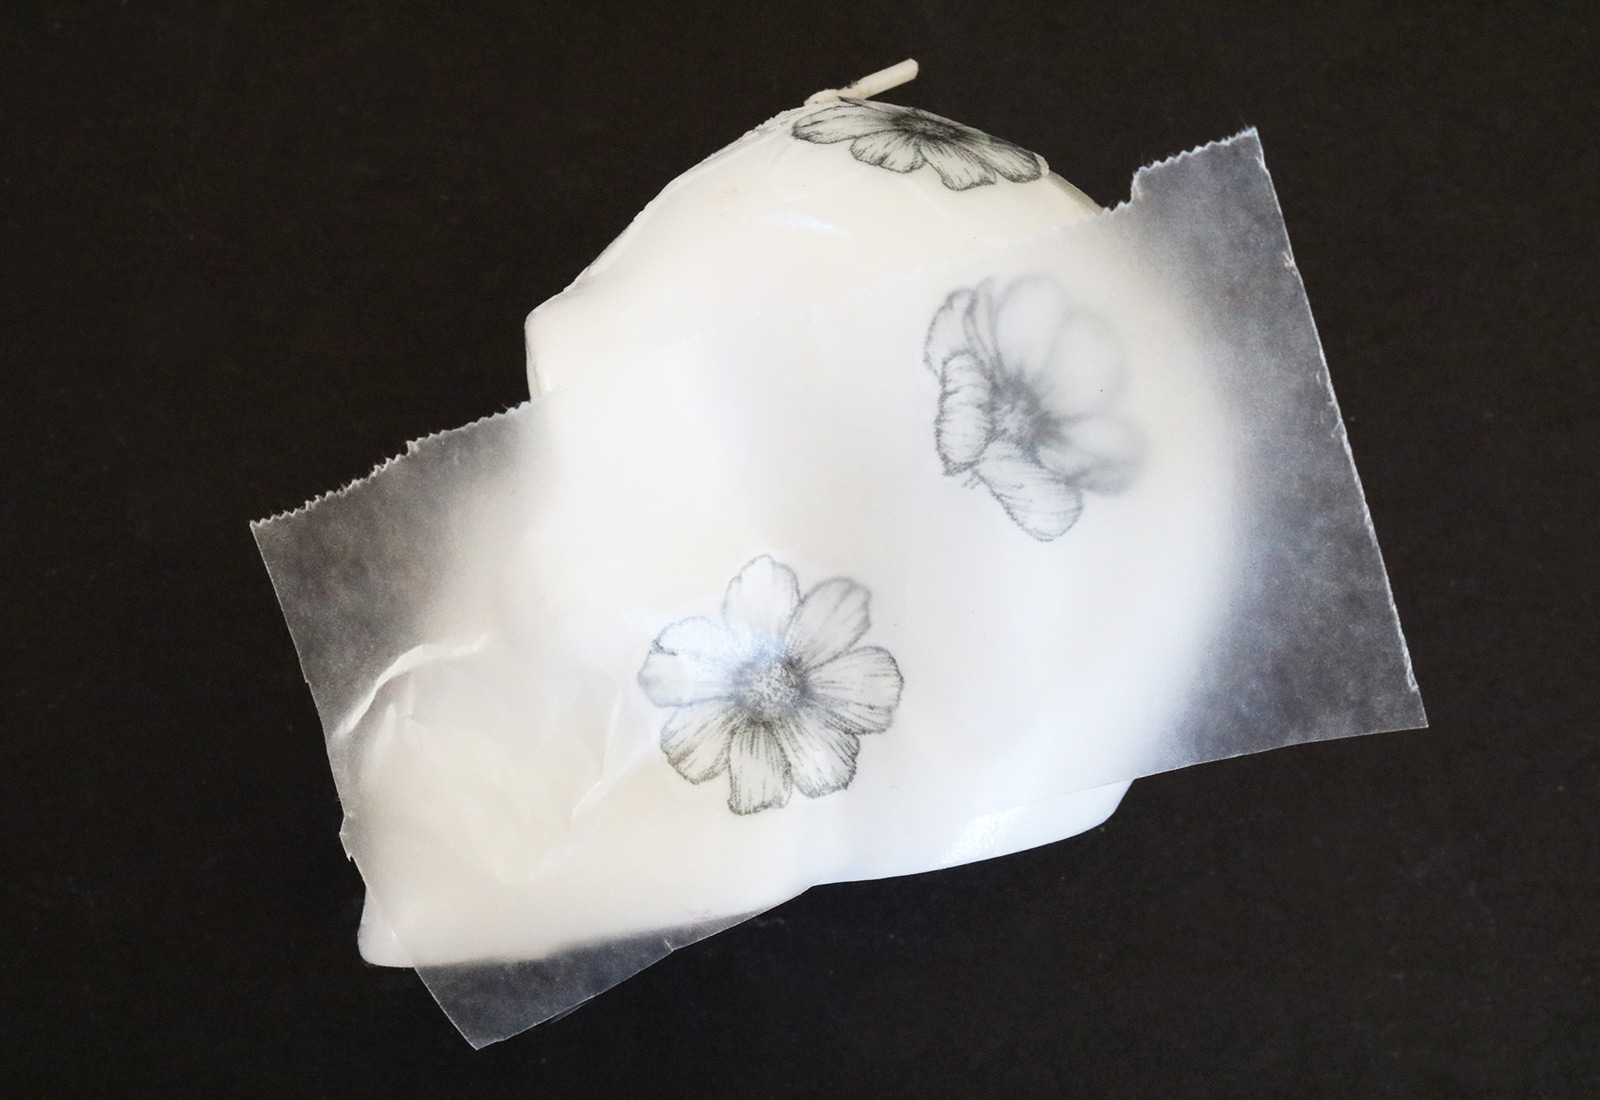
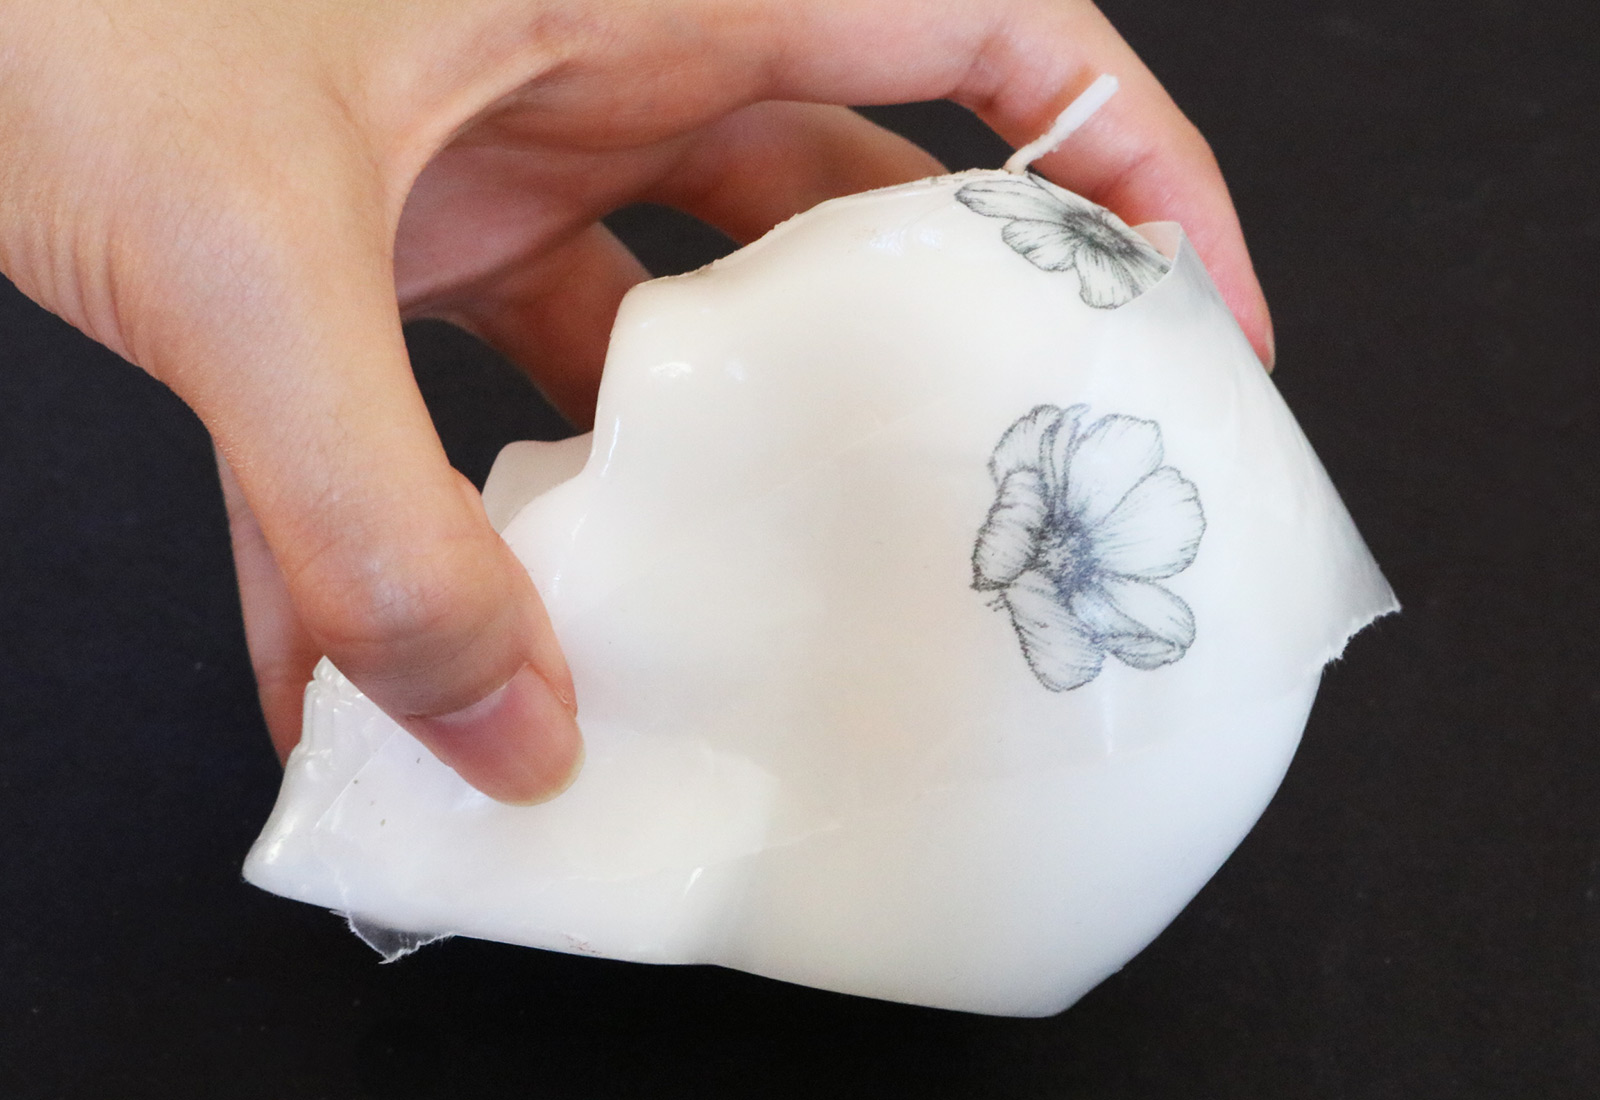
6. Depending on the area where you’d like to add a flower, you might be able to lay the skull down on its side. Next, place the tissue paper and wax paper on top. This will steal you a few seconds of hands-free heating. Afterward, you may have to smooth out the tissue paper and wax right after, as it cools quickly.

Again, long and thin segments of wax paper are your best bet. It makes a huge difference! Additionally, I found that the wax was cool enough to touch right after heating it, so I often smoothed down the wax and flower right after heating. It’ll take a few tries before you get the hang of it.
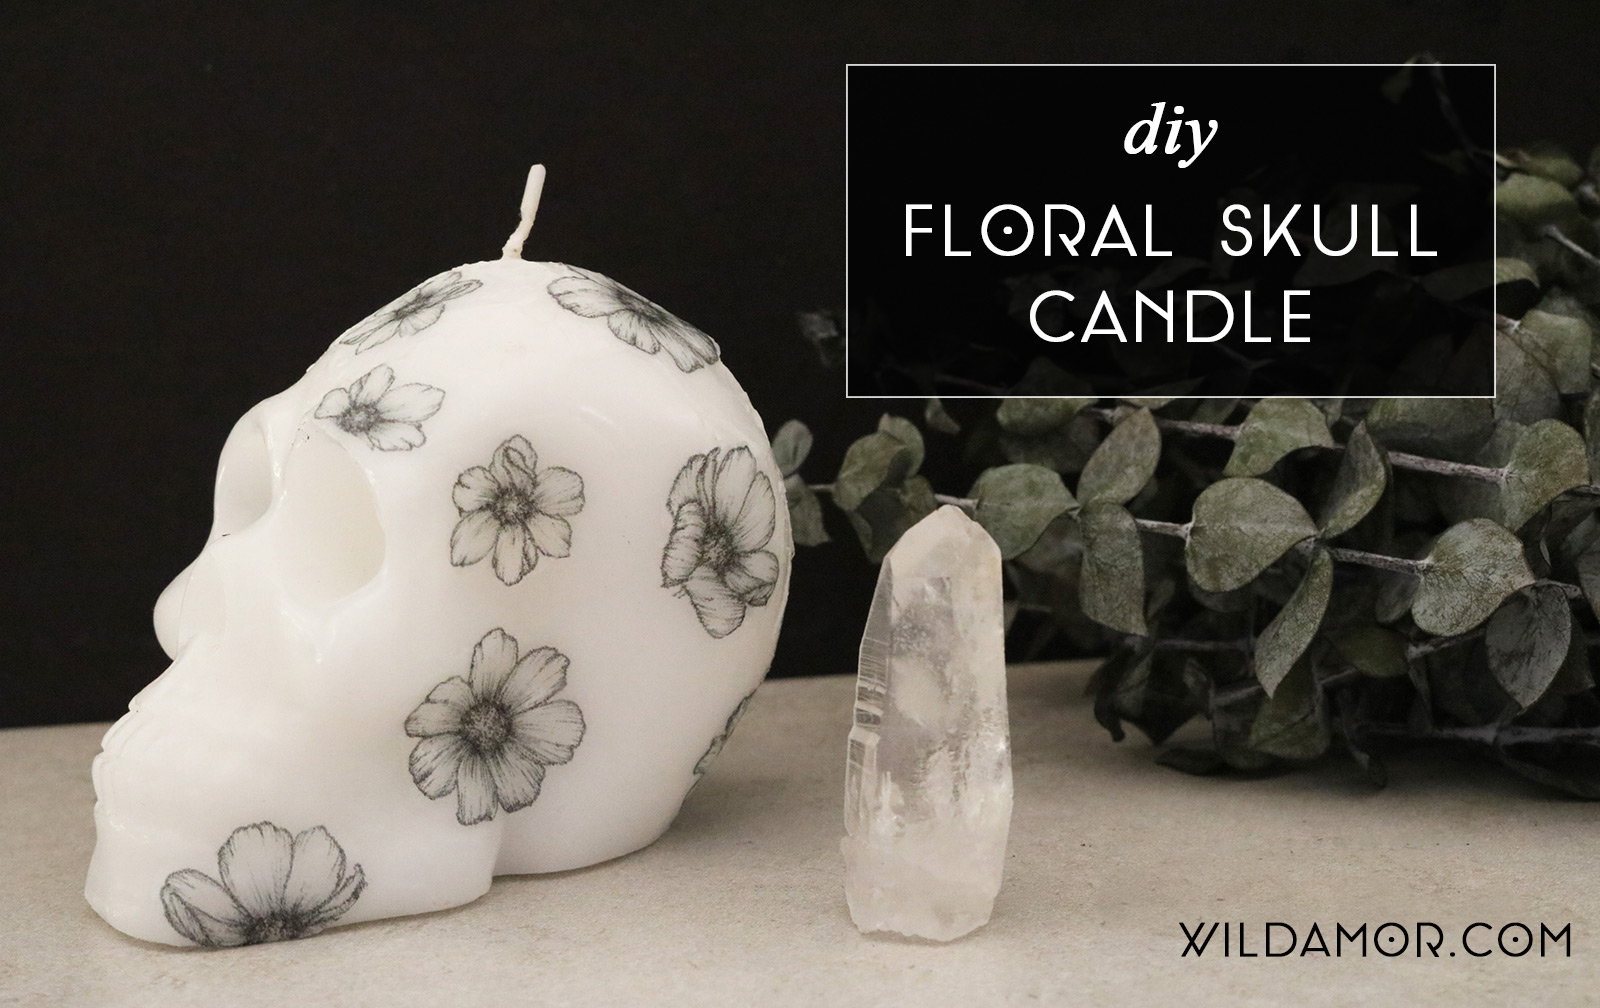
Obviously, flat surfaces on square and cylinder candles are a lot easier, but the final look of this candle is so worth it!
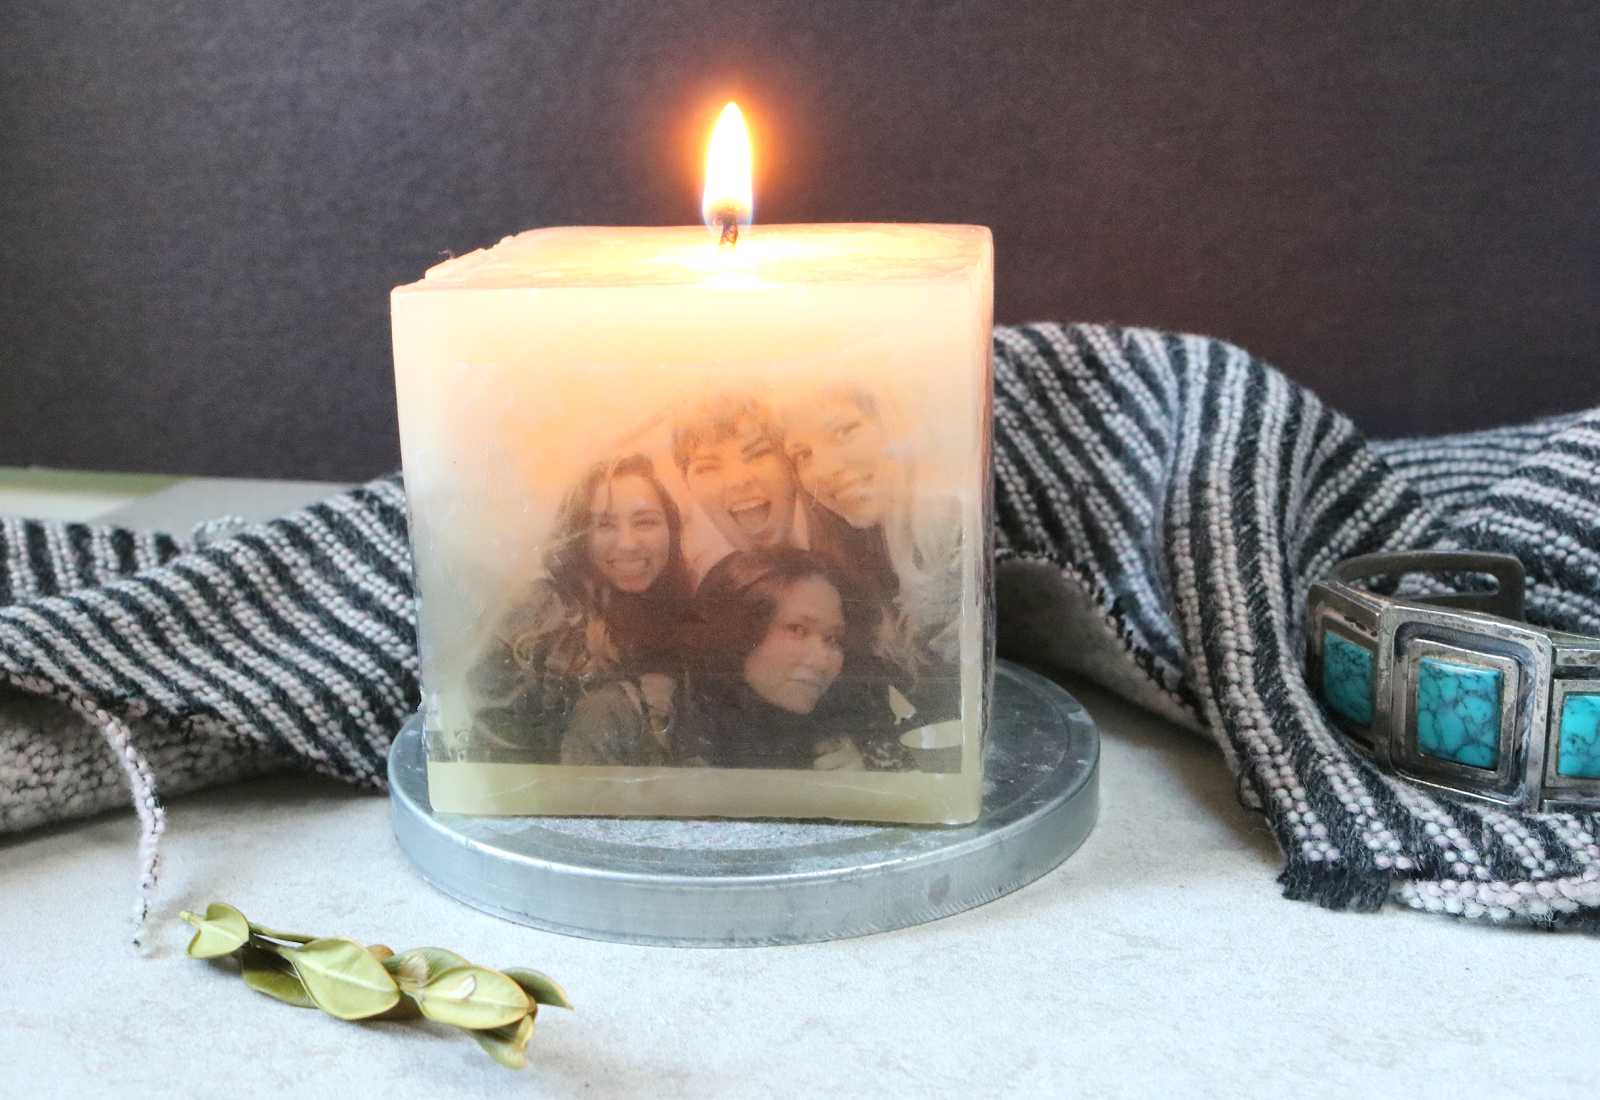
To make a photo candle project, check out this past project at Wild Amor, a collaboration with Canon.
This might be a Halloween DIY, but you can be sure I’d make this any time of the year.
xx K