
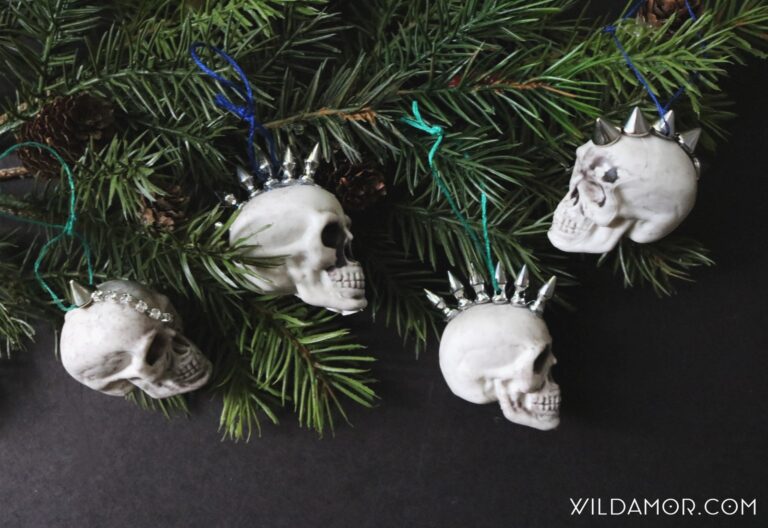
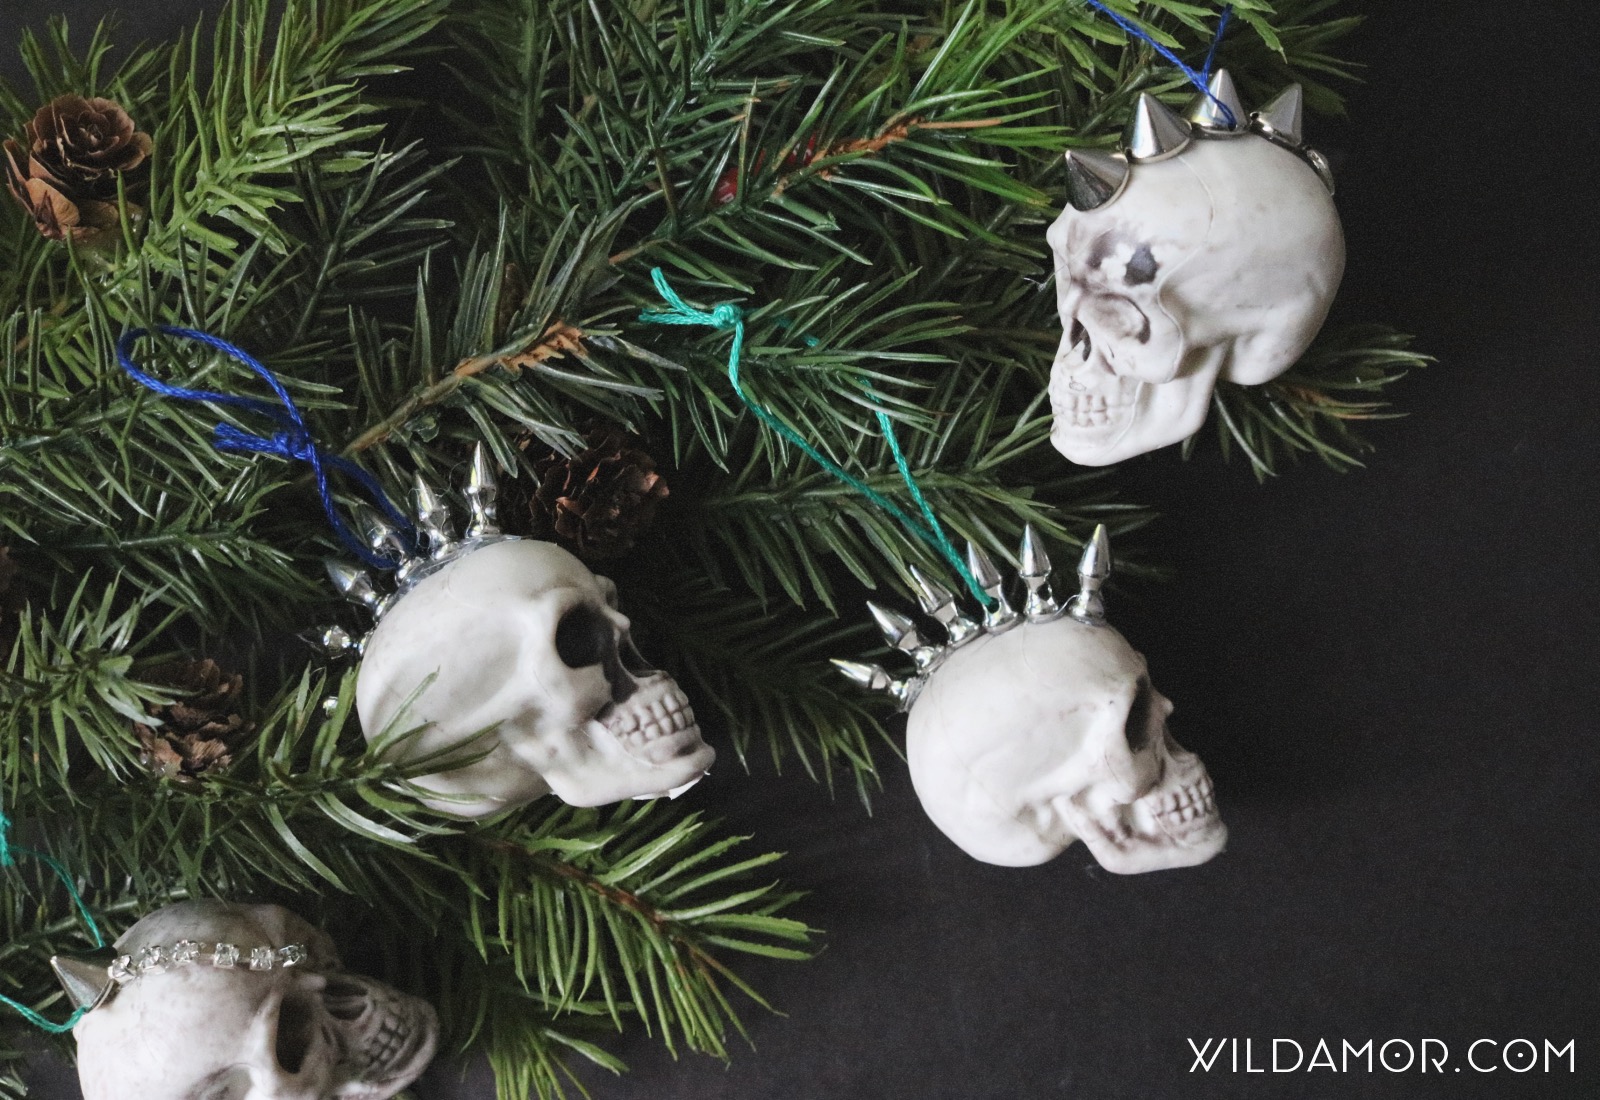
When you’re obsessed with non-traditional decor/projects/everything, the most unconventional elements make the best projects. And when you’re obsessed with Halloween, those little plastic skulls can come in handy all year round. So why not merge the two? These mini studded skull ornaments might be a bit much for some, but I adore them. And while I used turquoise and blue (surprise) embroidery thread, you can also use hemp, metallic cord, or leather lacing to hang these little guys up. Can’t wait to pair these with my bullet shell crystal ornaments and floral anchors \m/
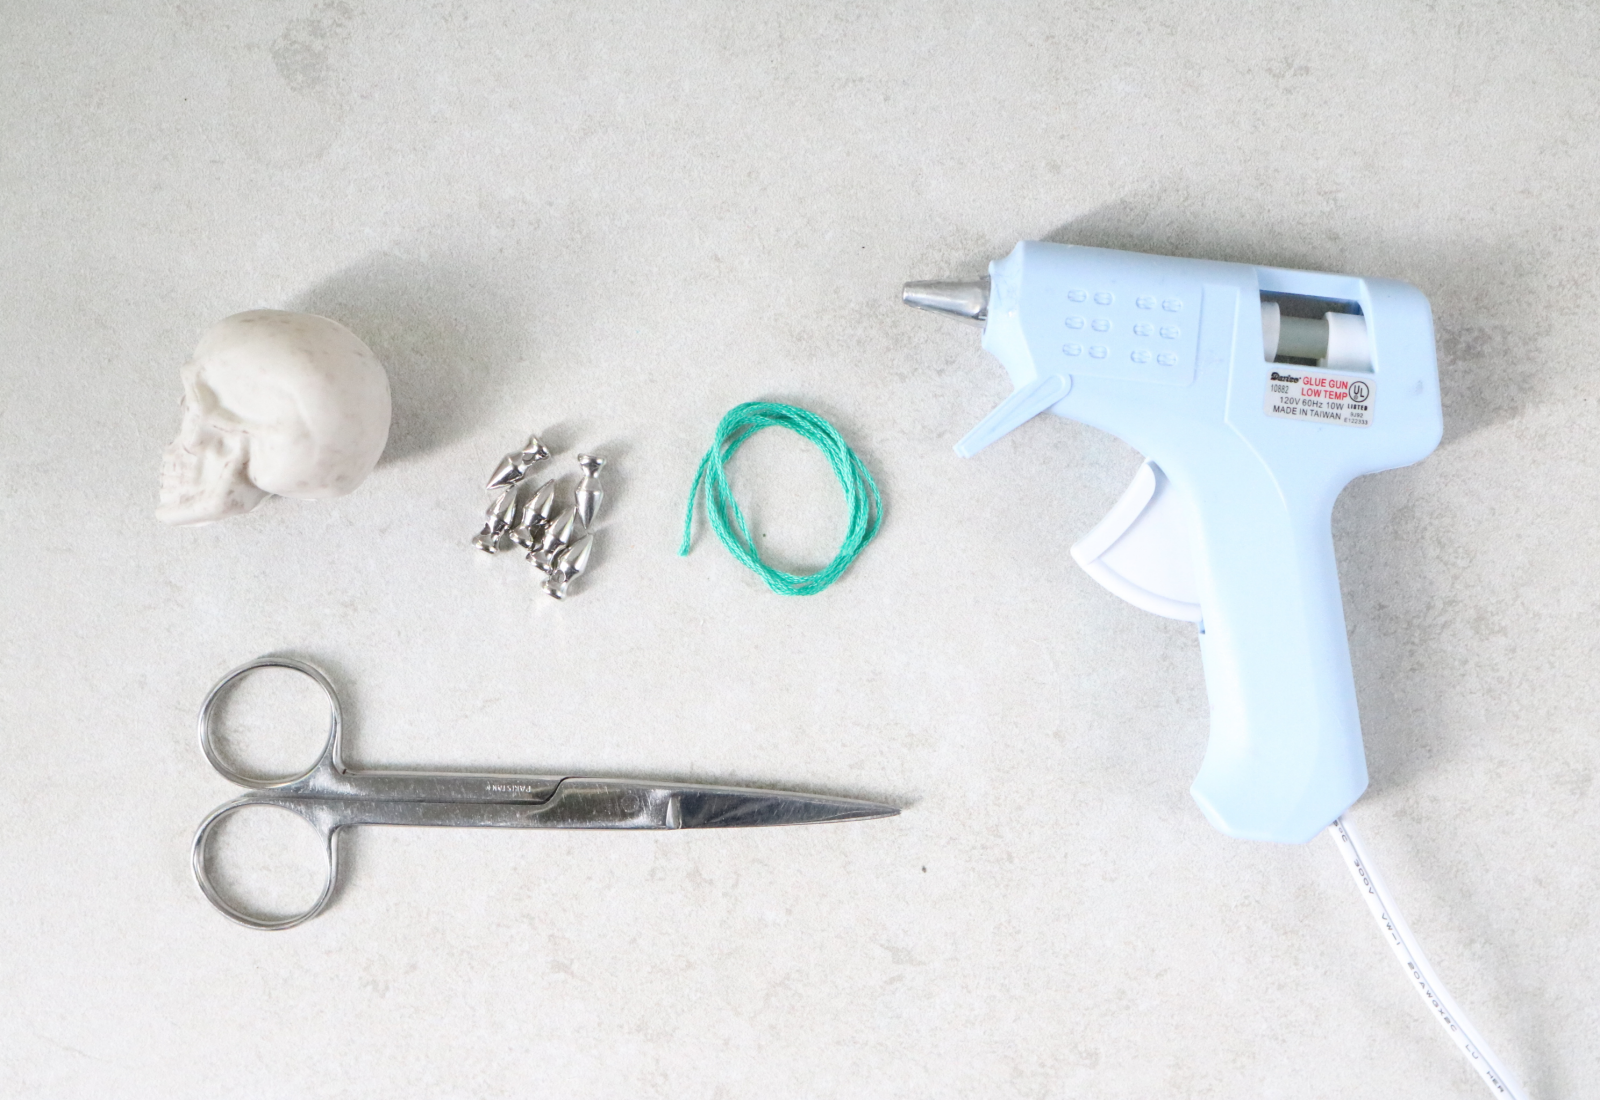
Supplies:
- Mini plastic skulls
- Spike beads (I used these Darice beads)
- Embroidery thread
- Hot glue gun or strong craft glue *
- Scissors
* For a stronger hold, I’d recommend using strong craft glue for this project. I plan on re-doing this batch with E6000!
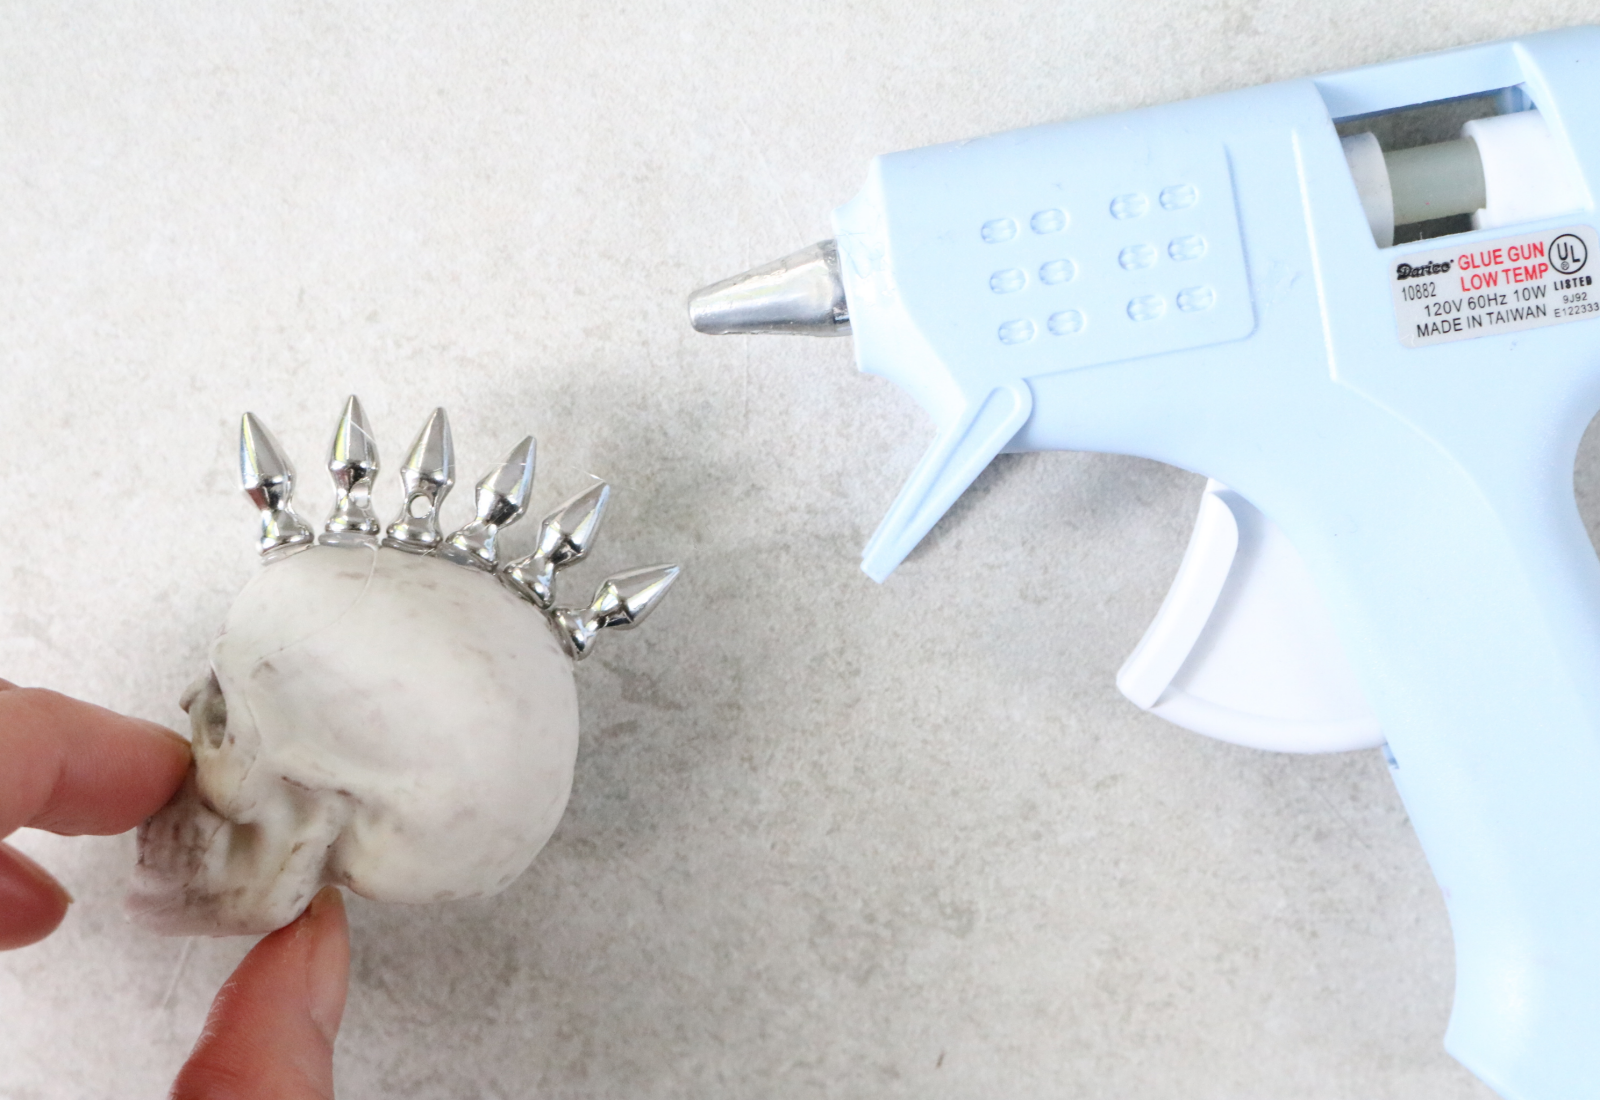
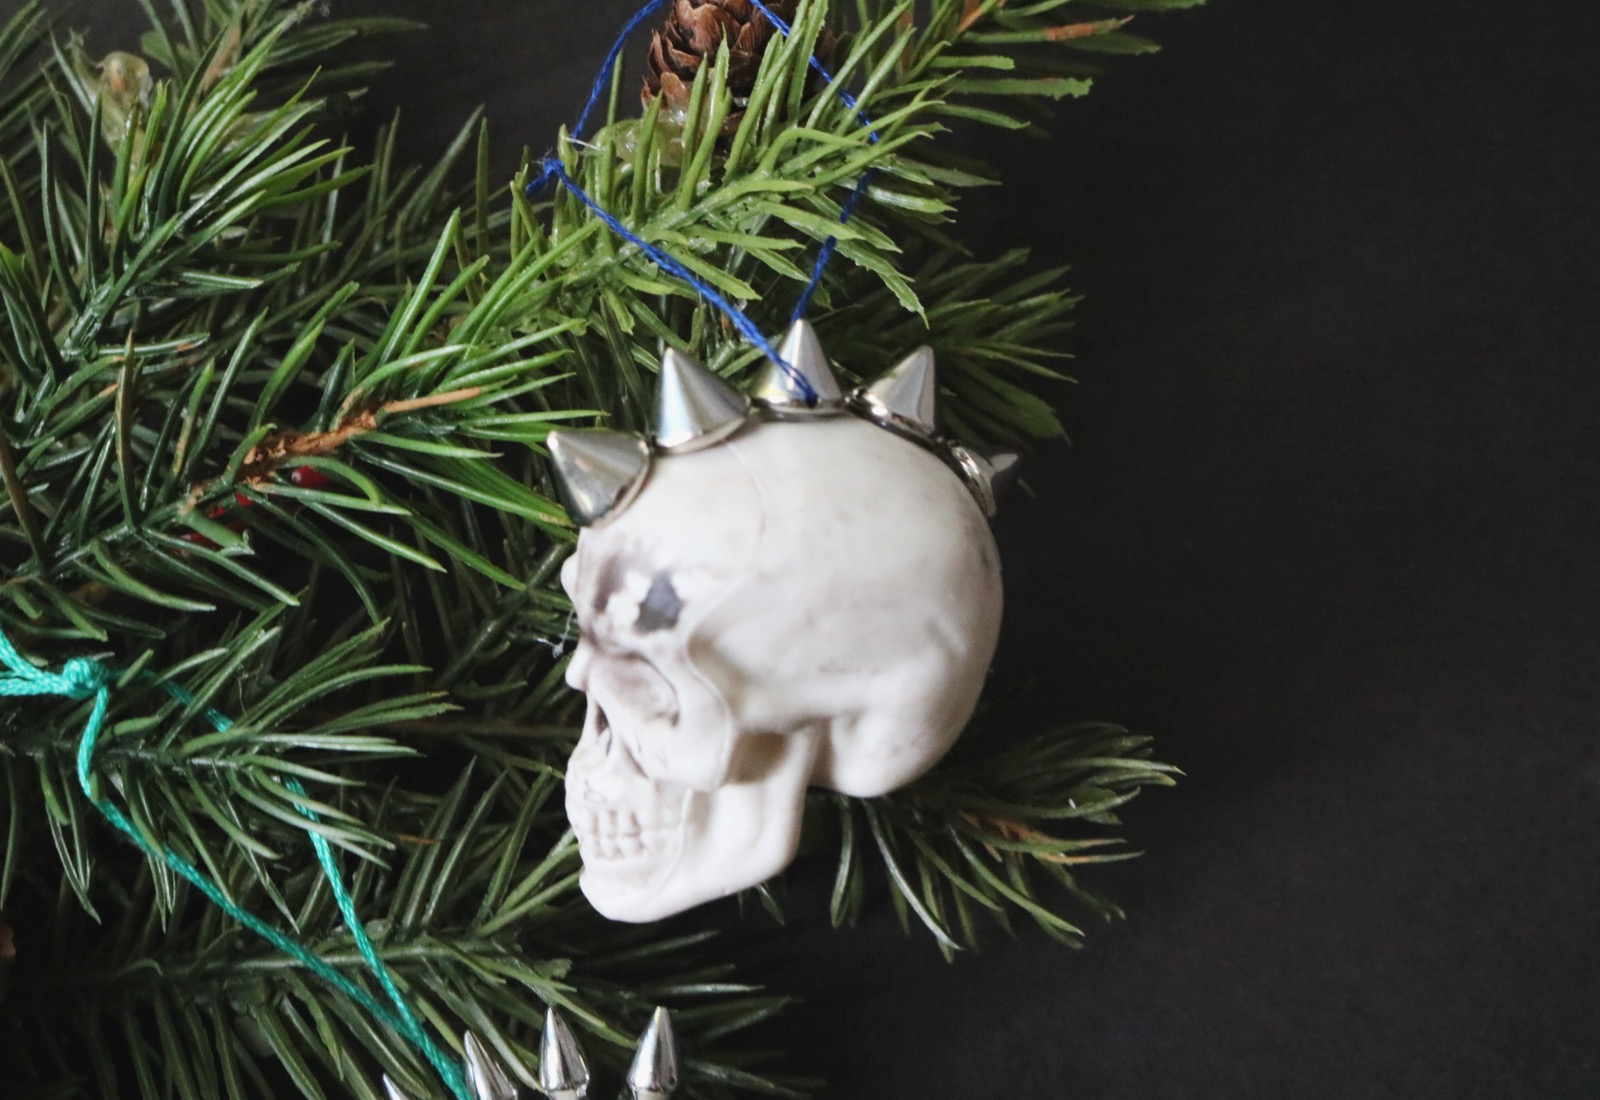
1. Glue a row of spike beads across the top of the plastic skull. It doesn’t matter where the holes are facing except for one in the middle; the hole should be exposed on each side.
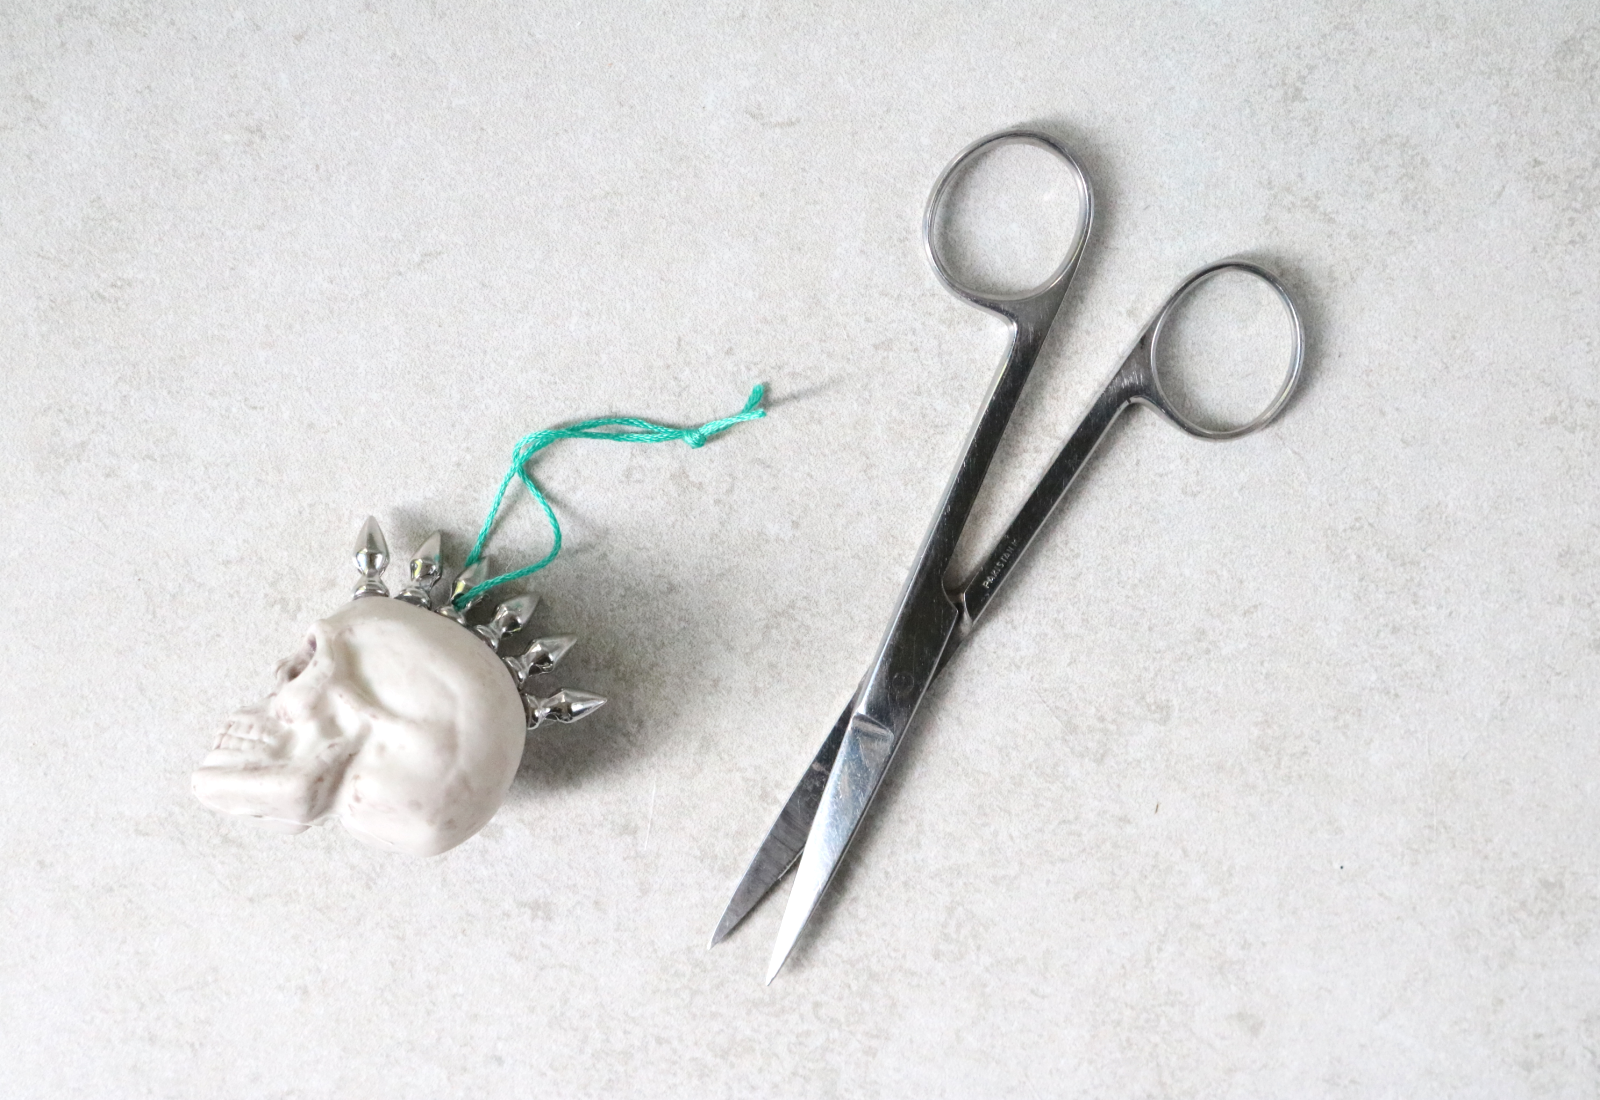
2. Cut a strand of embroidery thread. Insert through the spike bead. Separate the strands to create a thinner strand, if needed. Tie a knot and trim away the excess.
You can also replace the spikes with cone spike beads.
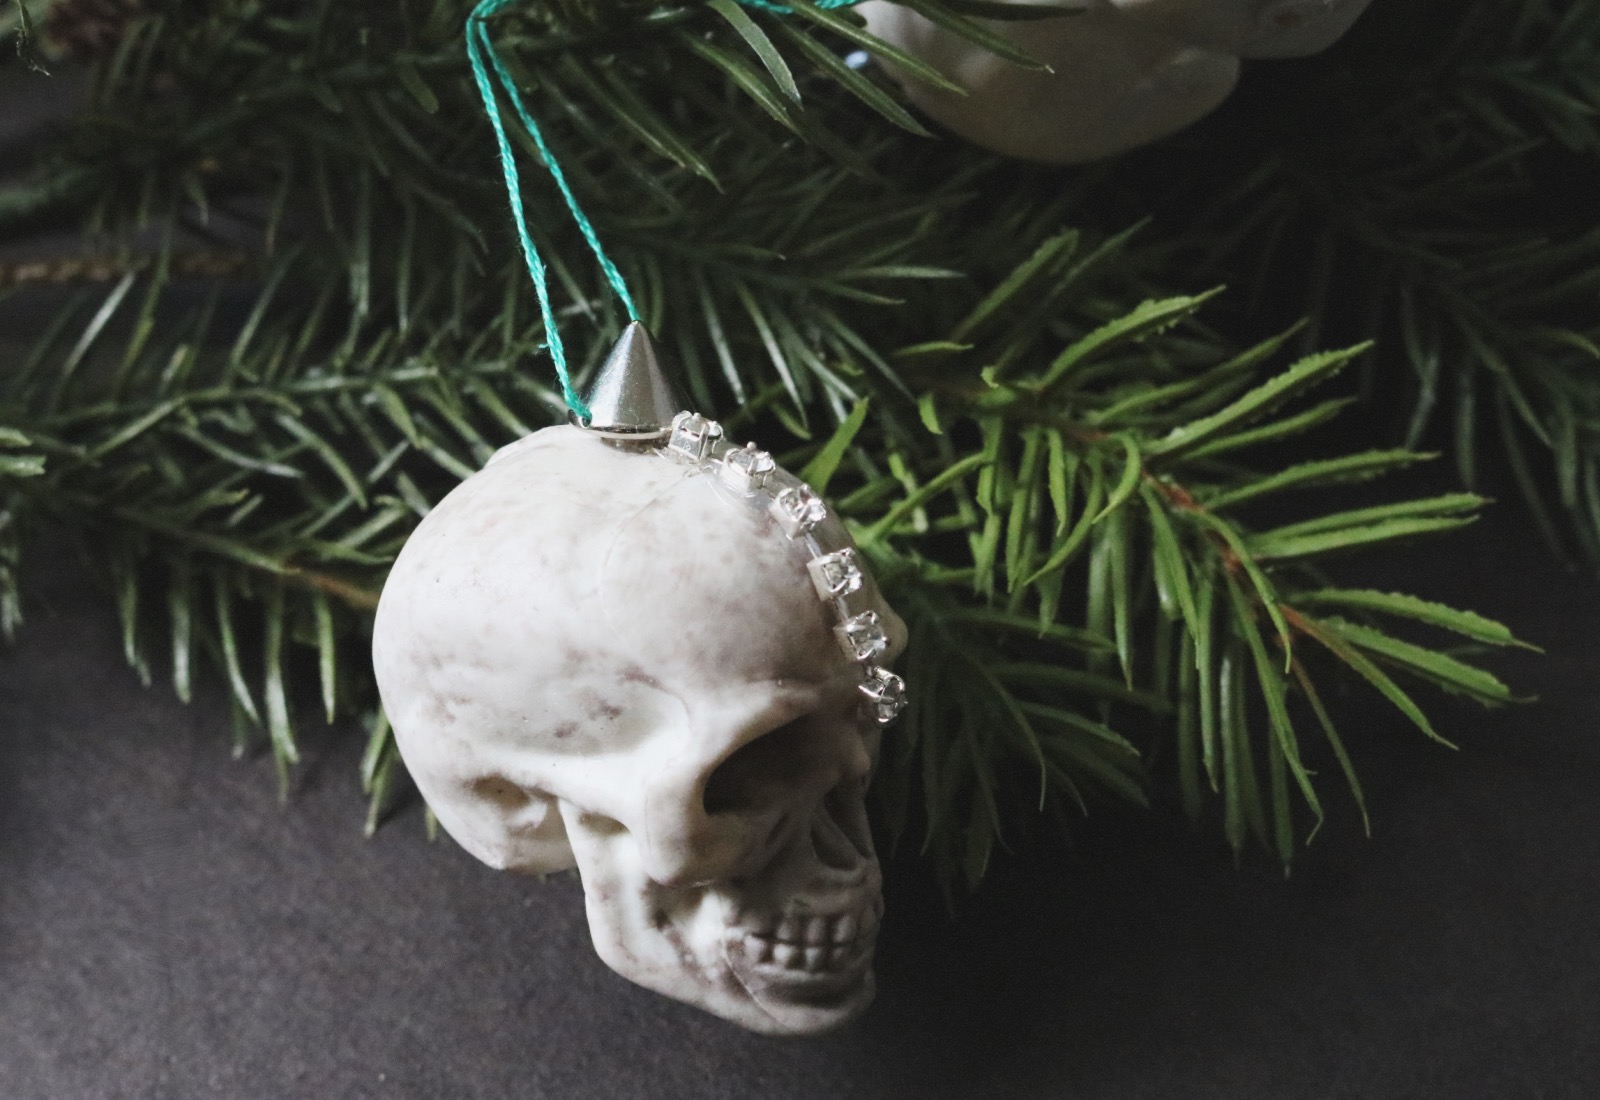
Another variation is a single cone bead with a short strand of rhinestone chain. I knew I saved my scraps for a reason.
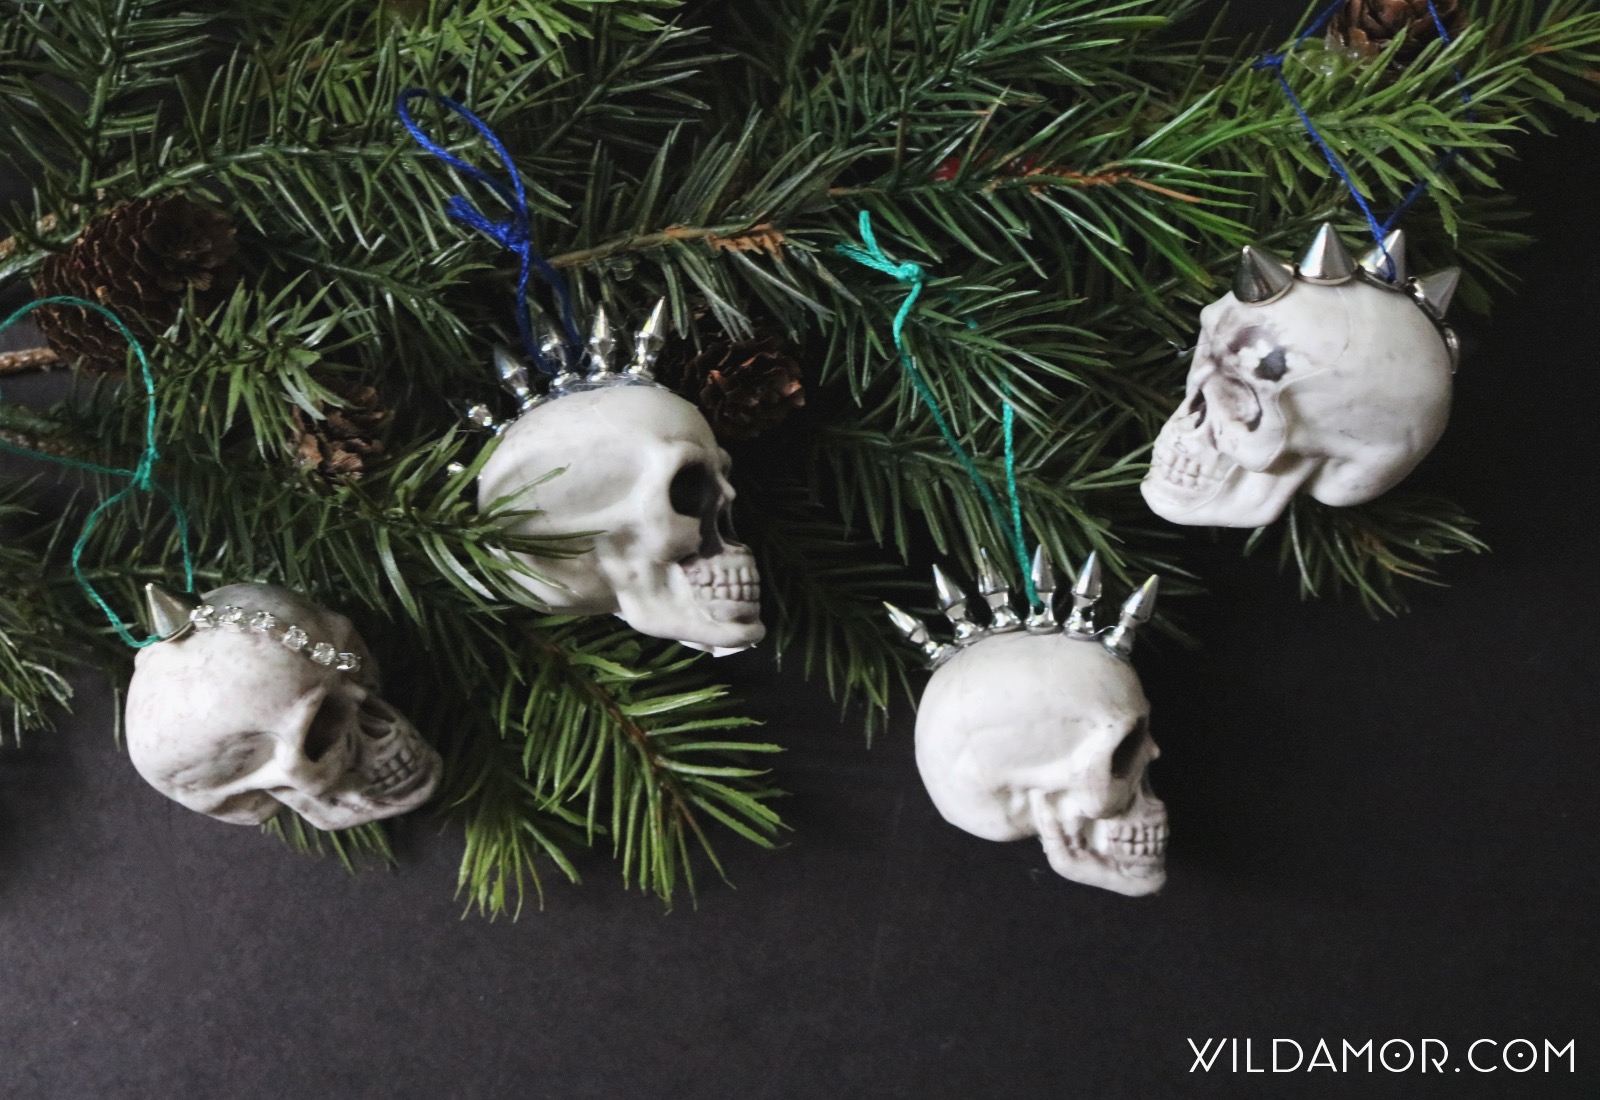
LOOK AT HOW COOL THESE ARE.
I’m going pretty hard with holiday projects this year, so keep your eyes peeled for more during the next few weeks.
Happy holiday crafting!
xx K