
 The Braided Chain Bracelet tutorial that I posted back in August was so well loved, that I decided to do yet another bracelet tutorial. This one doesn’t involve braiding, but it uses the same concept of incorporating some sort of thread/cord into chain.
(By the way – Check out S&P’s Facebook fan page for an entire album full of other talented ladies’ versions of the Braided Chain Bracelet! I’ve gotten submissions from people as far away as Texas, Romania, and Denmark. )
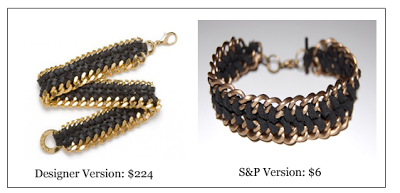
I spotted CC Skye’s Thompson Double Wrap Bracelet on CoutureCandy.com about a month ago – I loved how the leather cord adds a touch of badass to the chain. It’s currently out of stock on CoutureCandy.com…but after doing a bit of searching, I found that it was roughly $224. I decided to make my own version that fit my personality a little better – not to mention, for way cheaper. The cord in the original version is sewn into the middle strip of fabric, but I decided to make this one a bit simpler.
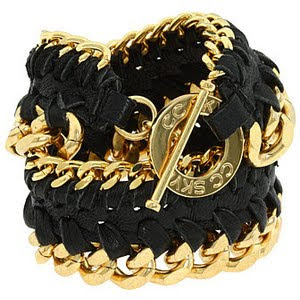 CC Skye – Thompson Double Wrap Bracelet (Polyvore.com/Zappos.com)
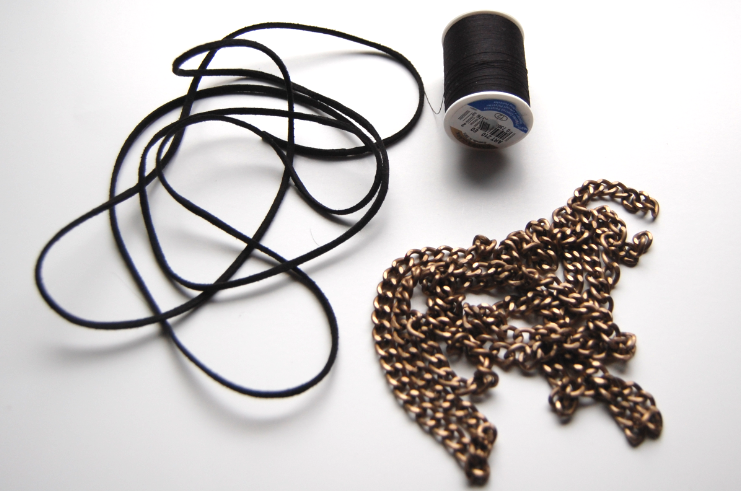
Supplies:
– Curb chain (I used brass)
– At least 60 inches of cord (The original version used leather. I used black faux leather cord, which was a personal preference)
– Sewing thread, same color as your cord
– Sewing needle, jewelry clasp, jump rings, jewelry pliers
 1) Measure a length of chain that will fit comfortably around your wrist. You’ll need two strands.
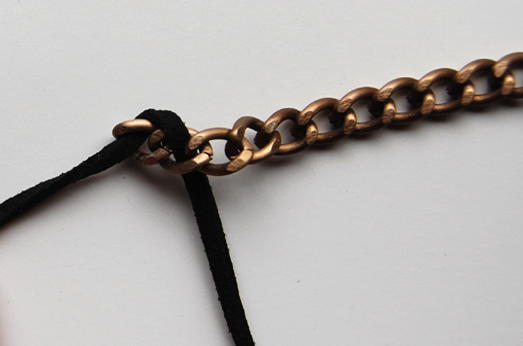
 2) Insert the cord through the topmost link in one of the strands.
 3) Insert the cord through the next link, essentially wrapping the cord through the top of the link.
 4) Pull it through, and bring it back up “behind” the chain and into the next link…
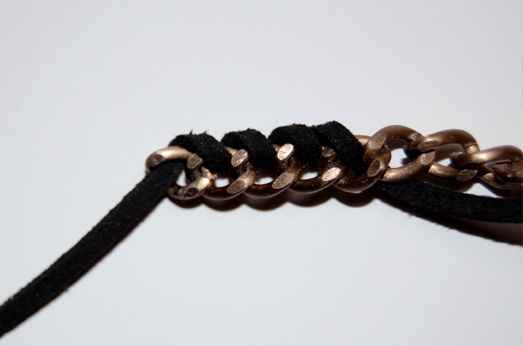 5) And keep on repeating. Easy enough! You’re just weaving the cord in and out through the links. Be sure to keep your chain in one direction; this will make it easier for you to go along the chain with your cord. (I used a flash in the photographs from here on in, so you can see the black cord better!)
 6) Keep on going…
 7) When you’ve reached the end of the chain – don’t cut it just yet! Insert it through the first link of your second chain.
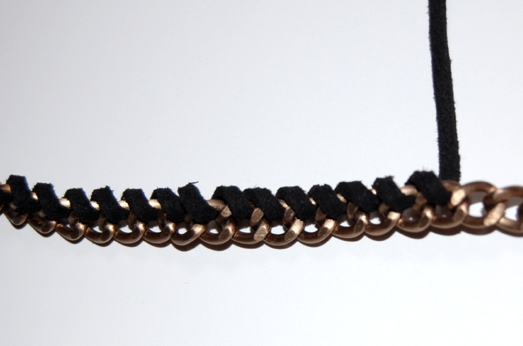
 8) And just keep on weaving the cord through the entire second strand, just as you did in the first few steps. You’ll end up with something like this.
 9) Thread a needle, and insert it into the cord in between the two chains.
 10) And simply weave the needle/thread in and out of the two strands. You don’t have to necessarily go through the cord…just under the cord. Go back and forth between sides; this way, you can attach the two strands together.
 11) When you’re all done, tie off your thread, tie off your cord, and seal it off with some clear nailpolish if you choose to do so. Attach your clasps and jump rings; maybe even some charms if you’d like.
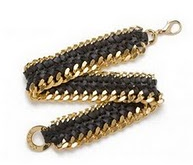
 I like the brass chain against the black faux leather cord, but of course you can use any color chain you’d like, with any color cord you’d like.