
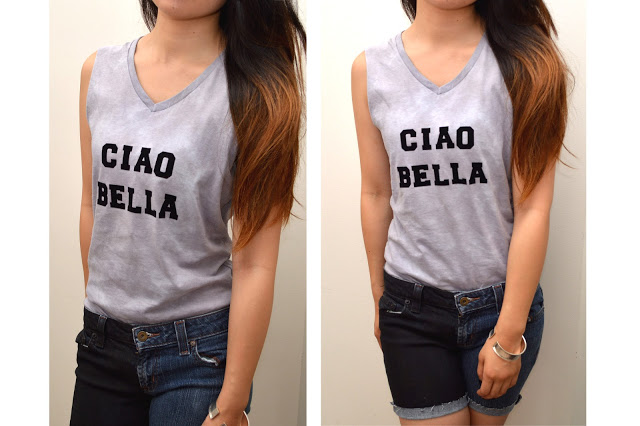
The main concept for this quick DIY tutorial is to share a tip for lining up iron-on letters. Plus, it’s pretty darn cute. Let’s get started!
Supplies:
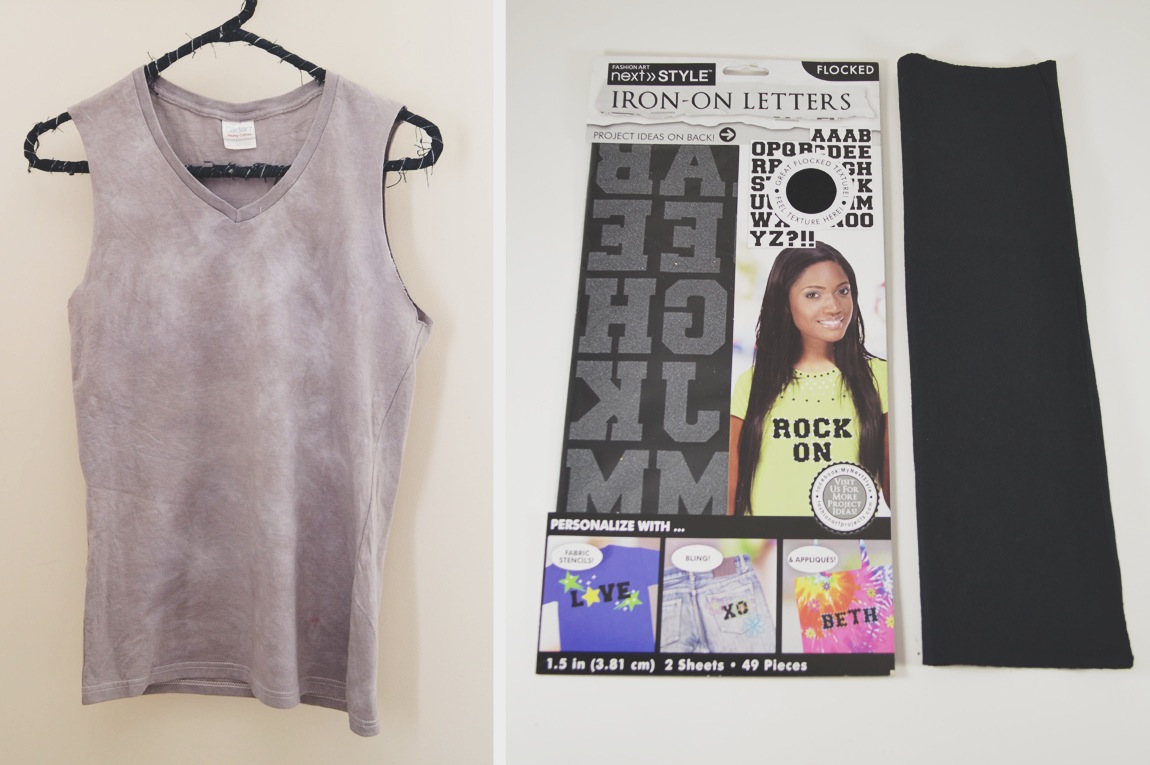
– White tank top (this obviously tie dyed before this picture was taken!)
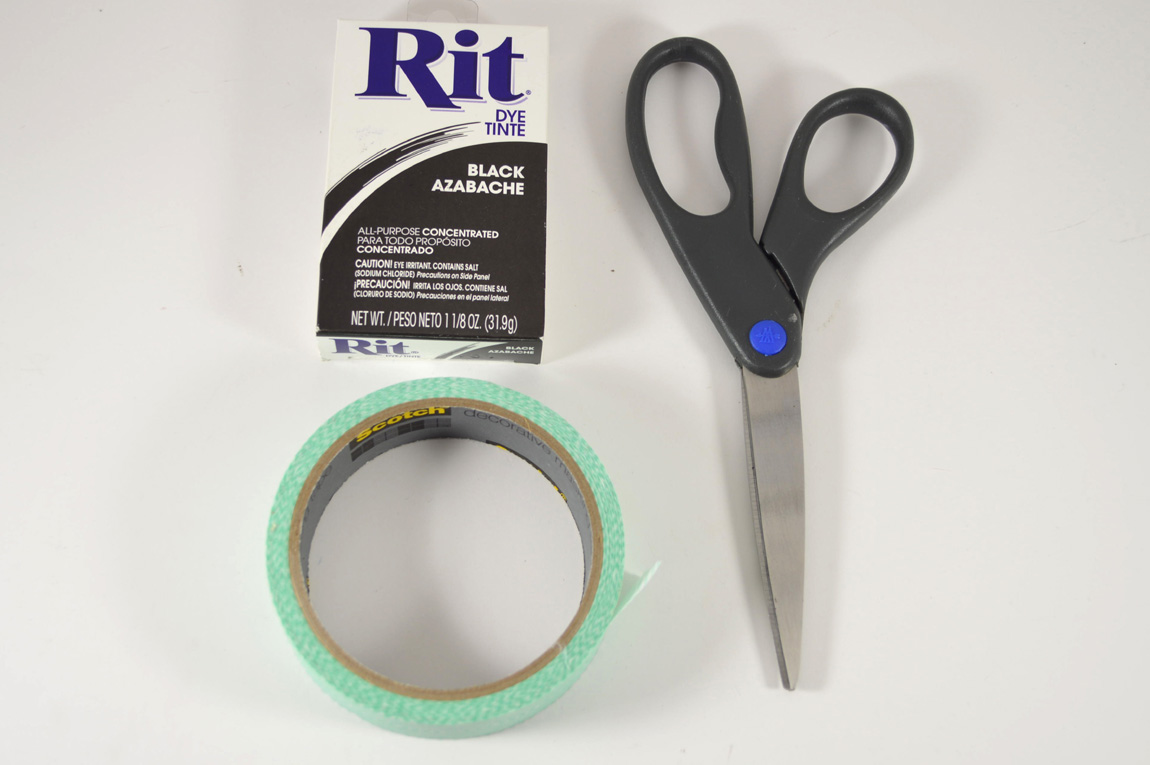
– Fabric dye (& rubber bands)
– Iron-on letters (c/o My Next Style)
– Scrap of t-shirt jersey
– Fabric scissors
– Masking tape
– White tank top (this obviously tie dyed before this picture was taken!)
– Fabric dye (& rubber bands)
– Iron-on letters (c/o My Next Style)
– Scrap of t-shirt jersey
– Fabric scissors
– Masking tape
Before ironing on letters…
Cut off the sleeves along the shoulder seam using the fabric scissors. Dye the shirt according to the package’s directions and your preferred look; I simply crumpled up the shirt, randomly added rubber bands and let it sit in the dye. I wanted a gray/faded black look, so I let it sit for only about 20 minutes. Leave it in longer if you want a darker, more vibrant shade!
Rinse the shirt until the water runs clear. Throw it in the washing machine for one cycle by itself. Again, make sure you read the dye package’s directions for specifications.

Tip: Use a strip of masking tape as a guide for positioning your letters.

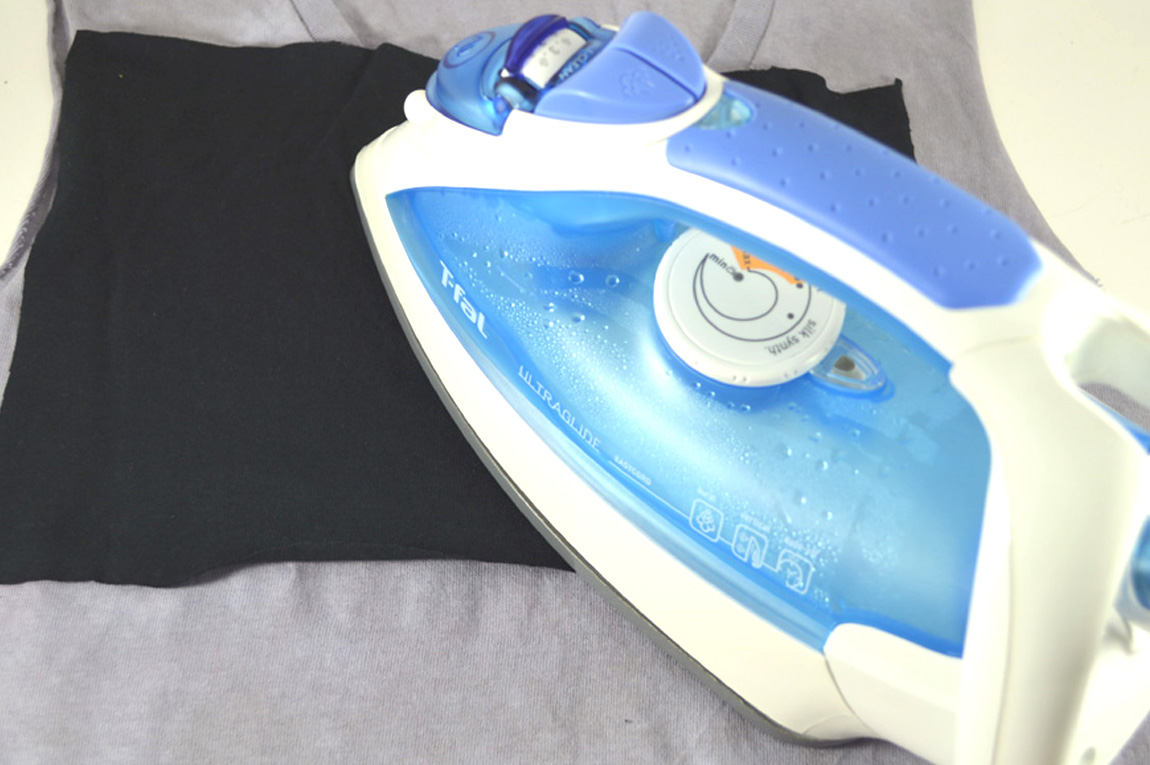
Once you’ve positioned your letters, lay the jersey over them and iron according to the package’s directions. Don’t forget to remove the masking tape!
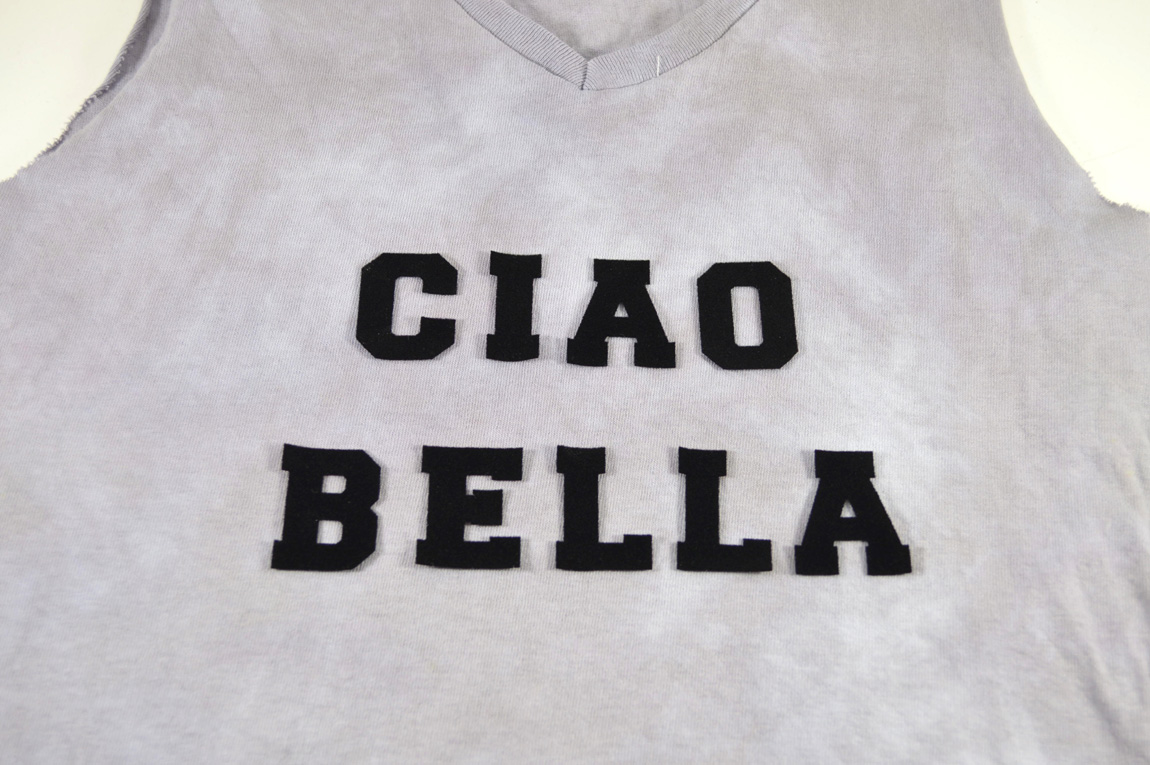
Repeat with the remaining words.

I’m all about cut off tank tops this summer. This is an ideal project for those old white t’s that are either stained or just extremely worn in. Check back soon for more word t-shirt projects!