


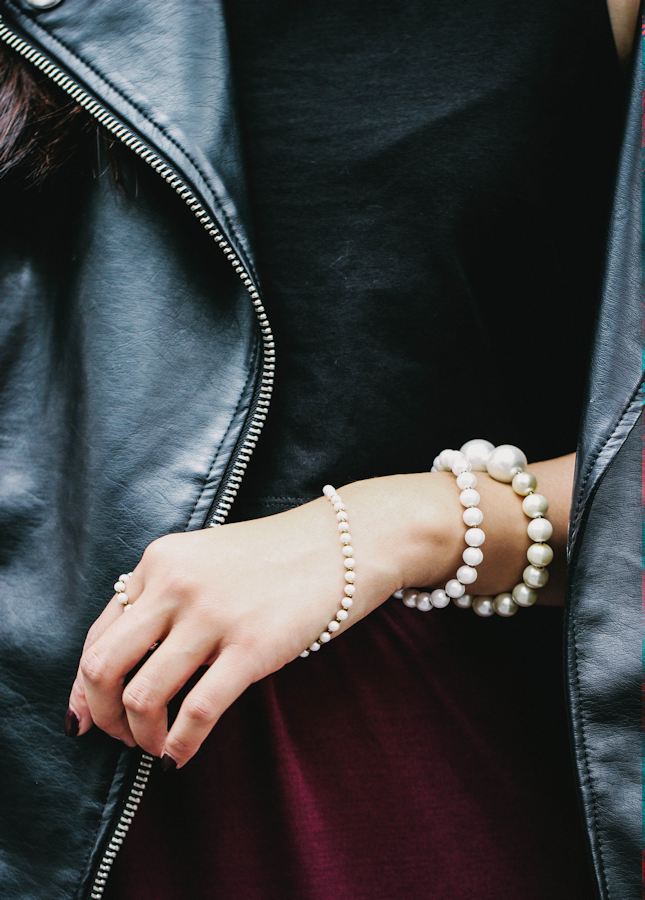
I took my own spin on this statement bracelet, using ivory pearls and pairing it with the Chevron Studded Jacket DIY. Learn how to make this eye-catching bracelet, below!
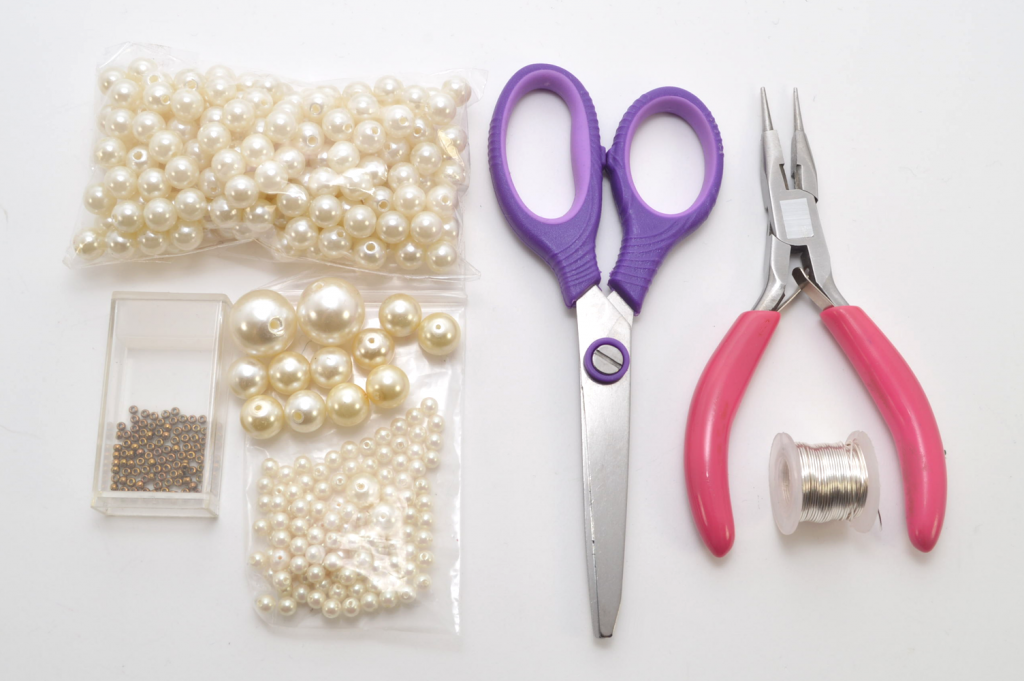
Supplies:
– Scissors
– 3-in-1 jewelry pliers
– Craft wire (24-28 gauge, depending on the the hole size of your pearls)
– Jewelry clasp (not shown/optional)

1) Beginning with the largest size, begin adding pearls directly onto the wire. Alternate between the pearls and seed beads. Don’t cut the wire yet! (I used 2 XXL pearls to start off.)
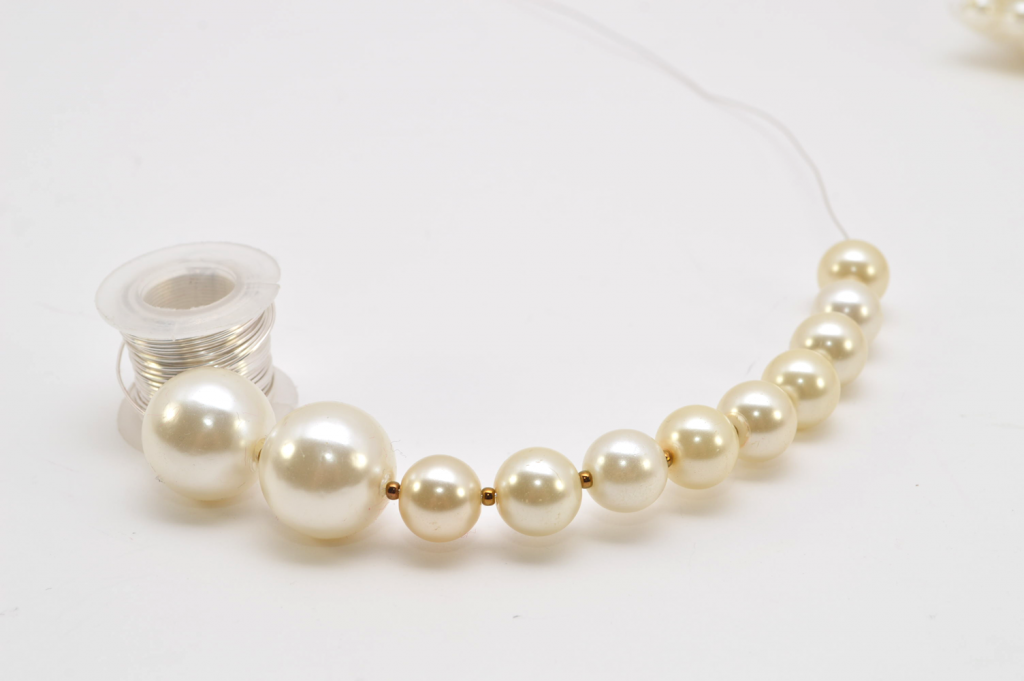
2) Continue adding pearls with the second largest size pearls. I added about 4 inches (10.16 centimeters) worth of these pearls.
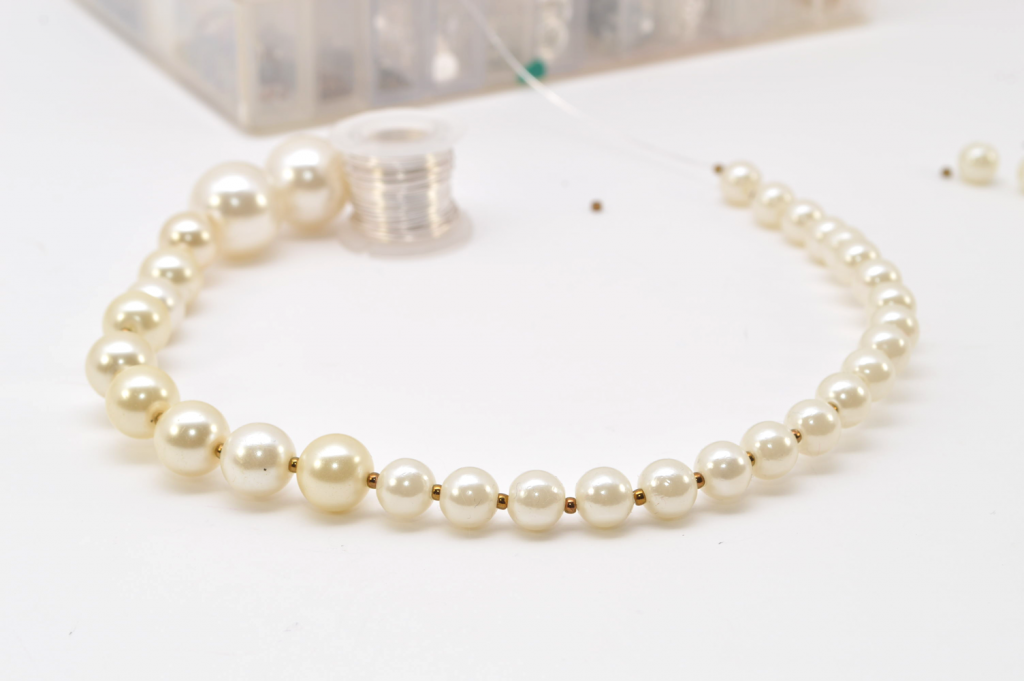
3) Continue adding pearls of the next size down. I added about 8 inches (20.32 centimeters) worth. Don’t forget to alternate between seed beads and pearls.
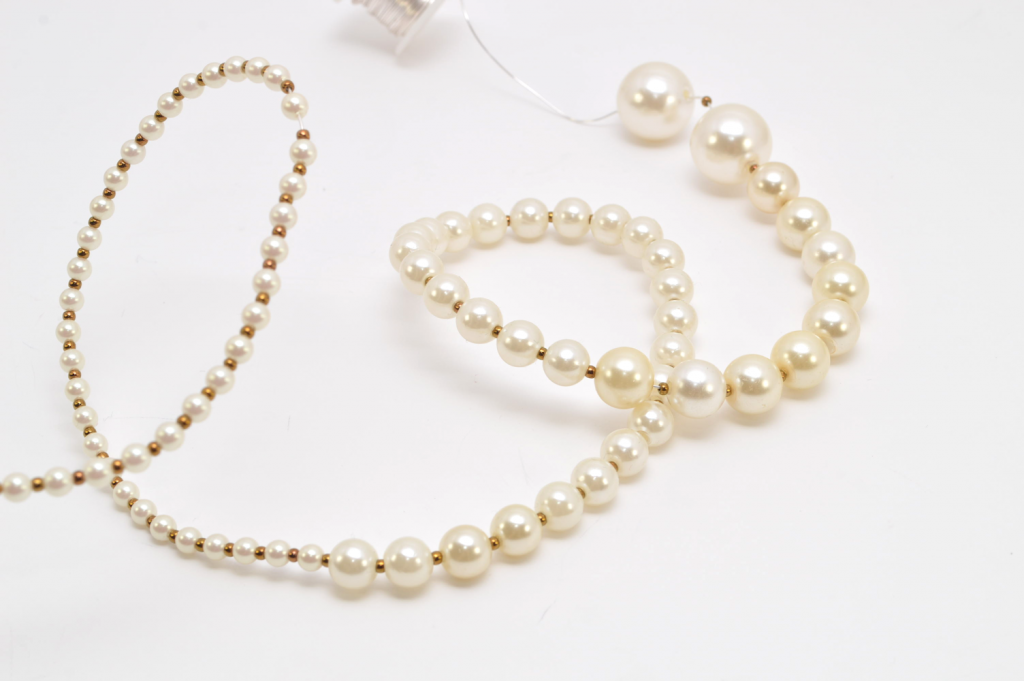
4) Last but not least, add pearls of the smallest size. I used about 9 inches (22.86 centimeters) worth of these.

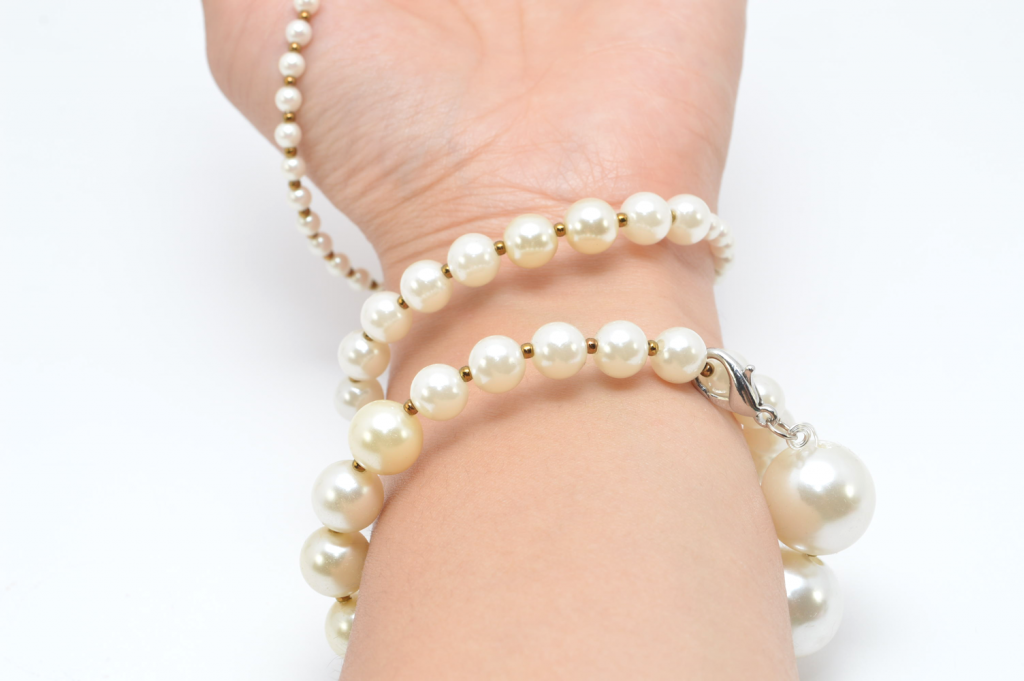
5) When straightened, the entire wire of beads measured almost 24 inches (60.96 centimeters). You can make it longer or shorter if you’d like, but I found this length to be ideal for wrapping around the hand.
At the end, create a loop with the pliers.
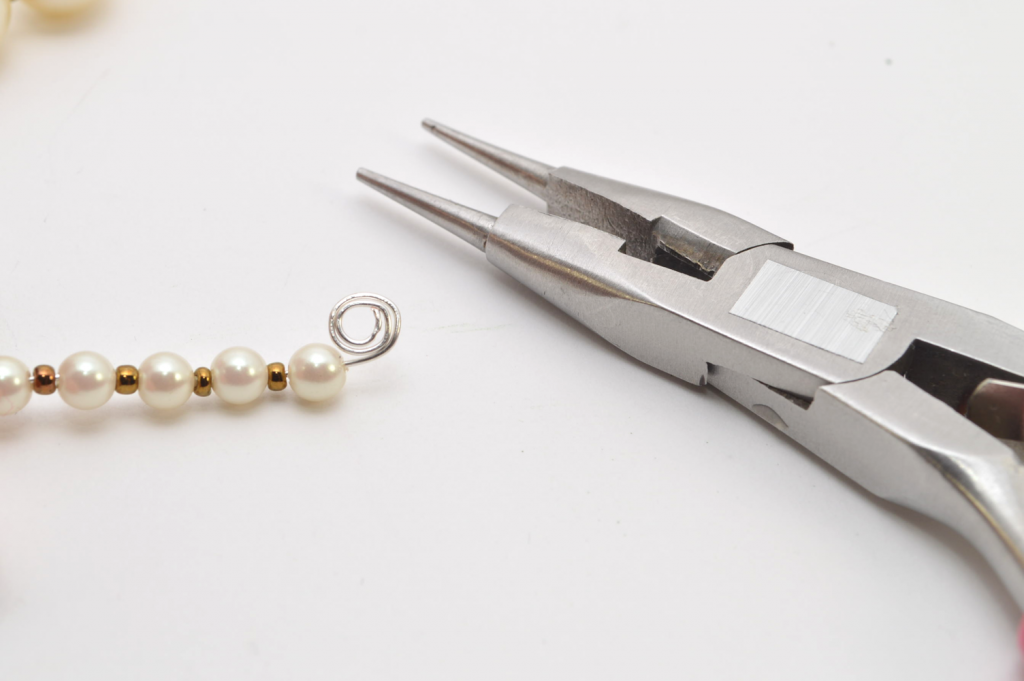
6) Twist the wire to create a spiral. This will form a “stopper”. The flat portion of the pliers is useful for this step.
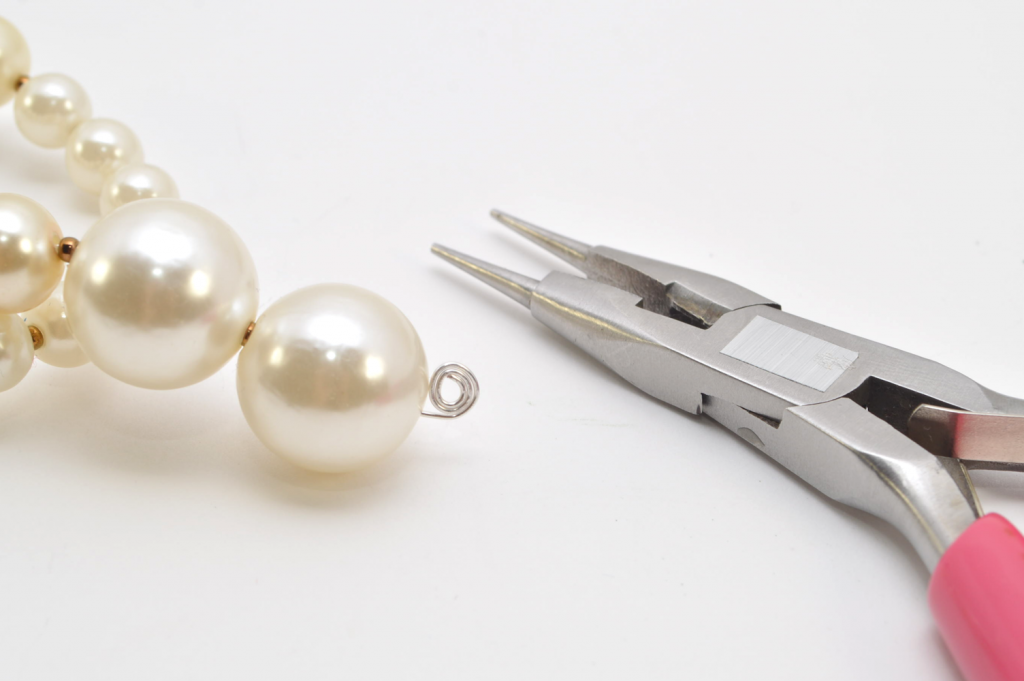
7) At the opposite end, cut the wire, leaving about 1.5 inches (3.81 centimeters). Twist the wire, just as you did in Steps 5-6.
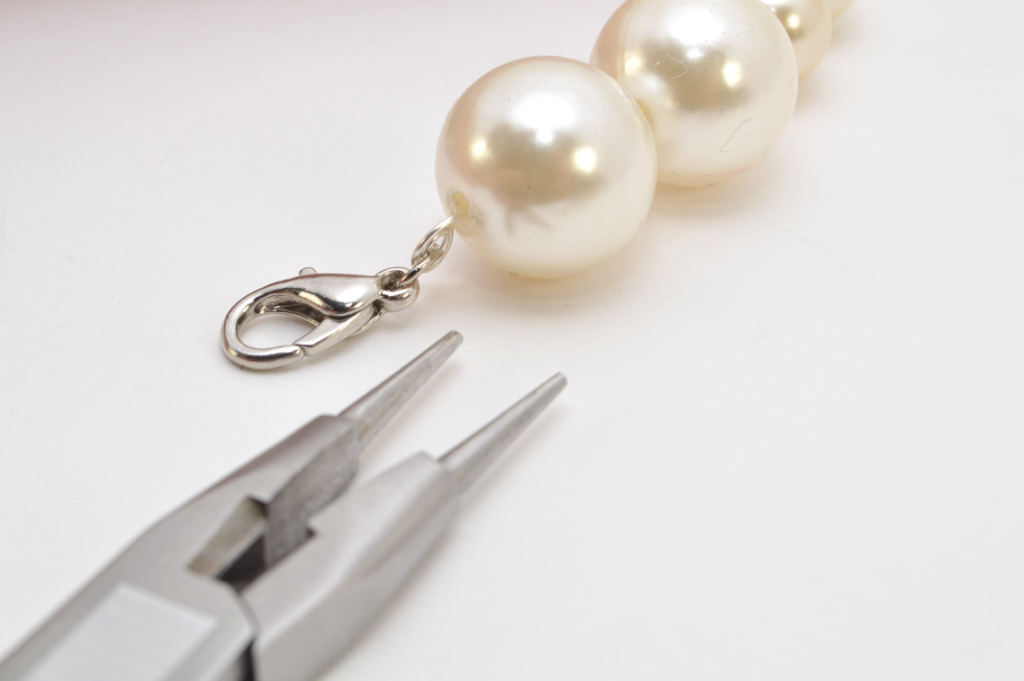
8) Add a jump ring and a jewelry clasp to the end of the bracelet with the biggest pearl.

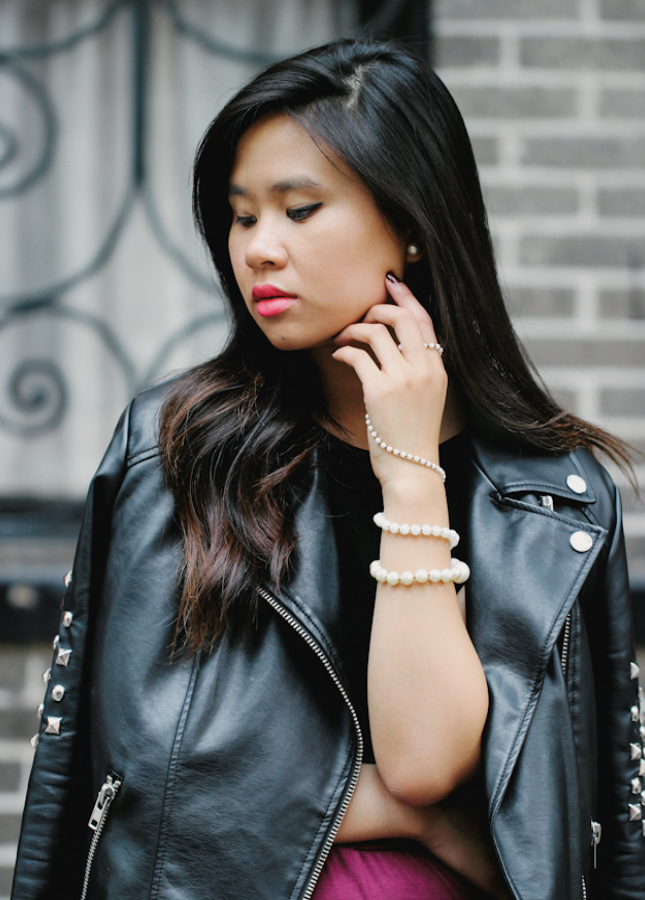
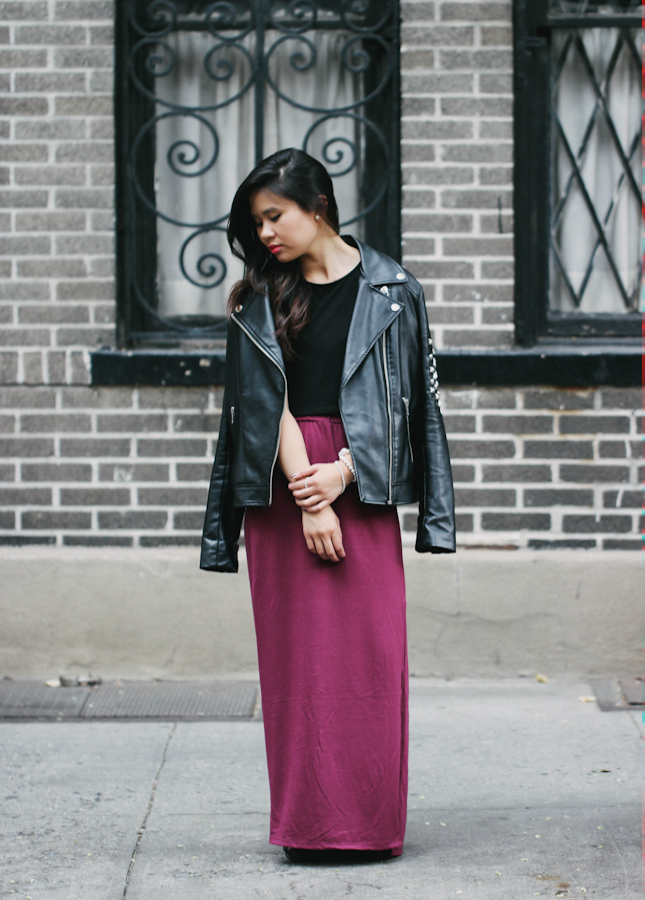
Street Style Photos: Haruka Sakaguchi (The Denizen Co.)