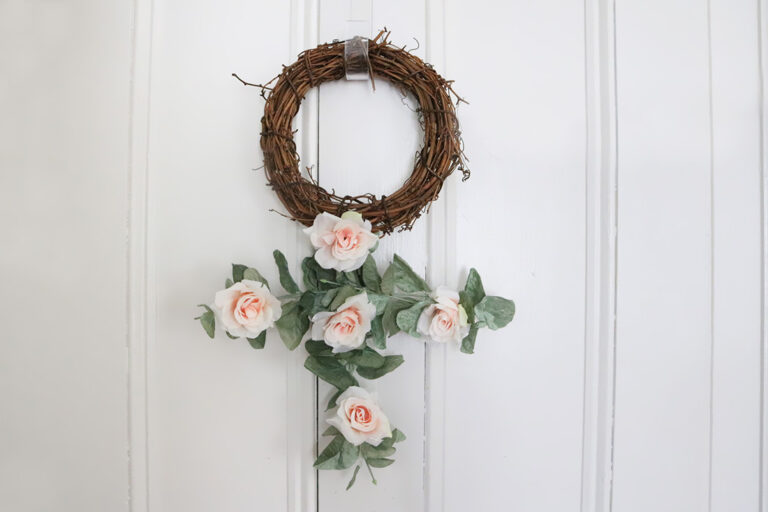
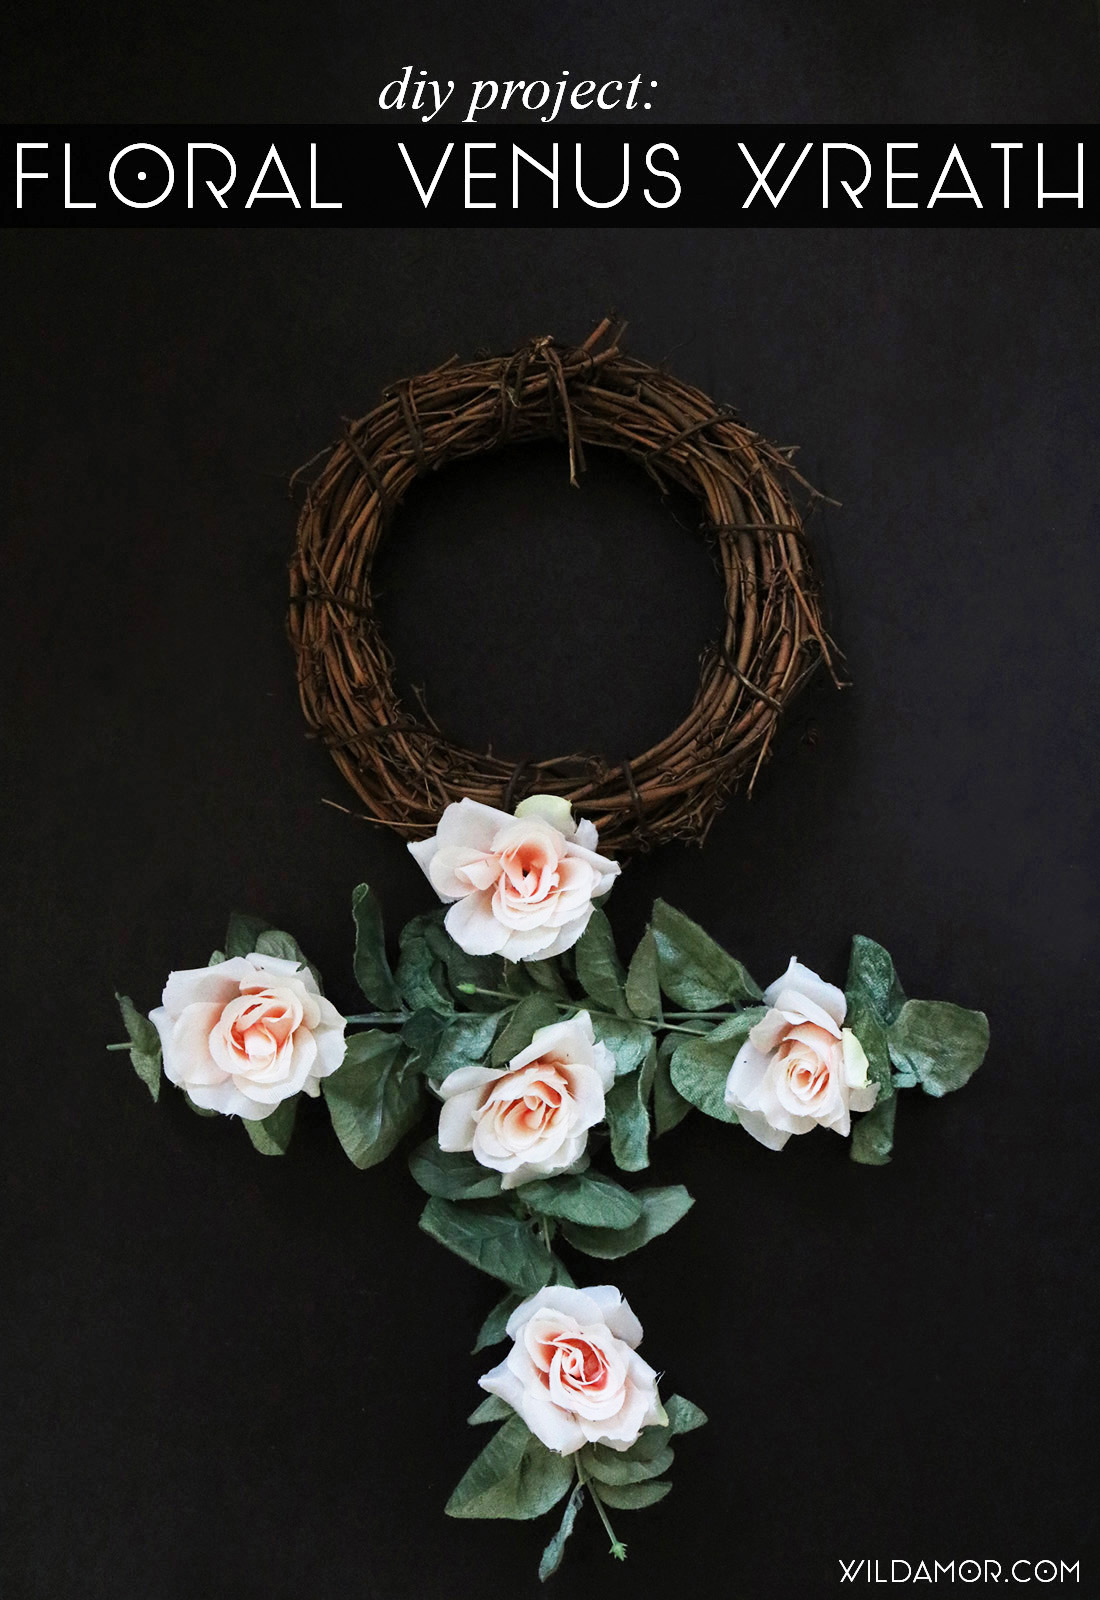
Happy International Women’s Day! In honor of all the badass women out there, here’s a spring project inspired by none other than the Venus sign, a gender sign that stems from astrological symbols. The idea came about while brainstorming crafty ways to create the Venus sign, a symbol that has gained so much significance in the past few years. Of course, my plant lady self showed up with full force, and this concept was born. A simple grapevine wreath serves as the base, while faux stems and flowers adorn the cross portion of the symbol. The best thing about this spring DIY project is that there are endless ways to add your own flair. Grapevine wreaths are available in a wide variety of sizes, while the faux blooms present endless combinations. Plus, all you need is a pair of pliers and some hot glue, and nothing more. Find the spring wreath tutorial, below.
Floral Venus Wreath DIY
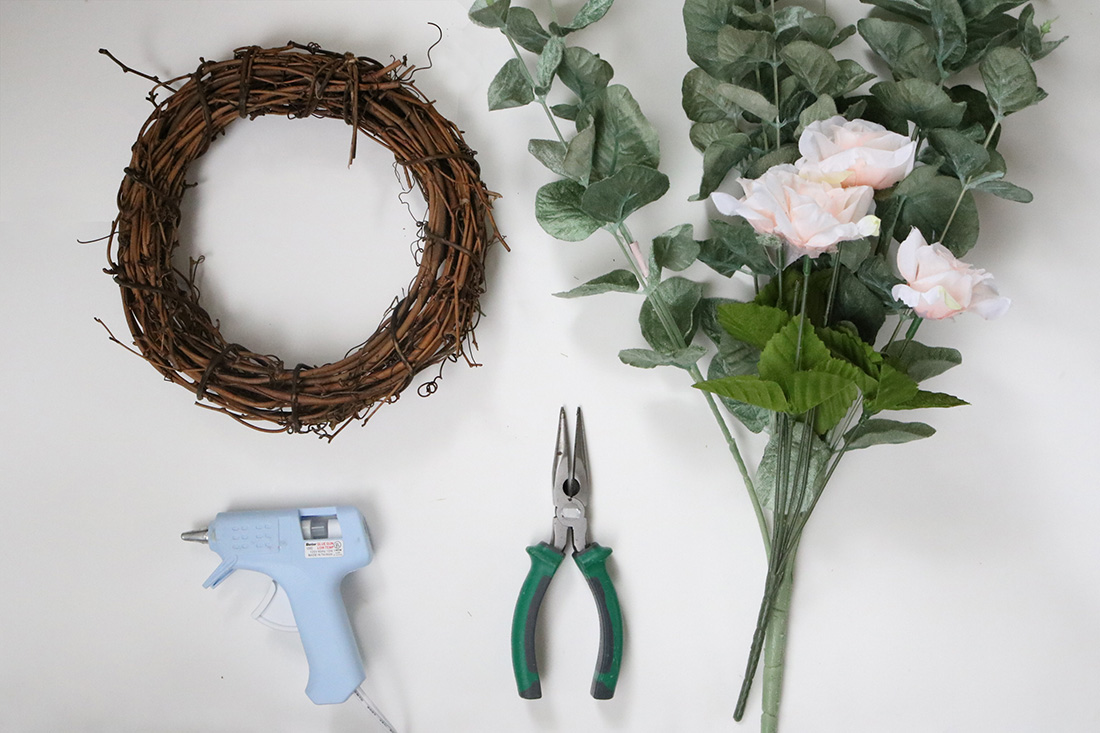
Supplies:
- Grapevine wreath (I used an 8-inch grapevine wreath
)
- Faux stems and flowers
- Hot glue gun
- Pliers
For this project, I used eucalyptus stems and light pink roses from Michaels. Feel free to choose your favorite combination of blooms! The only requirement is that the stems are straight and sturdy enough to be glued into a cross.
Bigger wreaths will look better with fuller stems and larger flowers, while smaller wreaths work best with the opposite.
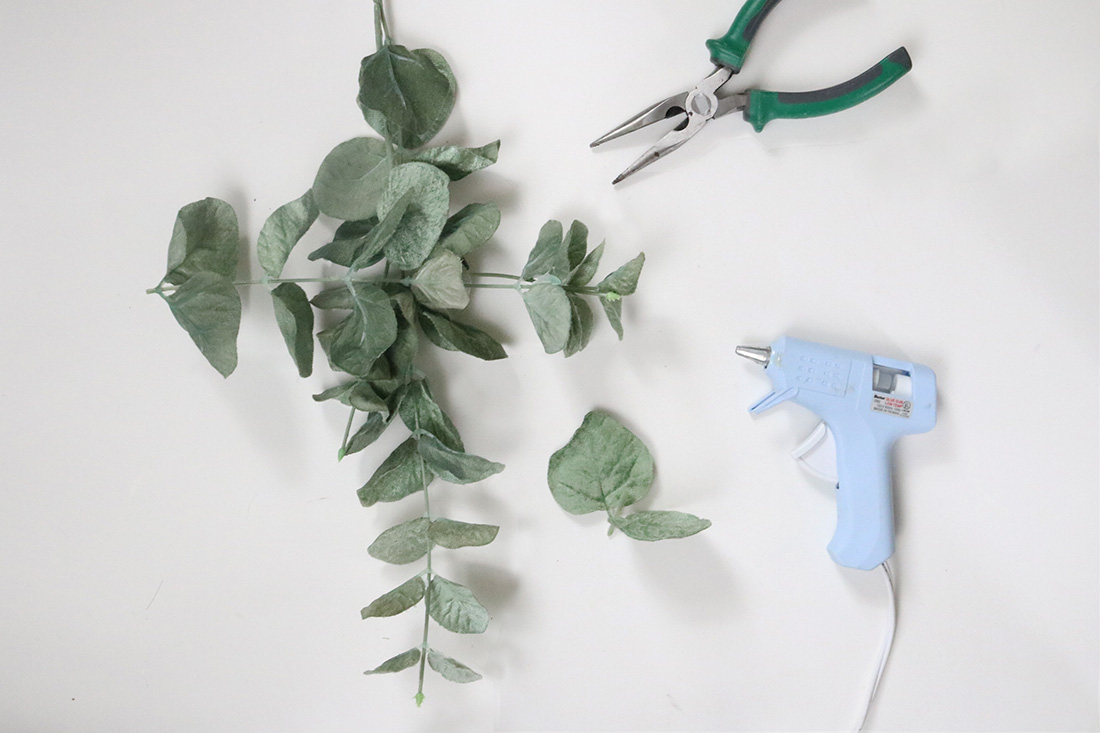
1. Using the cutting portion of the pliers, snip the stems and trim where necessary. Set aside the trimmings, which may come in handy for filling up empty spaces.
Position the stems in a cross shape and hot glue together. Don’t forget that you can take advantage of the leaves and glue them to each other, too.
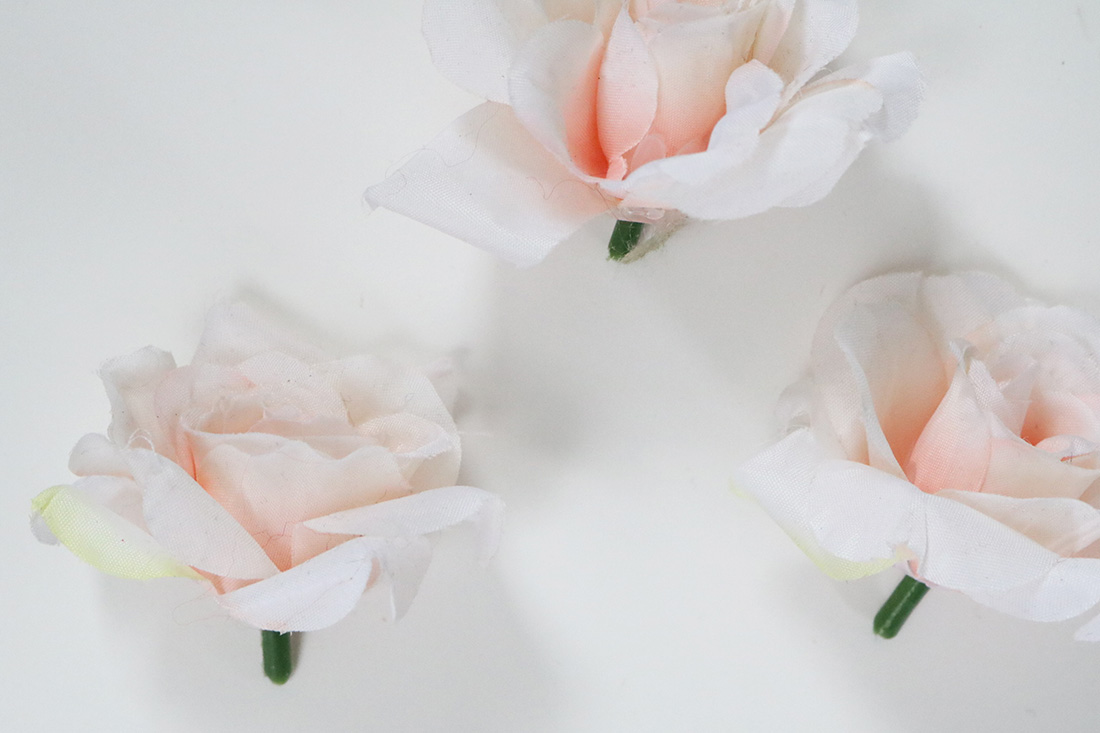
2. Remove the flowers from their stems. Most kinds will slide right off.
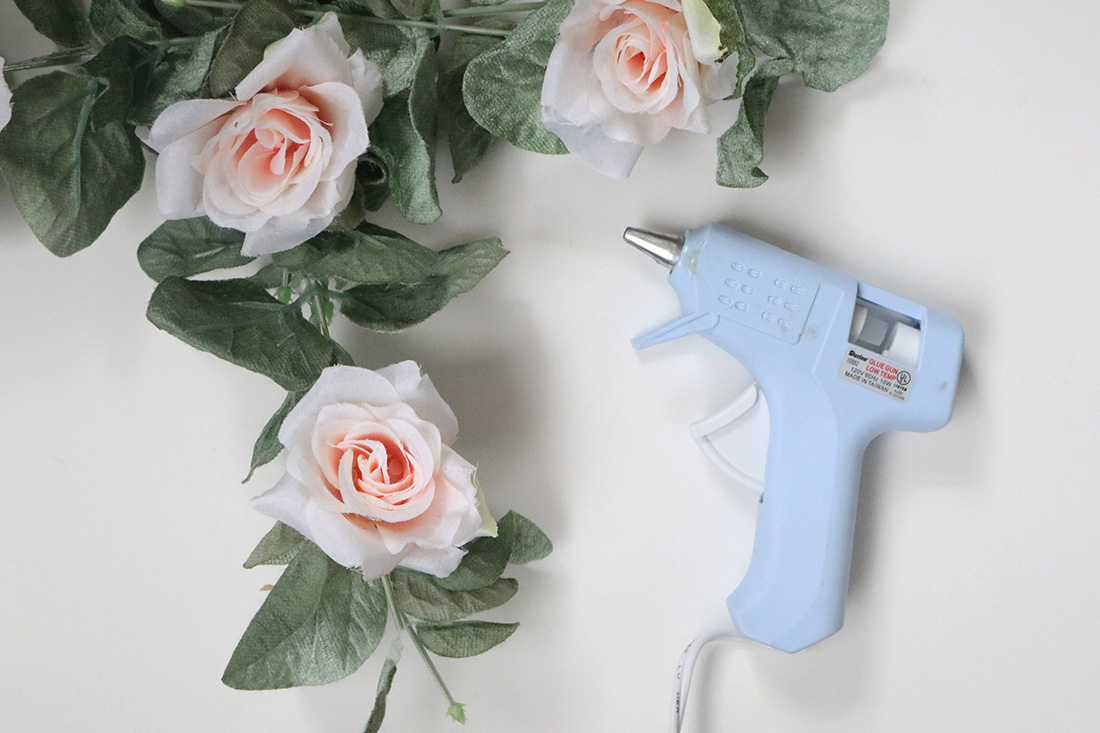
3. Arrange the flowers on the stems until you like the way it looks. You can also arrange loose leaves and stem trimmings to fill up awkward, empty spots.
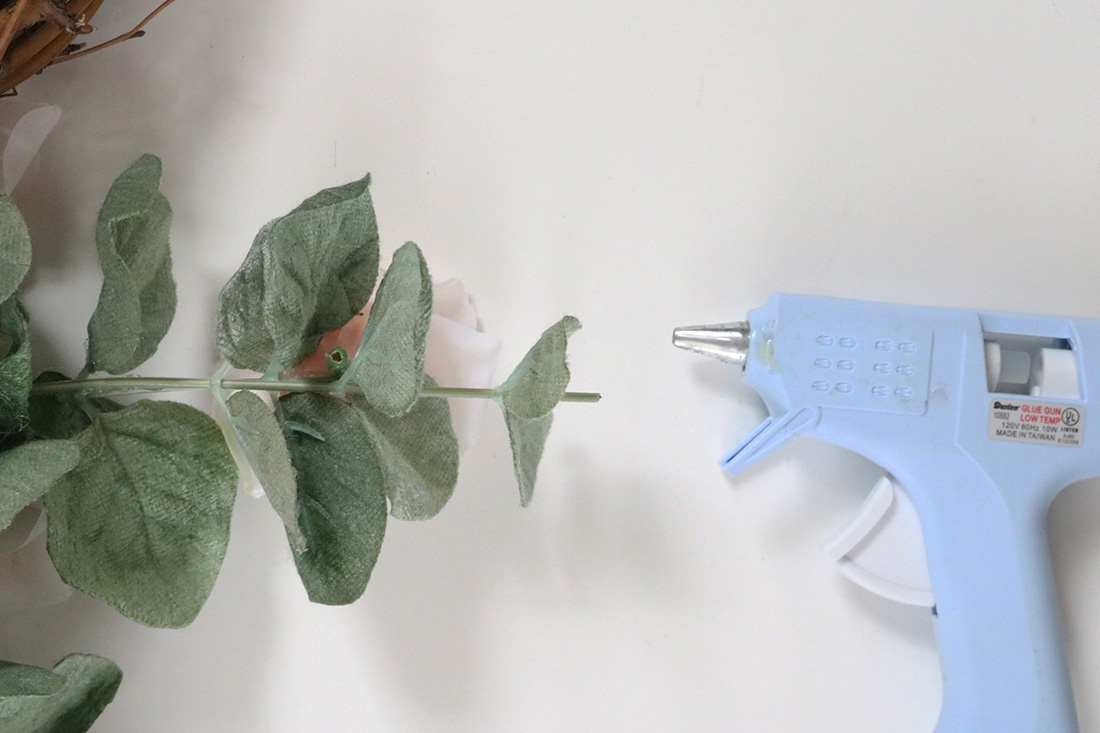
4. Apply hot glue underneath each flower and adhere to the stems. Again, take advantage of the leaves, which are much easier to stick to.
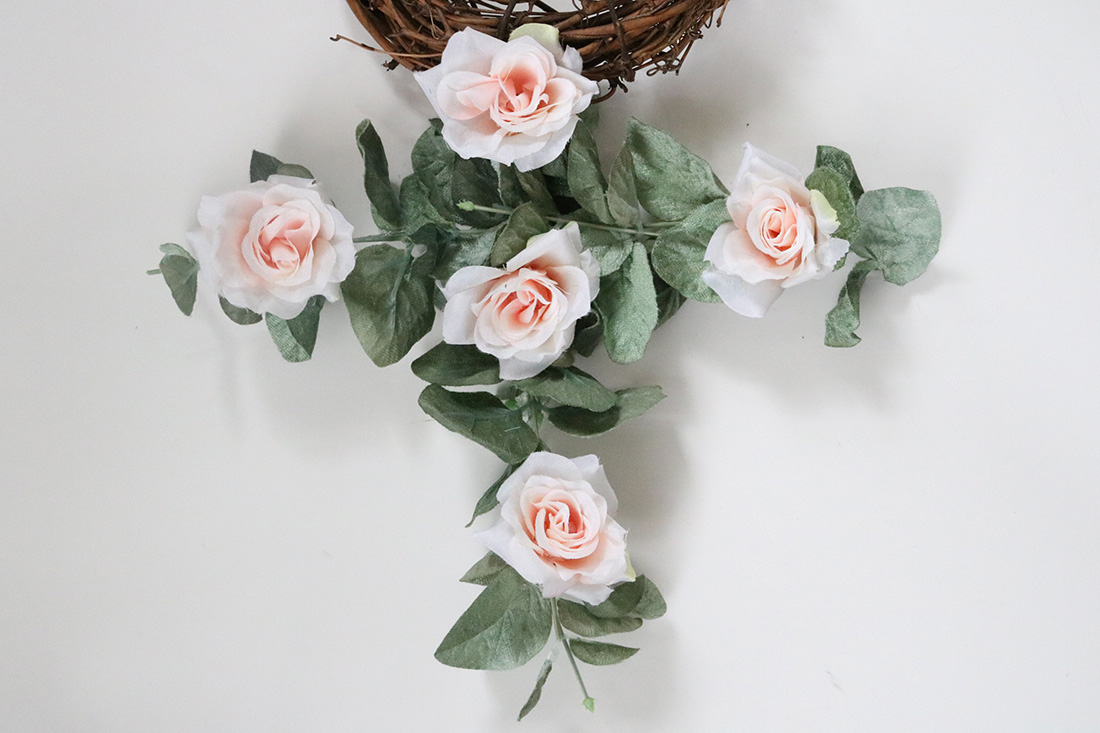
5. Continue until all of the flowers are glued on.
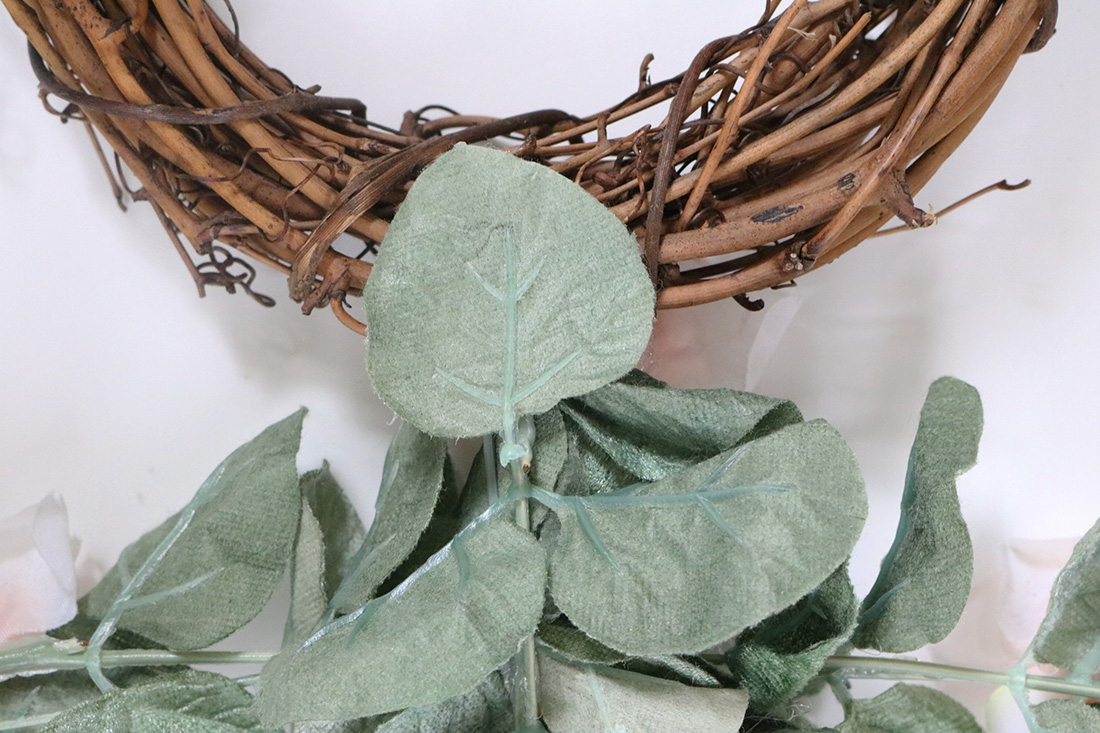
6. Glue the floral cross to the back of the grapevine wreath. To provide more support, place a leaf on top and glue in place, like a bandage.
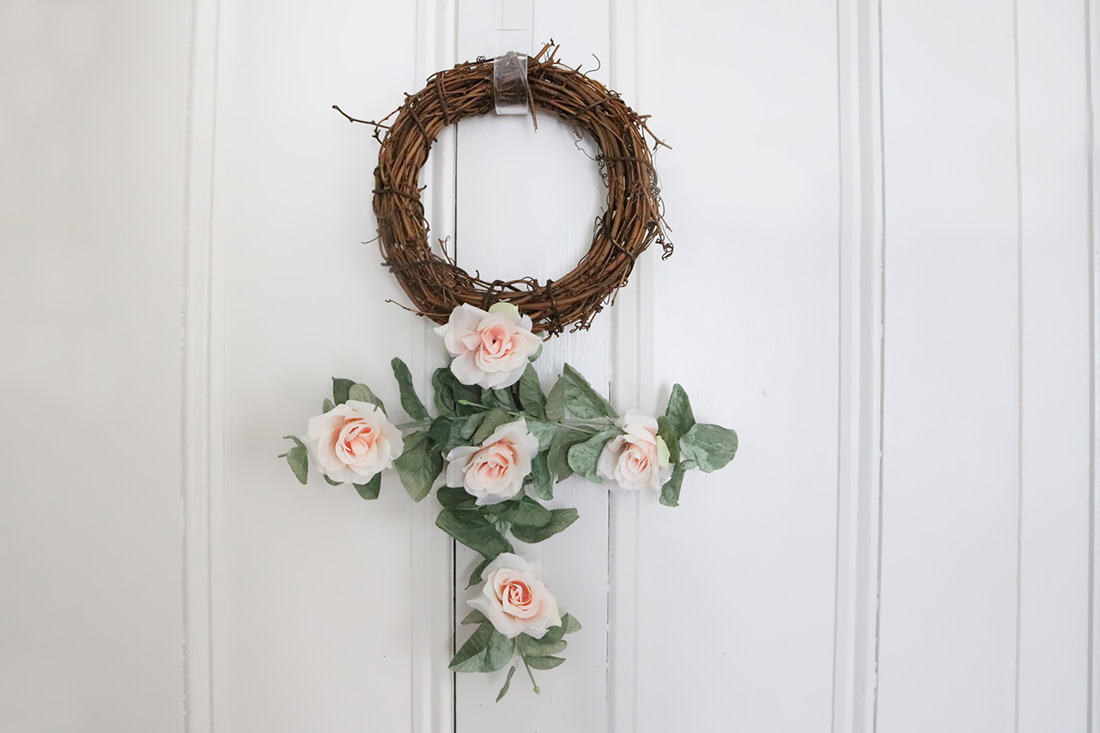
I’m obsessed. This easy, inexpensive project would be awesome for a girl’s night in, or after brunch during the weekend. And again, don’t forget that you can personalize the heck out of it. The craft store is home to countless faux flowers and stems! I’d love to make another version with turquoise and black roses, my favorite color combo. Or maybe a succulent one? …BRB, making all the DIY wreaths.
If you’re on a spring project kick, here are more botanical DIY tutorials to inspire your spring crafting:
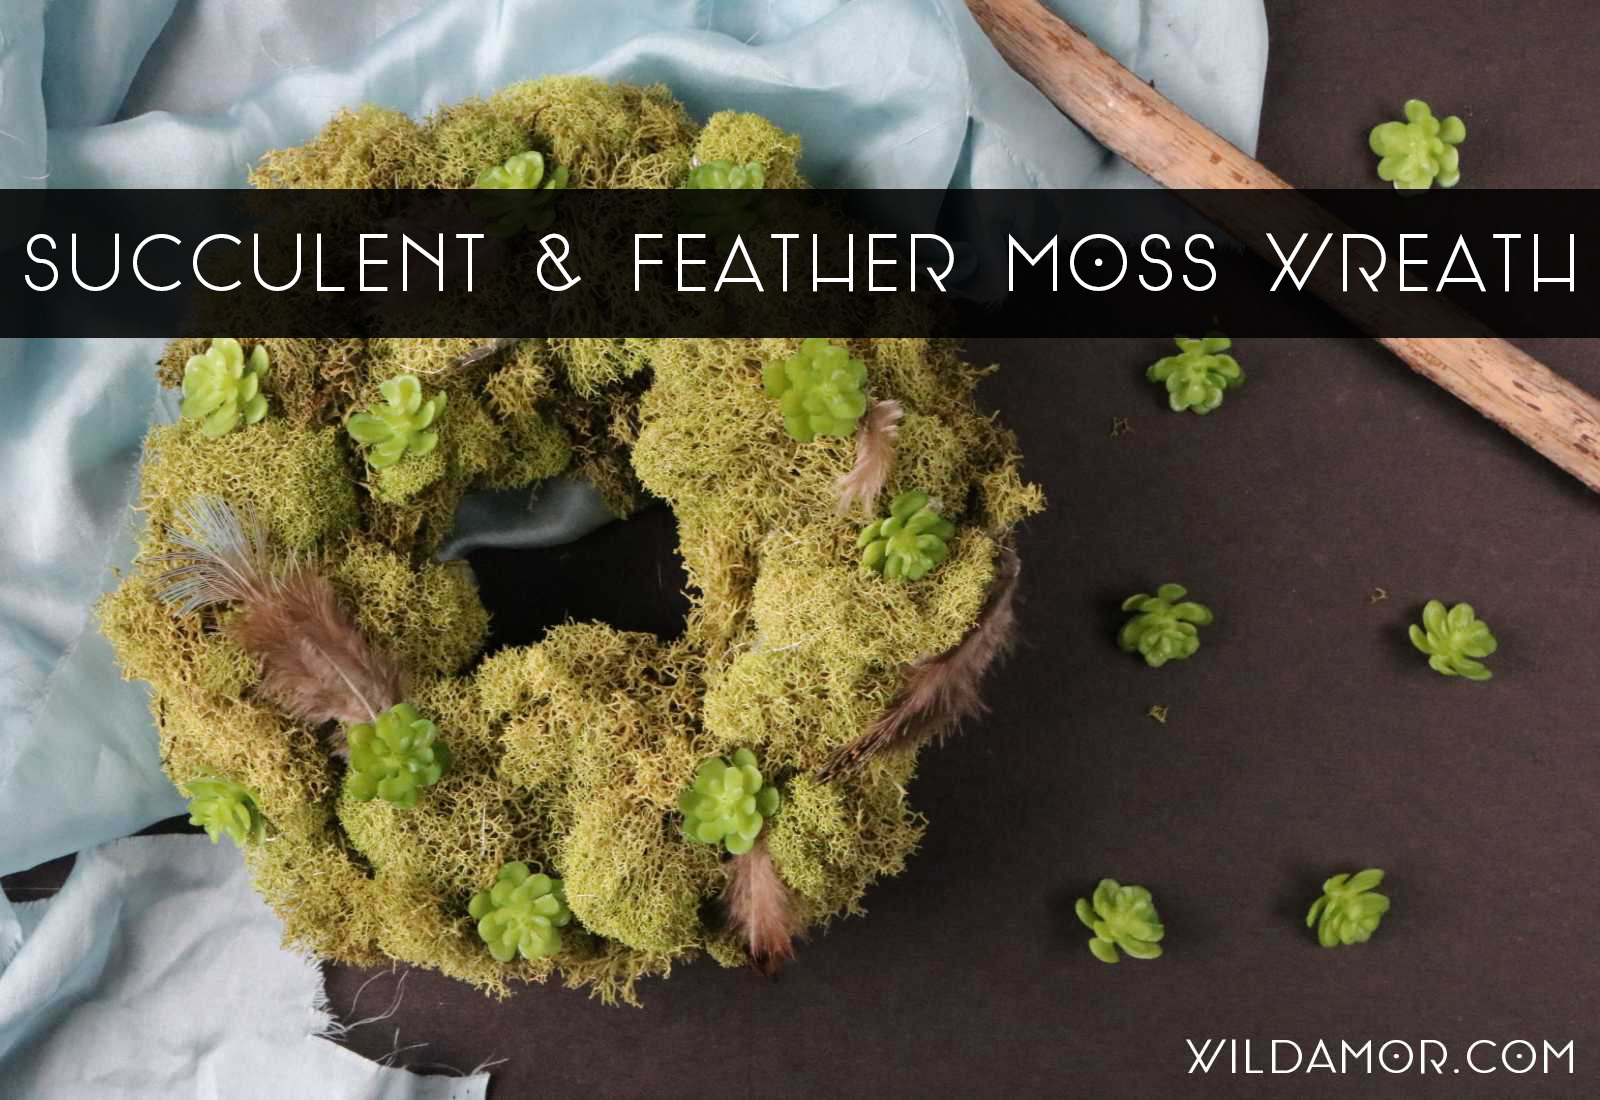
This simple and sweet Succulent & Feather Moss Wreath is a beautiful, simple way to bring the outdoors in. (Wild Amor)
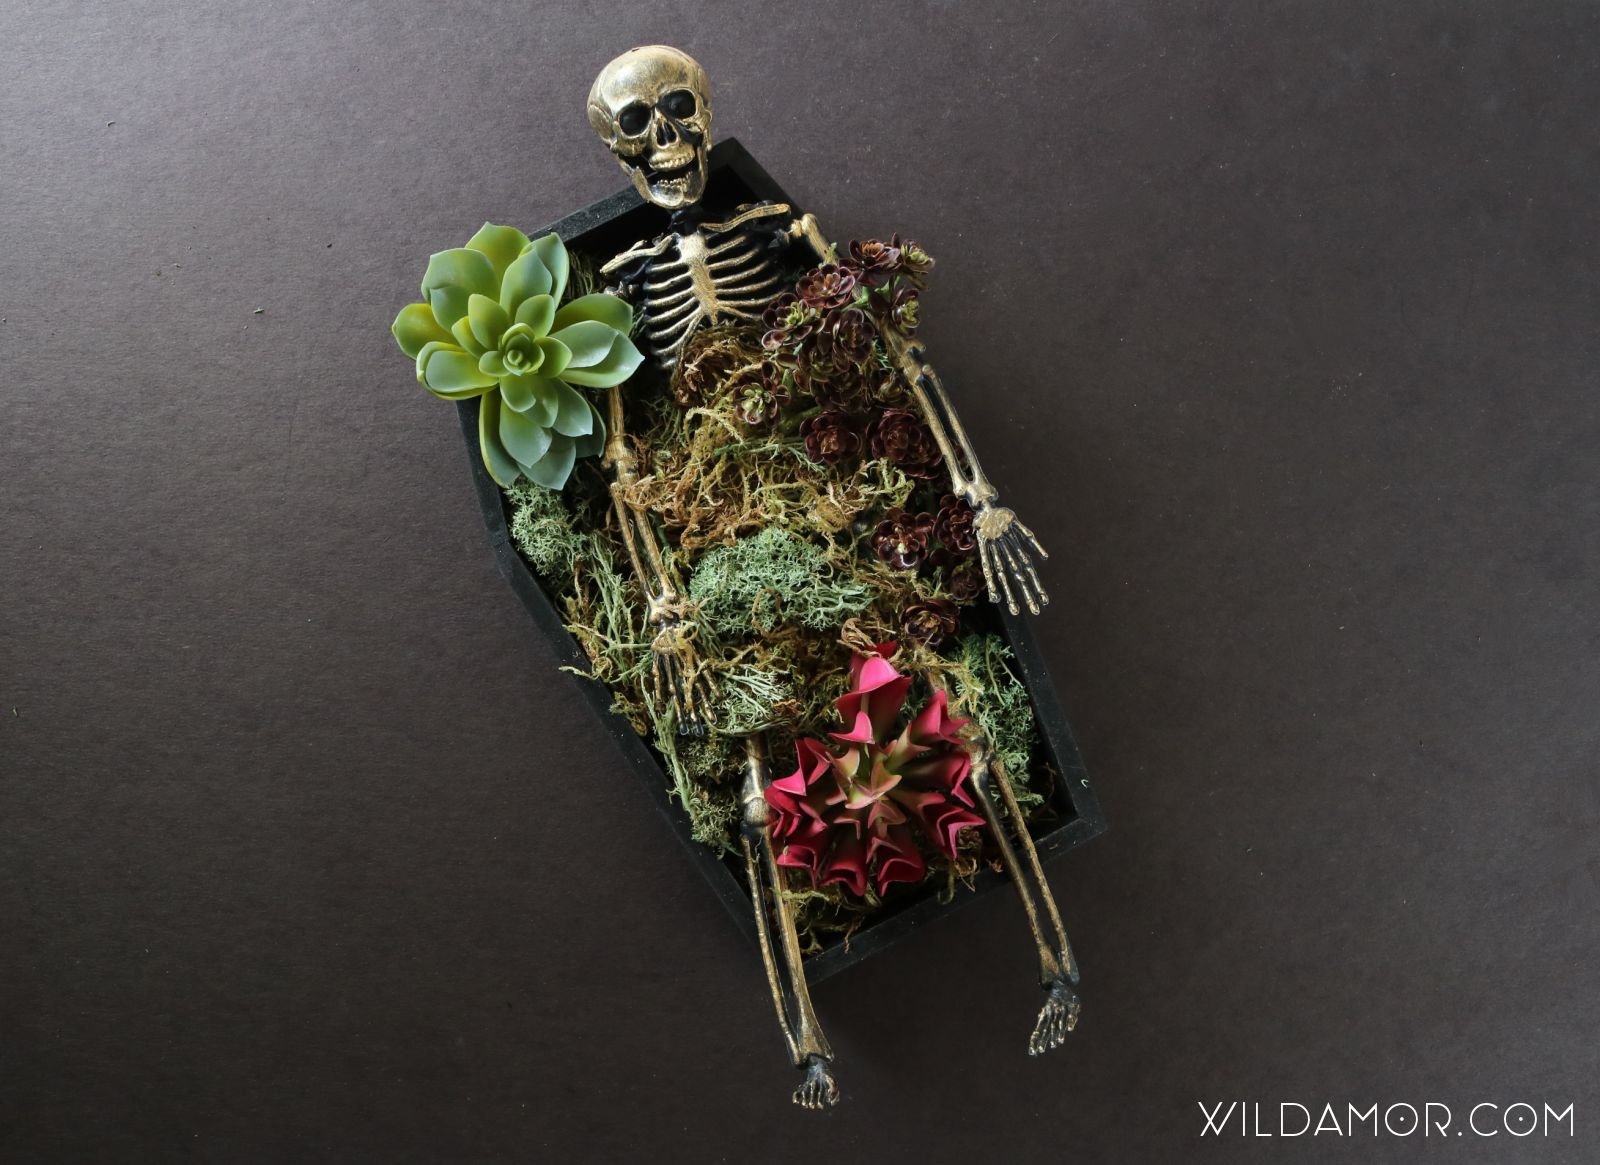
If you’re like me and love spooky crafts all year round, make a Coffin Succulent Planter. I’m thinking about hanging mine up! (Wild Amor)
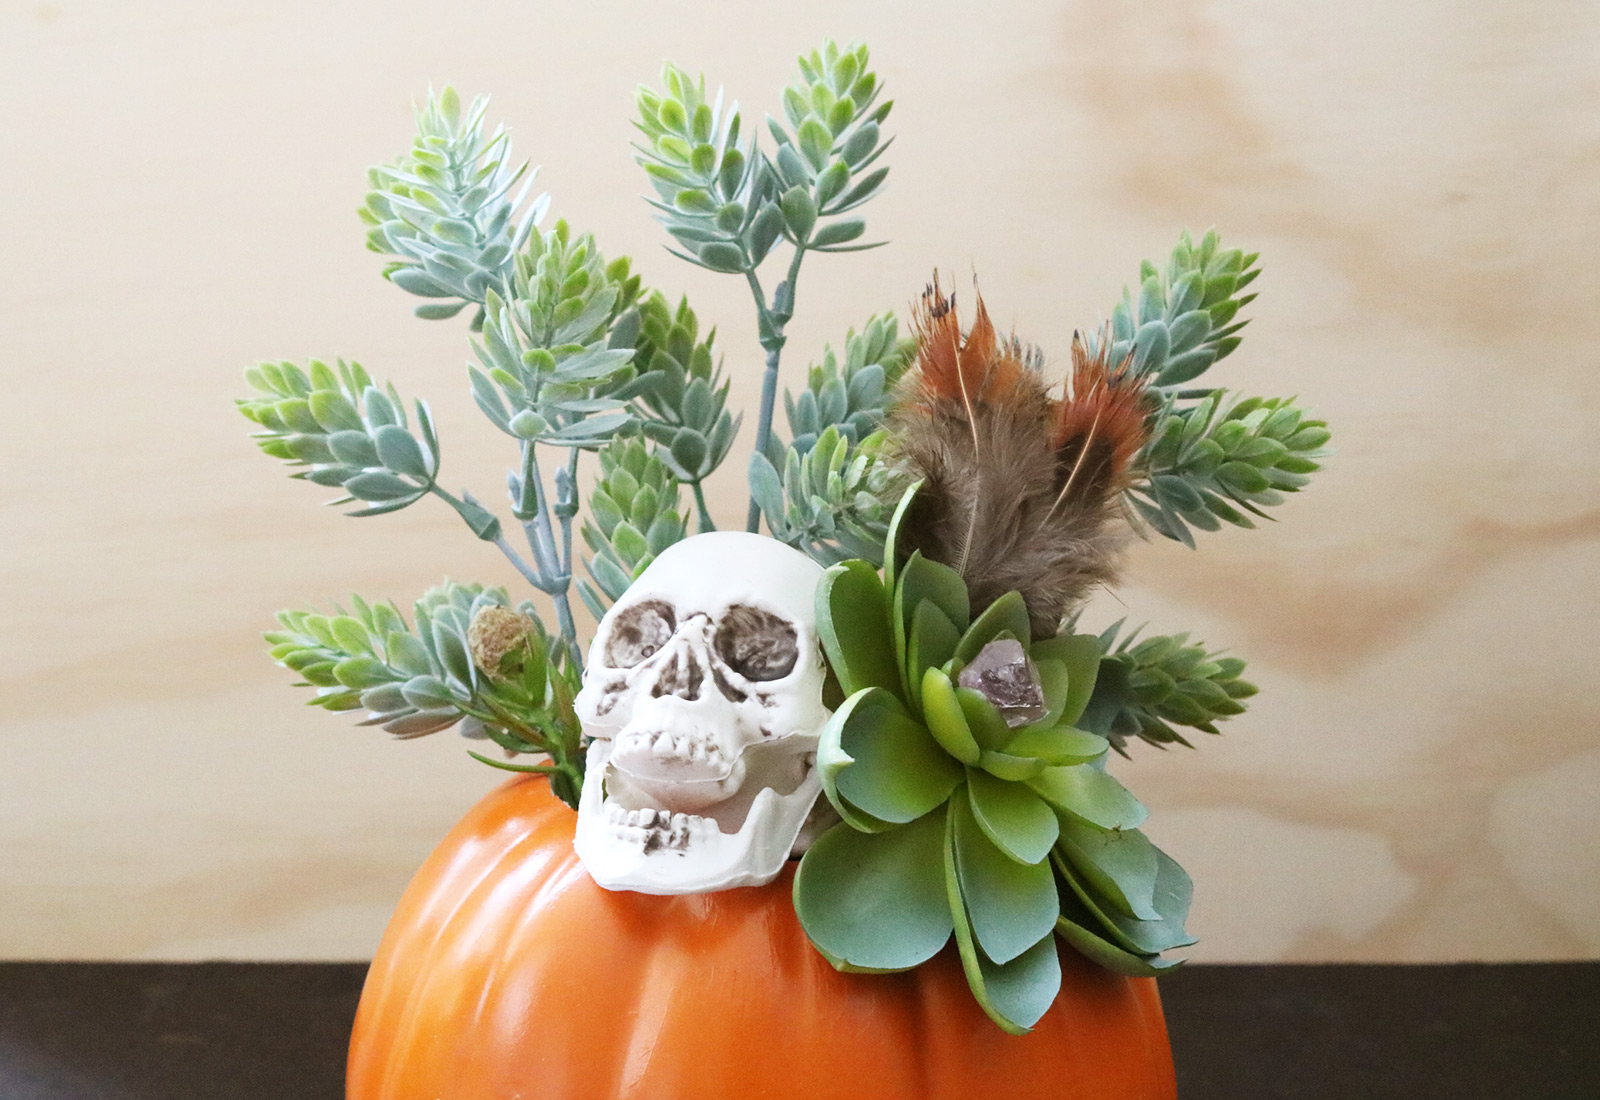
On that note, this Skull & Succulent Centerpiece will also be right up your alley. Thank goodness hollow fake pumpkins exist. (Wild Amor)
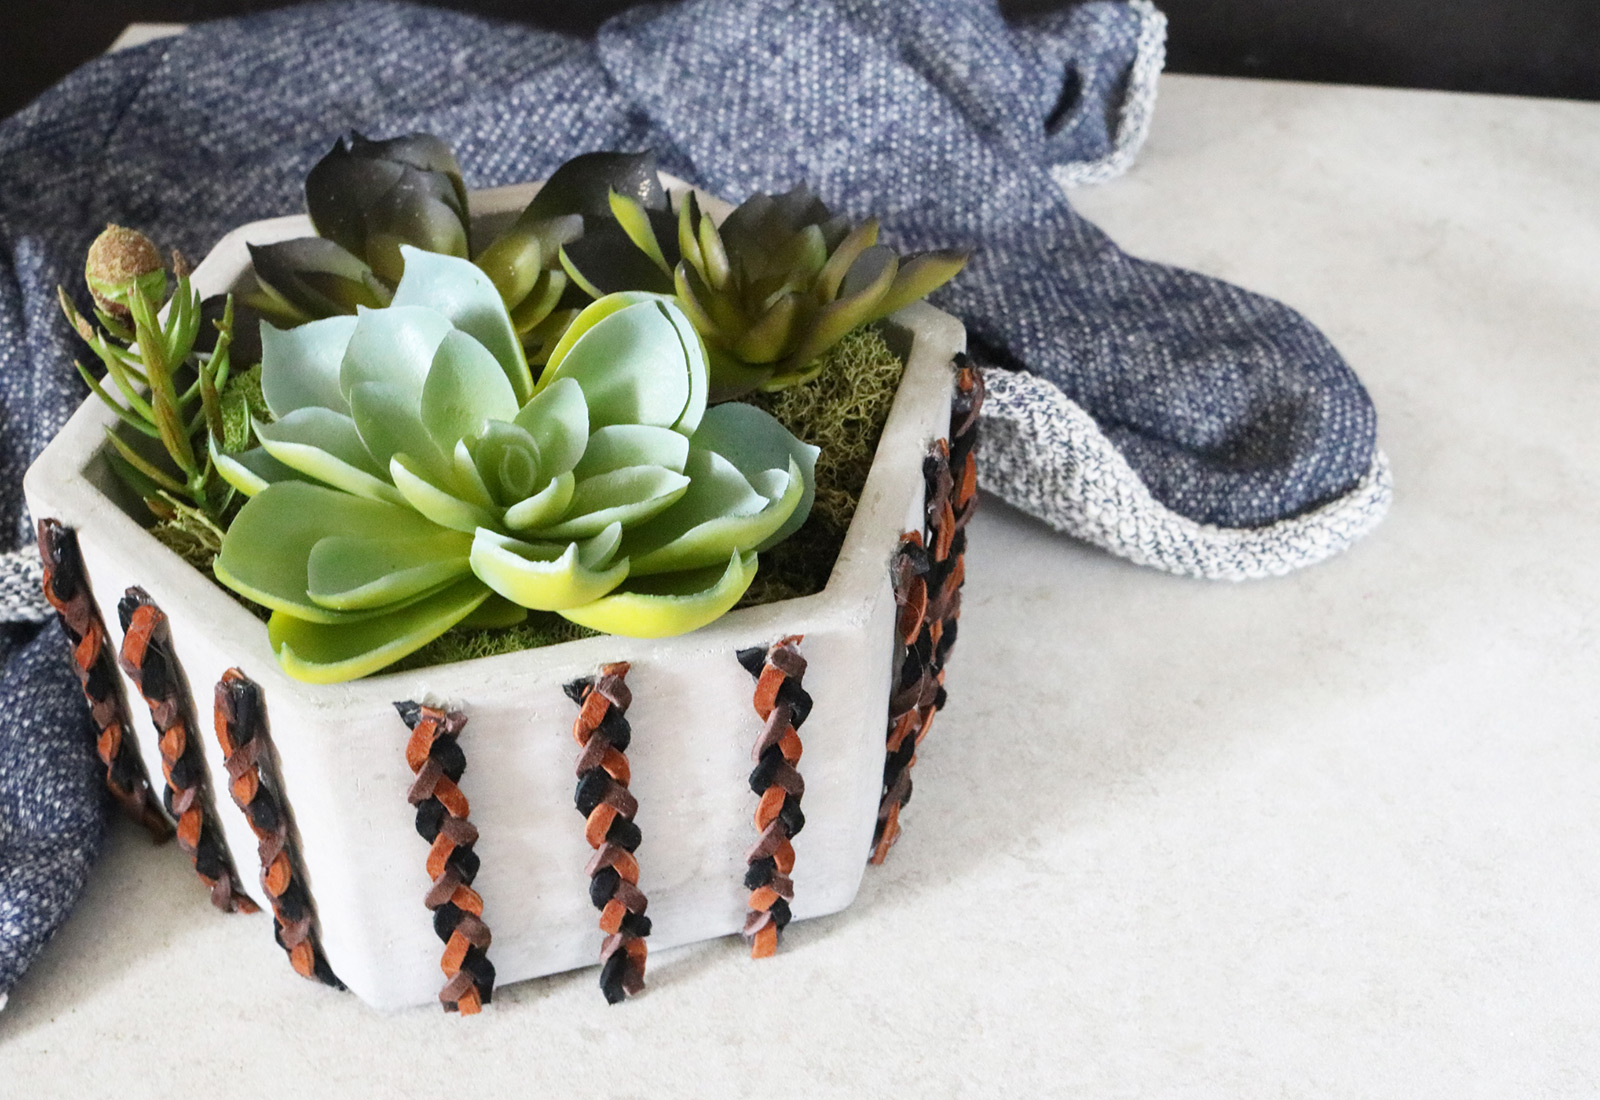
The texture in this Cement Planter With Braided Suede is just too good. Of course, you can use the braided leather technique on any planter you have on hand. (Darice Crafts)
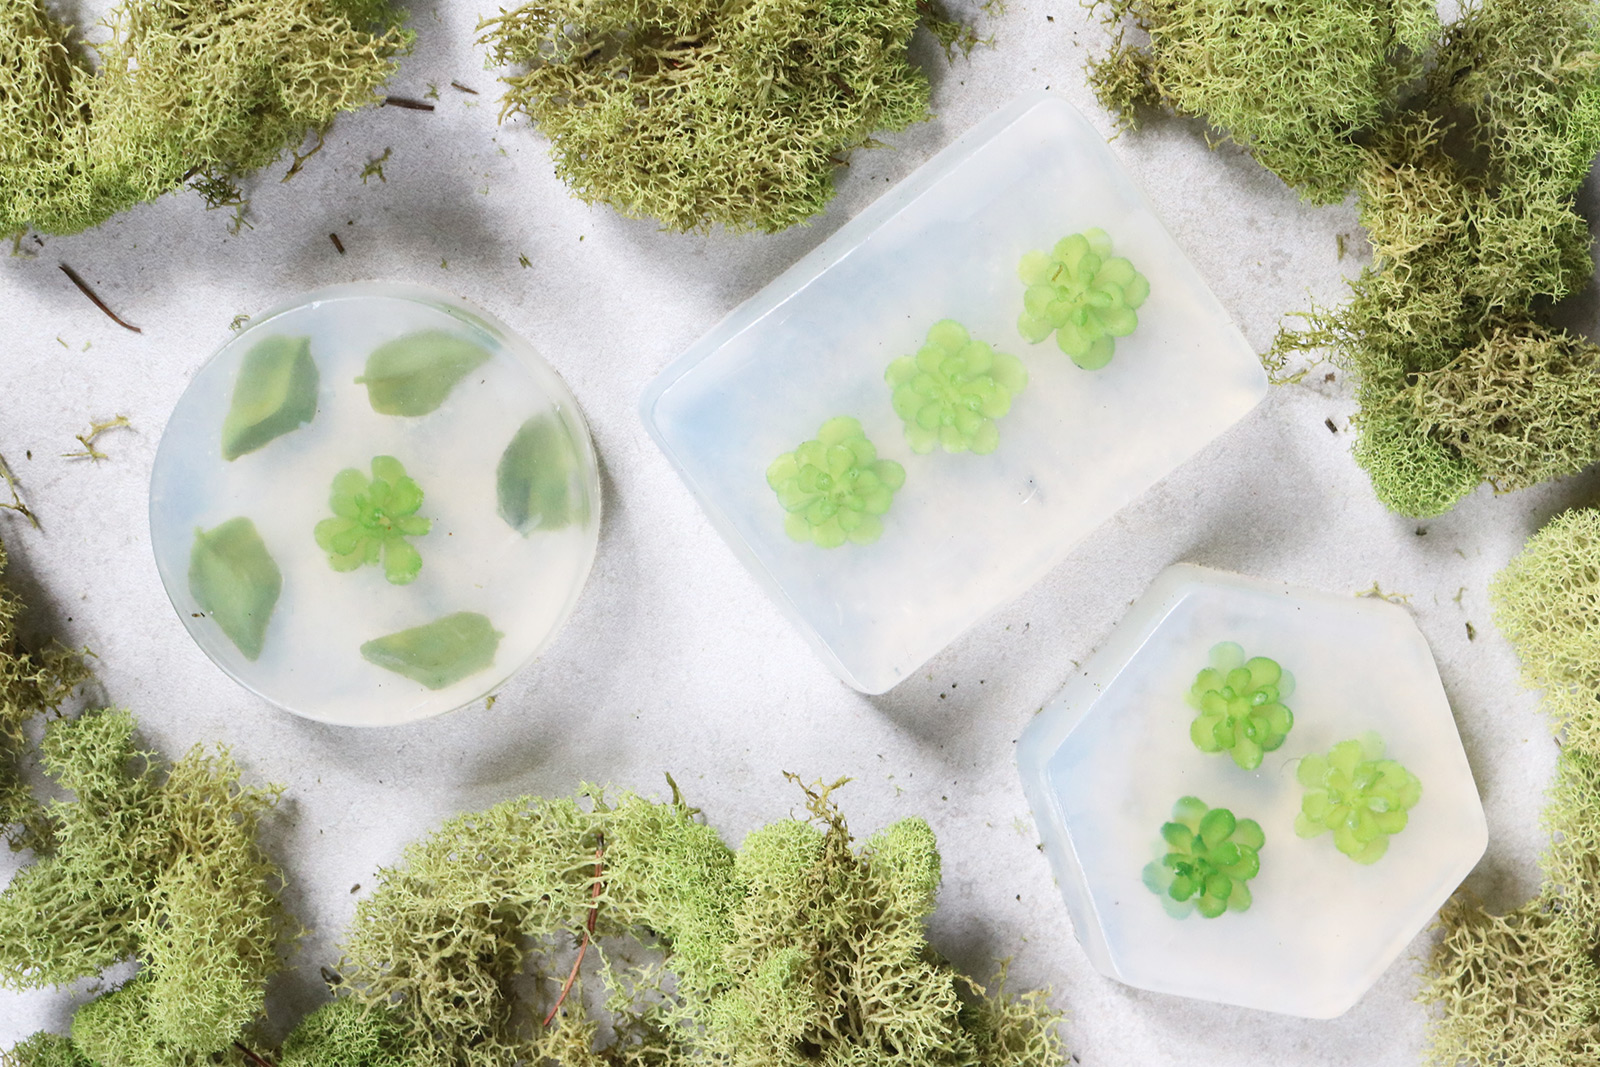
Plants and homemade beauty products… these are a few of my favorite things. If you can relate, make a batch of Succulent Soap Bars for a charming DIY. (Darice Crafts)
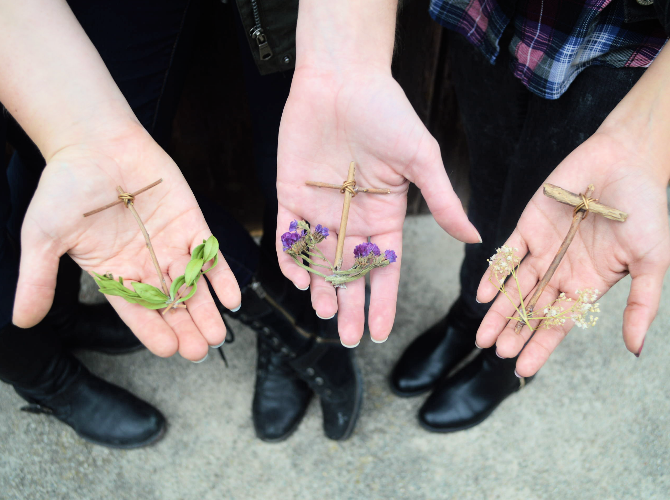
These Dried Flower Anchors are definitely in my Top 20 favorite projects, if I was ever to make such a list. How cute would these be as a garland? (Wild Amor)
Happy spring crafting!
xx K
This post contains affiliate links.

