Spikes and bows…
…Yup, I DIY’d another trench! If you’re a long time reader of s&p, you probably know that I studded a short trench jacket last spring 2011. This time around, I used screw on spikes (instead of studs with prongs), I used a “real” trench coat (which was super cute to begin with) and took it up a notch and added a bow.
See how I made it below!
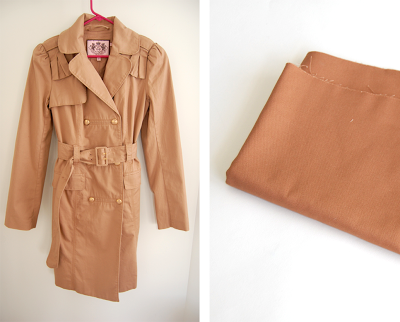
Supplies:– Trench coat, screw on spikes, khaki colored cotton fabric
The trench coat: Purchased from a Juicy Couture outlet, during a crazy Memorial Day sale. It’s originally $300 – then it was marked down, and then marked down again, and then the sale was 30% off, so I snagged it for $70! I took one look at it and knew it’d be perfect for this project. The fit is amazing, too.)
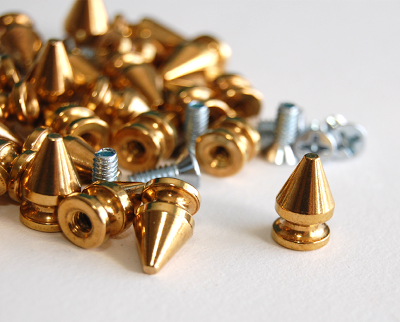
The screw on spikes: I used 56 total, 28 on each side. Each spike comes with a screw.
(You can purchase spikes at studsandspikes.com or crustpunks.com)
The fabric: I purchased 1/4 of a yard at Jo-Ann Fabrics, which was more than enough material.
Not shown, but I also used…
– Embroidery scissors, to pierce the fabric.
– Phillips screw driver
(Mine was from the handle of a gardening hammer. Still counts!)
– Pencil and ruler
– Scissors
– Fabric glue
– Sewing machine (preferably), sewing needle, coordinating thread
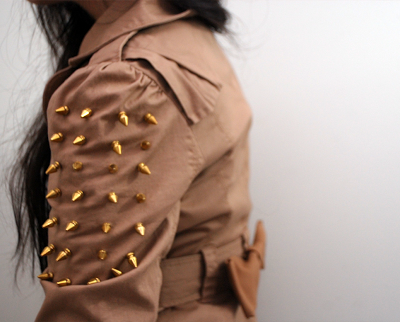
First, I marked where I wanted to place my spikes. There wasn’t a seam on the sleeve, so I laid it flat out and measured .5 inch (1.27cm) from the fold for one spike, and then another 1 inch (2.54cm) for another spike. I repeated it on the reverse side of the sleeve – this way, each spike would be exactly 1 inch apart.
Carefully, I pierced each hole with the embroidery scissors. I did this one by one (ie: pierced a hole, added a spike, pierced another hole, etc.) Contrary to what the photo shows, I think it is easier to actually put your hand/scissor into the sleeve, and then pierce up and through the fabric as oppose to down/from the outside.
Insert a screw, screw on the spike, tighten and further secure with the screw driver.
One sleeve, almost done.I repeated this until I had both sleeves done (again, I did 7 rows of 4 on each sleeve, but the amount is totally up to you).
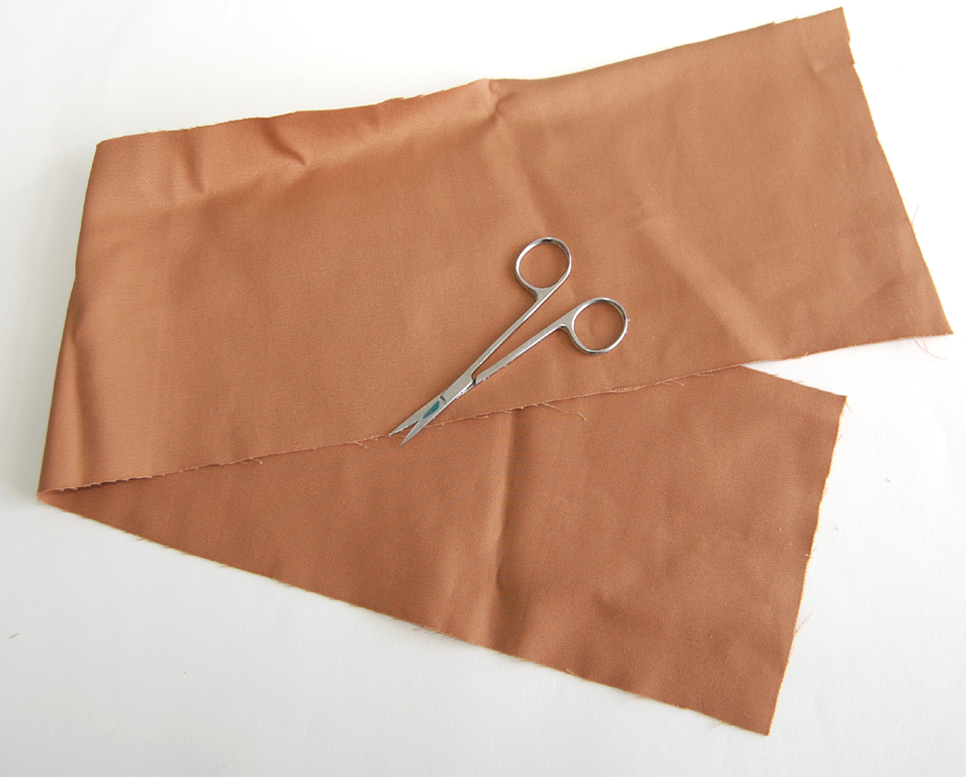
For the bow, I cut a piece of fabric 28.5 inches x 5.5 inches (72.39cm x 13.97 cm).
Fold the strip of fabric in half, horizontally.
Pin the top edge.
Sew together.
Turn the fabric right side out, and cut 10.5 inches (26.67 cm). Save the remaining fabric.
Fold the 10.5 inch piece in half and pin at the end. Sew along the pin.
Turn this right side out so that the raw edges are facing the inside. Position the fabric like above.
Take a needle and thread, and gather the center to create a bow. Secure with a few stitches.
Of the remaining fabric, cut a piece about 4 inches (10.16 cm) wide. This will go around the center of the bow.
Fold in half horizontally, and sew along the top edge if you’d like. I did this with just a few simple stitches.
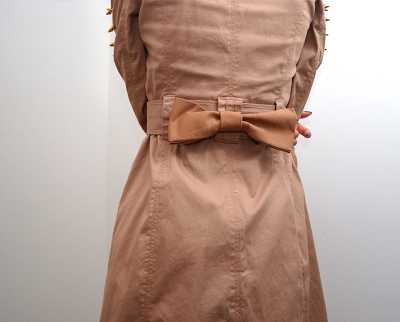
Wrap around the center, with the ends underneath the bow. Secure with a few stitches. I attached the bow to a belt loop with some fabric glue; when this dried completely, I added a few simple stitches as well.
The finished bow!
(I’m thinking about adding a few stitches to connect the ends of the bow to the belt loops near them)
Obviously, you can make your bow any size you like. Or even a different color. As for the spikes, I actually prefer these as oppose to the studs I used in the last jacket, as the screws are much more secure than prongs.
Enjoy! xo