
An ongoing project of mine is organizing everything I own. This includes everything from accessories (Fabric Wrapped Scarf Holder, anyone?) to beauty products to especially my ever growing stash of supplies. It just makes it so much easier to think and plan when everything has it’s own organized, designated spot. Plus, I’m hoping to move within the next year, and this will make it SO much easier!
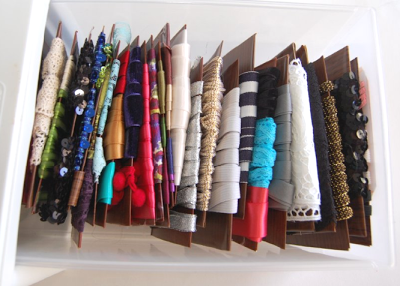
I’ve gotten questions and requests about how I go about storing my supplies. Now that I tackled my collection of ribbons and trims, I thought I’d share it! It’s definitely nothing fancy, but it uses recycled cardboard and keeps everything compact and put together. See how I made it below:
Supplies:
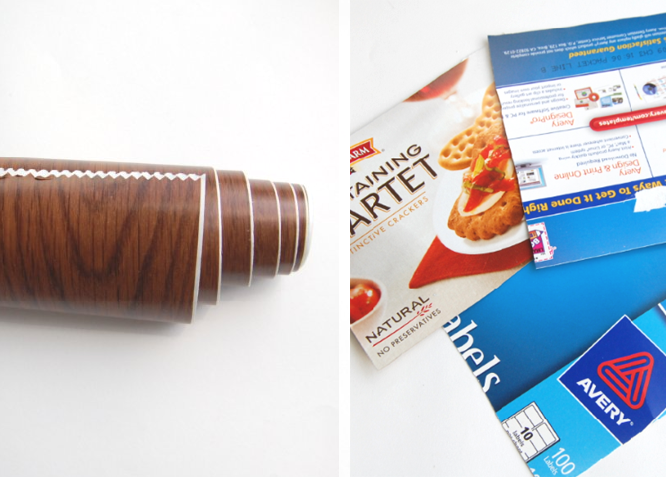
– Wood grain contact paper
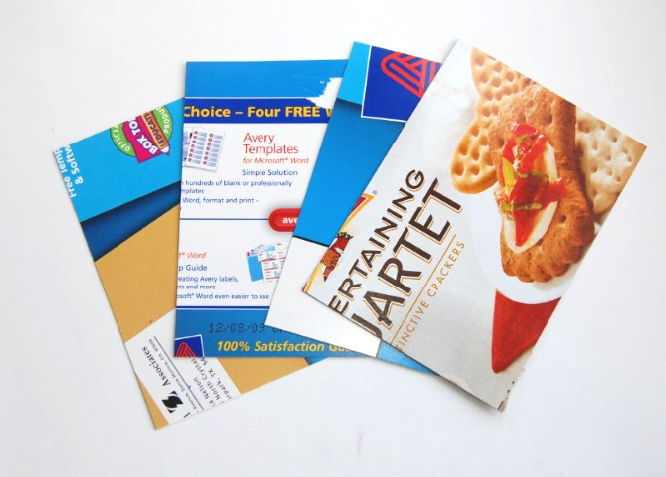
– Scrap cardboard…lots and lots of it!
– Scissors and tape (not shown)
– Paper cutter (optional, but definitely recommended)
– Plastic drawer or shoe box

1) Using the paper cutter, I trimmed all of the cardboard to roughly 3.5″ x 5.25″
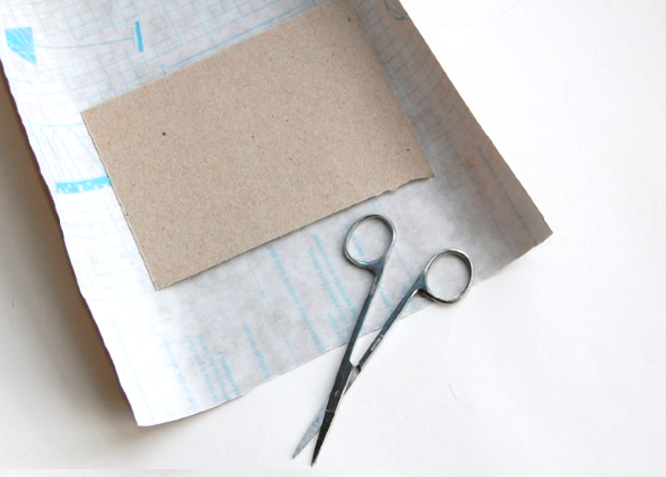
2) Next, I wrapped each piece in wood grain contact paper, taking care to smooth out any air bubbles.

I cut the corners like above, in order to create “flaps” that could be folded over.
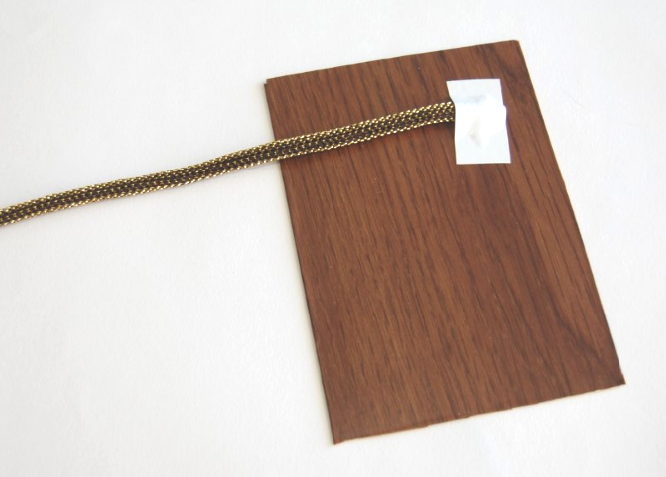
3) Using a small piece of tape, I attached the end of ribbon/trim to the card.
4) I wrapped the ribbon around and taped the other end down with another piece of tape.
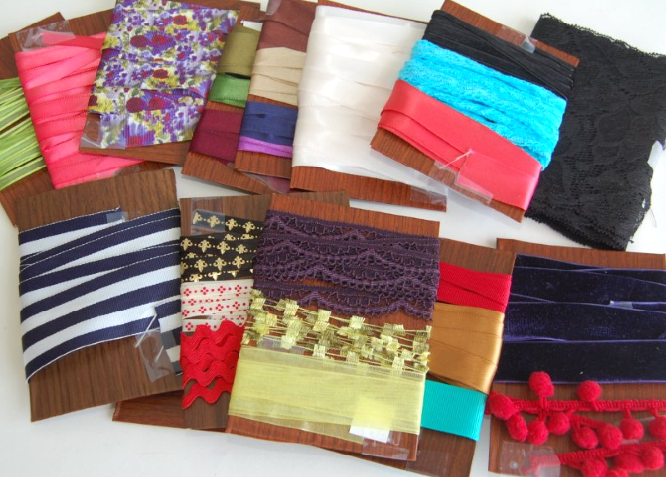
All done! I use this storage system for everything from bias tape to lace trim to ribbon to elastic. It keeps everything neat and organized, and I can easily spot what I need.


Now I just need to figure out how I’m going to spice up the drawer somehow 🙂