
Few things make me happier than food-related crafts. It’s like 2-in-1 deal. These DIY reusable beeswax wraps are the perfect example. Last year, I discovered beeswax wraps at a grocery store in SF and fell in love. It was super cool to see how little waste I was producing while storing my food. I don’t use plastic wrap or baggies anymore! Aluminum foil is a rarity, but I try to extend its life whenever I do use it. This project calls for some foil, but it can be reused again and again.
Over time, these DIY reusable beeswax wraps also save money. They’re cheaper than store-bought versions and I never have to buy plastic wrap or aluminum foil for food storage. Most wraps I’ve seen say to use them for a year, so I’d stick with that time frame. They can be washed with normal soap and water just like your dishes. And when you already have a stash of fabric anyway… it also puts your supplies to good use. Here’s how to make them!
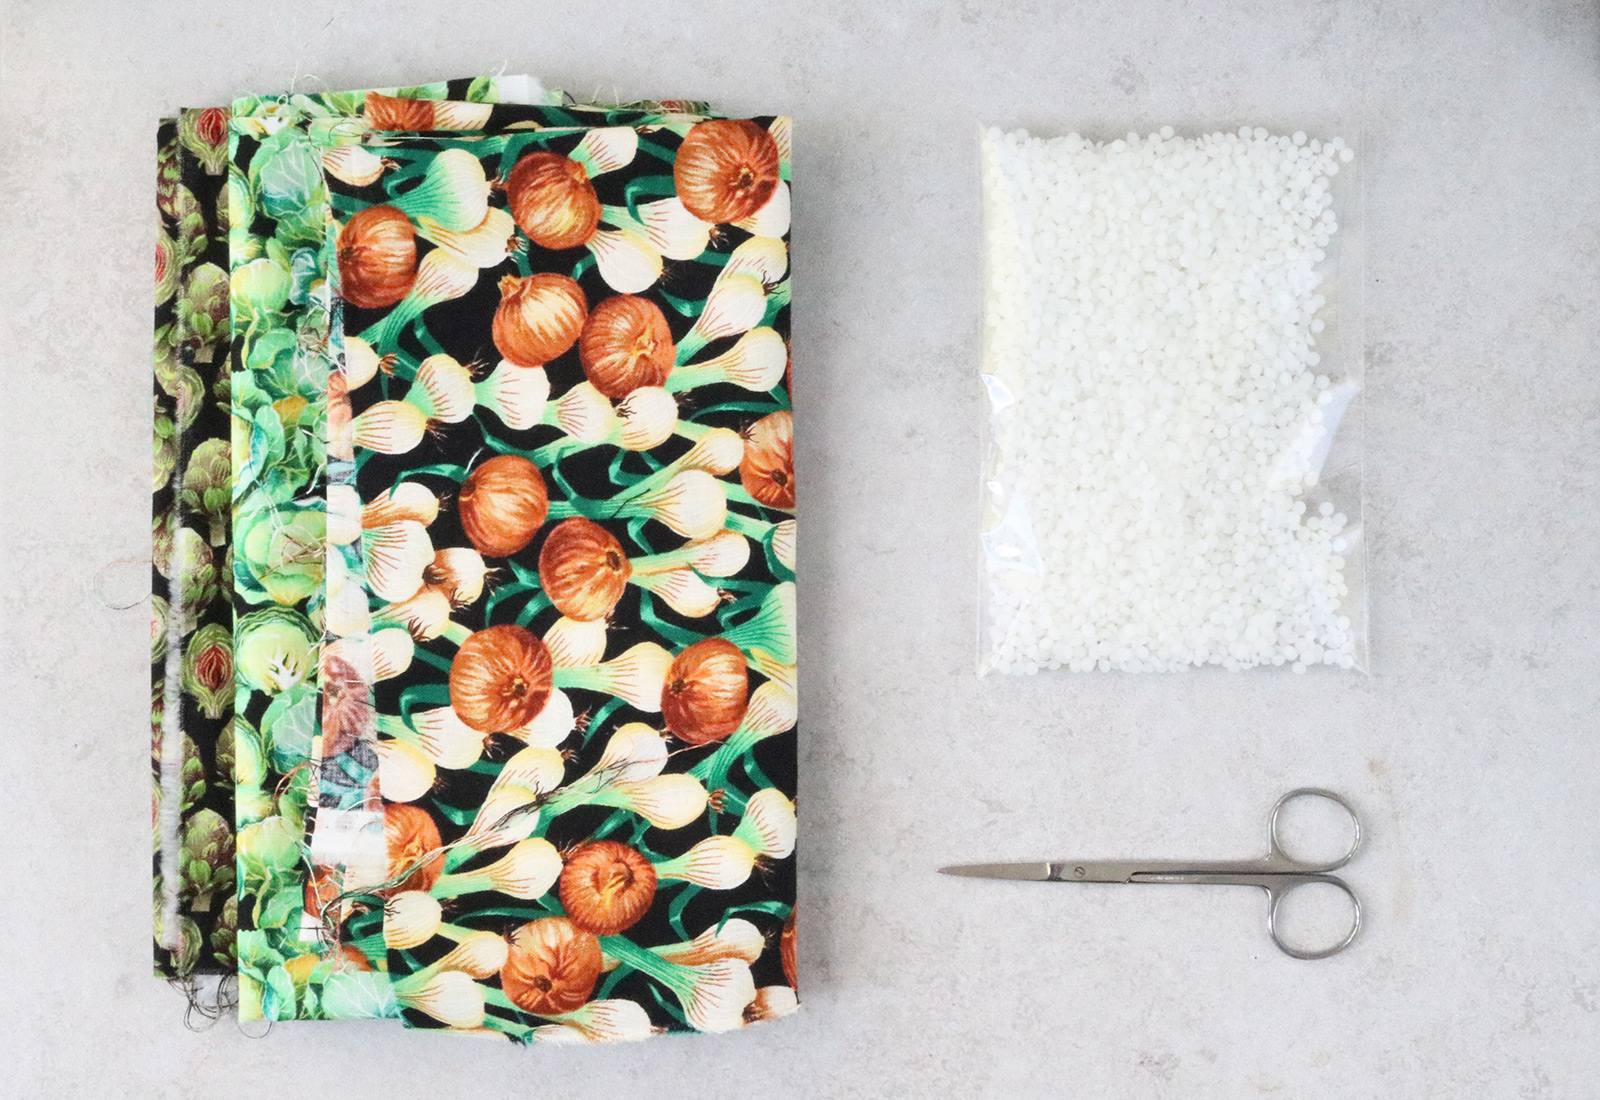
Supplies:
- 100% cotton fabric
- Organic beeswax pellets
- Sharp scissors
- Aluminum foil and metal baking sheet

1. Pre-heat your oven to 180 degrees F. Cut the cotton fabric into squares in the size of your choice. Most of my wraps range from the size of a typical pot holder to small 4 x 4 squares. Of course, you can make them even bigger for larger bowls and pots. Rectangles and triangles are also useful.
Tip: 100% cotton rips in a perfectly straight line. Just make a small slit with scissors and rip apart. It’s easy and saves a LOT of time.
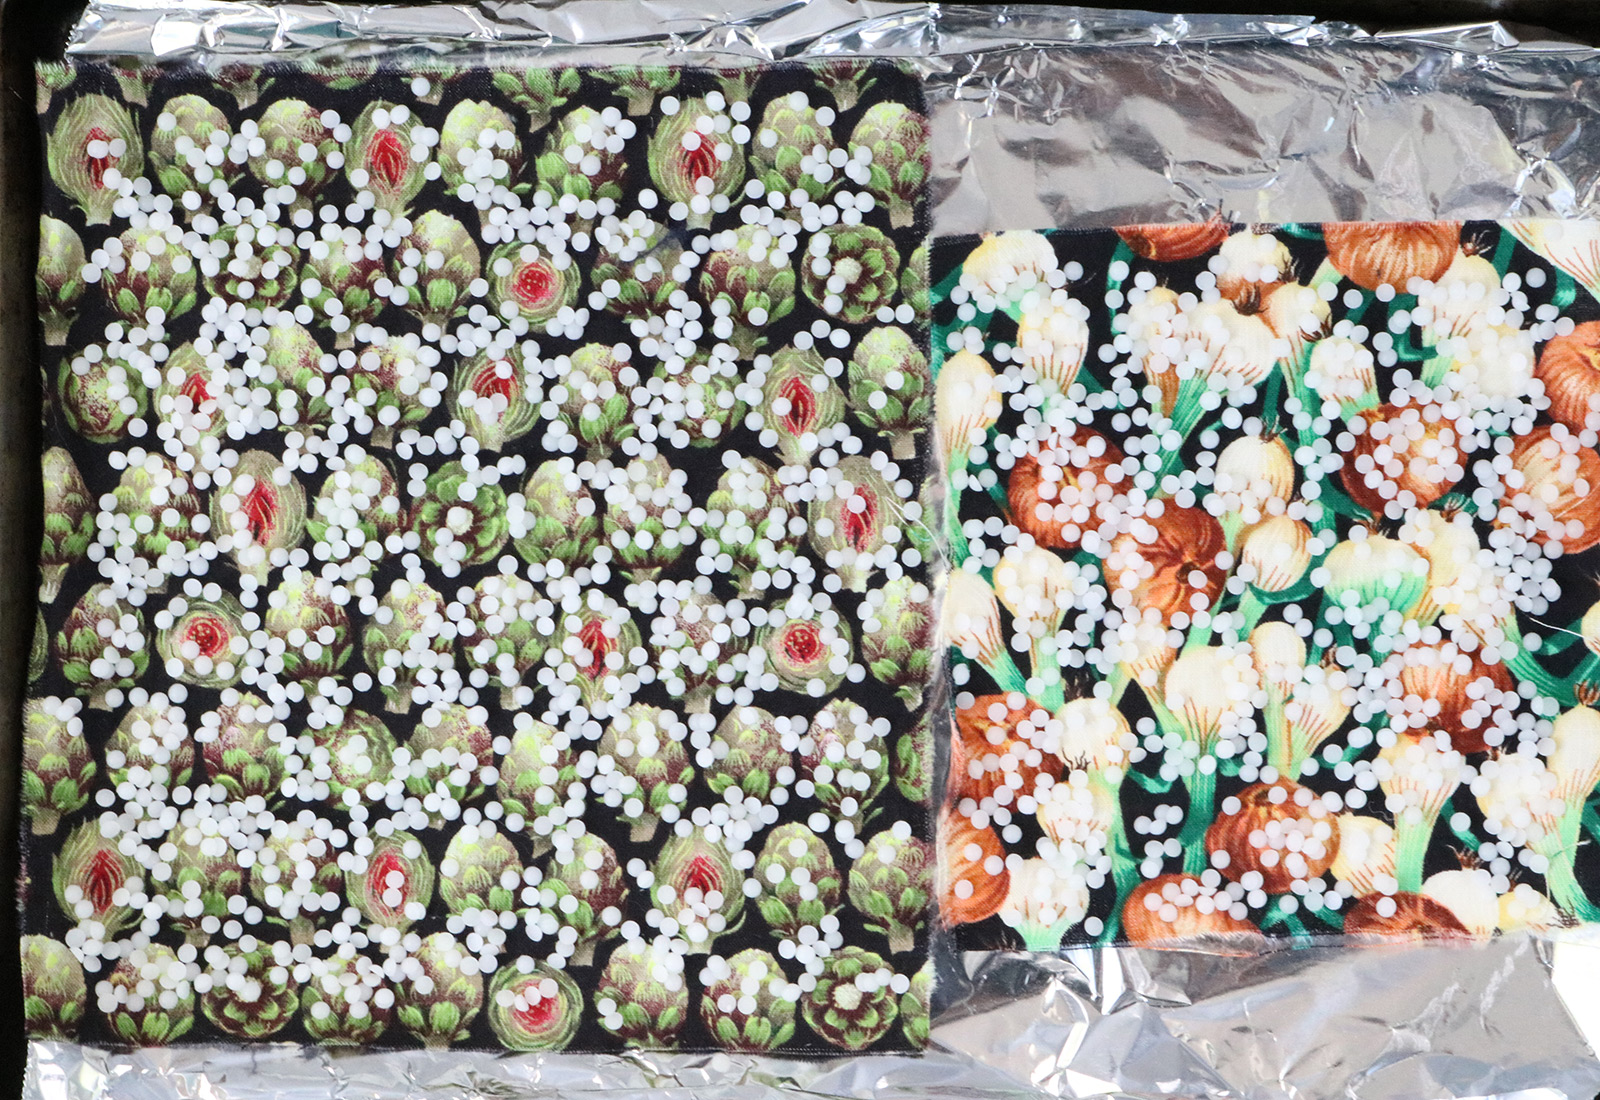
2. Line a metal baking sheet with aluminium foil. Sprinkle an even layer of beeswax on the fabric; make sure there aren’t any mini piles. Aim to cover 60 to 70% of the fabric. It will spread once it melts!
3. Pop into the oven for 10 minutes or until all of the beeswax is completely melted. Once you take the sheet out, work quickly. The beeswax hardens fast, especially at this low of a temperature.
Here’s how I do it: After placing the sheet on a few potholders, I immediately pick up the fabric squares. This prevents them from sticking to the aluminum foil. Next, I simply hold the fabric in the air for a few seconds until the beeswax starts to harden. You’ll see a shiny opaque layer forming on the fabric. Once this happens, I set them down on a plate or cutting board to let them cool.
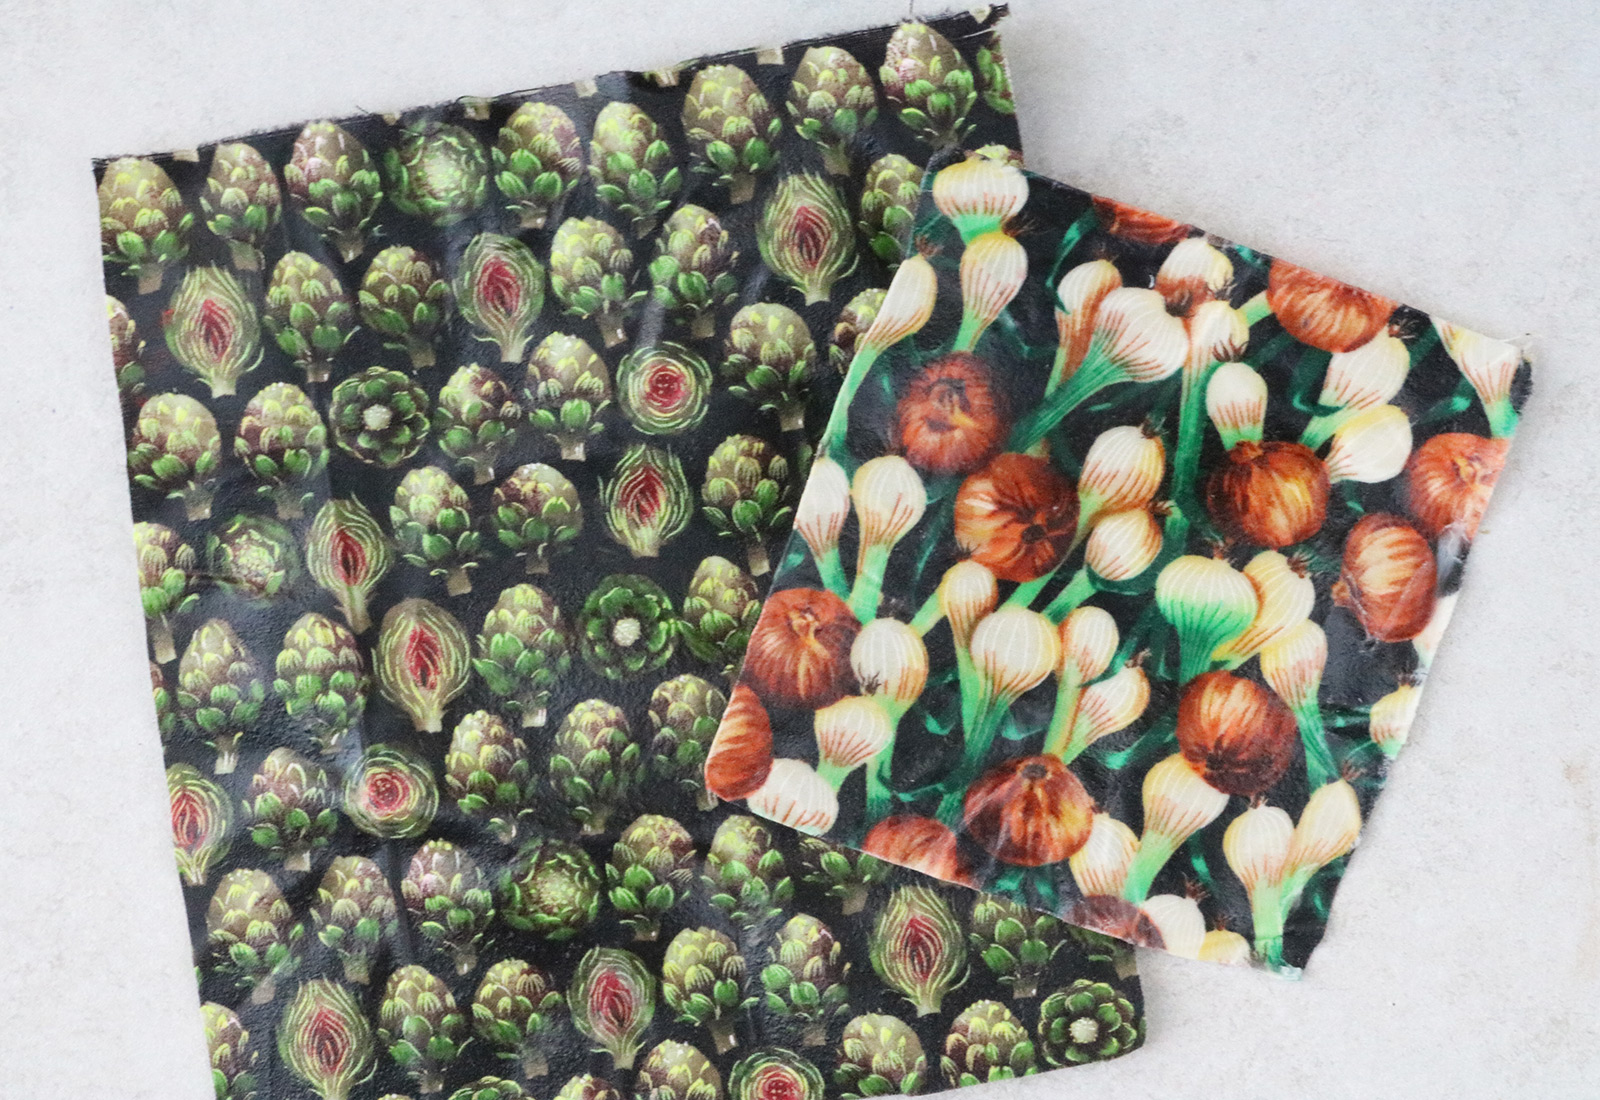
4. Using the scissors, you can trim the wraps around the edges. If you missed a few spots, just put them back in the oven with a few more beeswax pellets.
Don’t throw away the aluminum foil. It can be re-used indefinitely for this purpose. I’ve been using the same sheets every time I make a batch of wraps. You can also use it in altered art or collages, if that’s your thing.
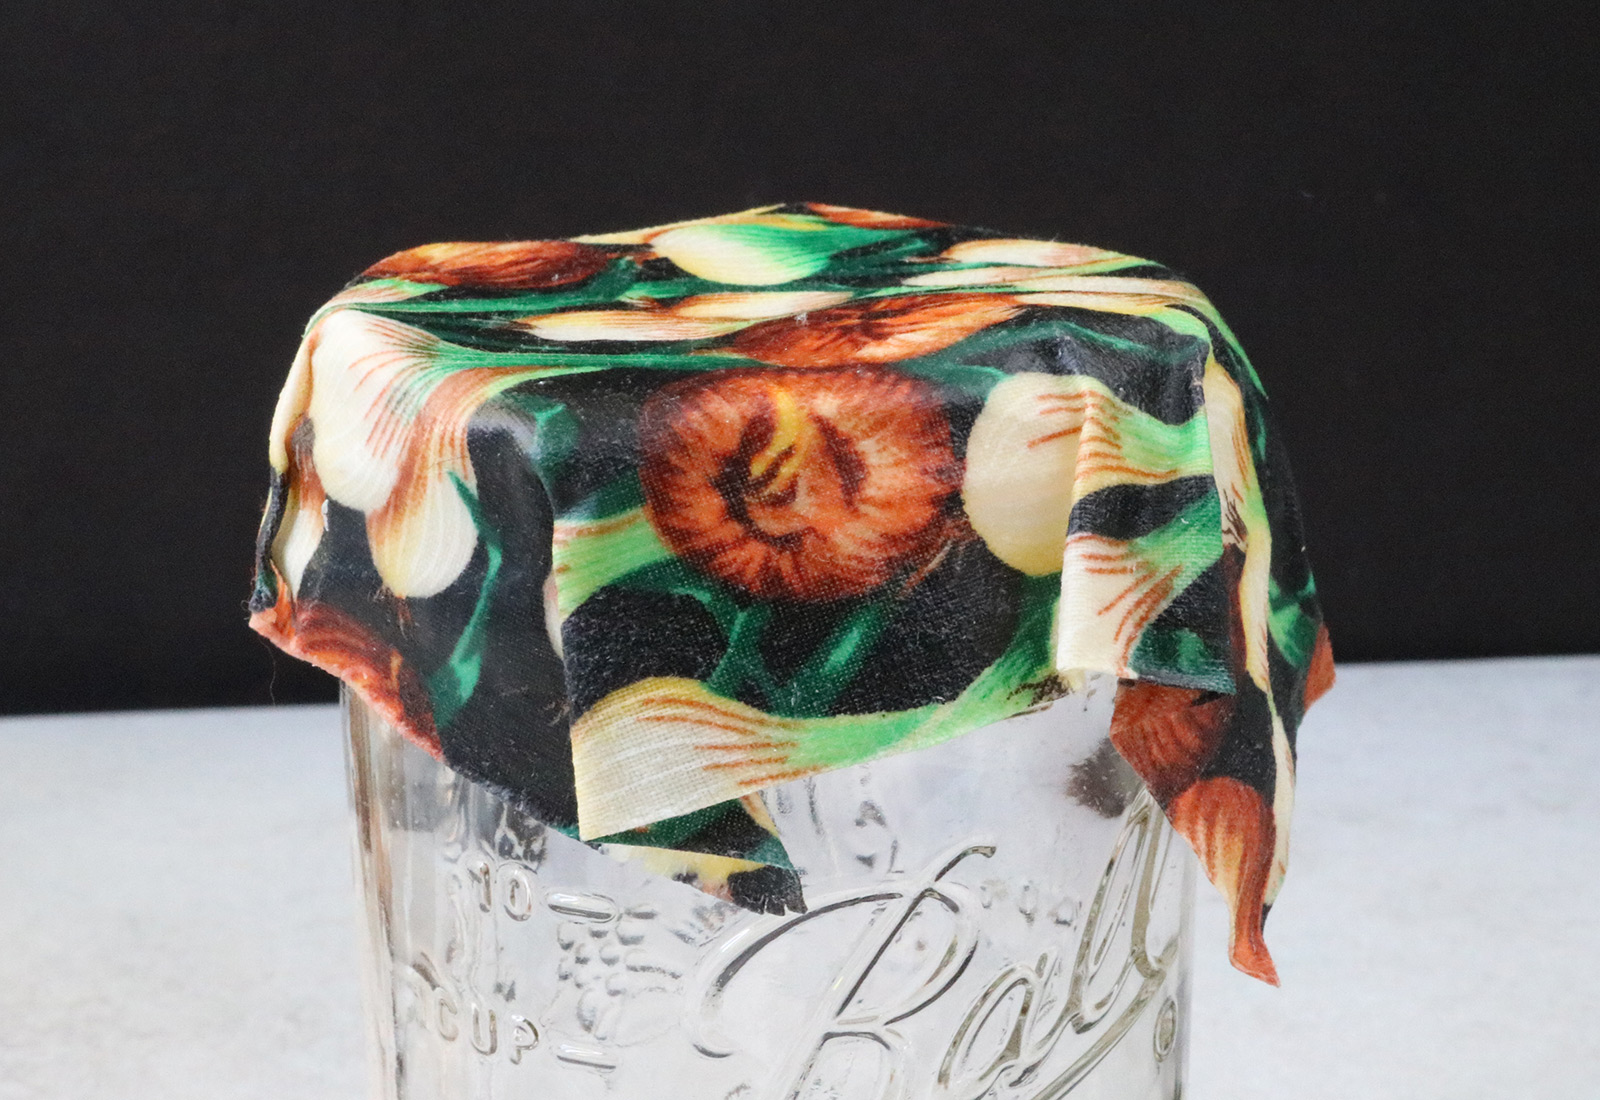
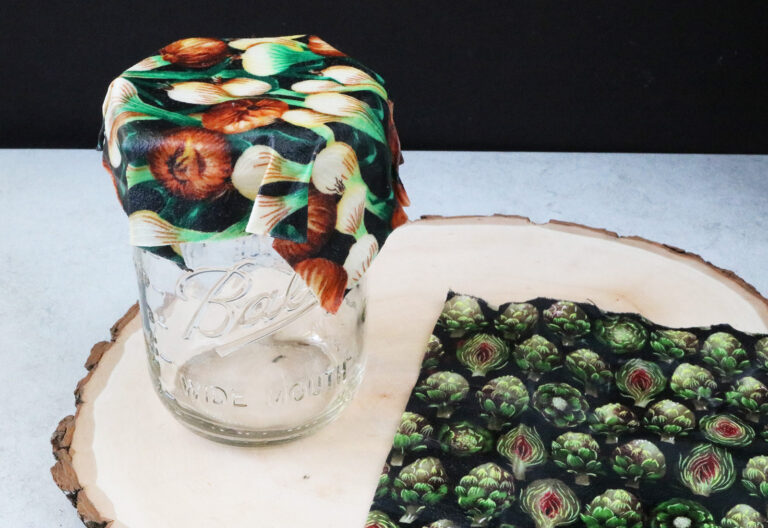
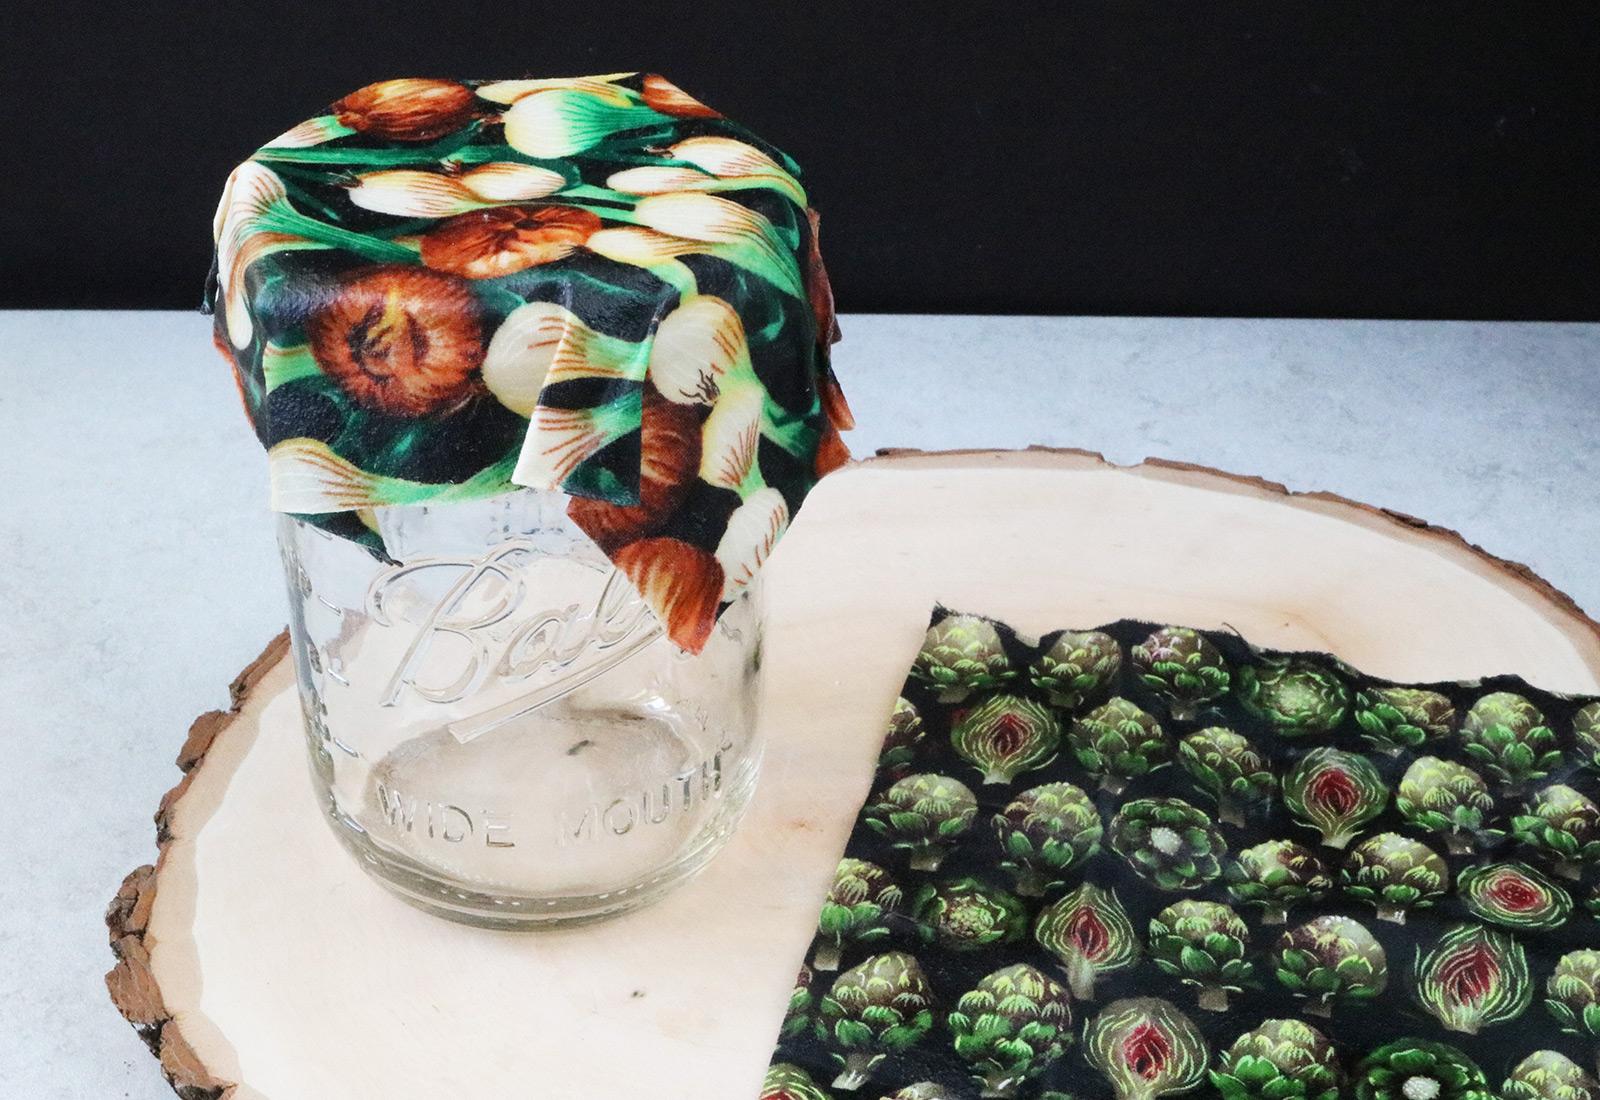
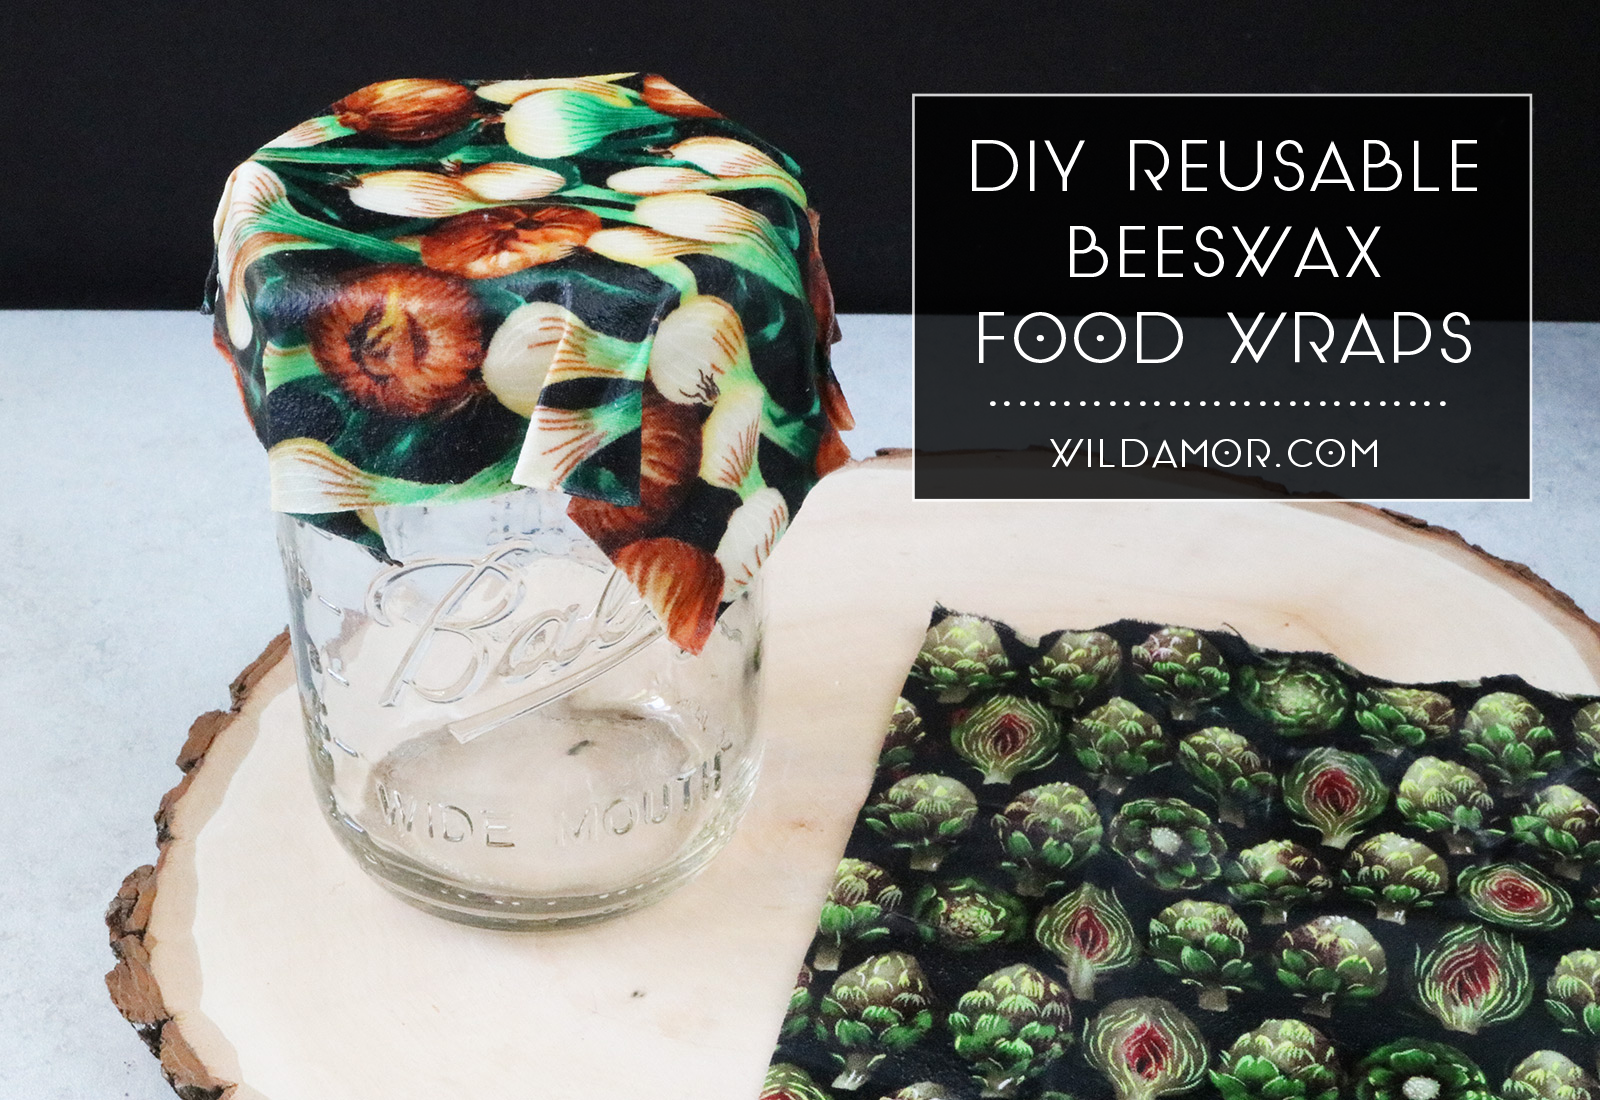
When the fabric is wrapped around the top of a jar, pot, or bowl, it will stick together. This prevents odors from floating around your refrigerator, stinkin’ everything up. It also keeps things looking cute and tidy. If you’re worried about something spilling, you can use a rubber band to keep the wrap in place.
Again, just wash the wraps with warm soap and water along with the rest of your dishes. Leave them to air dry, completely unfolded.
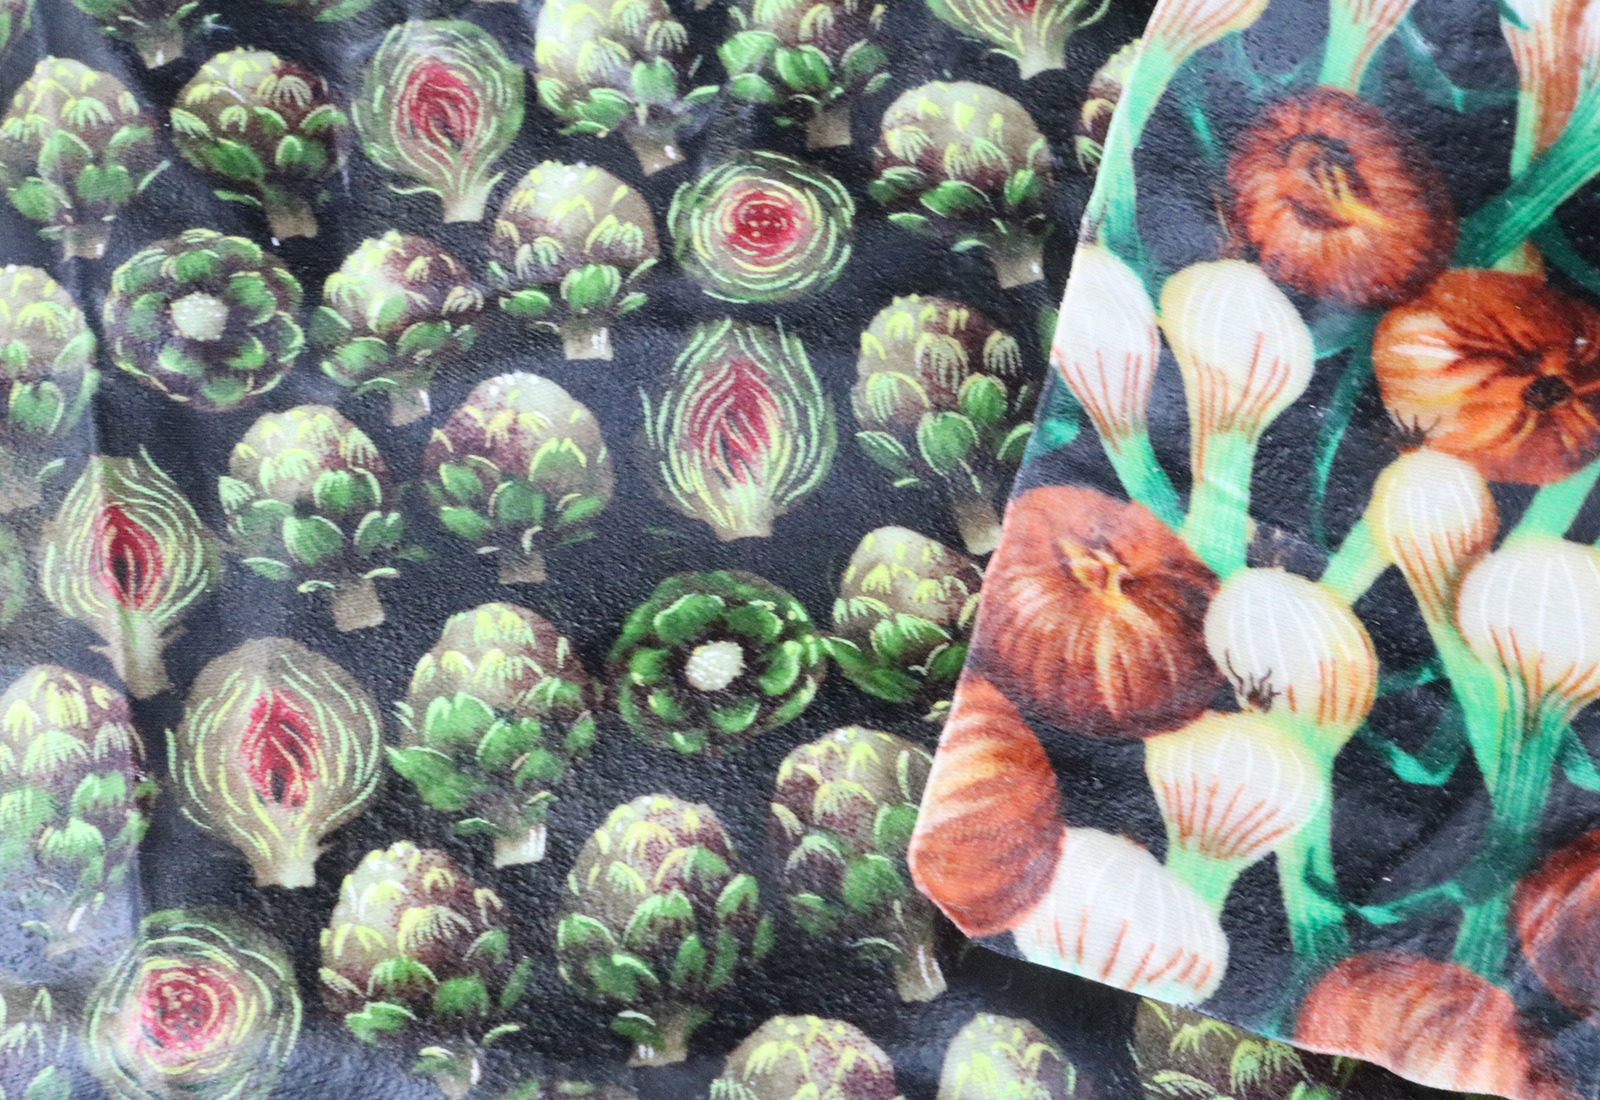
They can also be used to wrap cheese or veggies. But if your wraps are going to come in contact with food, you might want to use 100% organic cotton without any synthetic dyes. This is your call, though. Do whatever makes you feel comfortable.
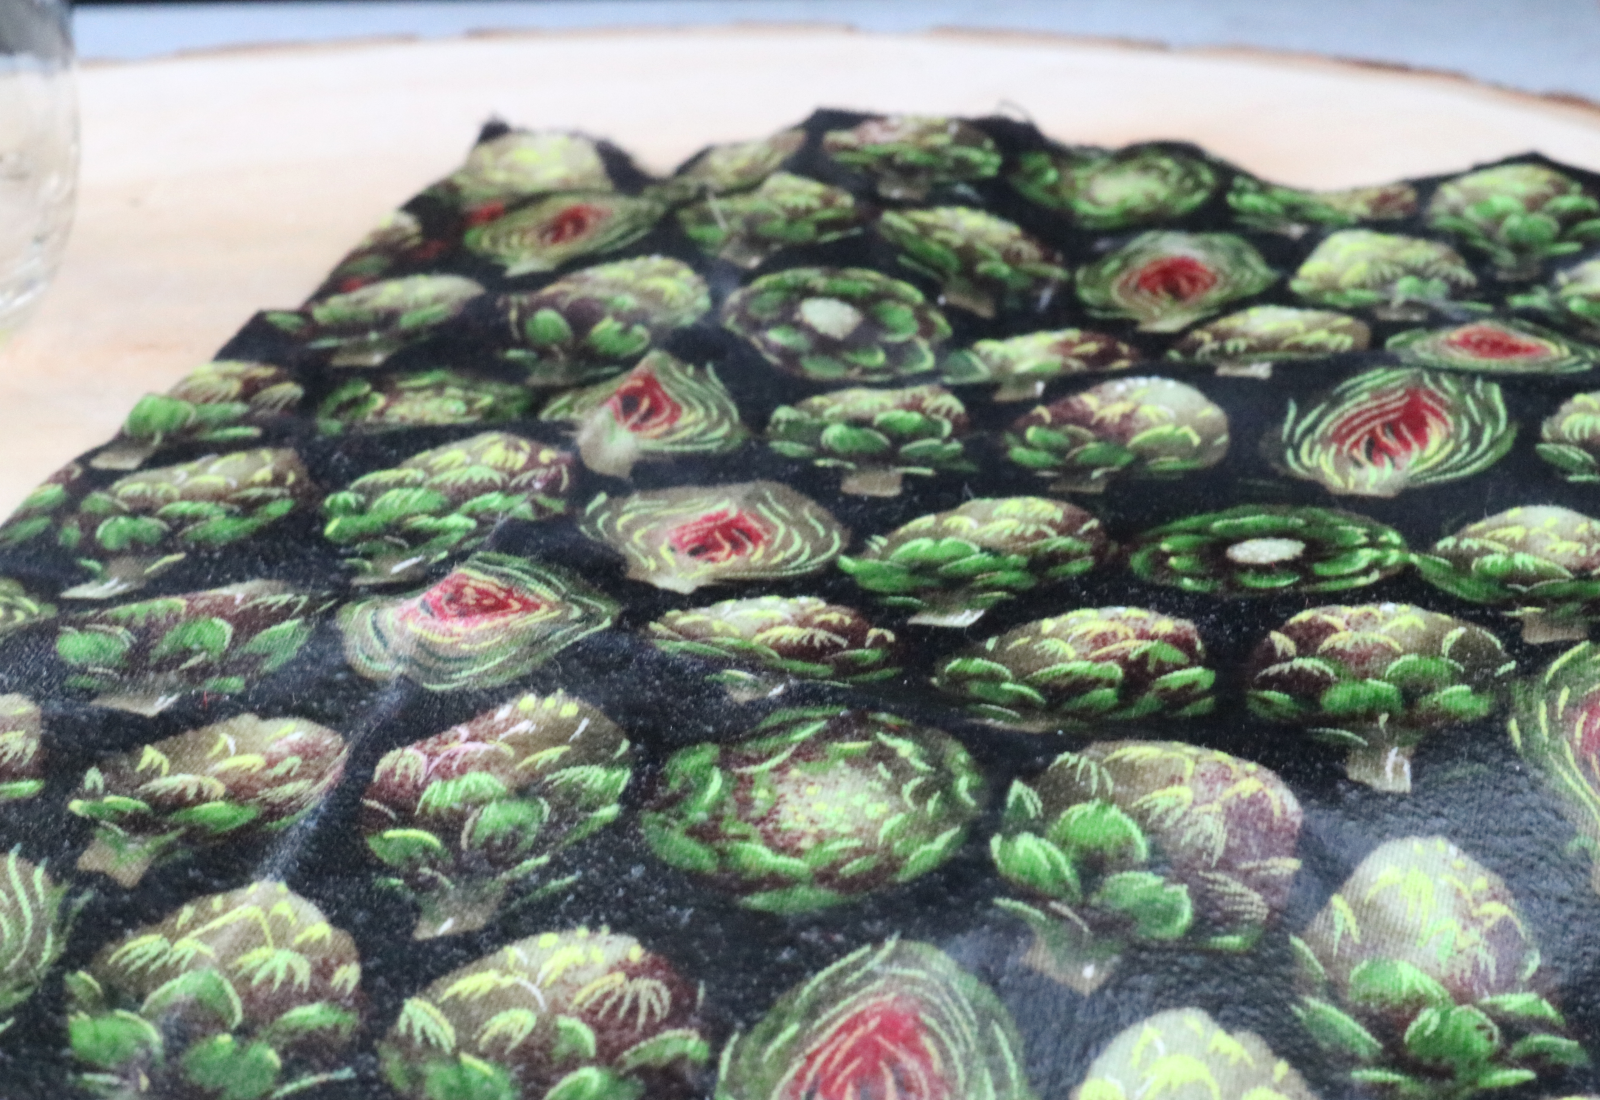
This artichoke fabric is my favorite, but I’m all about these veggie prints. If you’re wondering where I got them – they were scraps found at a fabric store I used to work at. Not sure about the designer or brand, but I’ll update this post if I find out.
See ya never, plastic wrap.
xx K