

What I Used:
- 2 pairs of stretchy pants, both a few sizes bigger than my usual size
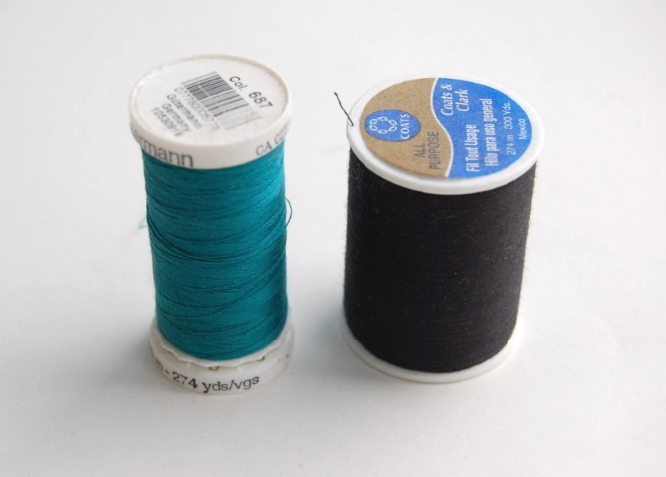
- Coordinating thread and sewing pins
- Sewing machine and a regular sewing needle
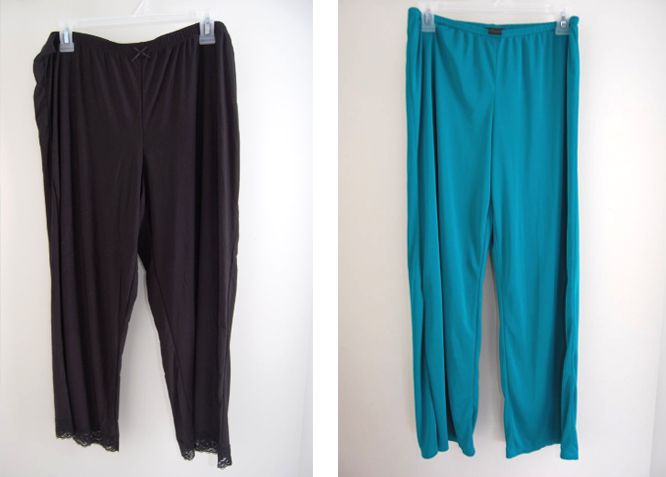
The black pair of pants are actually a pair of pajama pants that I bought for $11, two sizes larger than what I usually wear. I chose a bigger size because I wanted to make the bottom portion of the romper slightly high waisted. The turquoise pair was found in the thrift store, for about $4. I decided to use this pair for the top half of my romper.
Alternatively, you could always use a yard of fabric for the top portion and then just one pair of pants for the bottom (I’ll explain why/how below!)


Next, I cut the turquoise pair in half, down the center seam/crotch.

I then cut off the legs.

I’m pretty much left with two tubes of fabric. As I mentioned earlier, you can also just use a yard of fabric. Because the pant legs are more or less tubes, you can easily recreate the same idea. I’d recommend this if you’d like more coverage, have a bigger bust size, or can’t find a pair of thrifted pants you like.

I hemmed the raw ends of the two pant legs.
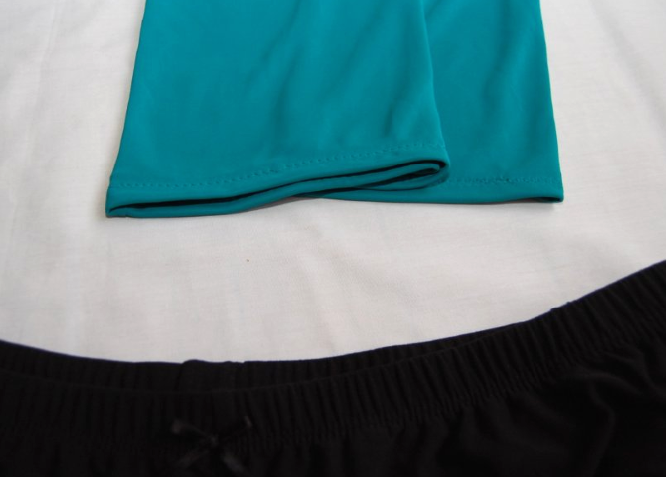
On the end that I just hemmed, I folded the fabric “tube” to create one large pleat. I pinned this to the shorts, right below the elastic waist line. The turquoise fabric will become one half of the top romper, so I made sure that I pinned it starting at the short’s center seam all the way to the right side seam.

I also remembered to take off that bow at this point!

I repeated the same with the second strip of fabric, for the other side.
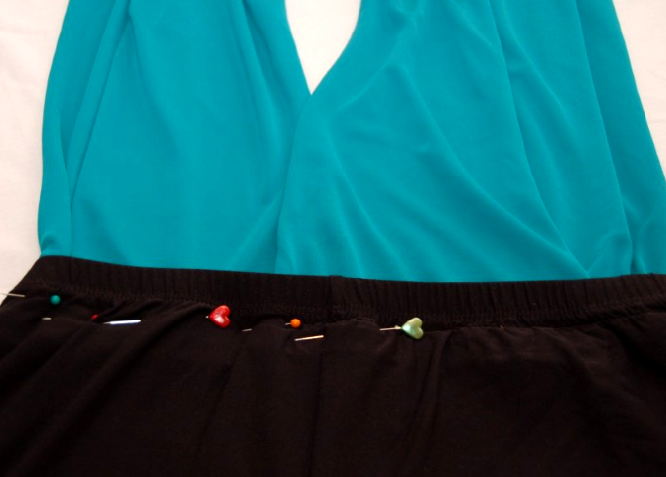
If you look closely, you can see that the two turquoise strips overlapped in the center.
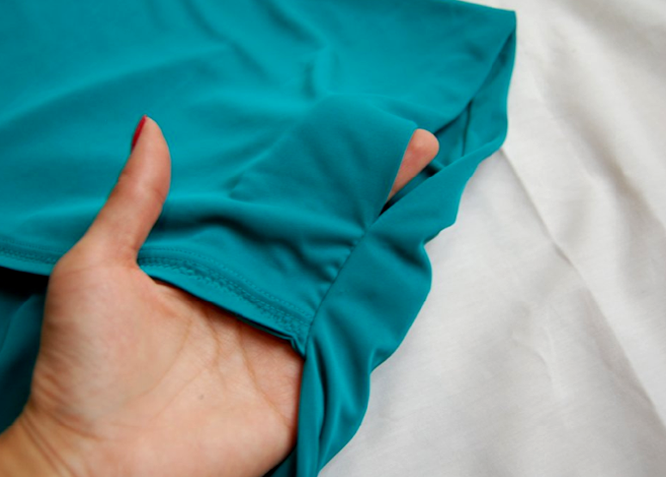
Next up would be to stitch up the sides to create quick and easy arm holes. I wish I had a photo for this step, but it was the middle of the night and my living room lights are harsh on DIY photos! It’s a simple step, however. While laying the romper on a flat surface, I measured the top 9 inches of each turquoise strip and folded it underneath. Essentially, the top 9 inches were folded underneath the front of the romper. This will obviously differ on your bust size and the amount of coverage you’d like in the back.
I pinned each side, and tried it on to test out the arm-holes-to-be. I then flipped it inside out, and stitched about 2 inches along each outer side. The end result is the photo above.

I also sewed up the “tubes” of turquoise fabric, and then took the corners and sewed them together as well. This brought the back portion together. I then added a few stitches to the front (right below my chest and halfway down to my waist) where the two turquoise halves overlapped.
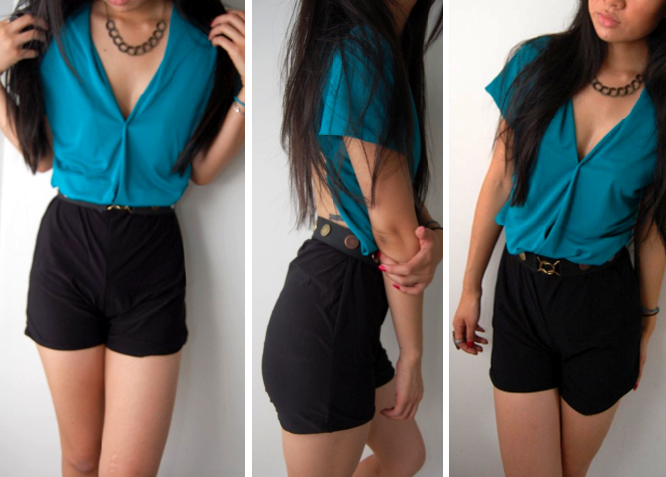
Here, I paired it with a handmade chain necklace and an old school studs & pearls project, the Elastic Waist Belt from January 2011 (made with thick sewing elastic and scrap booking brads).
