
If you’ve been reading s&p for a while, you know that I love using unconventional, unexpected materials. Maybe not necessarily weird (well, sometimes…rubber snakes, anyone?) but the more random, the better. This one brings in a popular item from the beauty world – Sally Hansen Salon Nail Effects.

Photo Credit: SallyHansen.com
I’ve seen photos of the available nail designs, but that was about it. The other day I was putting together a trend roundup for work (python print accessories – if you want to check it out!) & remembered seeing a pair of python print sunglasses a while back. For whatever strange reason, it made me think of one of the Nail Effects designs. I did a little research and sure enough – the design “Misbehaved” was what I had in mind.
So, the wheels started turning and this project was born. It gave me a new reason to try the nail strips out, dress up an old pair of sunglasses, and thank my photographic memory.


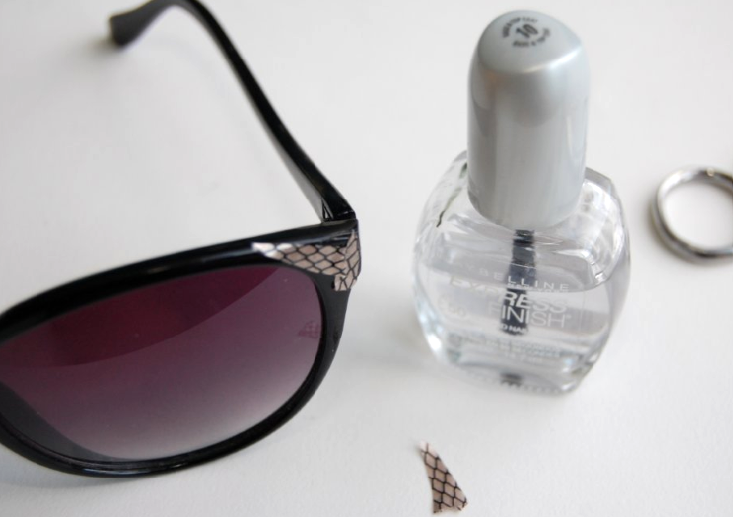
Supplies:
- Sally Hansen Salon Nail Effects in Misbehaved*
- Clear nail polish
- Sunglasses *
- Scissors (not shown)
- Q-tips and nail polish remover, optional
* Purchased at Target for $8.50. You don’t have to use Misbehaved, if you prefer a different print. It’s totally up to you.
* Use a pair of sunglasses that have some decent width to the frames. Wayfarers, cat eyes and some overesized sunglasses would work great for this. This will give you some frame space to work with.
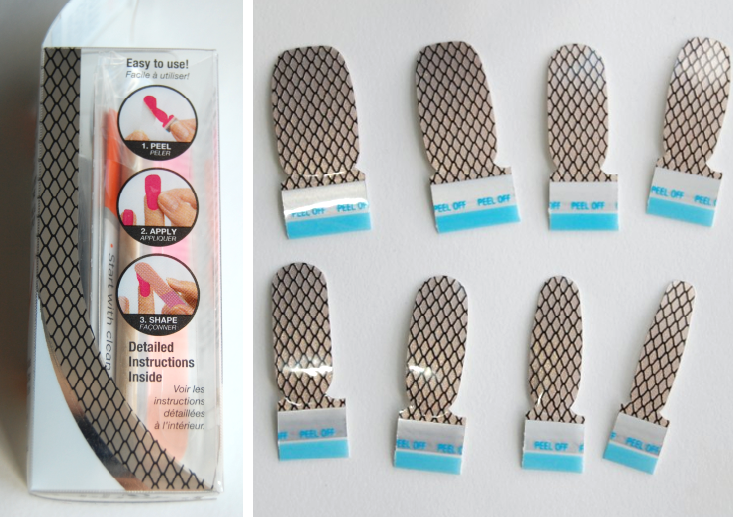
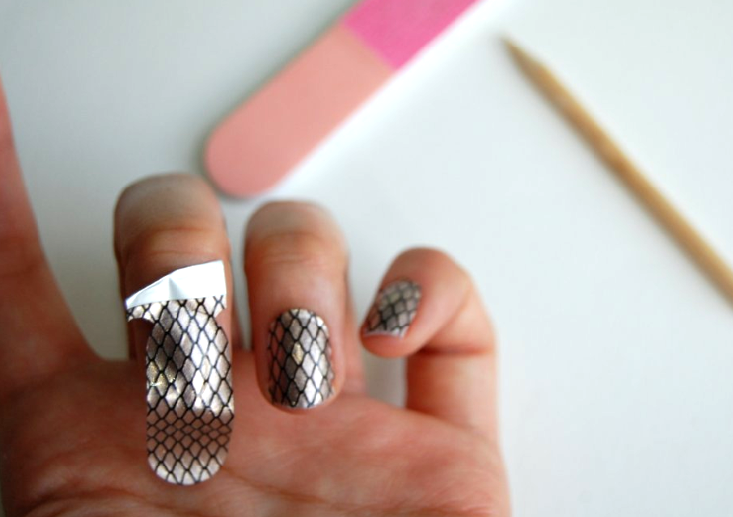
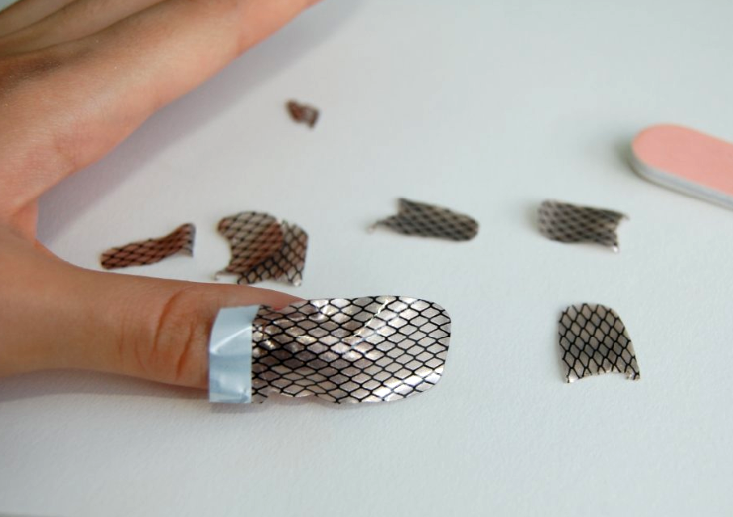
1) First step – give yourself a no mess manicure! Here’s the general idea: From the 16 strips available, choose the 10 that fit your nails the best. Follow the instructions regarding peeling off the layers of clear strips/etc. I’d recommend smoothing each design strip starting from the base, and work up from there.
If you wanted to, I’m sure you could Google tons of information and detailed reviews/tutorials. I like how there’s 16 strips, which leaves room for error – especially when it’s your first time using them.
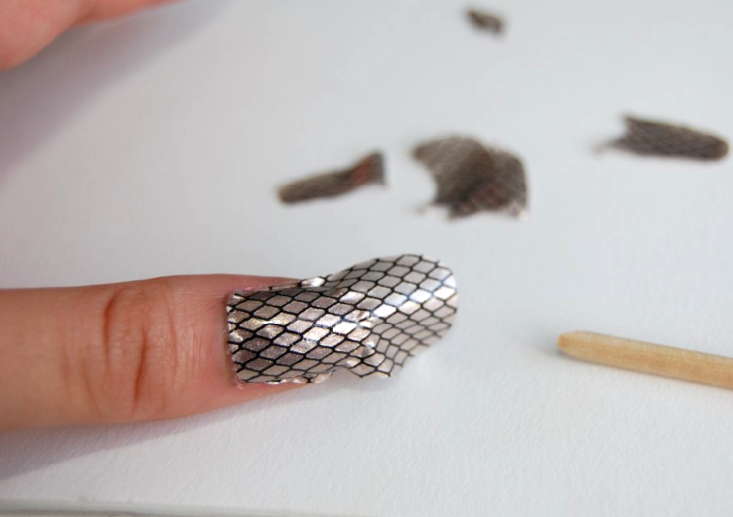
Not bad for my first time trying these out. Loving them.


2) After applying each strip, you’ll have scraps leftover. You’ll also probably have a few unused full strips as well. Save these!

3) Cut up any leftover scraps and strips into smaller pieces. If you’re cutting up any full strips, I’d recommend waiting up until you’re about to add them to the sunglasses.

4) Start randomly applying the pieces to the frame. For the scraps that have slightly dried out, dab a very small amount of clear nail polish to help them stick to the frame. The freshly peeled full strips will probably stick on their own.

5) I did one side and then the other, but I recommend building up on both sides simultaneously. You don’t want to finish one side and realize you don’t have enough for the other!

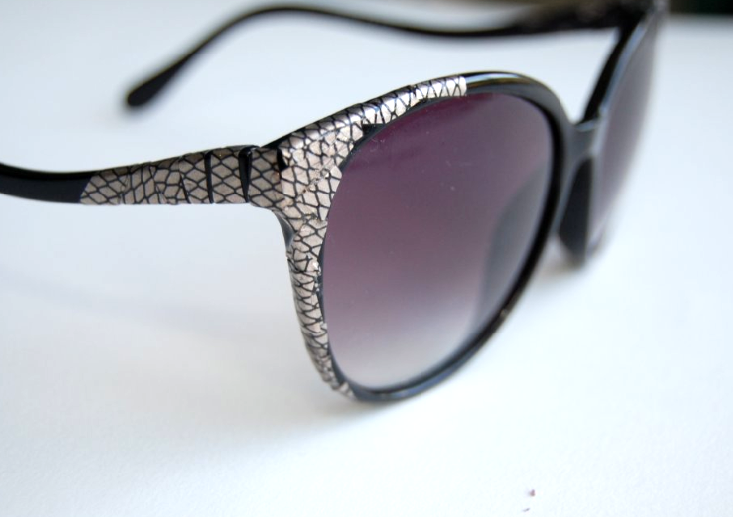
6) Keep randomly applying the scraps. There’s no structure to this, so don’t worry if it’s not perfectly neat or even. You can add some to the arms of the sunglasses if you’d like, too.


7) When you’re done, you can use a Q-tip dipped in nail polish remover to roughen up some parts of the design. Because the strips are made out of nail polish, this will remove some areas, creating a rugged effect. It works for the “python” print, but it may or may not work with other designs (or your preference).

8) Lightly cover all parts of the design with clear nail polish to seal it in. Let dry completely.

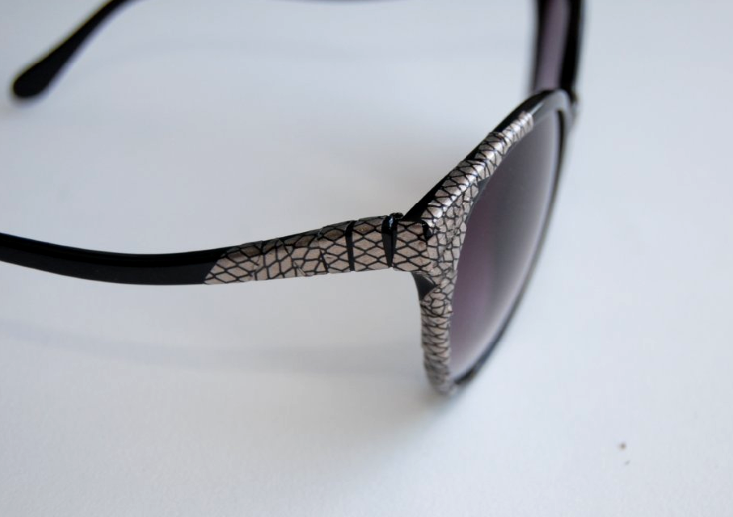

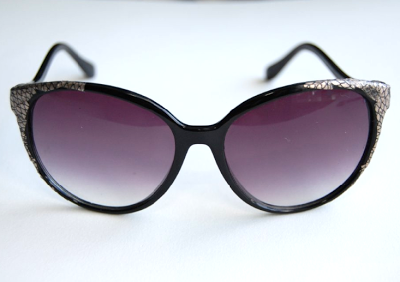
Fun nails, fun sunglasses, no mess, no waste.
Have you tried out these nail strips before? Let me know what you think!
xx, K