


Surprise! I decided to start up a new feature of DIY manicures. I’ve noticed that when my nails make a little cameo in pictures, there’s always a few comments & questions on them. As with my fashion projects, they’ll range in complexity and time. I think it’ll be a fun way to mix things up a bit.
Supplies:
Nail polish:
– Red
– Tan/nude
– Brown/gold
Nail art nail polish: *
– Black
*(The brushes on these are different; refer below)

What I Used:Sally Hansen Double Duty Strengthening Base & Top Coat (not shown)
Pixel High Shine Nail Lacquer in 151 Red My Email
Pixel High Shine Nail Lacquer in 211 Haha-Hottie
Ulta Professional Nail Lacquer in Gold Rush
Sinful Colors Nail Art in Time OffThe first 3 were purchased at Ulta (the gold was part of a set) and the last one was from Rite Aid.
Pixel High Shine Nail Lacquer in 151 Red My Email
Pixel High Shine Nail Lacquer in 211 Haha-Hottie
Ulta Professional Nail Lacquer in Gold Rush
Sinful Colors Nail Art in Time OffThe first 3 were purchased at Ulta (the gold was part of a set) and the last one was from Rite Aid.

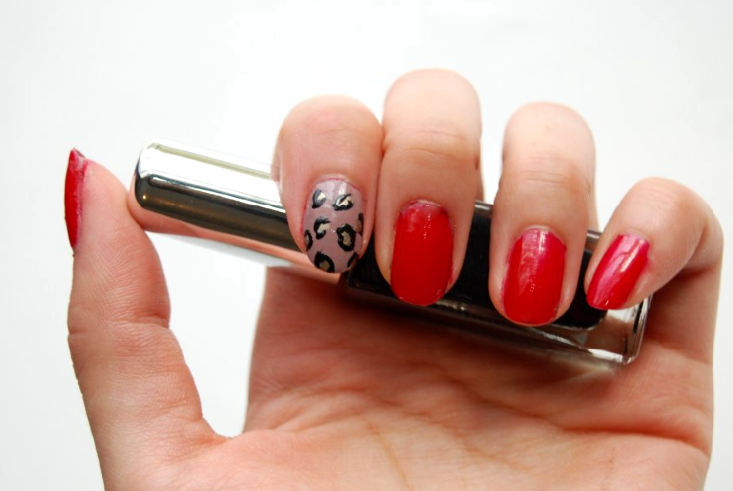
1) Apply your base coat of choice. Paint your nails red, except for one nail.

2) Paint that last nail in your tan/nude color. Let dry.

3) Randomly apply gold (or brown) dots all over the tan nail.

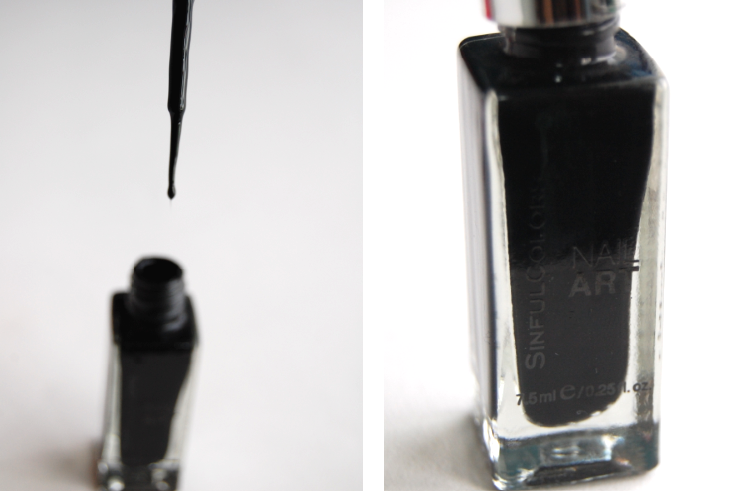
4) Skinny nail art brushes are thinner than normal nail polish brushes, letting you create finer lines.Use this to outline the gold dots. They don’t have to be perfect!

Apply your top coat (I used Sally Hansen’s Double Duty Strengthening Base & Top Coat).
Happy Friday! xo