

Happy Earth Day! I’ve been thinking about making this project for quite some time, but it’s only appropriate that I share it on April 22. Using hand pressed flowers from an Etsy seller, decoupage, and spray paint, I created a spring-time inspired, artsy phone case. Keep in mind that it’s practically inevitable that the spray paint will find it’s way through the cracks and crevices of the delicate flowers, so if you’re not into that aspect, you can opt to skip the spray paint and keep the flowers decoupaged in a clear case. Otherwise, I personally like the way the metallic morphs into the petals, creating a somewhat worn in, vintage vibe.
Here’s the how-to!
Supplies:
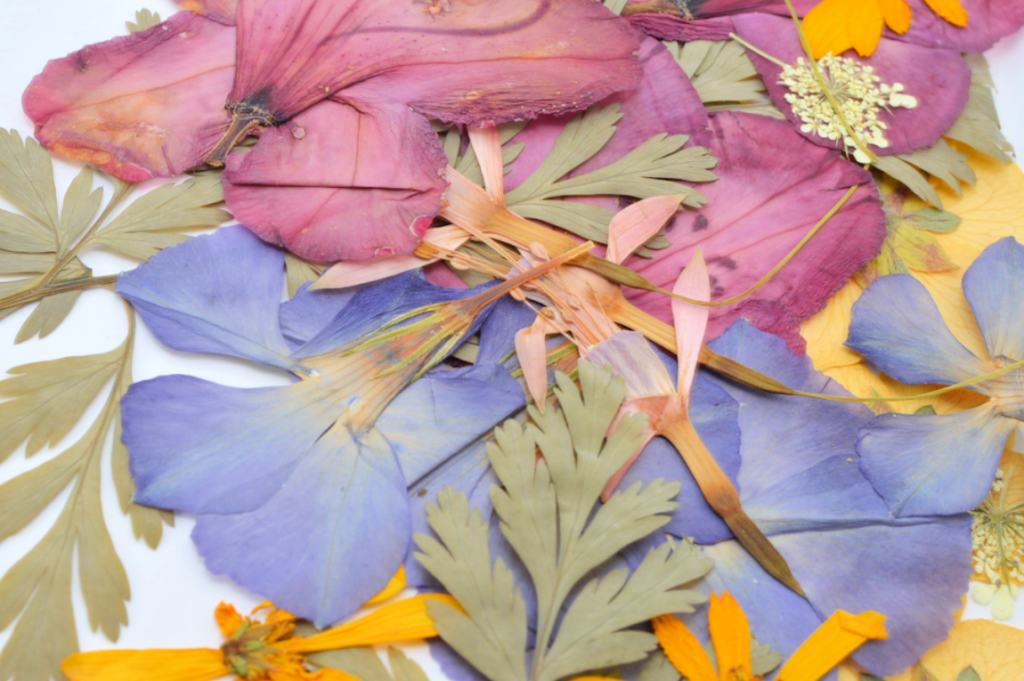
– Hand Pressed Flowers (I purchased mine from Tickies Treasure on Etsy)
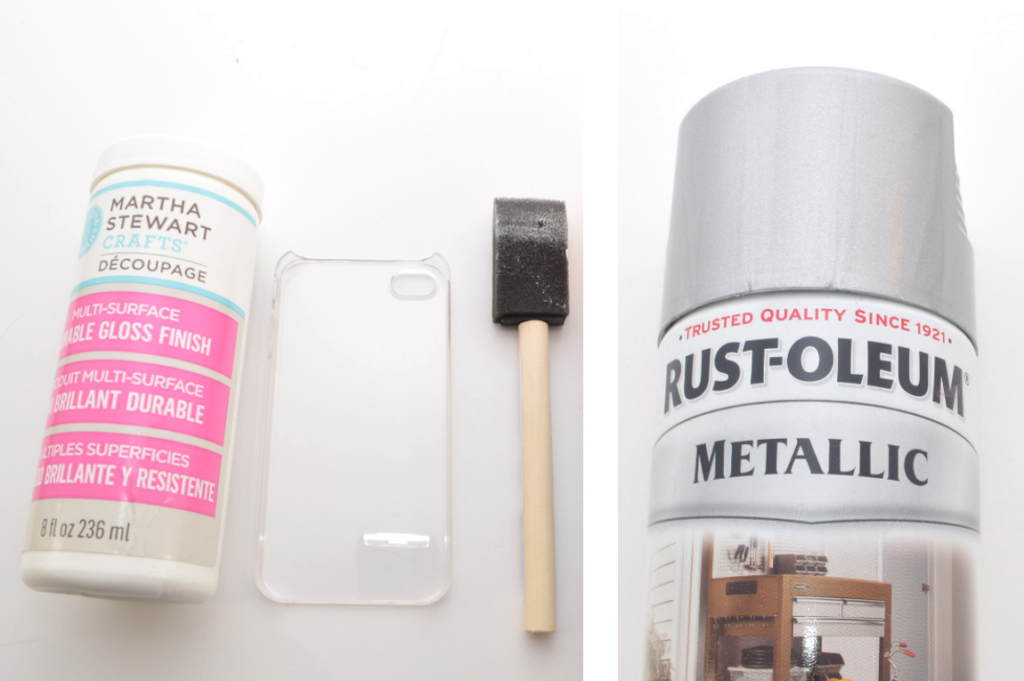
– Clear Gloss Decoupage (I used Martha Stewart Crafts Multi-Surface Durable Gloss Finish)*
– Clear Phone Case (Check eBay for inexpensive cases for your phone!)
– Foam Brush
– Metallic Spray Paint (I used Silver)
*Use GLOSSY decoupage, not matte. I actually initially tried this out with a matte spray finish and it made the flowers look super blotchy. Good thing I ordered two phone cases!
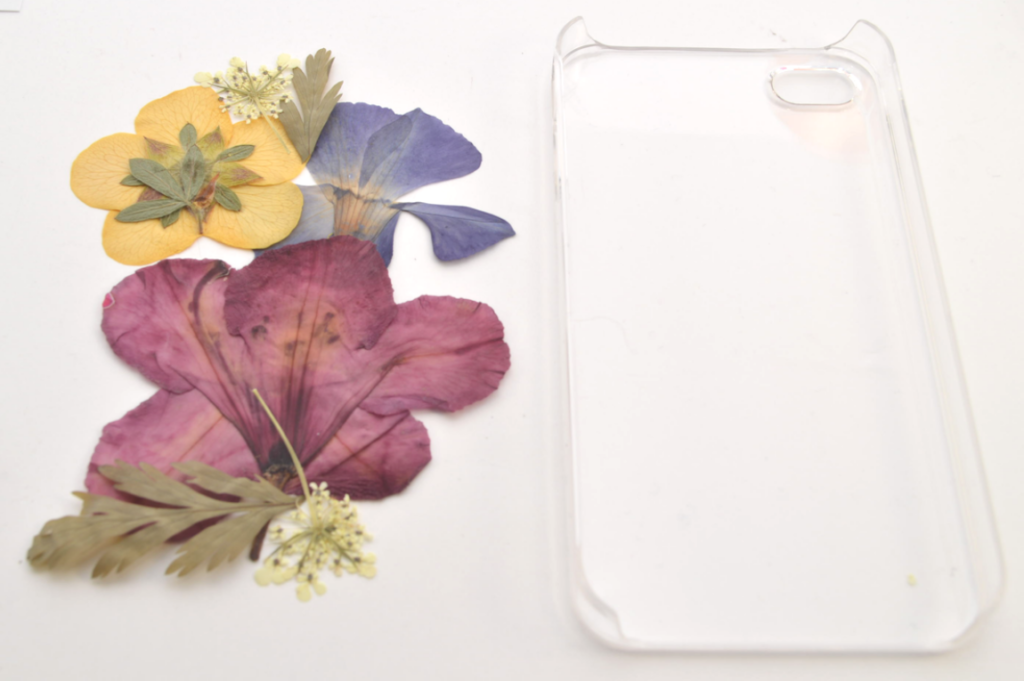
1) Determine the general position of the flowers. Remember that whatever you lay down first will be facing the front of your case.
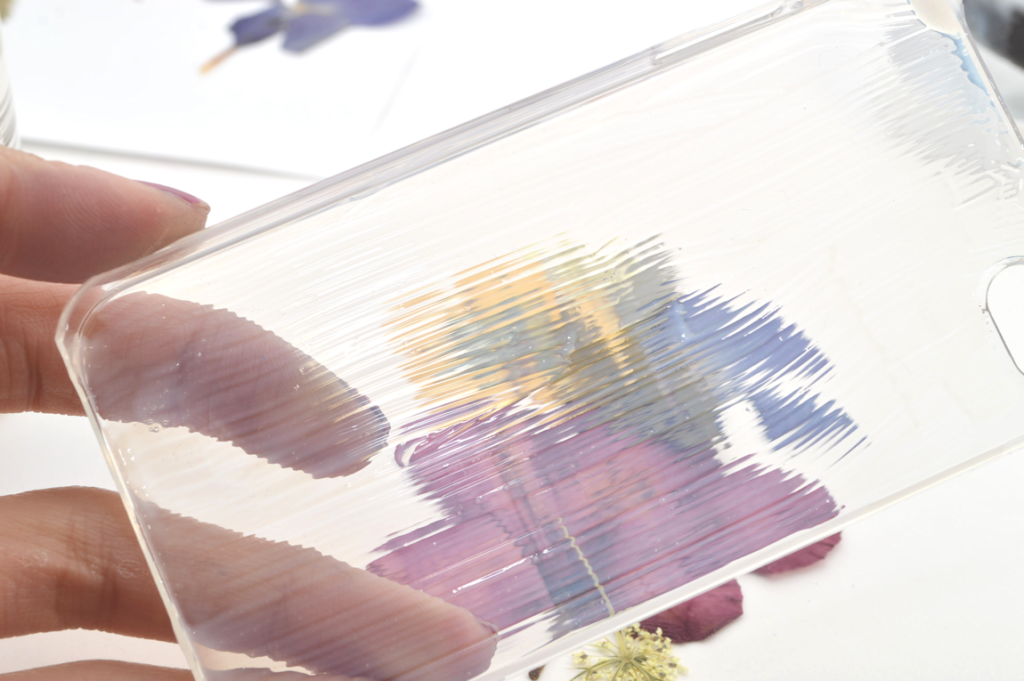
2) Apply a layer of gloss decoupage in big, even strokes.
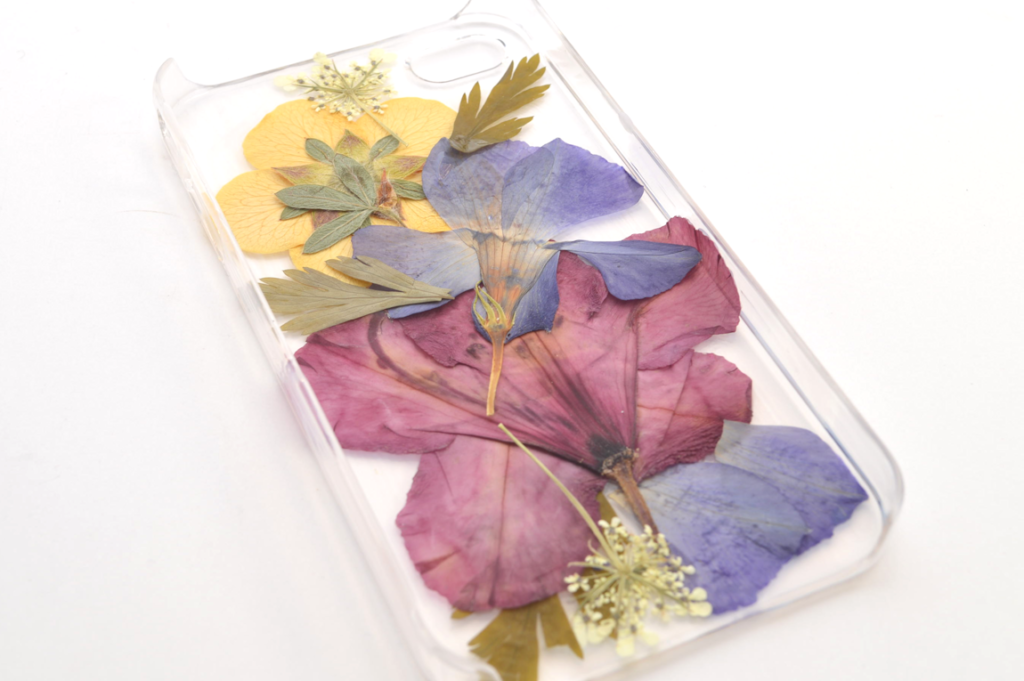
3) Carefully add the flowers and/or leaves. Be delicate! This would be a good time to use tweezers, if you have them.
Gently, yet firmly, press down on the petals.

4) Very carefully add some gloss on the reverse side to protect the flowers, and to secure things like stems/overlapping petals. Taking a tip from my experience, adding decoupage to the petal openings/crevices may help prevent spray paint from pooling under flowers.
Let dry completely.
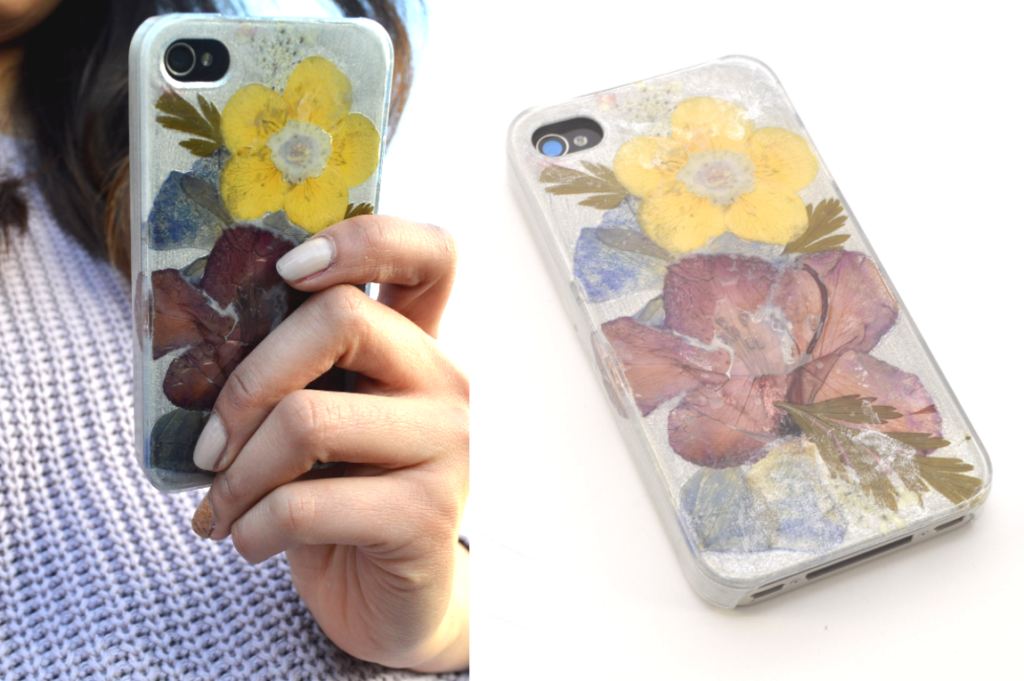
5) With the inside of the case facing up, add a light layer of spray paint.
I adore mine! I’ve already gotten quite a few compliments from both friends and strangers.
xx K