
It’s been a long while since I did a gloves project, so here’s one for this winter! It’s extremely quick and easy, but still very much quirky and cute. I used liquid gilding (by the Martha Stewart Craft line) and a rhinestone flat back to create the illusion of a ring. I’d recommend applying a layer of clear glaze or clear nail polish over the ring’s “band”, as the gilding will crack and flake over time due to natural and normal glove wear. It’s still a fun project, nonetheless.

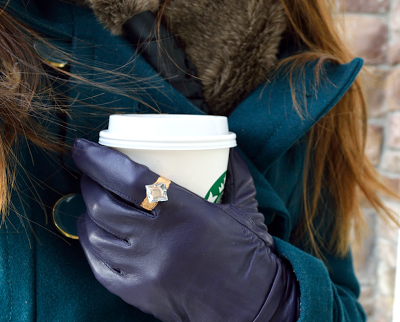
Here, I paired them with my favorite peacoat from H&M and a past s&p project, the Fur & Ribbon Scarf from 2 years ago.
See how I made the gloves, below! —


Supplies:
– Faux leather/leather gloves. I recently purchased mine at Target, on sale for about $11.
– Flat back rhinestone gem
– Strong craft glue such as E6000
– Thin soft bristled paintbrush
– Liquid gilding
( I used Martha Stewart Crafts’ Liquid Gilding in Gold, c/o Plaid Crafts. Copper and Silver are also available. You can purchase this at craft stores for about $7).
( I used Martha Stewart Crafts’ Liquid Gilding in Gold, c/o Plaid Crafts. Copper and Silver are also available. You can purchase this at craft stores for about $7).
Be sure to read the FAQ regarding liquid gilding, here! There are tips on cleaning your brush after using gilding, as well.

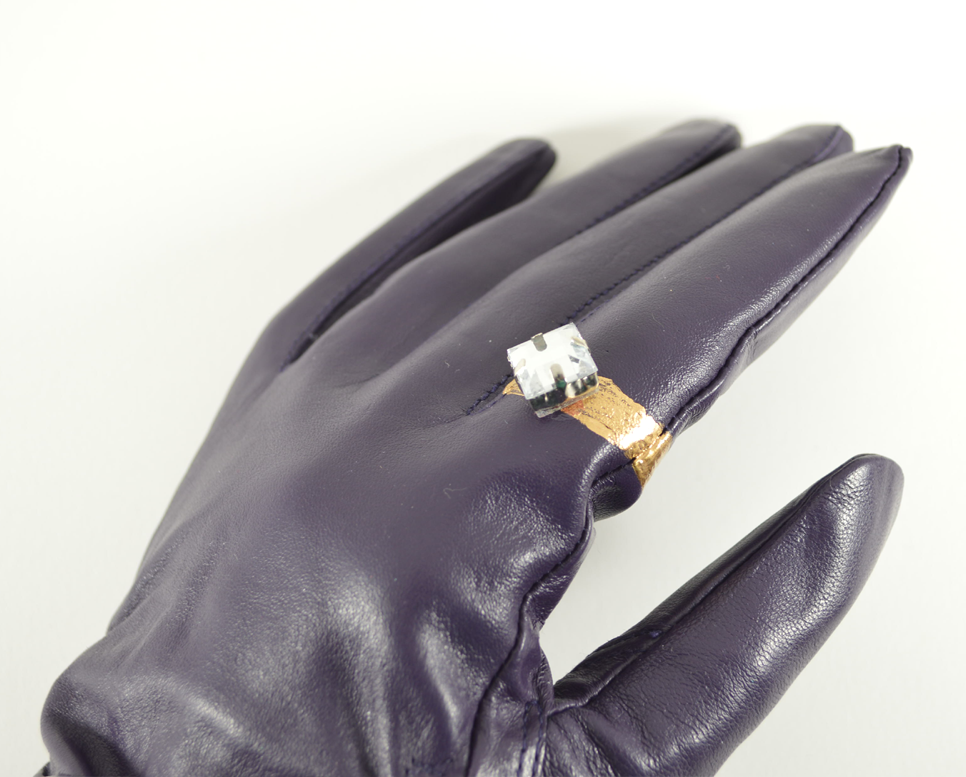
1) Choose a finger to create your “ring” on. Wipe the leather to remove any dust, etc. After mixing the liquid gilding, carefully paint the ring’s band in your desired width. Let dry for at least an hour. To add a clear glaze or nail polish, do so at this point.

2) Turn the glove over and continue painting the band on the reverse side. Let dry for at least an hour. Again, if you’re adding a layer of clear glaze or nail polish (which I recommend), do so after it dries.

3) Glue the rhinestone. Let dry overnight.
Cute and simple. The best type of projects!