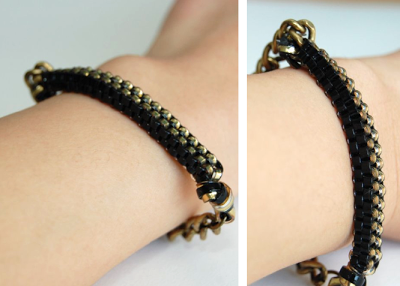
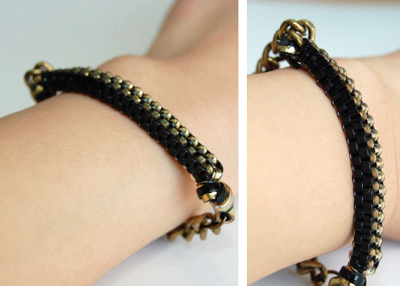
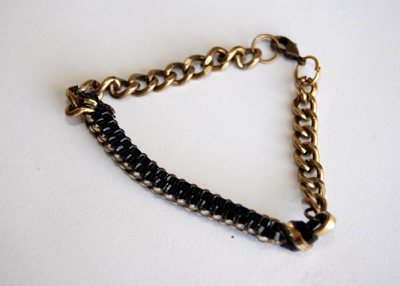
Lanyard bracelets are always fun, but I think the addition of the chain brings in a more sophisticated touch. See how I made it below!
Supplies:
– Lanyard (also known as plastic lacing/gimp) in two colors. I used two strands at roughly about 100 inches each, which was more than enough.
– Scissors
– Length of chain (Your wrist measurement minus 2 inches)
– Jump rings
– Jewelry clasp
– Jewelry pliers
– Clear nail polish
1) Cut two long strands of lanyard, one of each color. Keep in mind you won’t be making an entire bracelet. Each strand I used was 100 inches, which as I said above, was more than enough (I always like to overmeasure instead of undermeasure, though! Way easier to fix).
Fold in half and tie in a knot.
2) Create a box/square stitch for roughly 2 inches. My bracelet ended up having a over 2, but I think 2 inches would be more ideal (I’ll explain below!)
I didn’t photograph the steps for this as most people who are familiar with lanyard know how to create a box stitch. I realize this doesn’t include everyone, though, so luckily there’s a ton of box stitch tutorials out there – check some out here and here and here.
4) Secure the knots with a good deal of nail polish. Lanyard can untie itself from knots pretty easily, so the more nail polish, the better.
5) Attach the lanyard loop to the other end of the chain with a jump ring.
7) Attach a jump ring on one end, and a clasp on the other.
Because of how thick a box stitch is, I found that a shorter length would work better for a bracelet. Otherwise, it will be too stiff and sit perfectly straight on the wrist, making for an awkward bracelet. The closer the bracelet is to the wrist, the better.
Of course, you can also make it so that there’s more chain, and less lanyard. I think creating a small length of box stitch – maybe an inch or so – will be a nice accent to a bracelet that’s made of mostly chain.
I ended up needing to shorten the chain, but decided to leave the extra hanging – I kind of like how it looks!
xo.


