

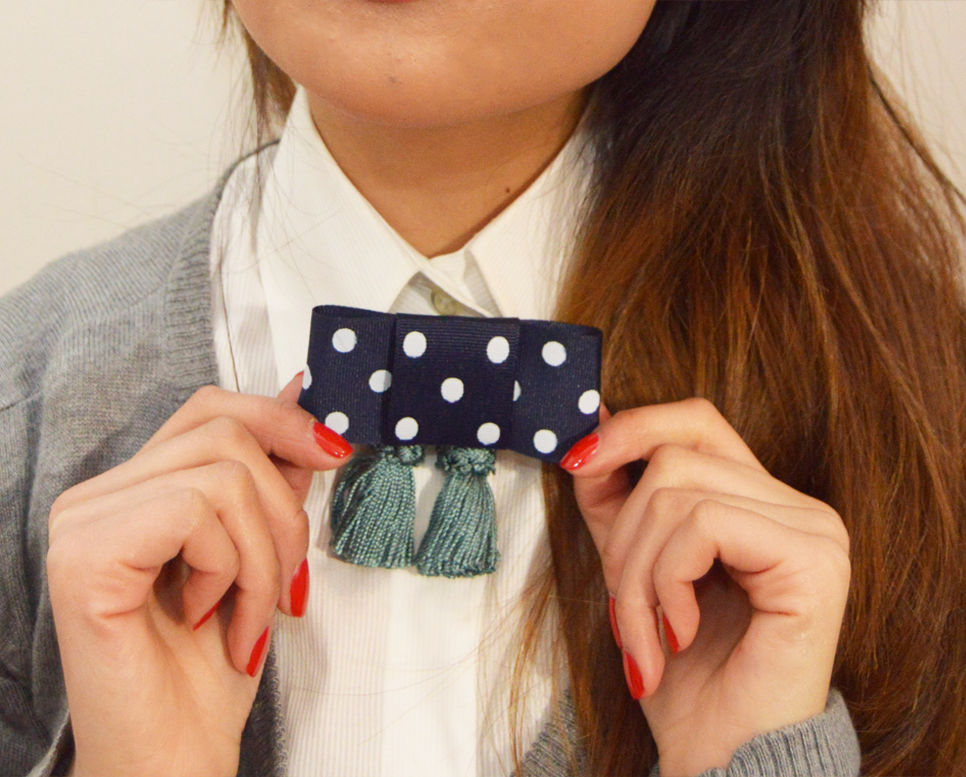
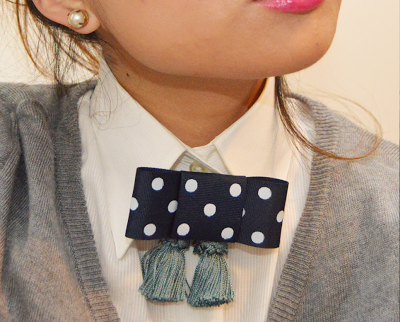
Contrary to what most people may think, I have a soft spot for preppy pieces. This project was actually inspired by a Stila holiday display that I spotted at Ulta. I wish I had been able to snap a quick shot of it – the model was wearing some kind of bow tie, with tassels hanging right underneath. It was super cute! I’m not sure how the actual accessory was put together, but I thought up of my own version. It’s quick and easy, and is actally two separate pieces. The bow is glued to a hair barette and then clipped on.
It’s something a little different for the holidays (or any fancy little party!)

You also may notice that step by step photography is different. I made a few changes to the way I photograph tutorial steps – I pretty much made a DIY studio, lights and all! I’m very happy with the results:

Keep reading to see how I made the Bow and Tassel Collar!

– Chain


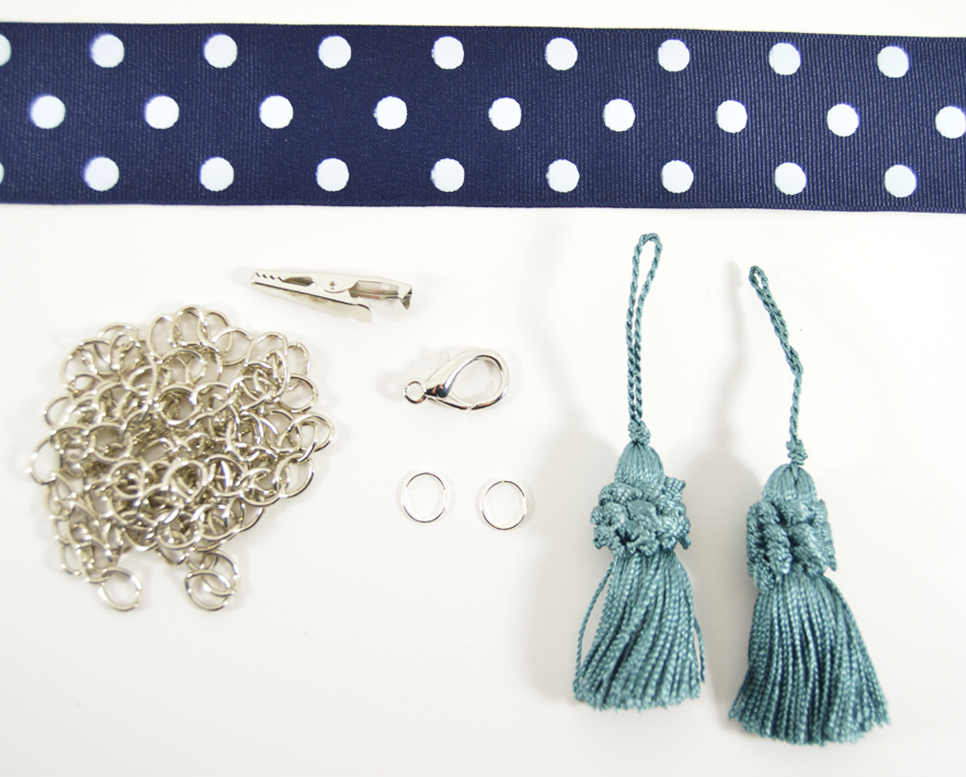


Supplies:
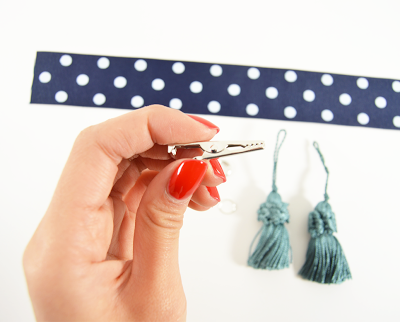
– Wide ribbon (at least 12 in /30.48 cm)
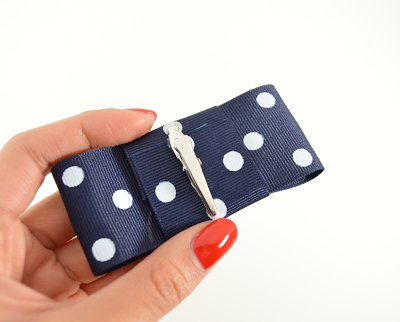
– Hair barette (I recommend an alligator clip, as seen in the 2nd photo)
You might even be able to get away with a clip on earring!
You might even be able to get away with a clip on earring!
– Pair of tassels
– Chain
– Jewelry clasp
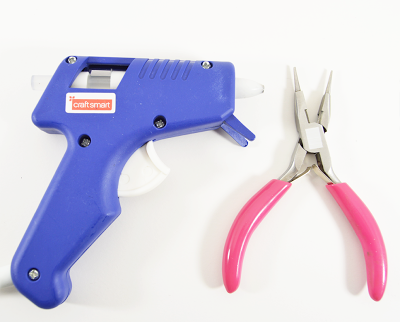
– Hot glue gun
– Jewelry pliers
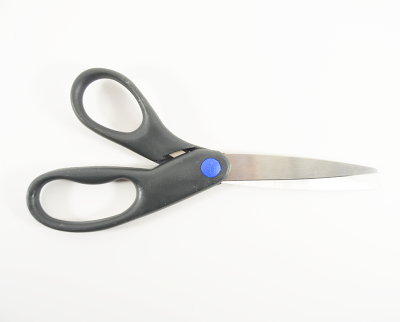
– Scissors

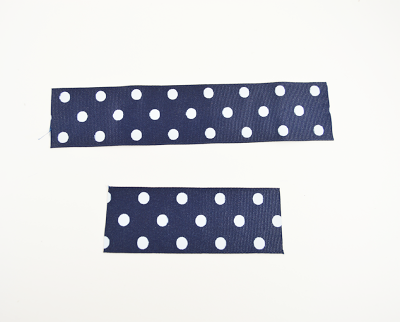
1) Cut the ribbon into a 7 in (17.78 cm) piece and a 4″ (10.16 cm) piece.
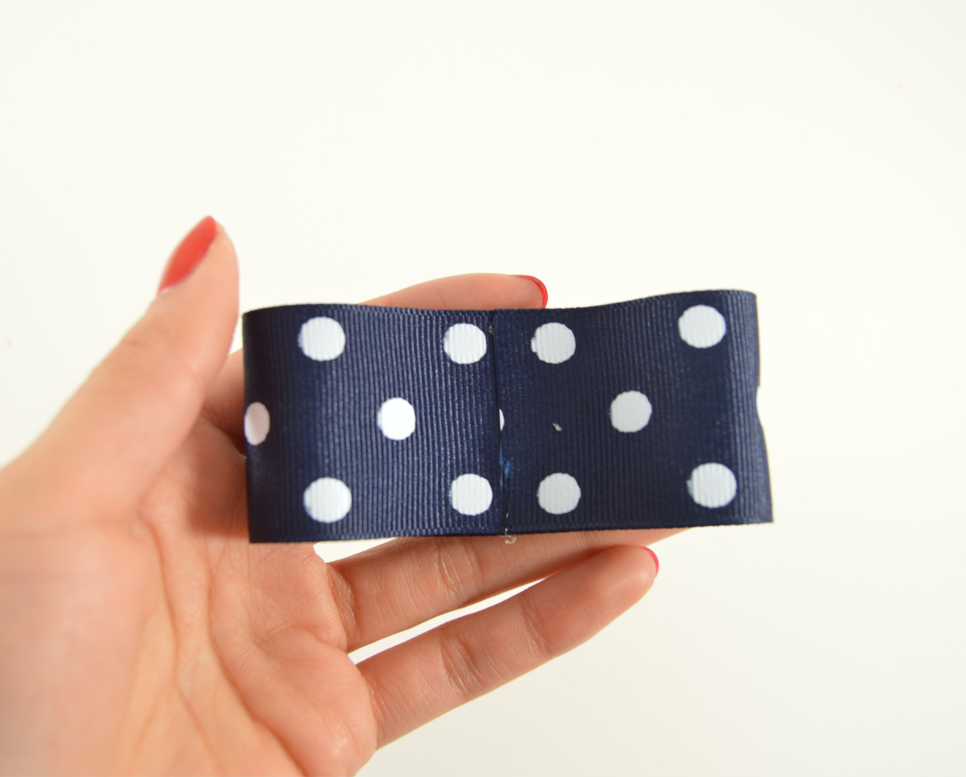
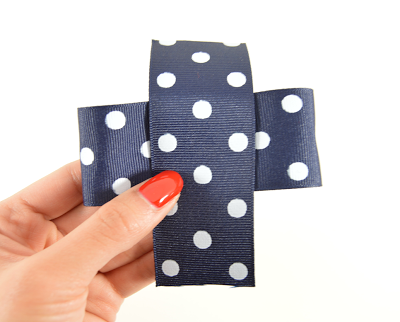
2) Take the 7 in strand and fold the ends to meet in the middle. Hot glue in place.

3) Take the 4″ strand and place over the middle.
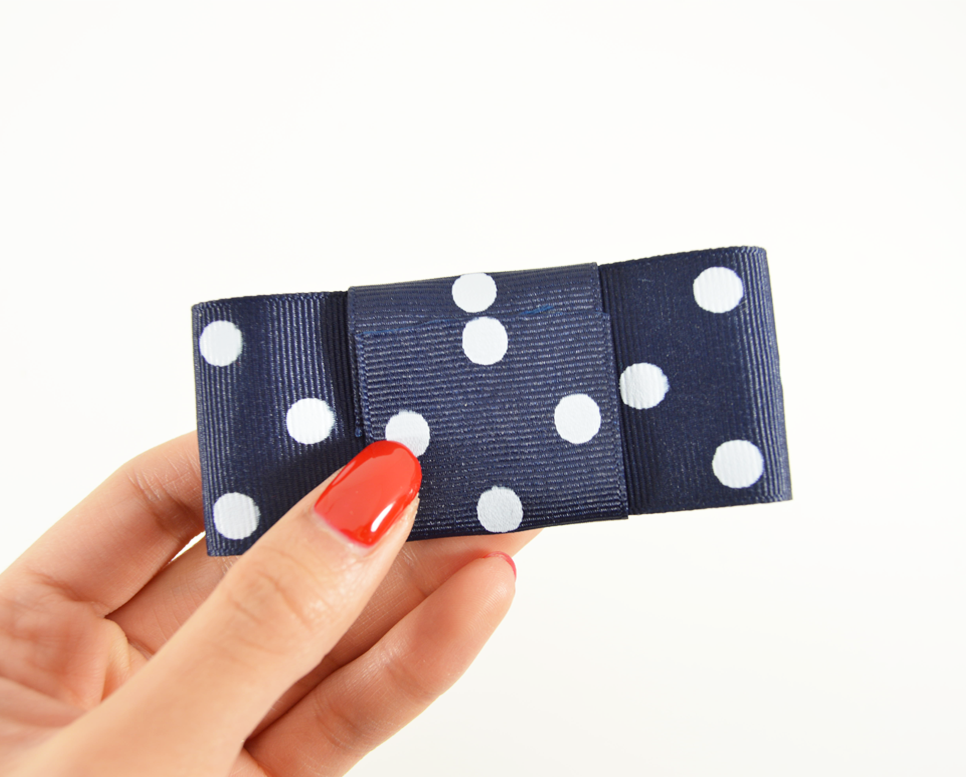
4) Fold/wrap around, and glue the ends in place on the reverse side.

5) Glue the hair clip on to the back of the bow.

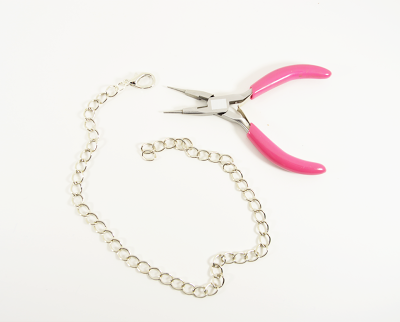
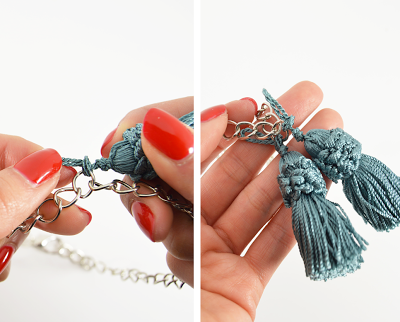
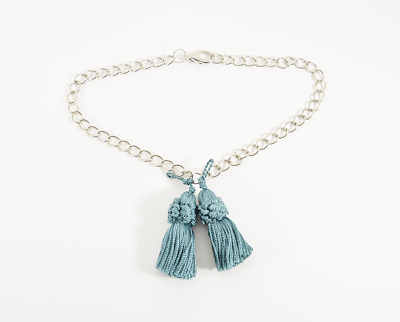
6) For the tassel portion, attach the jewelry clasp to the chain. I eyeballed the length of chain I used, and adjusted it accordingly after trying it on at the end. I made it so that it fit like a choker around the collar of my shirt.
7) Tie the tasels onto a chain link in the center of the chain. If you’d like, add a few drops of clear nail polish to the knots to keep them in place.


Happy Sunday! 🙂