

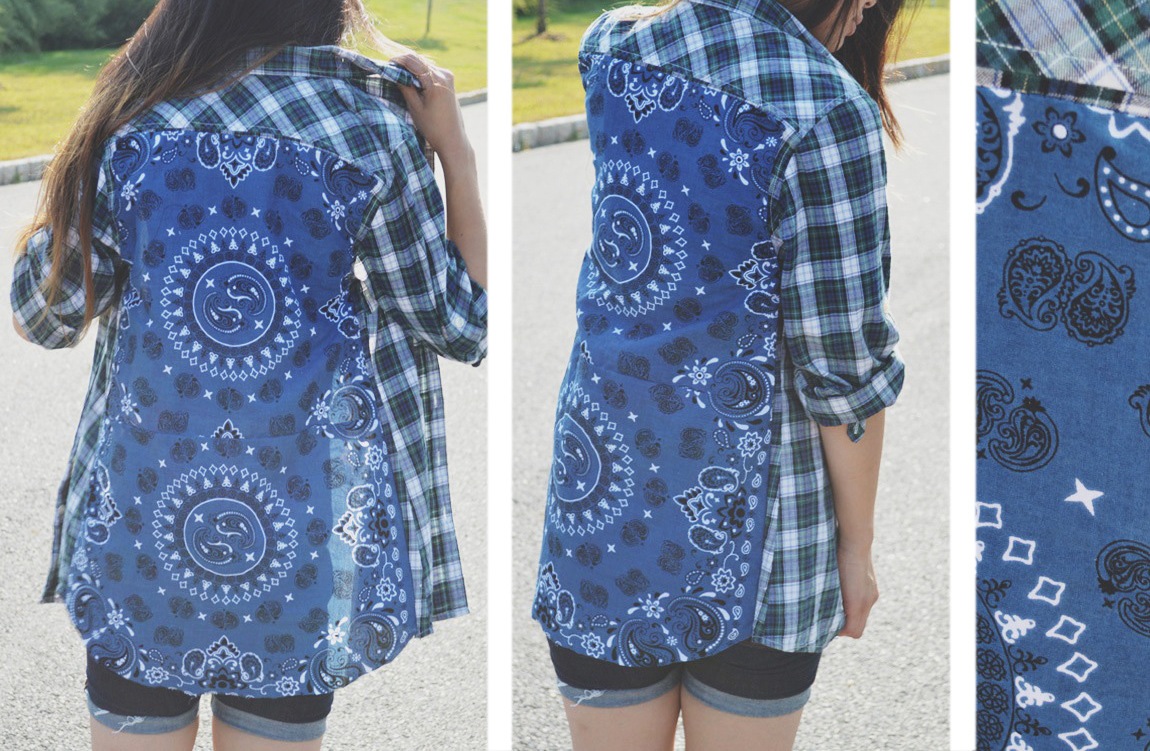
Now that it’s officially fall, it’s time for some flannel projects! This one was inspired by a shirt I spotted on Free People’s website; I happened to have everything I needed to recreate it, so of course I went right to it.
This is a great project for those of you learning how to sew, too. It’s simple, but still needs just a little bit of extra elbow grease to make it work. See how I made it, below >>
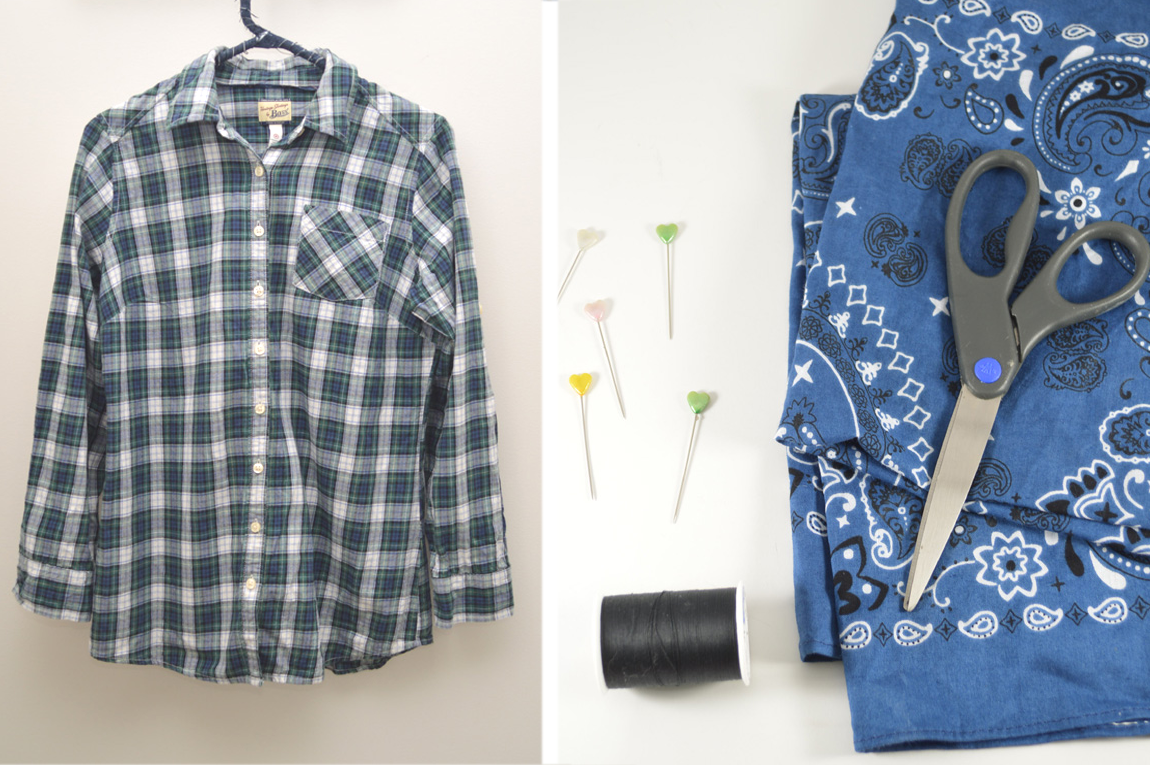
Supplies:
- Plaid/flannel shirt
- 2 bandannas
- Thread, pins, fabric scissors
- Sewing machine
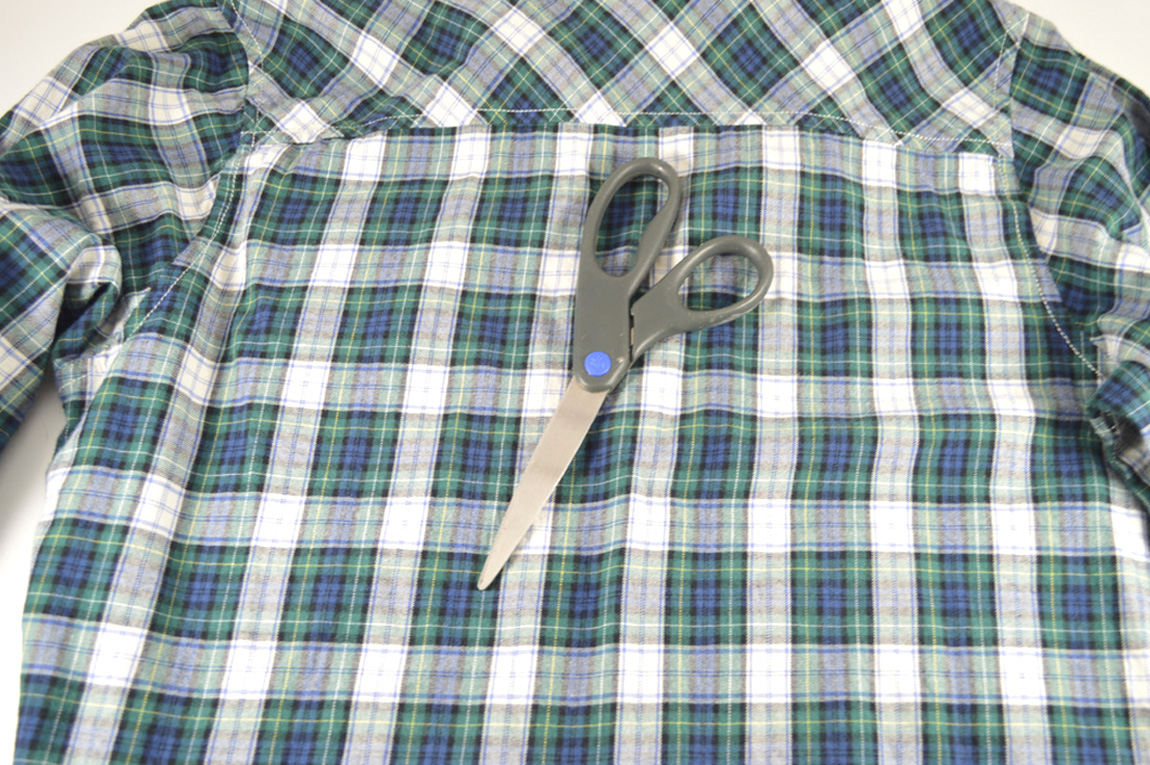
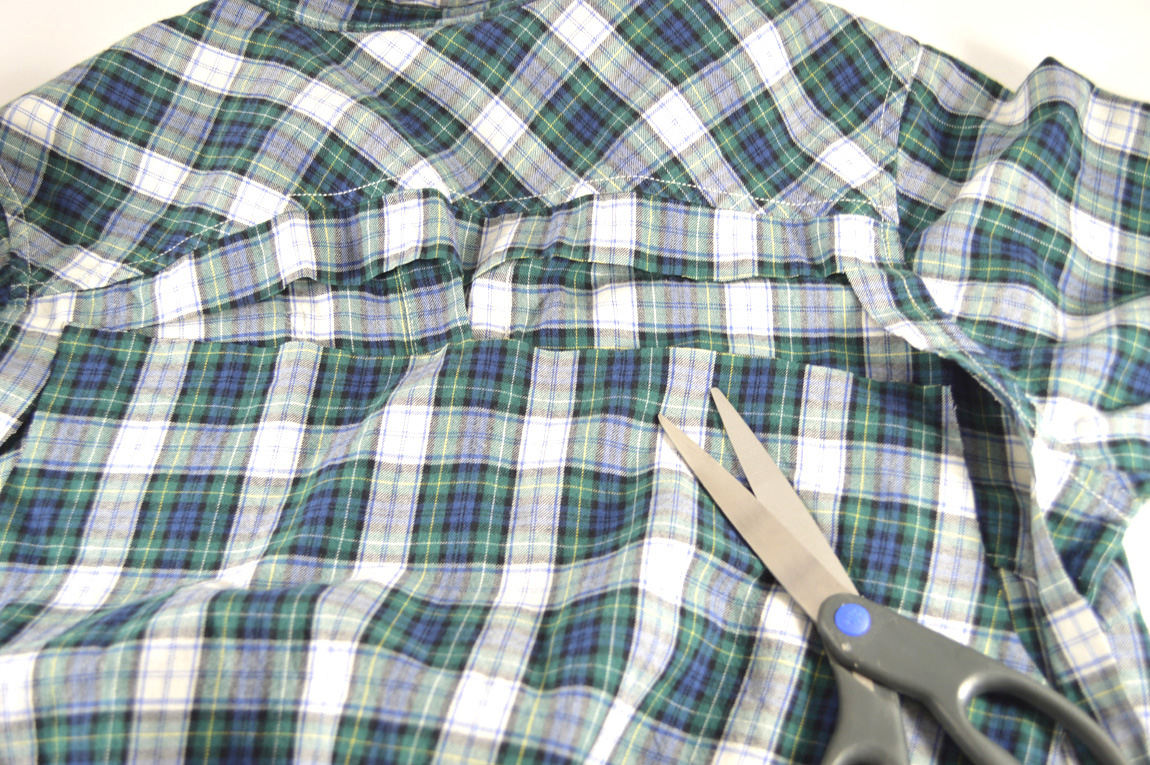
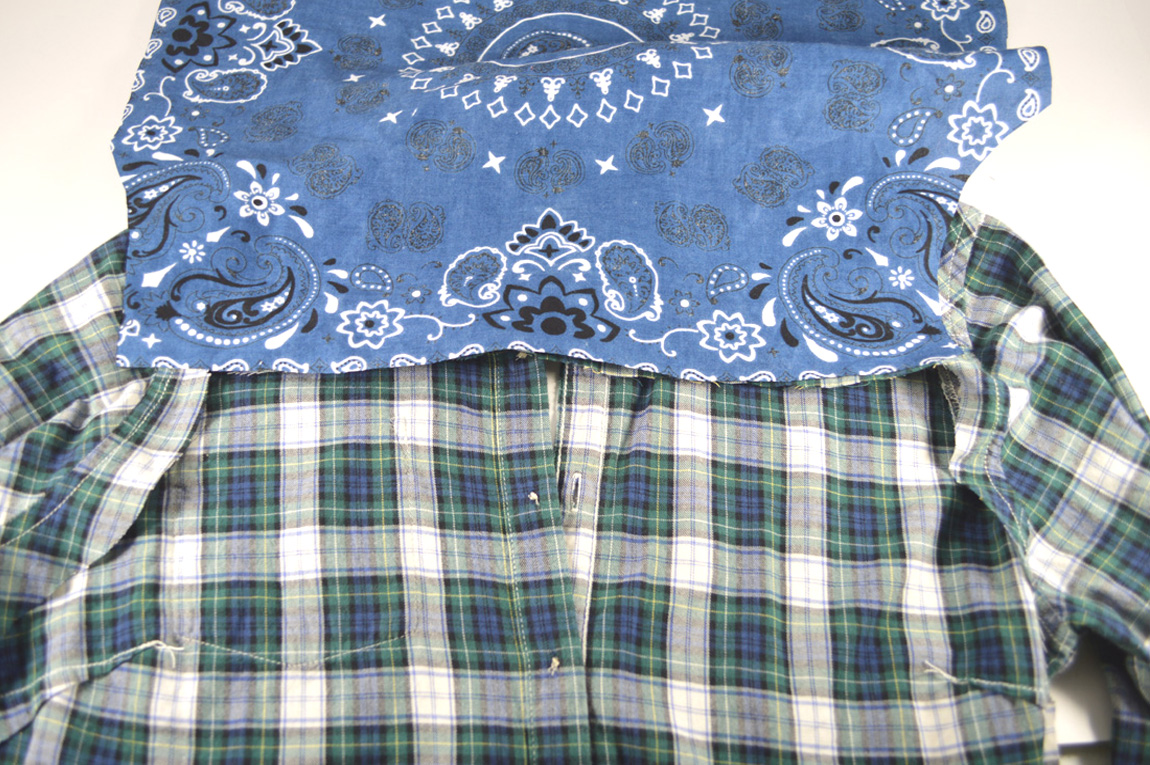
1) Cut out the back panel of the shirt, leaving at least 1 inch (2.54 cm) along all sides. To make it a little easier, you can also just cut out at a rectangle from the back. But, I like the way the bandanna fits into the shoulders/arms when cut like this!
Hold onto the plaid fabric that you just cut out.

2) Pin the two bandannas together, front sides facing each other. I trimmed a bit of one of them before doing so.
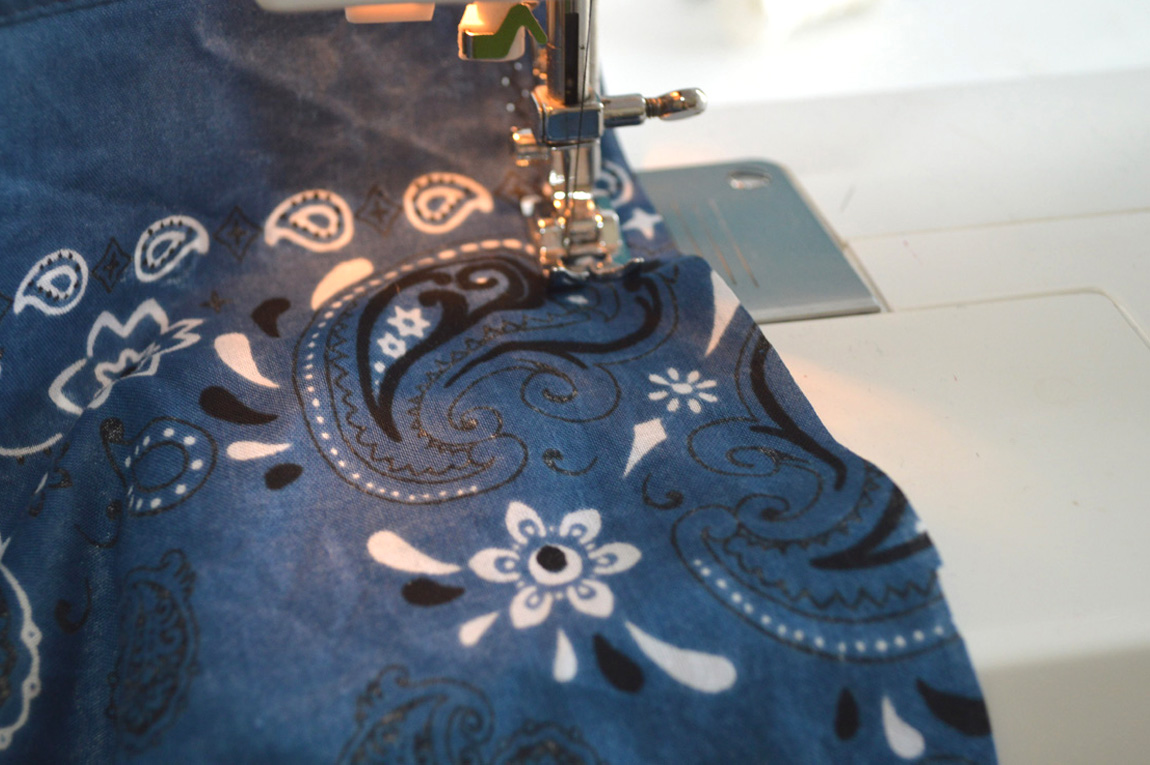
3) Sew across.

4) You’ll end up with one big bandanna panel.
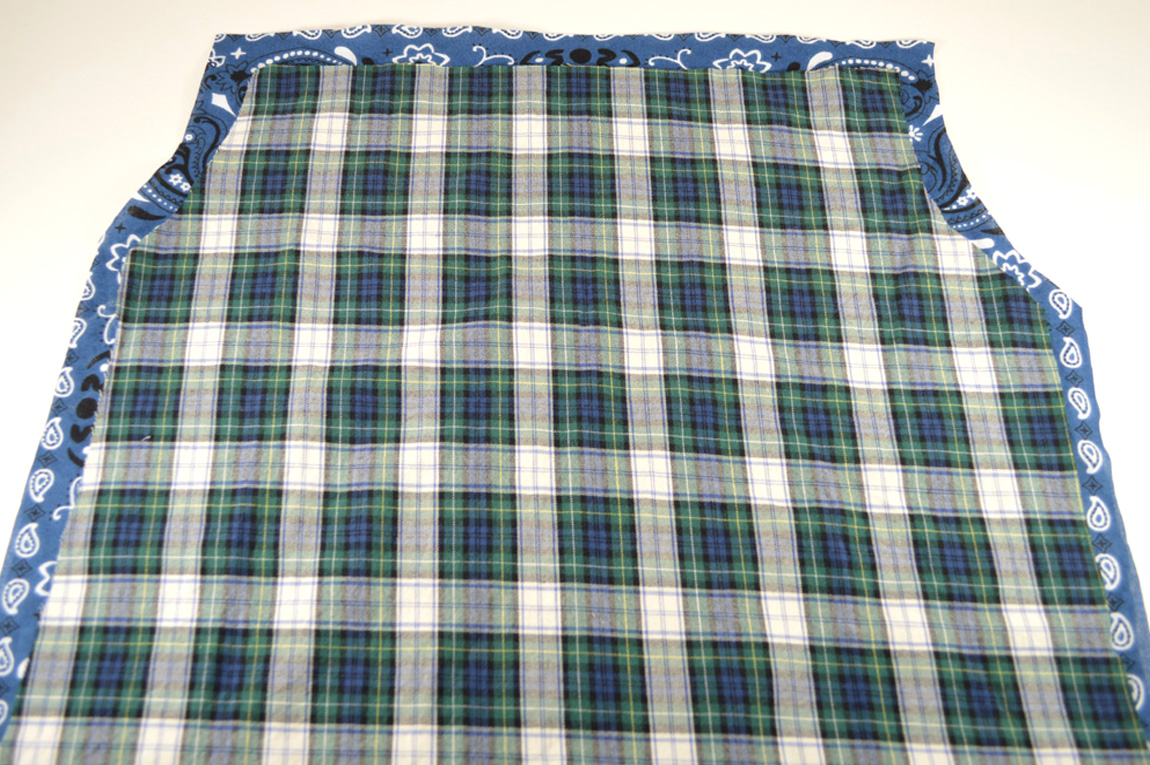
5) Lay the original plaid fabric that you had cut out on top of the bandanna. Cut all around, leaving about an inch. The bottom of both fabrics will probably be curved, as most button downs are made that way.
6) The bandanna fabric is now ready to fit perfectly into the back of the plaid shirt.
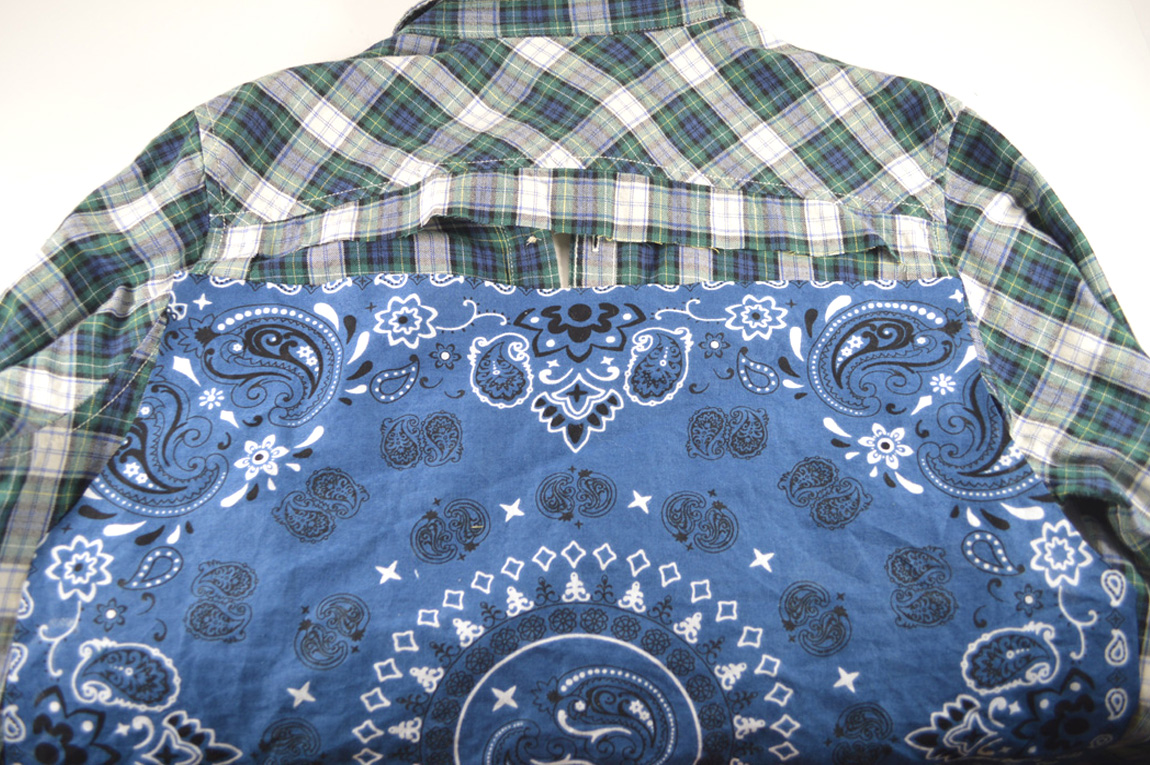
7) Line up the edge of the plaid fabric to the top of the bandanna. Here, the “right” side of the plaid shirt is facing the “right” side of the bandanna. Pin in place.
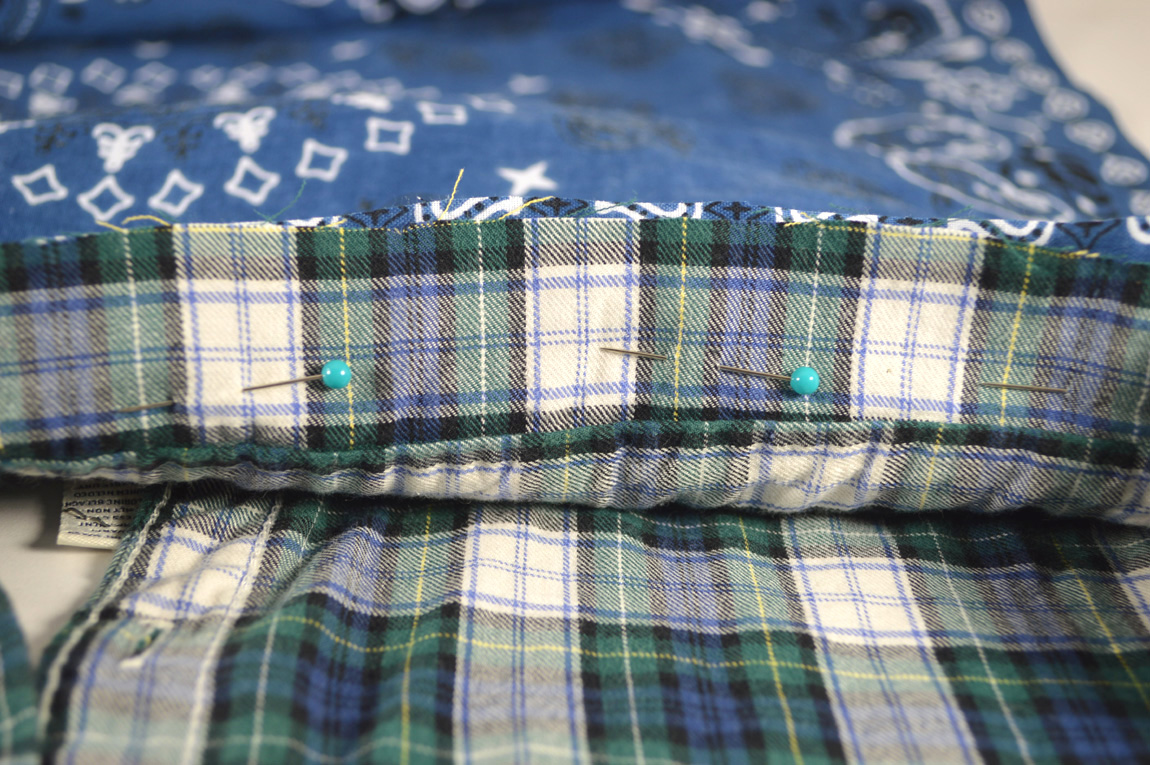

8) Sew.
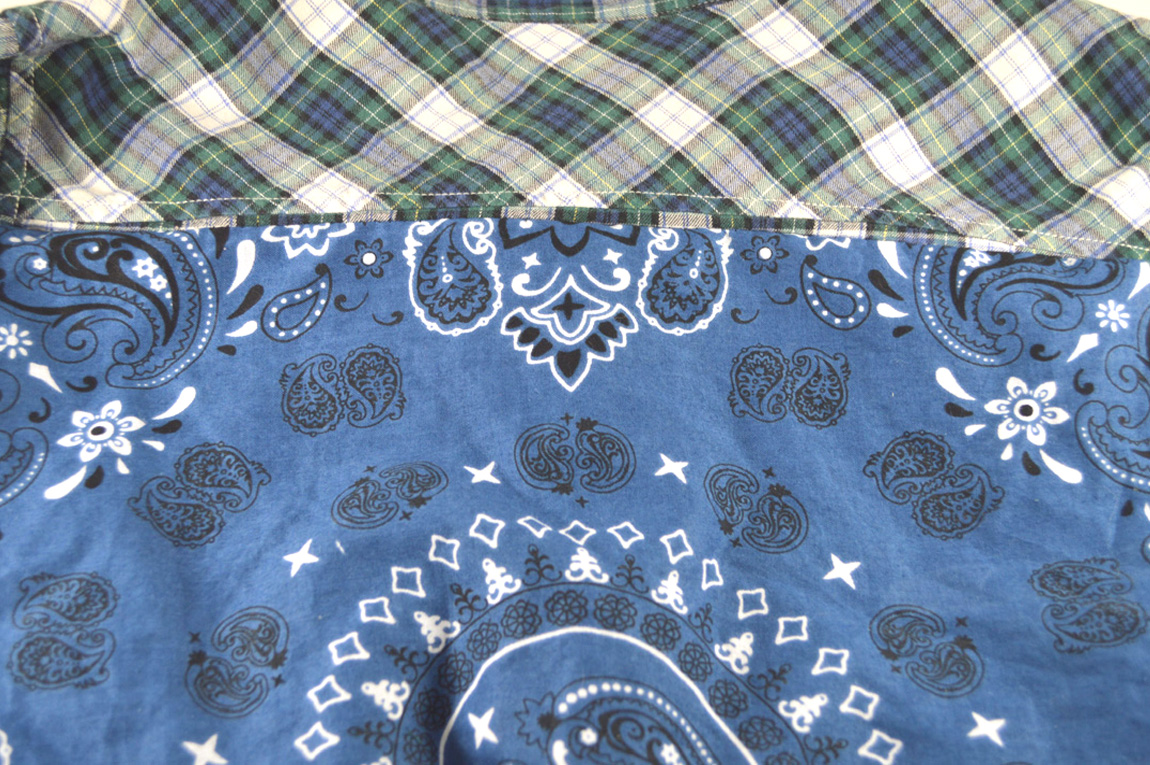
It’ll look a little something like this.
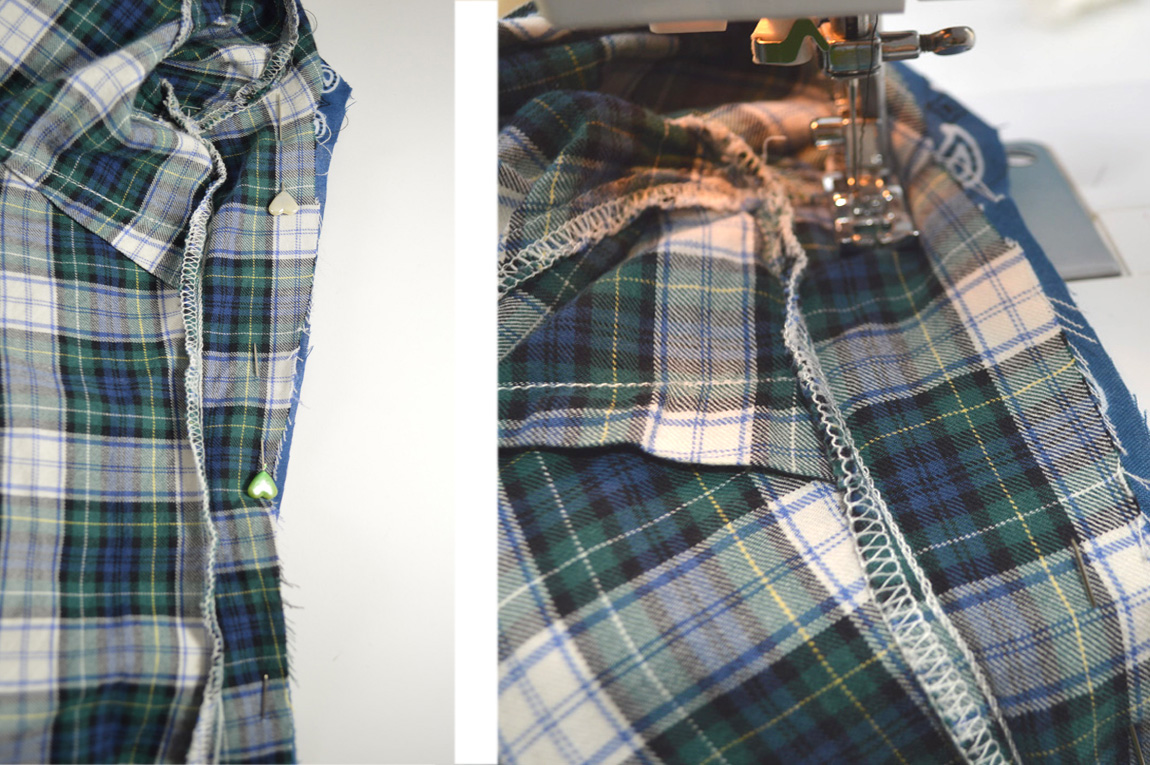
9) Along one side, pin together the plaid fabric and bandanna. Again, make sure the “right” sides are facing each other.

10) For the curve along the arm, tuck the bandanna under, following the seam as a guide.

11) Pin in place. Sew a straight stitch along the fold.
Repeat everything on the other side, and you’re good to go. I left the bottom edge raw, but you can hem it if you’d prefer. Adding bias tape along the raw edge is another option.
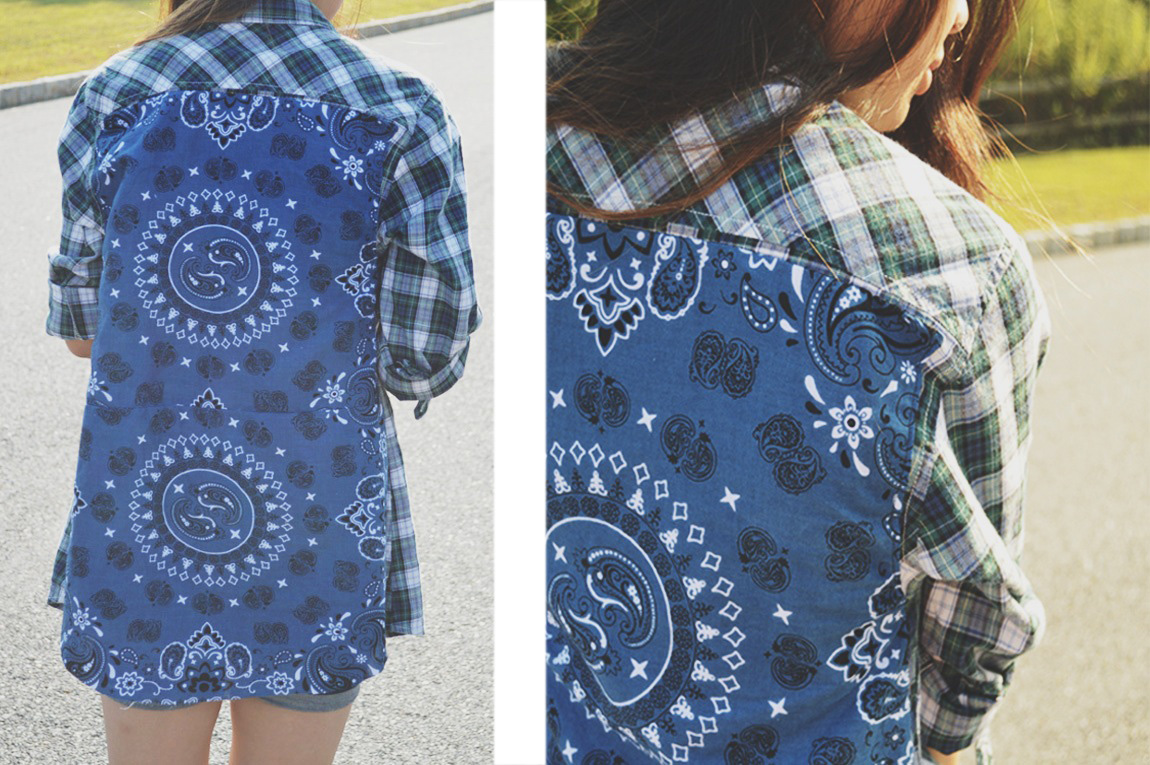
Try it out with different types of fabric for alternative versions. Enjoy!
xx K