

Chokers are literally the easiest pieces of jewelry to make. Basic styles can be made by just wrapping suede cord, elastic, or ribbon around your neck. You can even make a DIY fabric choker with fusible webbing tape. But in the interest of keeping things simple, let’s talk about flat wire. This underrated material is perfect for making a chic metal choker DIY. All it takes is four steps! Here’s the lowdown.
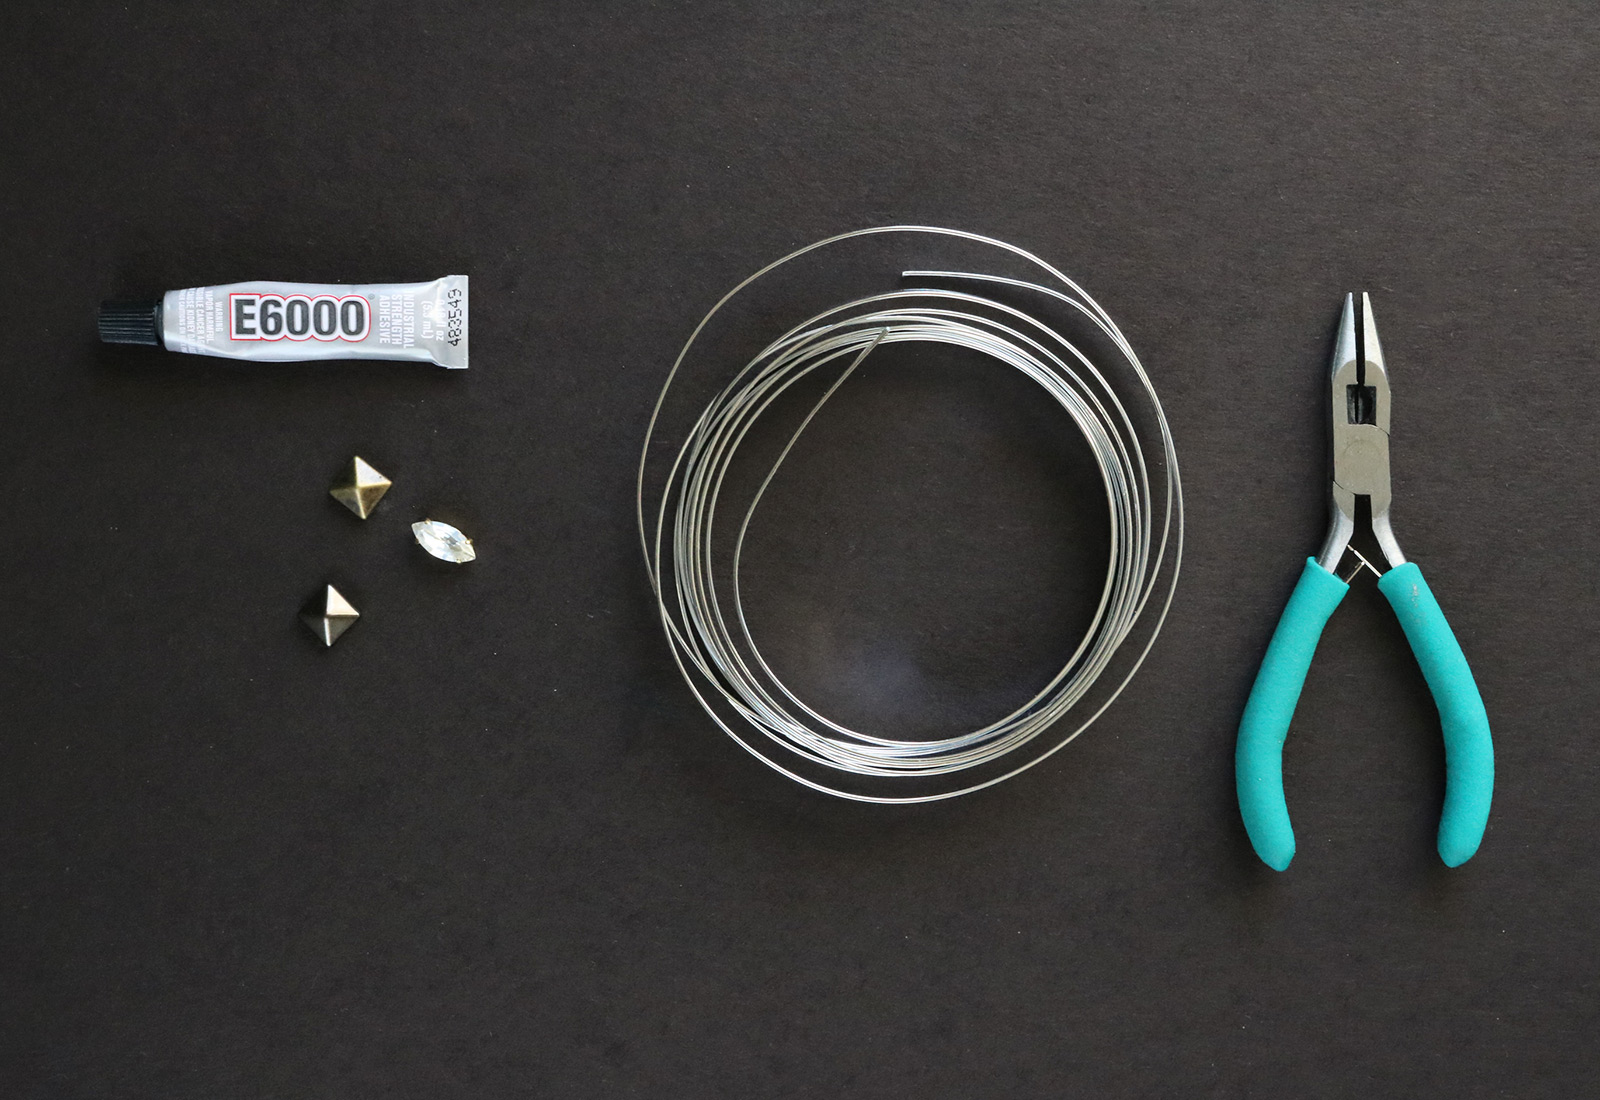
Supplies:
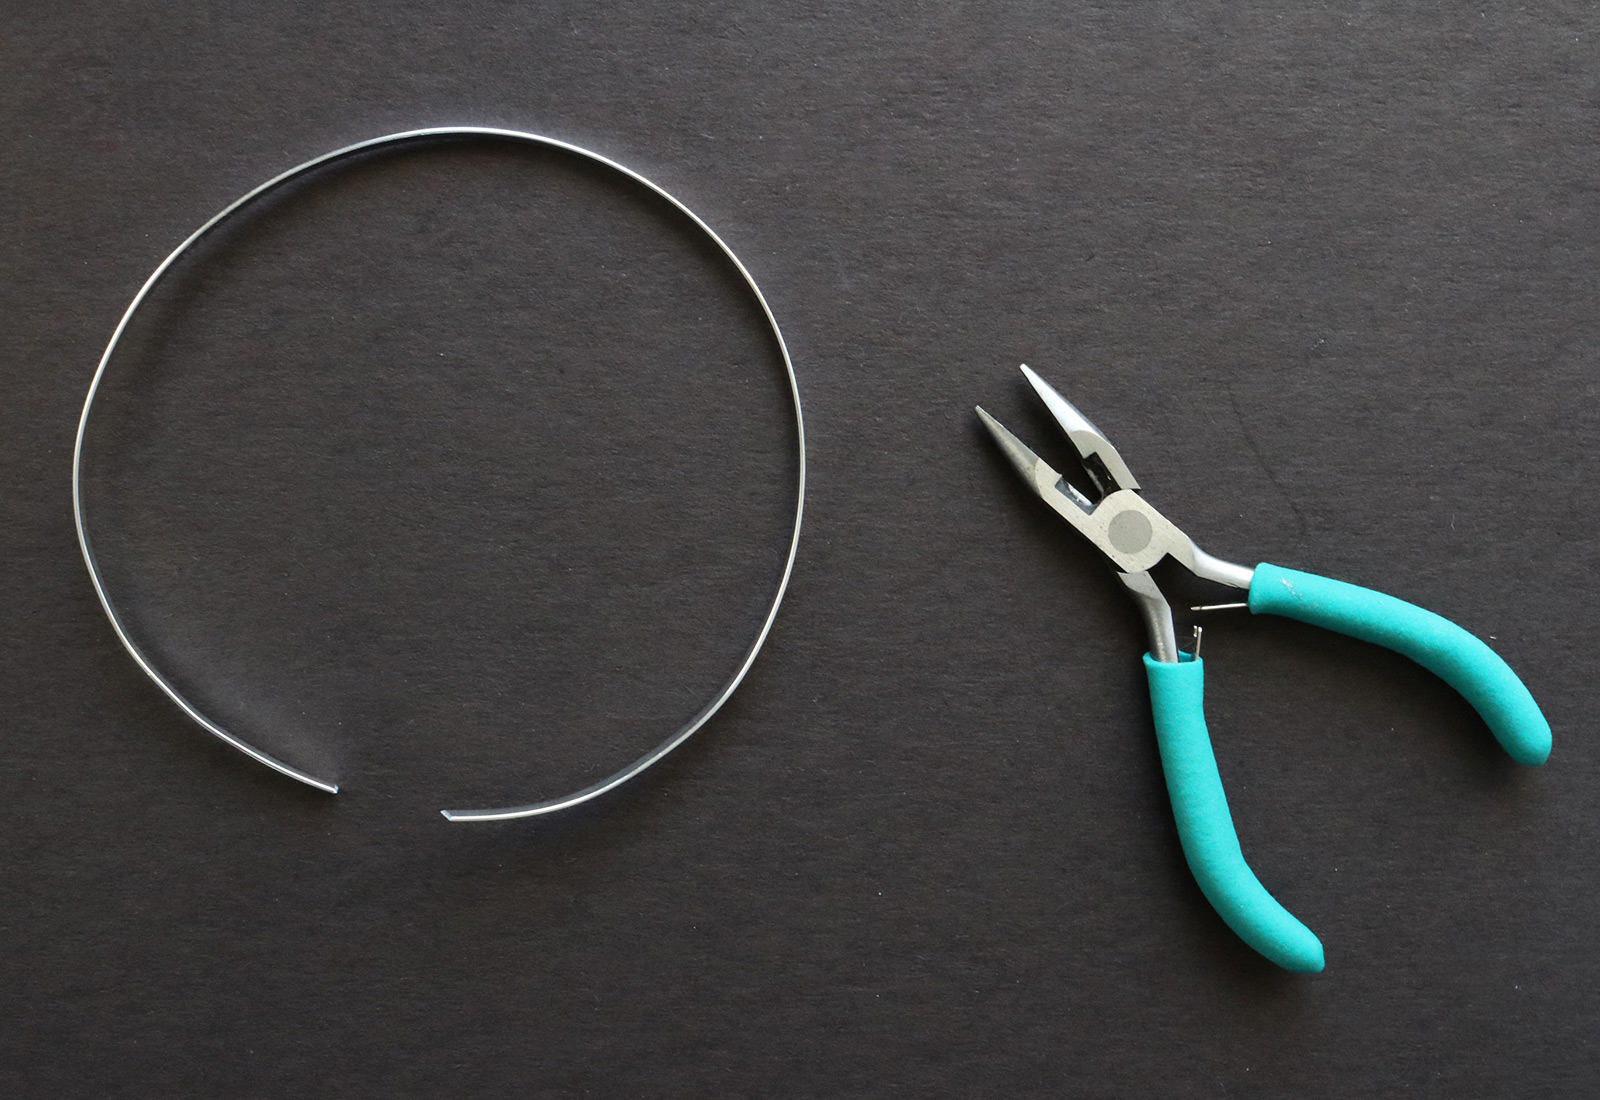
1. Cut a strand of flat wire long enough to fit snugly around your neck. Use the cutting portion of the pliers or scissors.
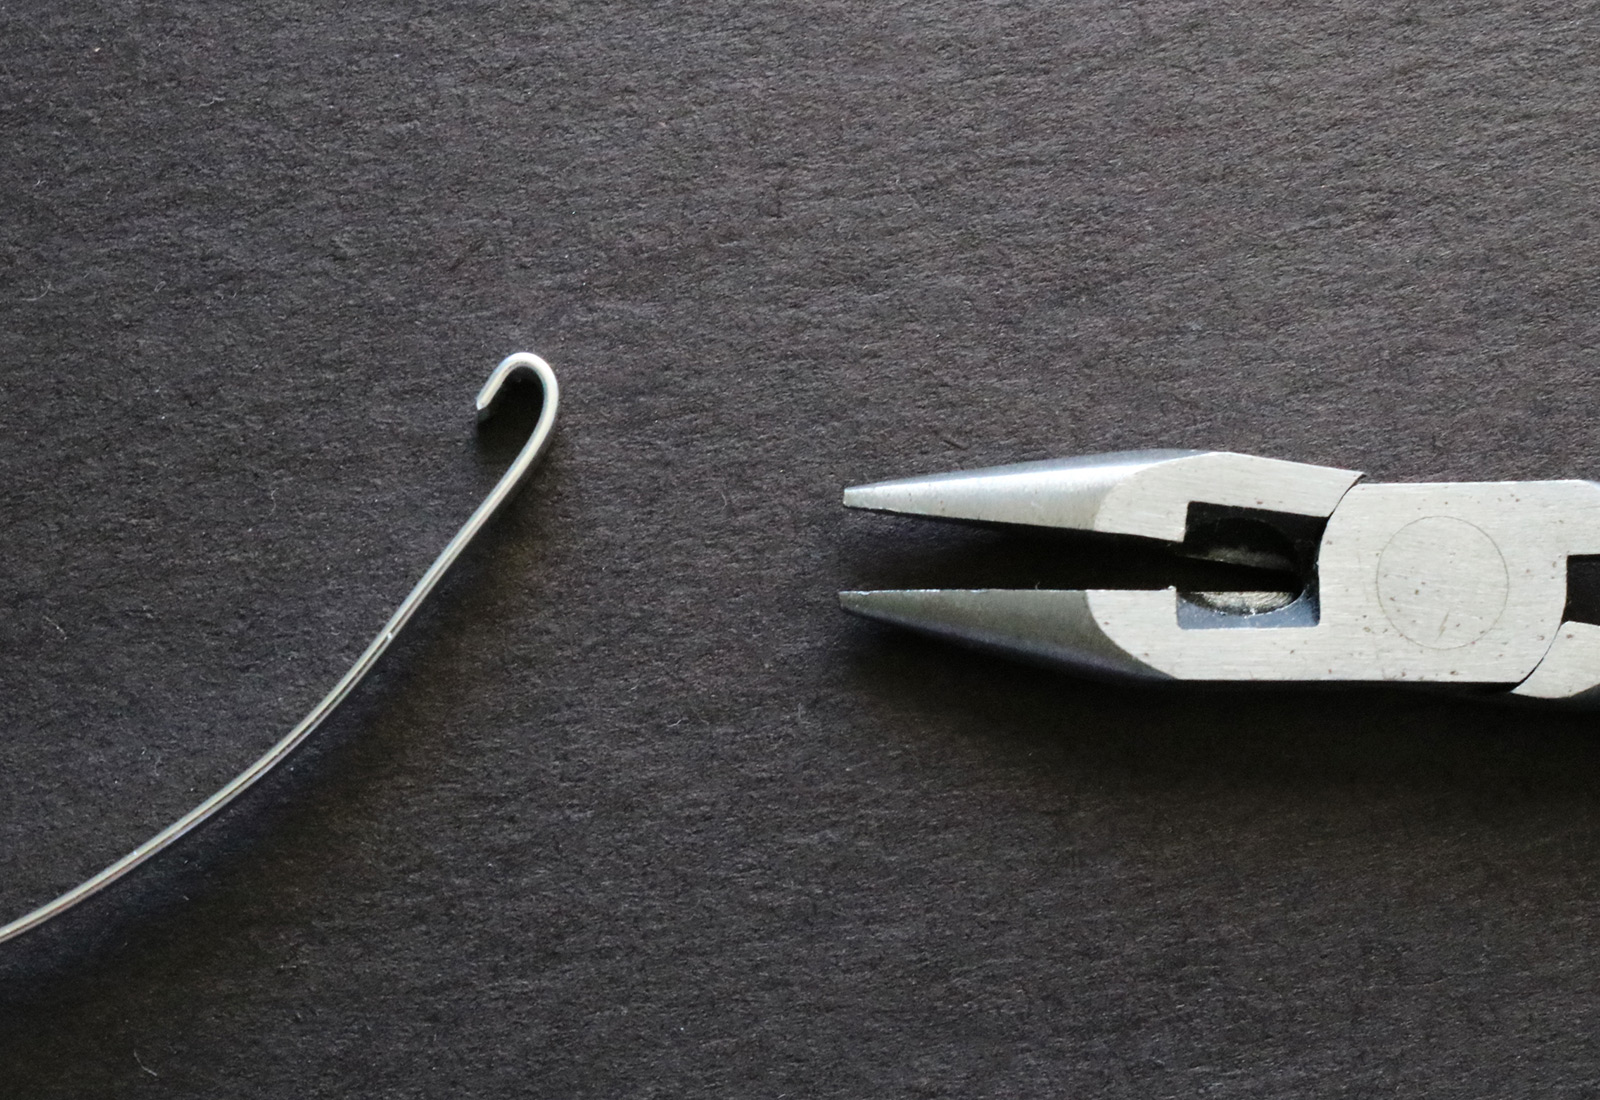
2. Bend each end inward 1/2 inch.
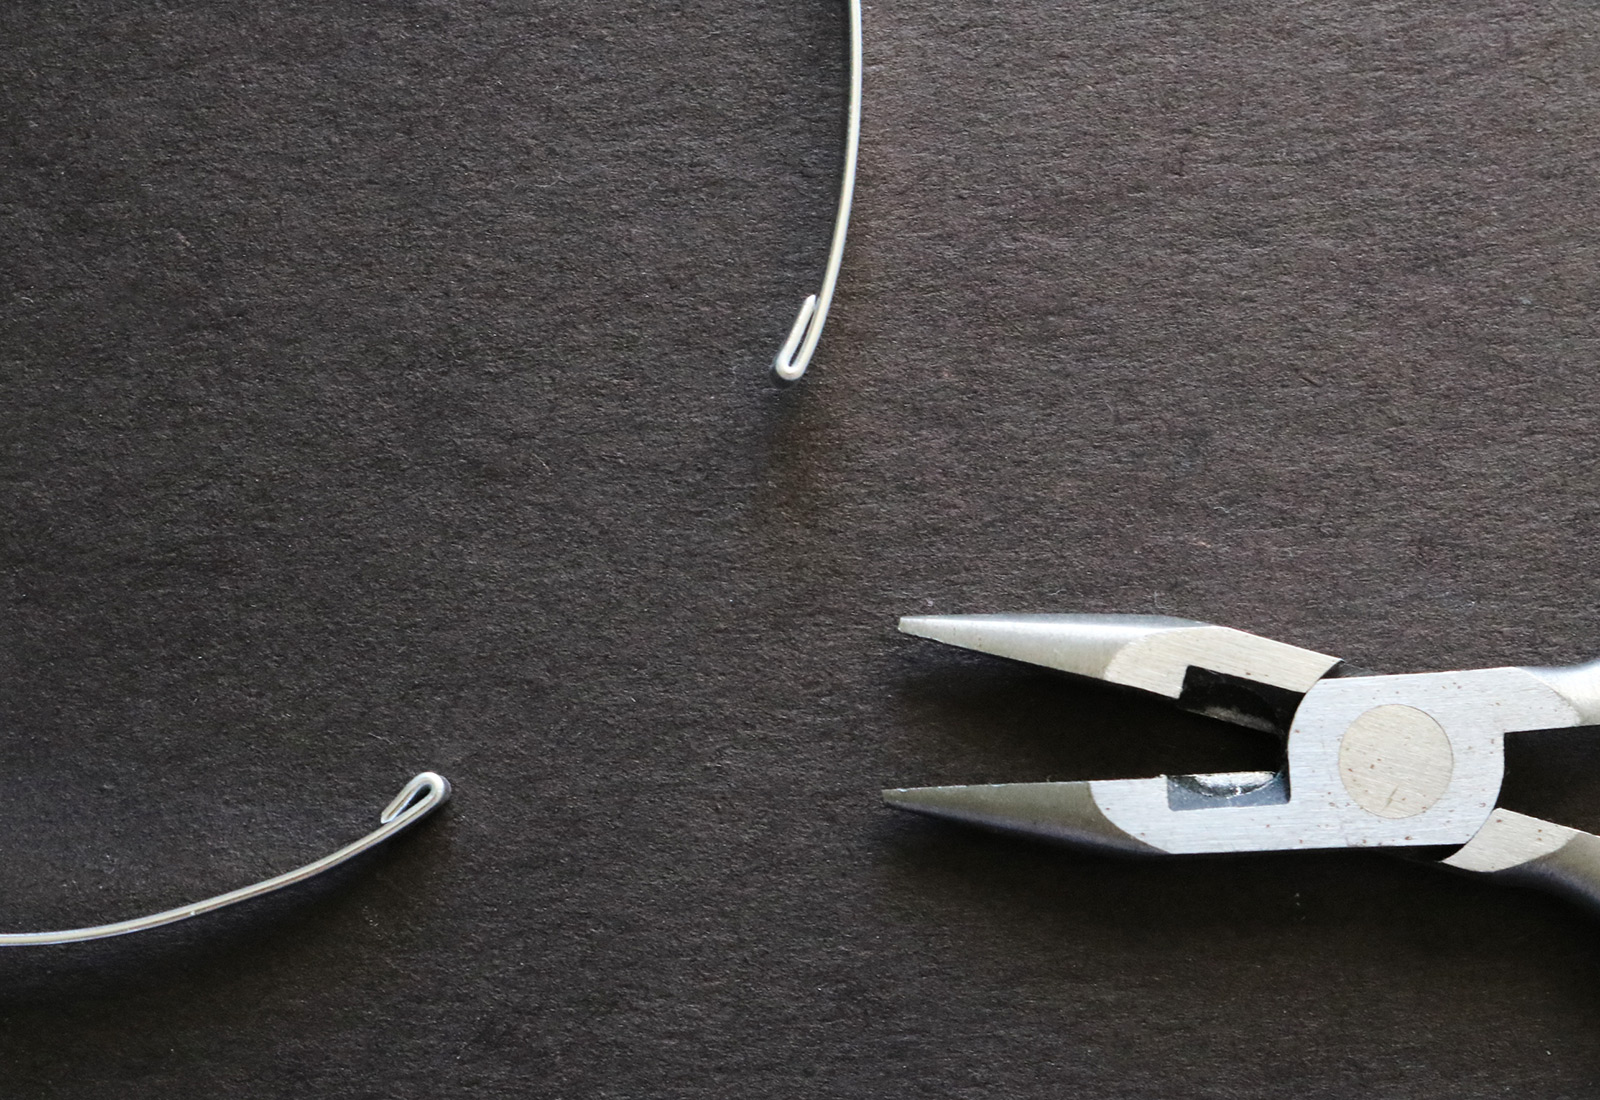
3. Press down each end with the flat portion of the pliers.
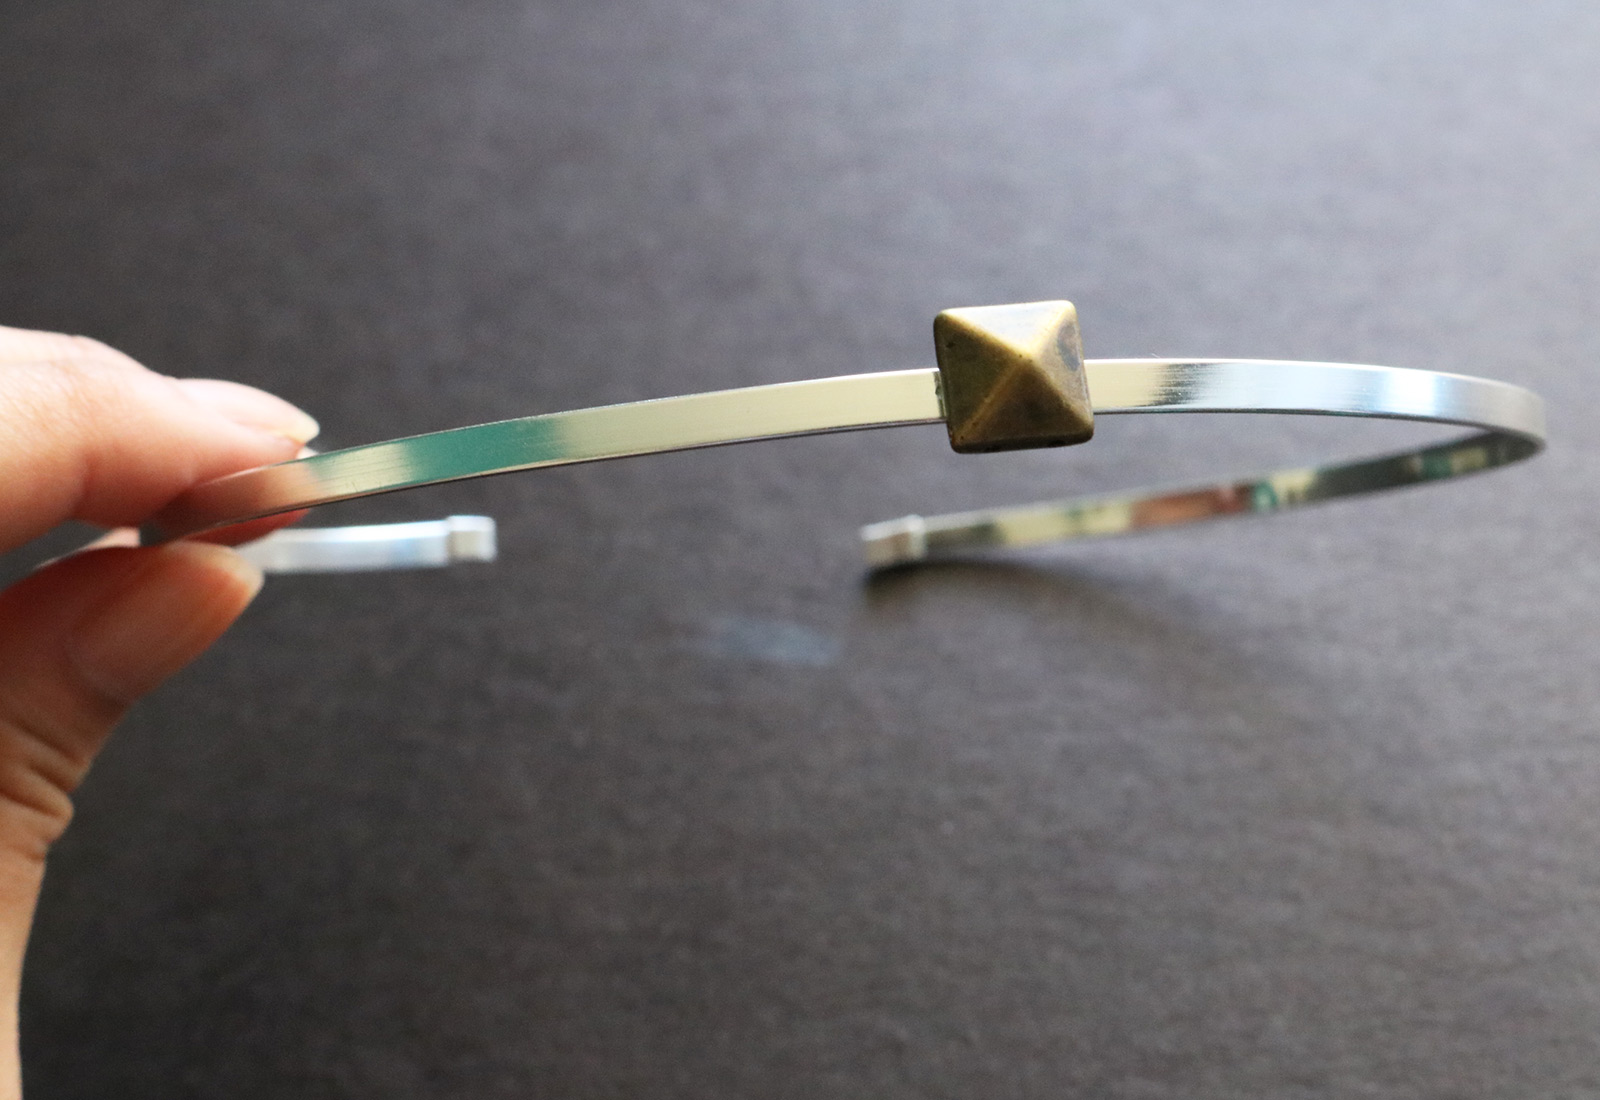
4. Glue the embellishment of your choice. Leave it upright, if possible. This will prevent the embellishment from shifting.

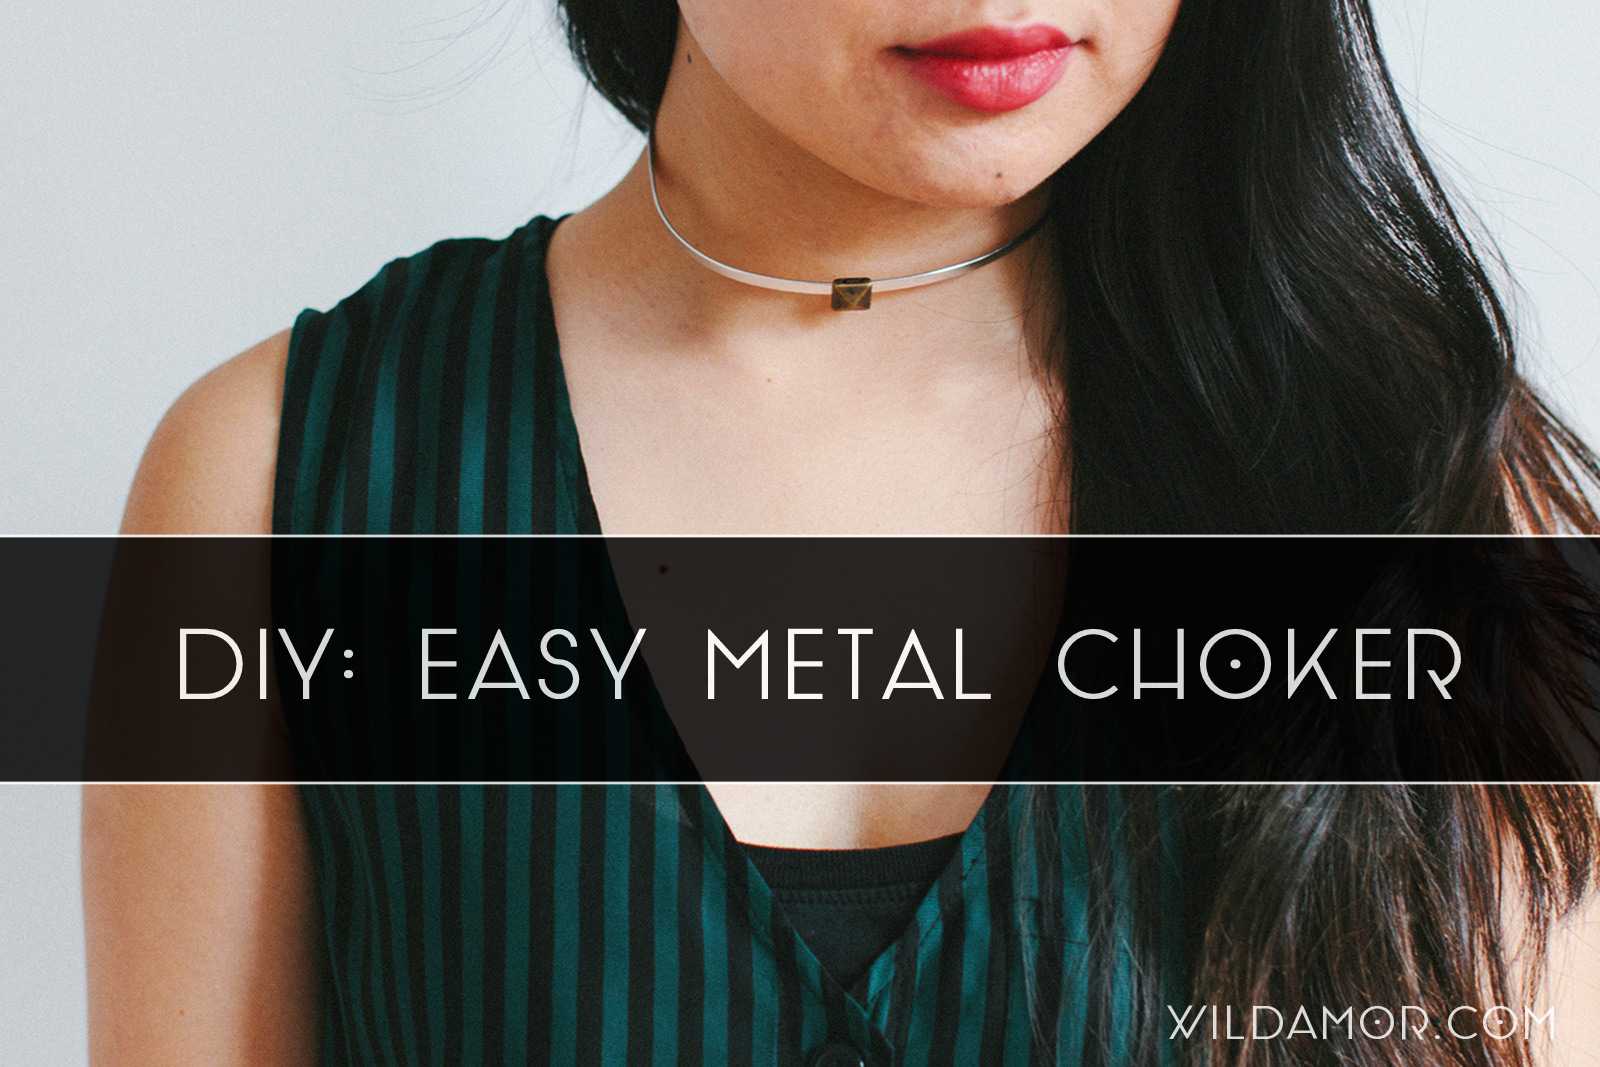
Once dry, your choker is ready to top off an outfit.

I love the simple look of just one embellishment, but you can add several if that’s your style.

This easy project can be worn by itself or layered with other necklaces. I bet it’ll look awesome with thin chains!
Looking for more choker projects? Check these out:
xx K
Tutorial Photos: Kirsten Nunez
Lifestyle Images: Haruka Sakaguchi