

As a born and raised New Yorker, I never thought I’d see the day when I’d be wearing shorts in November. Between this move to California and my friends at BooHoo, that very thing recently happened. The final verdict? It’s pretty surreal, but hey — I‘ll take it.
Here’s what went down: BooHoo challenged me to style an outfit for their “70s vibe” campaign and create a DIY to pair it with. And since I’m always on the prowl for ways to use up leftover supplies, I decided to whip up a necklace using chain remnants and rope. The latter coordinates perfectly with the crochet halter top from this outfit; talk about fate.
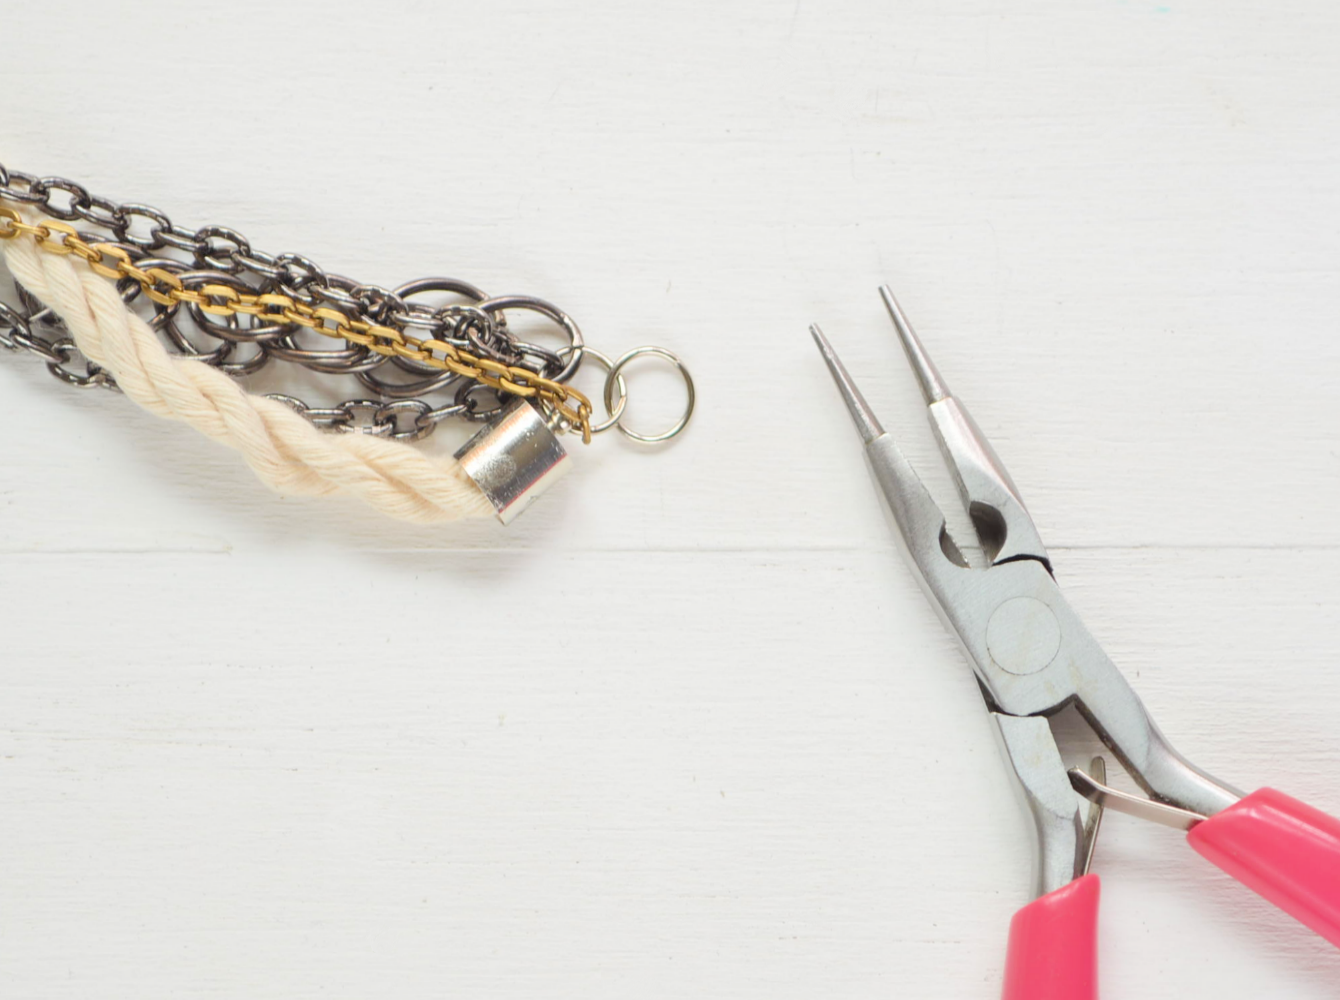
Want to put those leftover supplies to good use? Here’s how to make the necklace:
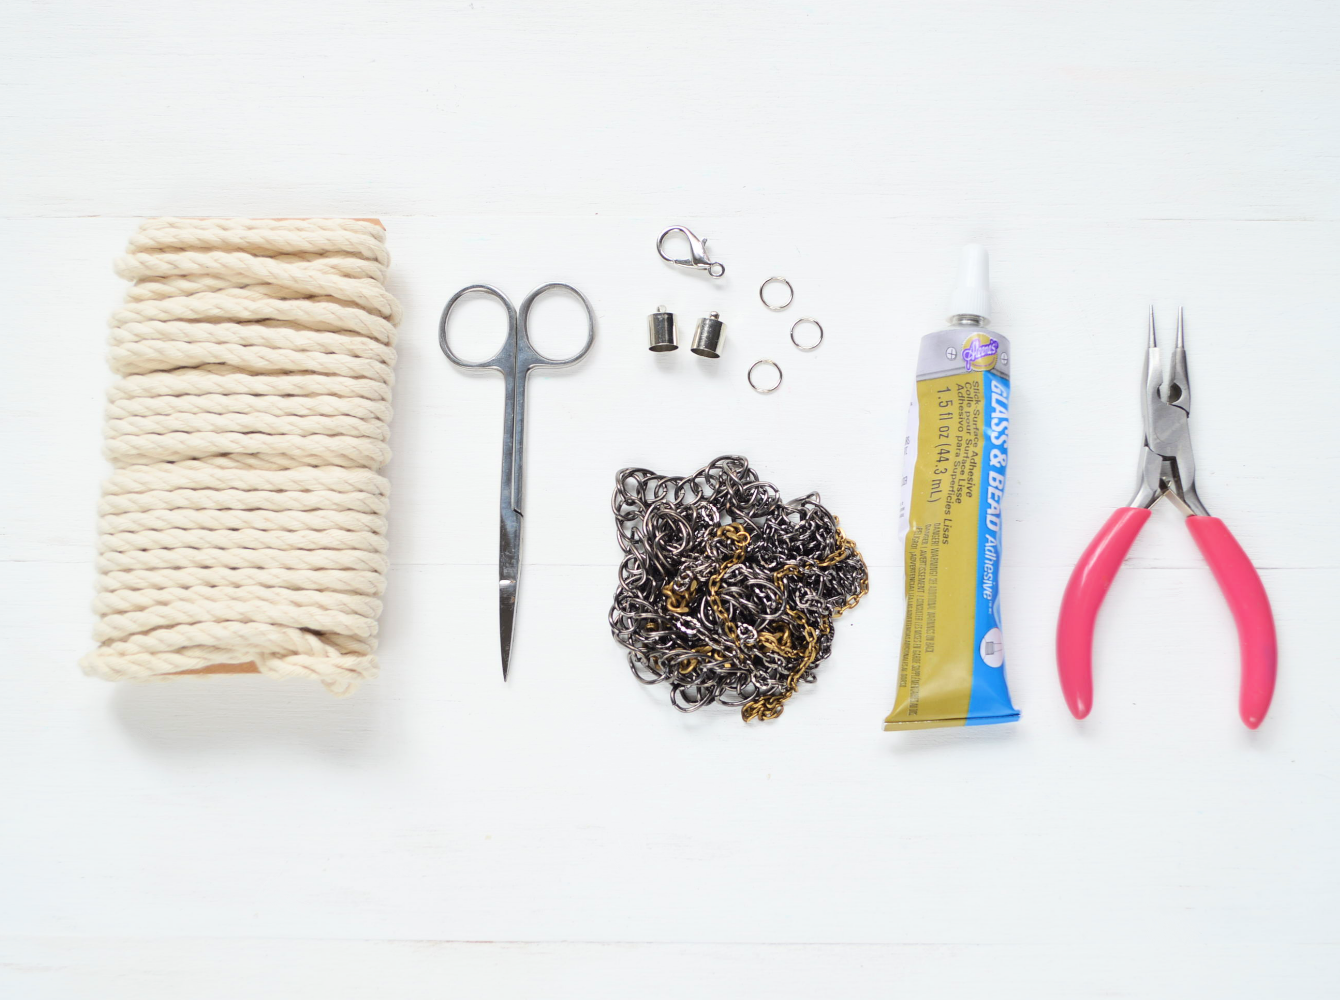
Supplies:
- Rope*
- End caps (2)
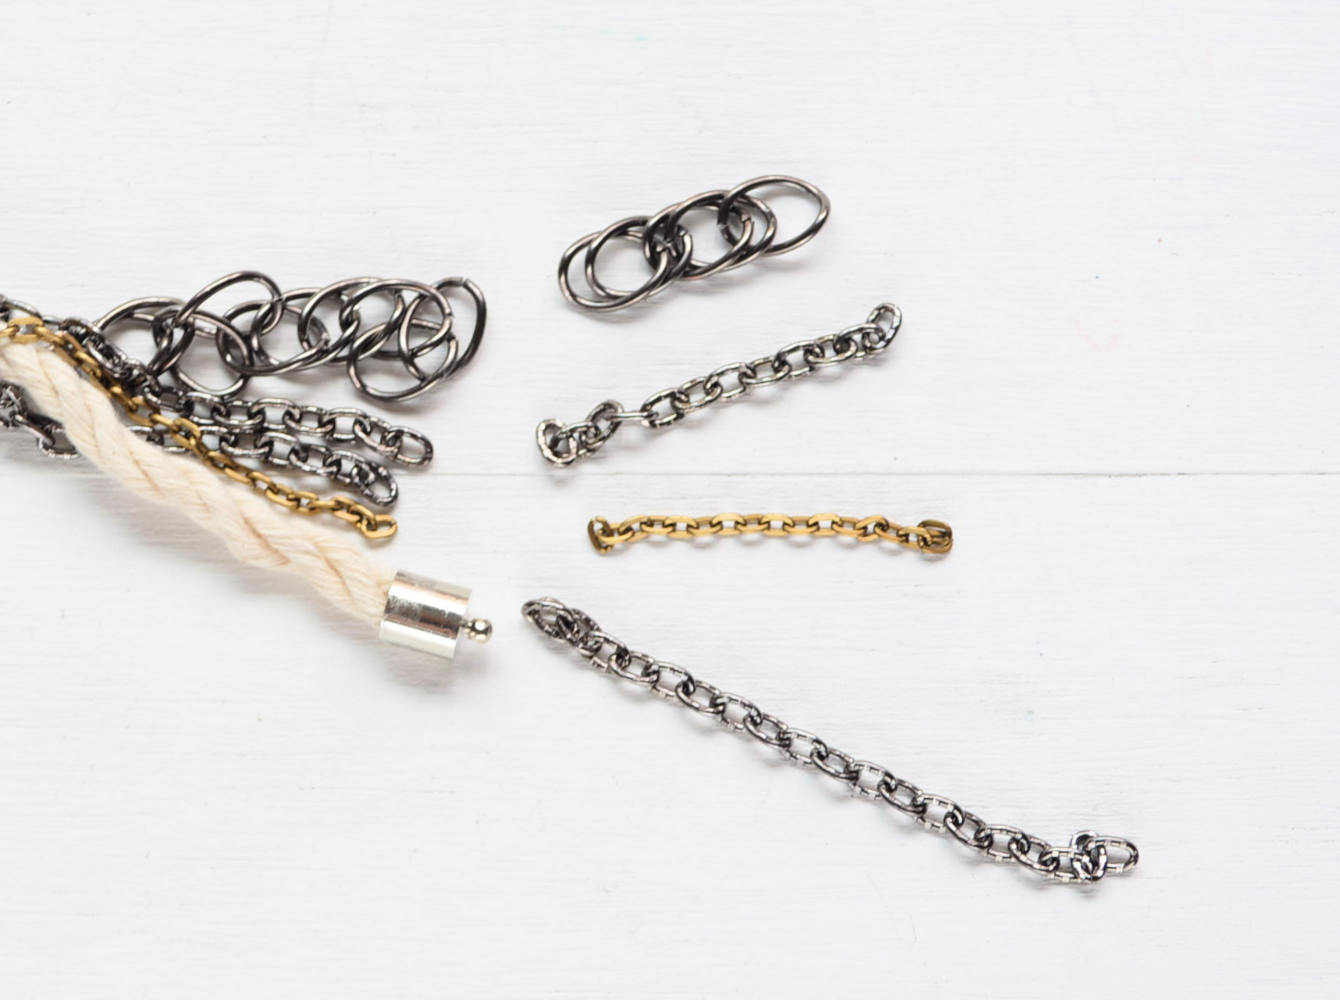
- 18-20″ chain strands**
- Large jewelry clasp
- 12mm jump rings (3)
- Scissors
- Jewelry pliers
- Jewelry glue
*Rope and end caps are available in a wide variety of sizes. Before purchasing/starting, make sure the rope fits in the opening of the end cap. Check out the jewelry section of your local craft store; many carry simple, braided cord that is perfect for jewelry making.
** Use chain in a variety of styles, finishes, and thicknesses. Don’t be afraid to mix and match! You can also attach shorter strands of chain together to create a single 18-20″ strand. All you need are a couple of trusty jump rings. Again, this is an awesome way to use up those leftovers.
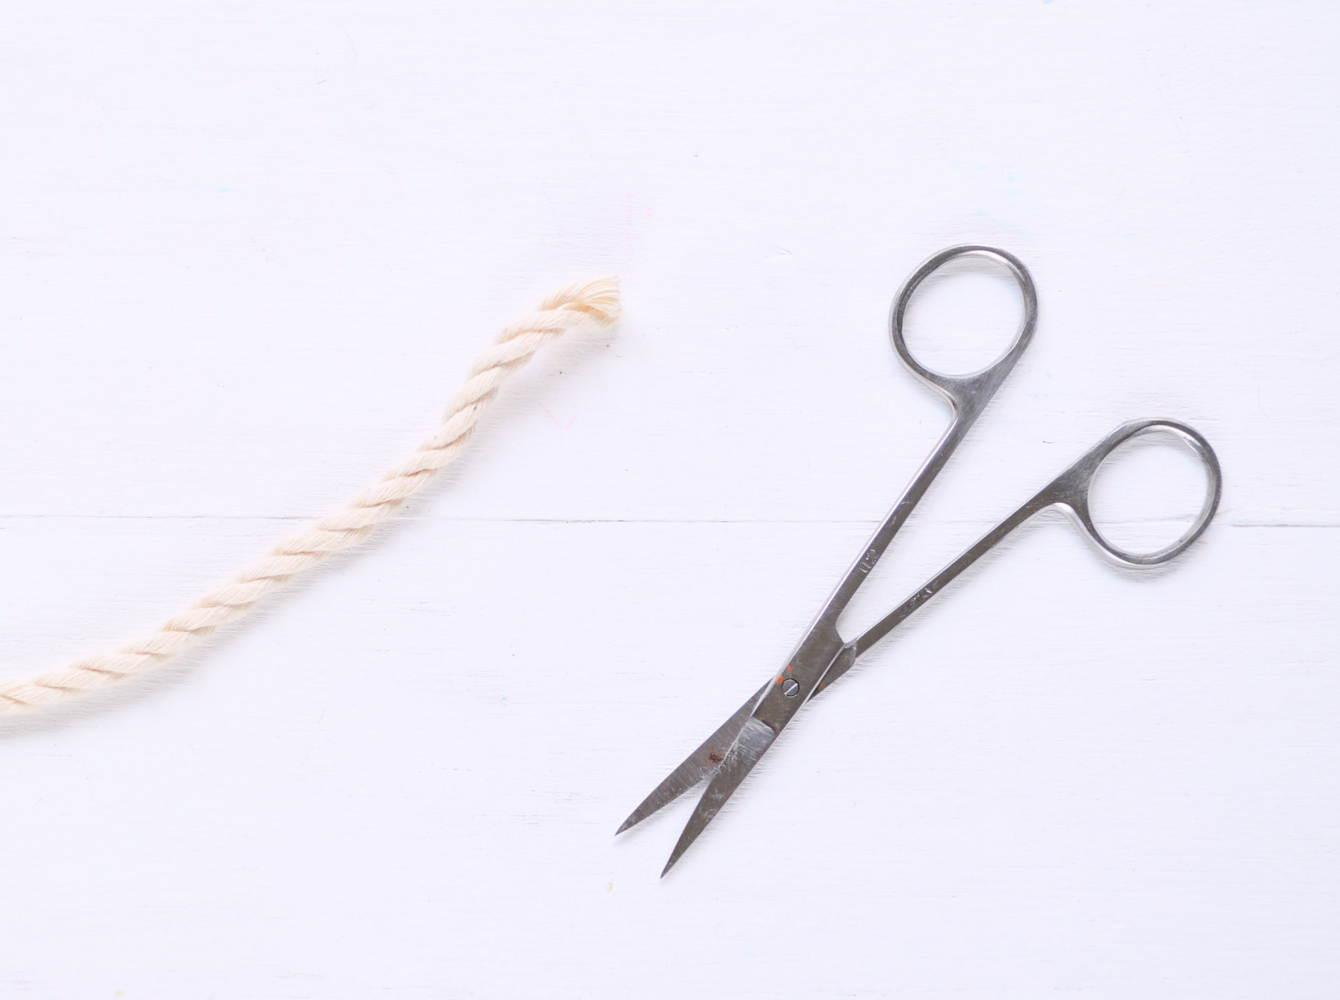
1) Cut a strand of rope measuring 18-20 inches (depending on your desired length).
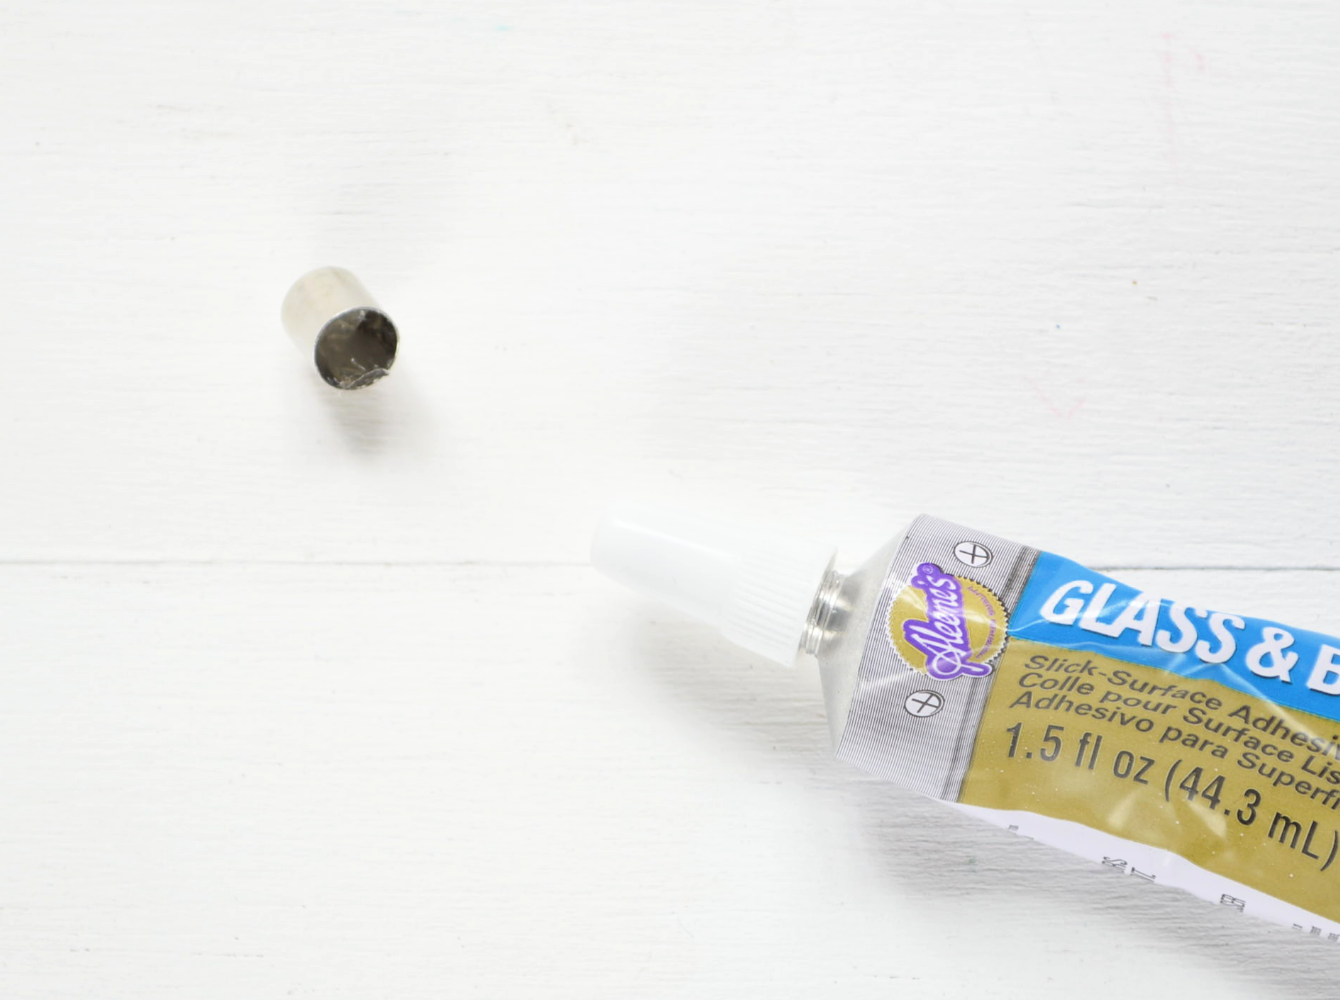
2) Apply some glue in one end cap.
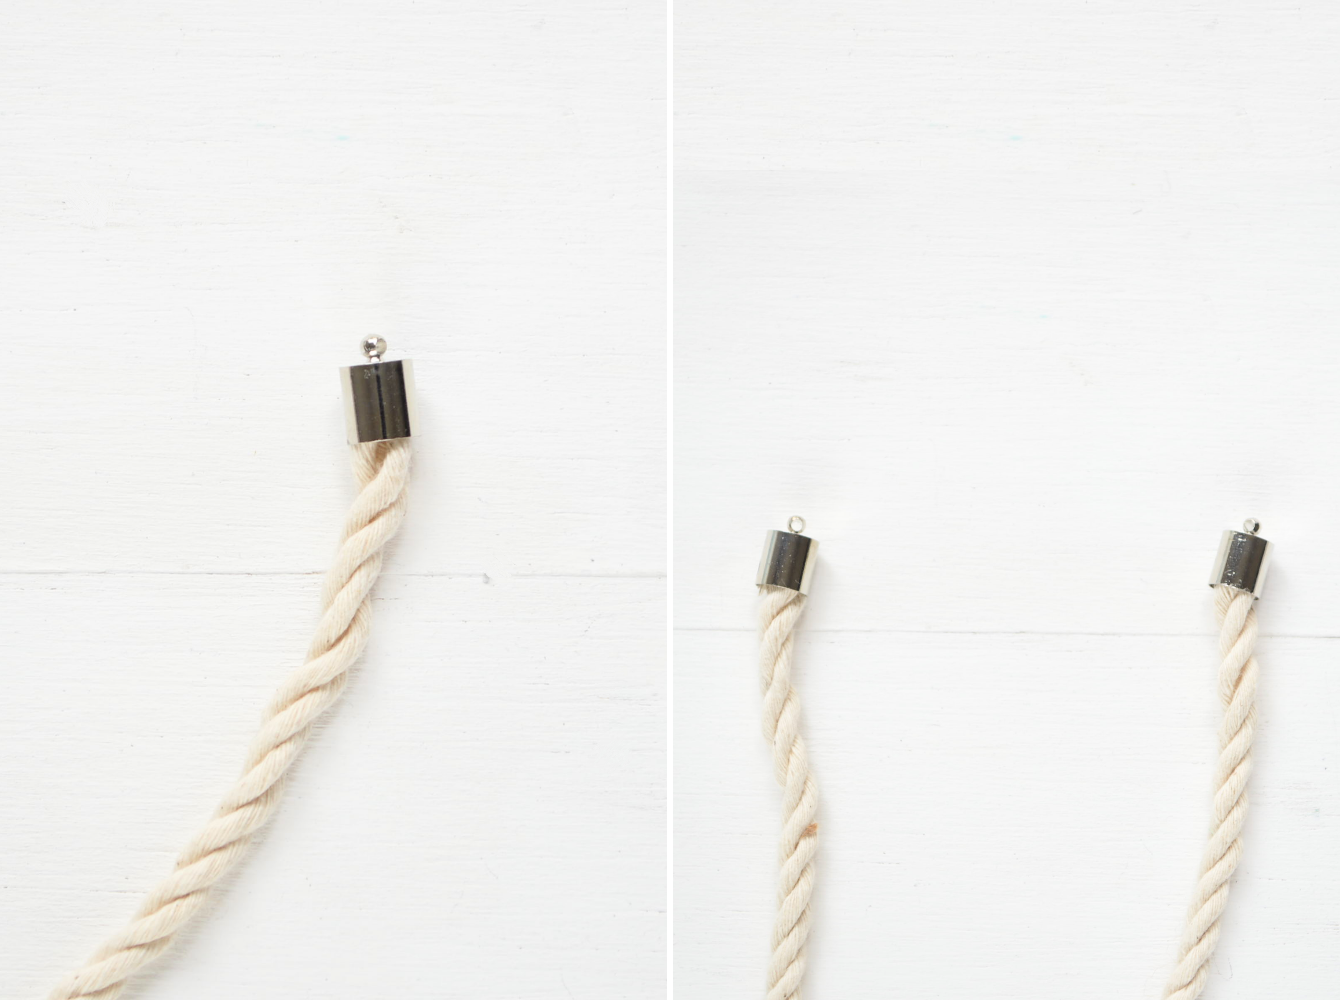
3) Insert one end of the rope into the end cap. Repeat on the opposite side with the second end cap.
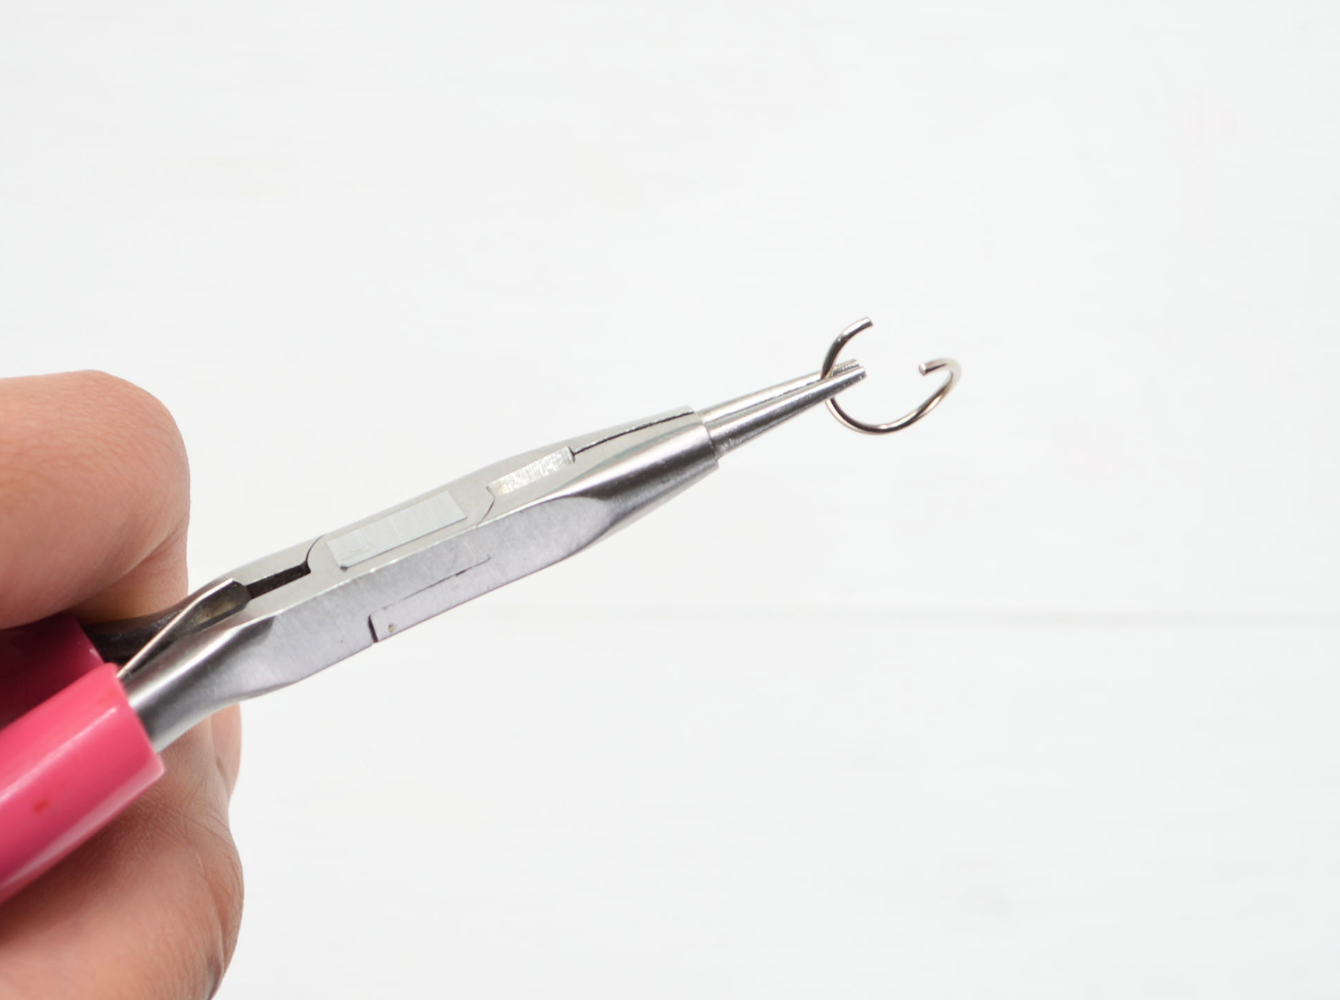
4) Open up a jump ring with the jewelry pliers.
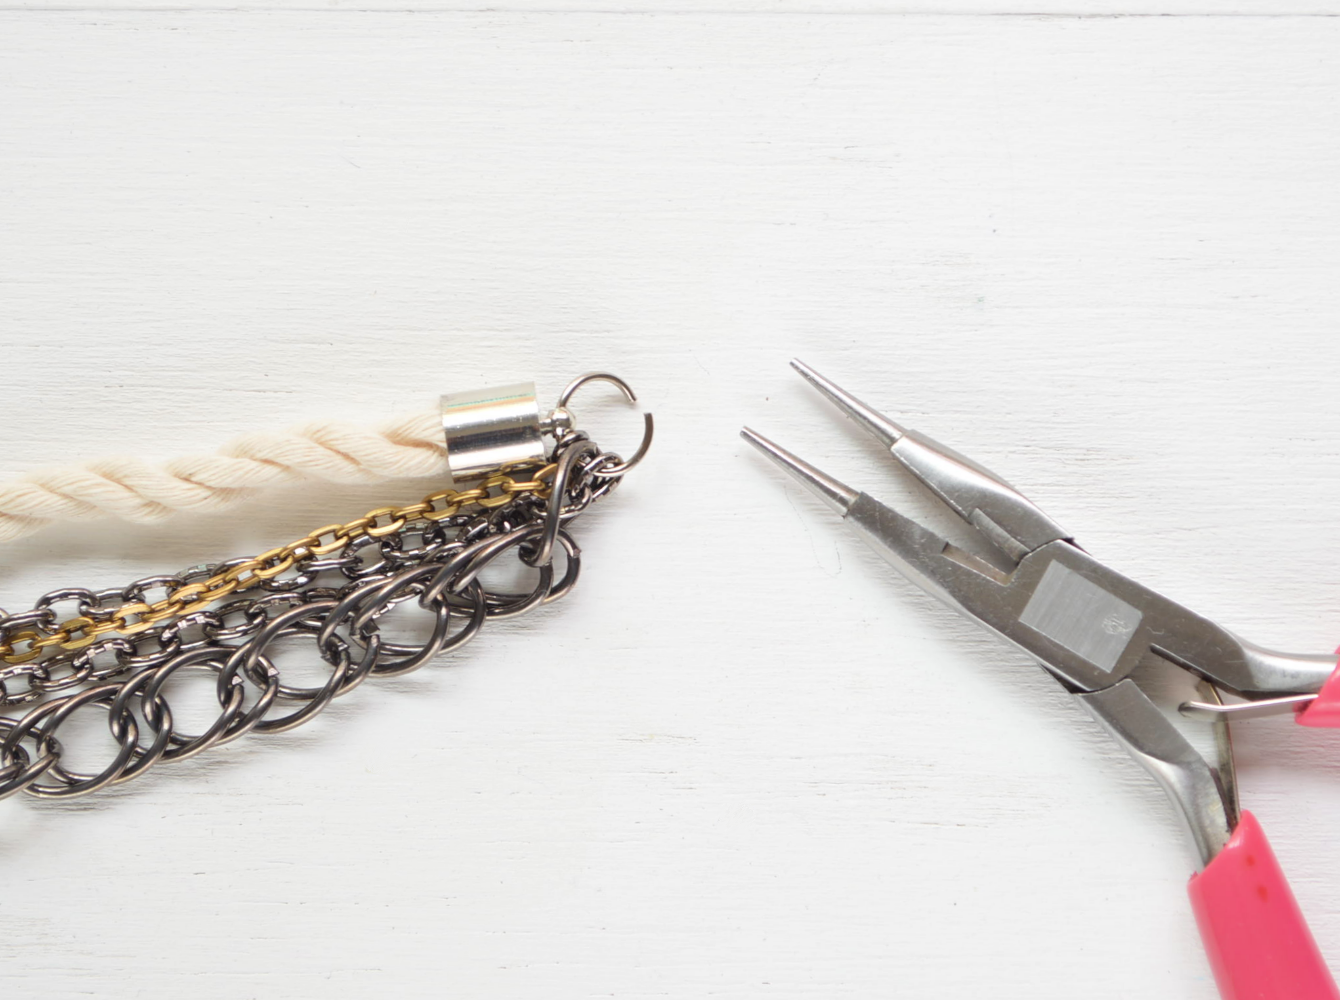
5) Add the rope and 4-5 strands of chain.
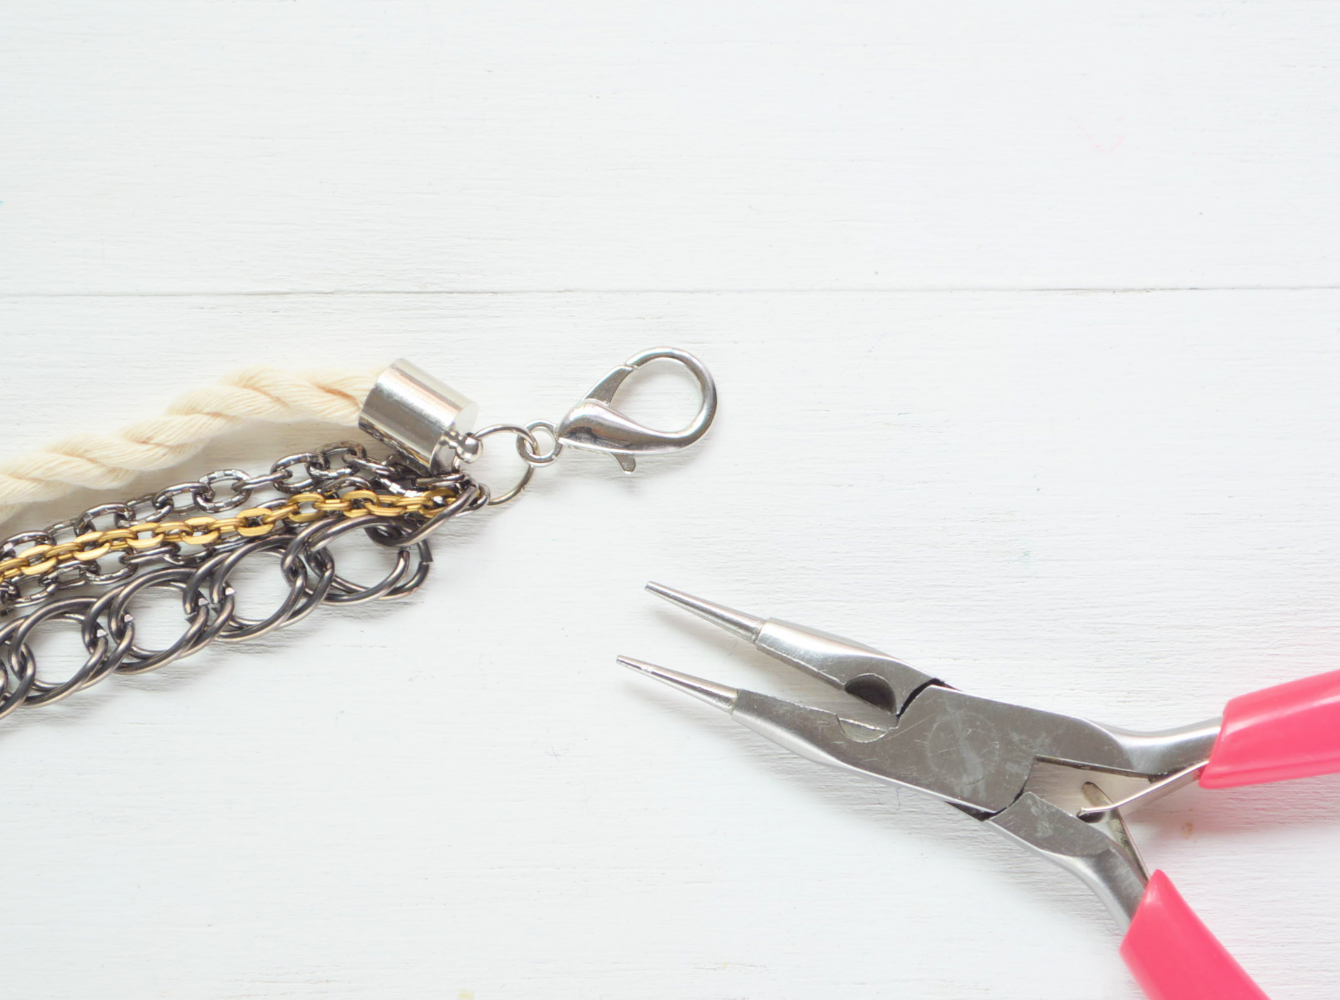
6) Add the jewelry clasp and close the jump ring.
7) Braid the chain and rope to create a loose, chunky strand.
8) If necessary, trim the ends of the chain so that they are even with the rope.
9) Using a jump ring, connect everything together with a jump ring. Add the last jump ring.
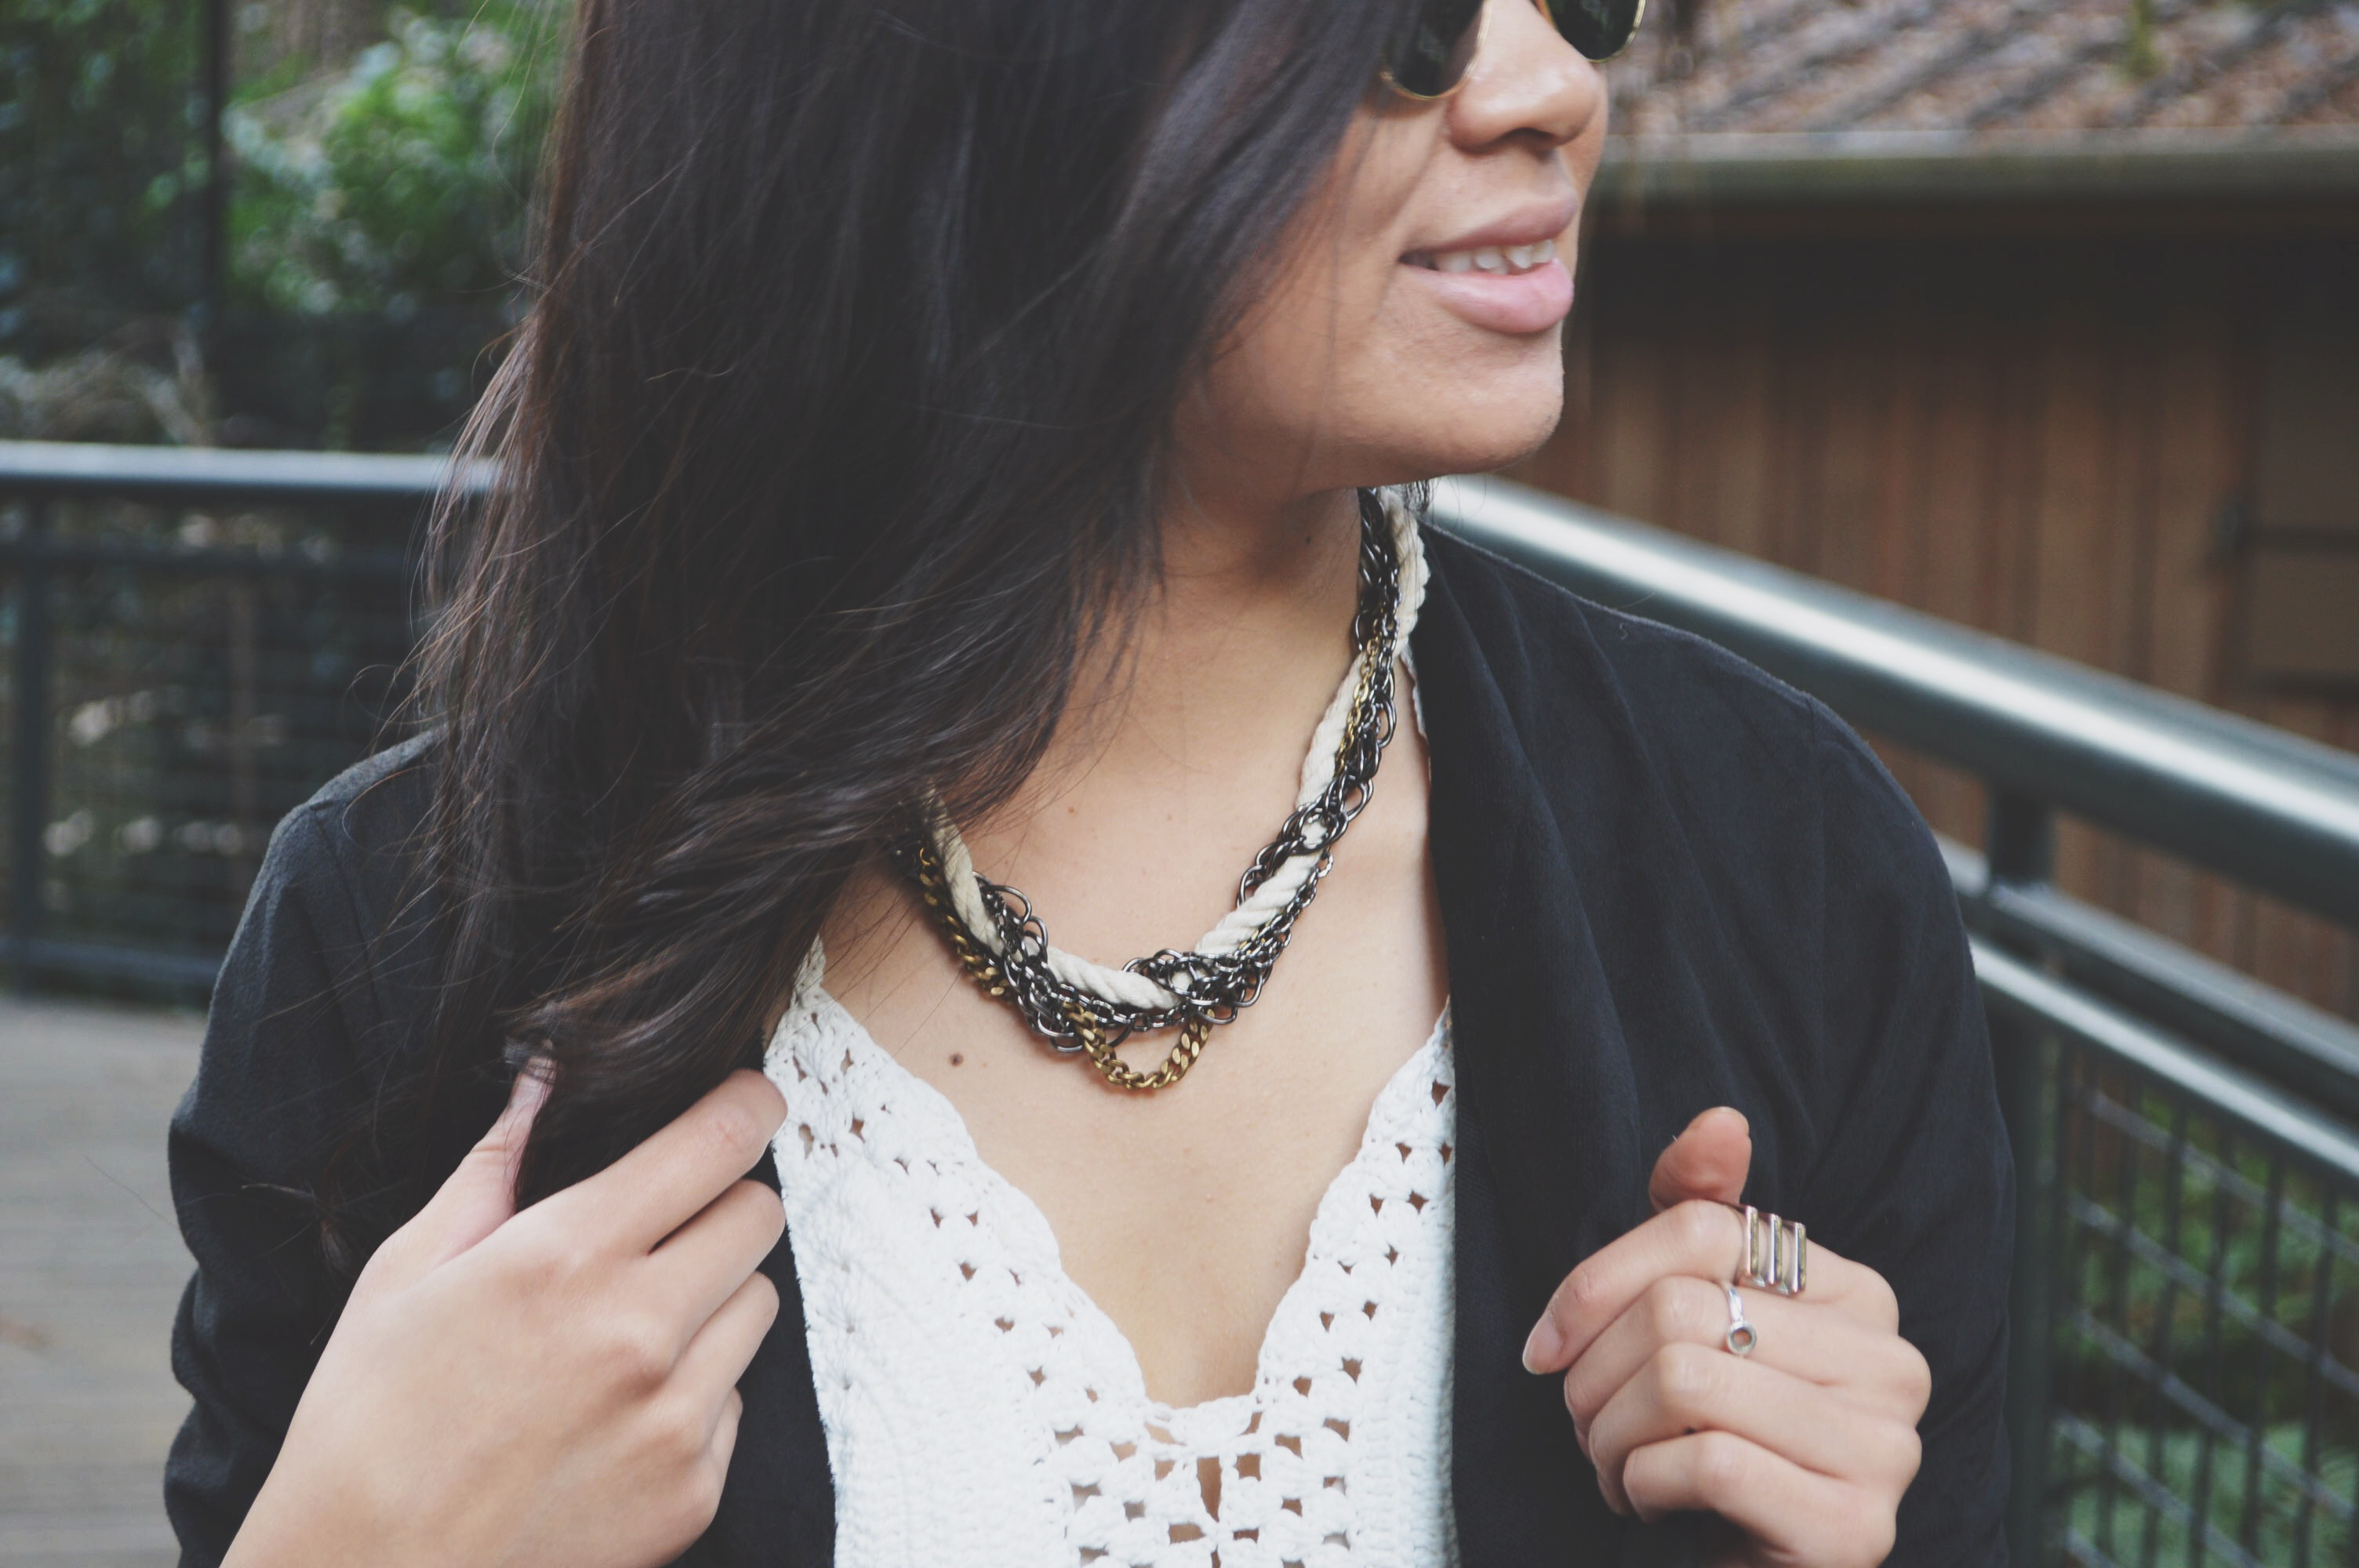
Bring the ends together and you have yourself an easy peasy necklace.
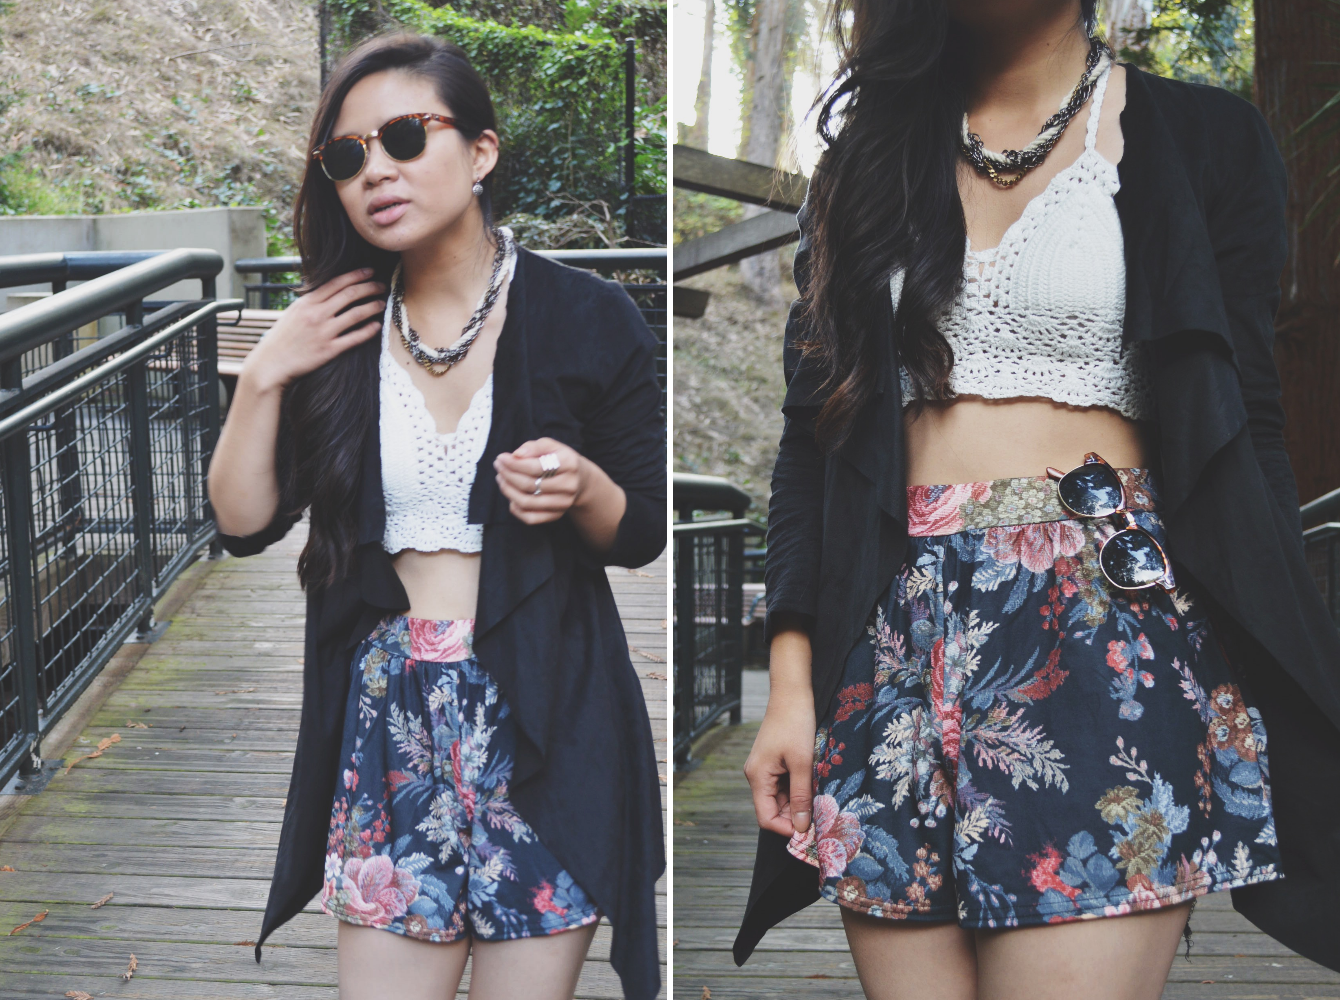
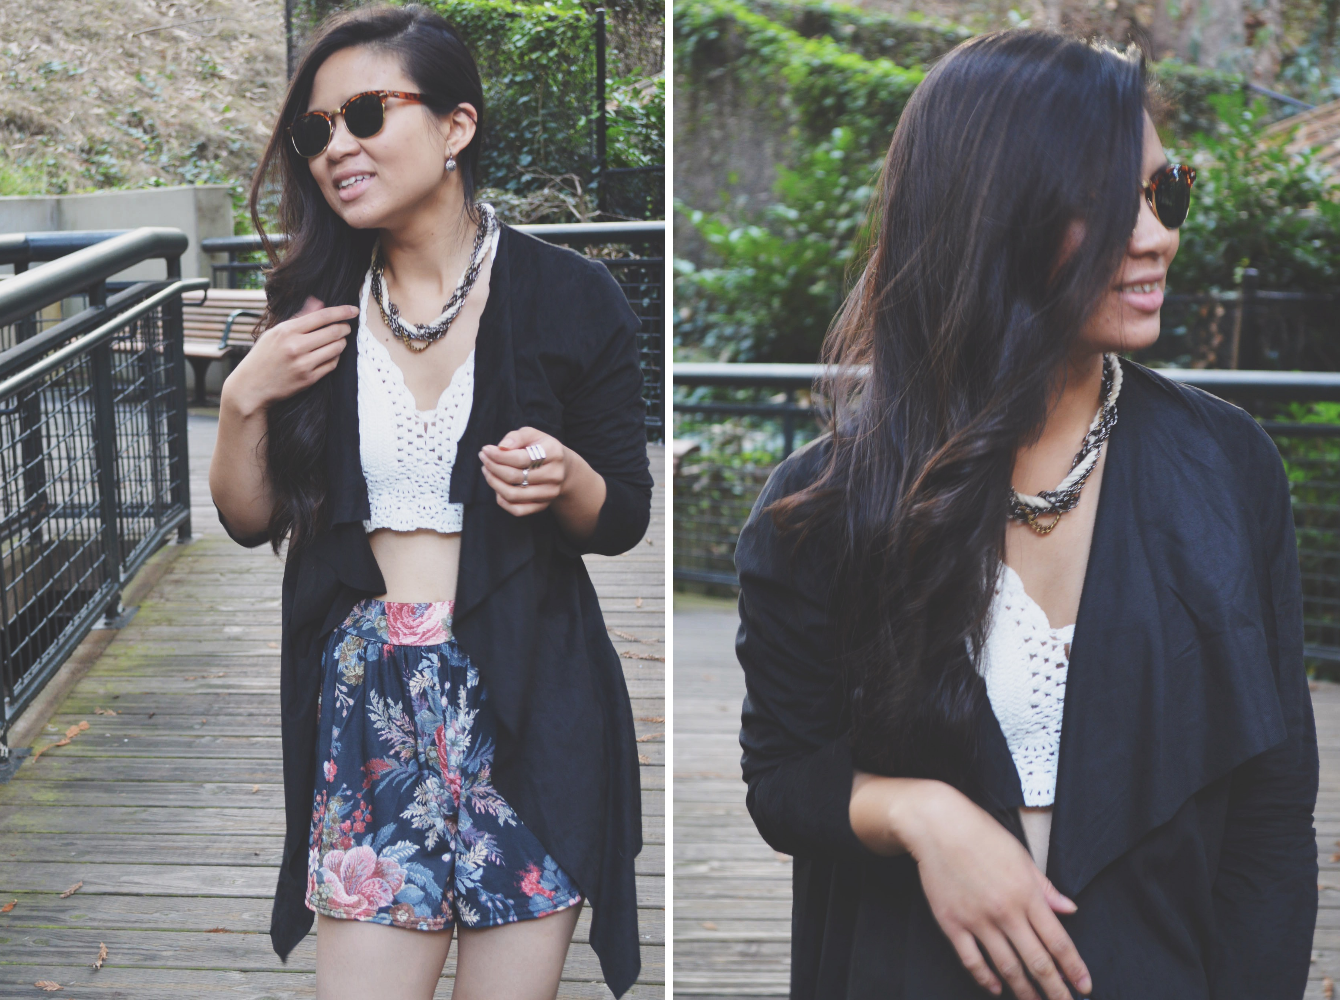
With the help of BooHoo, I styled my necklace with the an outfit inspired by the 70s, featuring the Libby Suedette Waterfall Jacket in Black (love this!), the Anna Halterneck Crochet Crop Top (similar), Tanya Tapestry Print Flippy Shorts, and the Frankie Tortoise Shell Half Frame Glasses.
This necklace has been on heavy rotation ever since I made it. Not only does it match with everything, but the mixture of metals and rope livens up even the simplest of outfits. I’m totally into it.
FTC Disclaimer: Clothing and sunglasses were provided by BooHoo for the “70s vibe” campaign. All thoughts and opinions are my own; I only collaborate with and feature companies that I truly support. Thank you, BooHoo!