
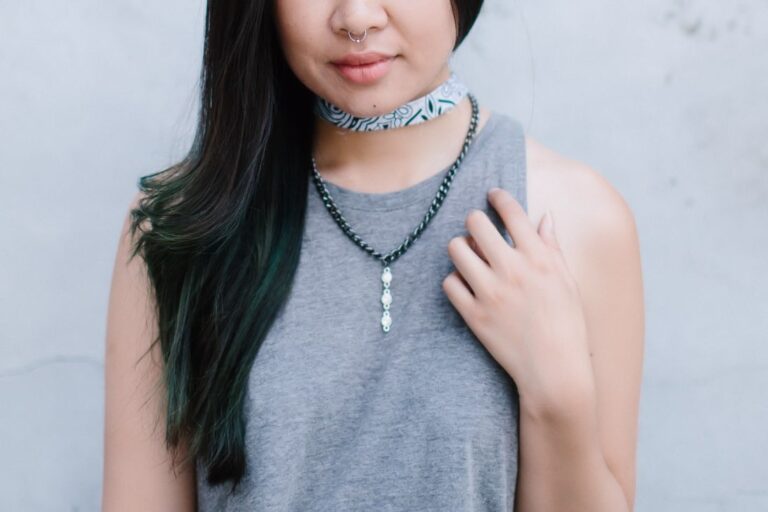
I’m that girl when it comes to shopping. It takes everything within me to internalize my ramblings about making your own stuff — especially jewelry. Of course, I get that DIY isn’t for everyone… but that’s why tutorials exist, right? For this DIY, I was inspired by the millions of chokers out there & re-purposed an old bandanna. It’s no-sew & ridiculously cheap. Win.
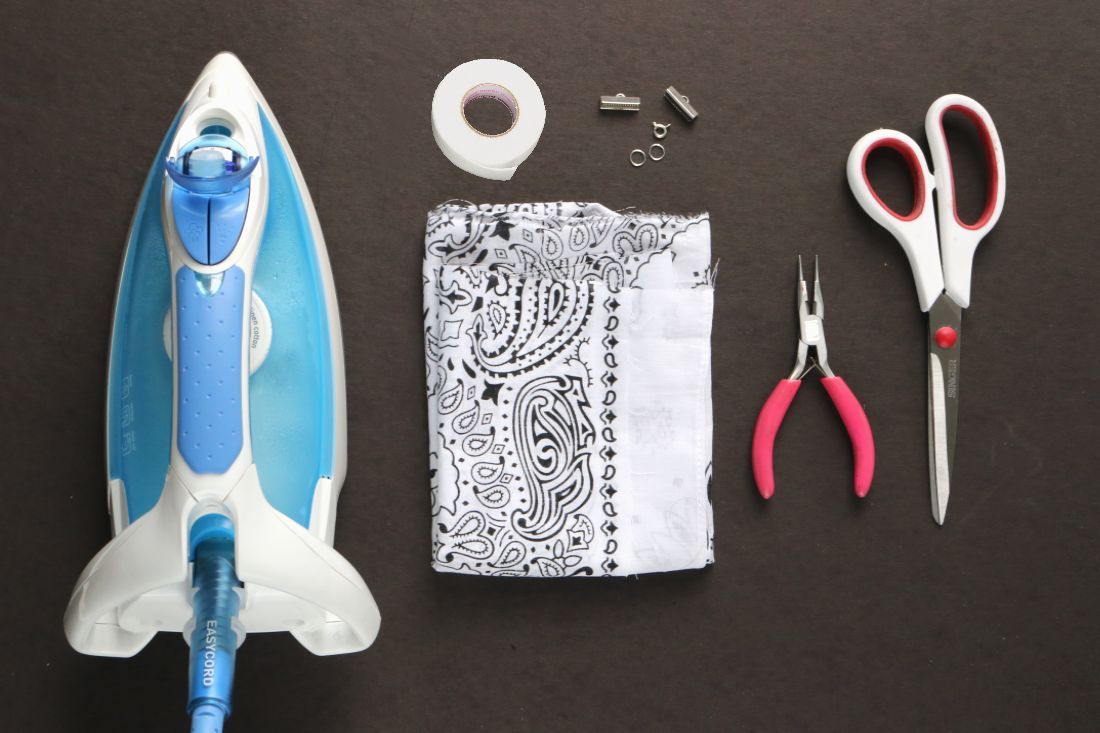
Supplies:
- Iron
- 3/4-inch wide fusible webbing tape
- Bandanna
- 16mm ribbon ends (2)
- Jewelry clasp
- 7-10 jump rings (2)
- Jewelry pliers
- Fabric scissors
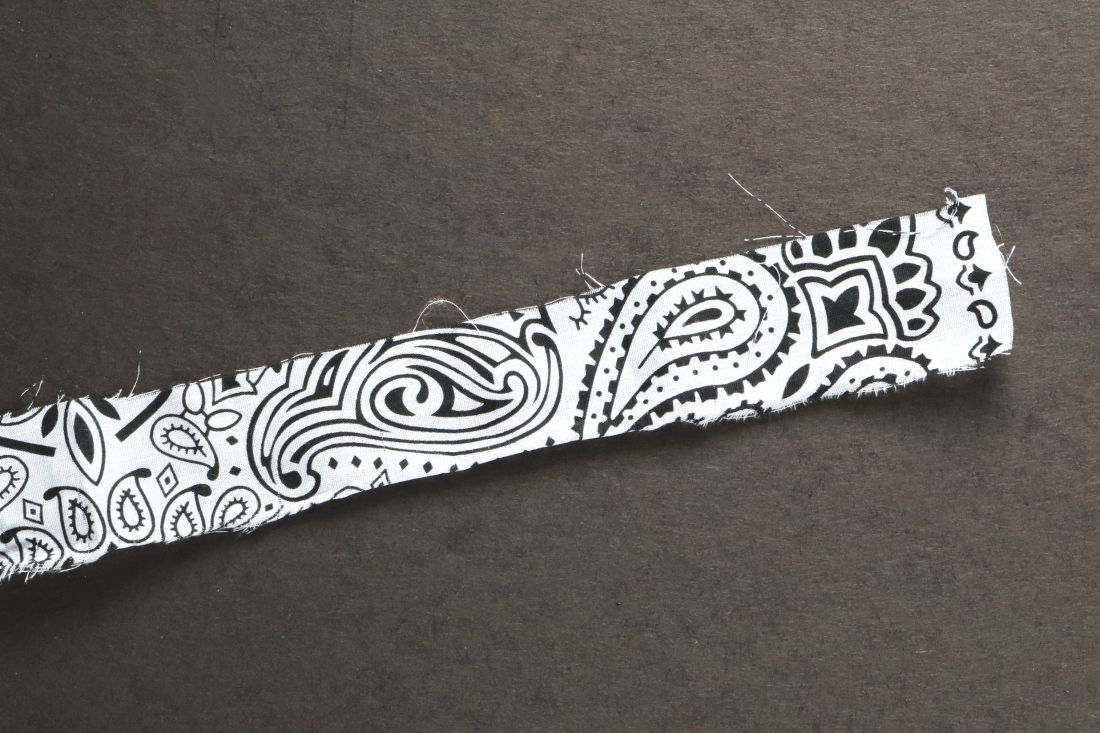
1. Cut a long strip of bandanna fabric measuring slightly more than 1 1/2 inches wide. Basically, it should be at least double the width of the fusible webbing tape. As for length? Start with at least 20 inches or more. You can always trim this down later to fit your neck.
To ensure a straight cut, use the scissors to create a small slit in the fabric. Rip the fabric along this slit. This is a fool-proof way for a straight cut of cotton.
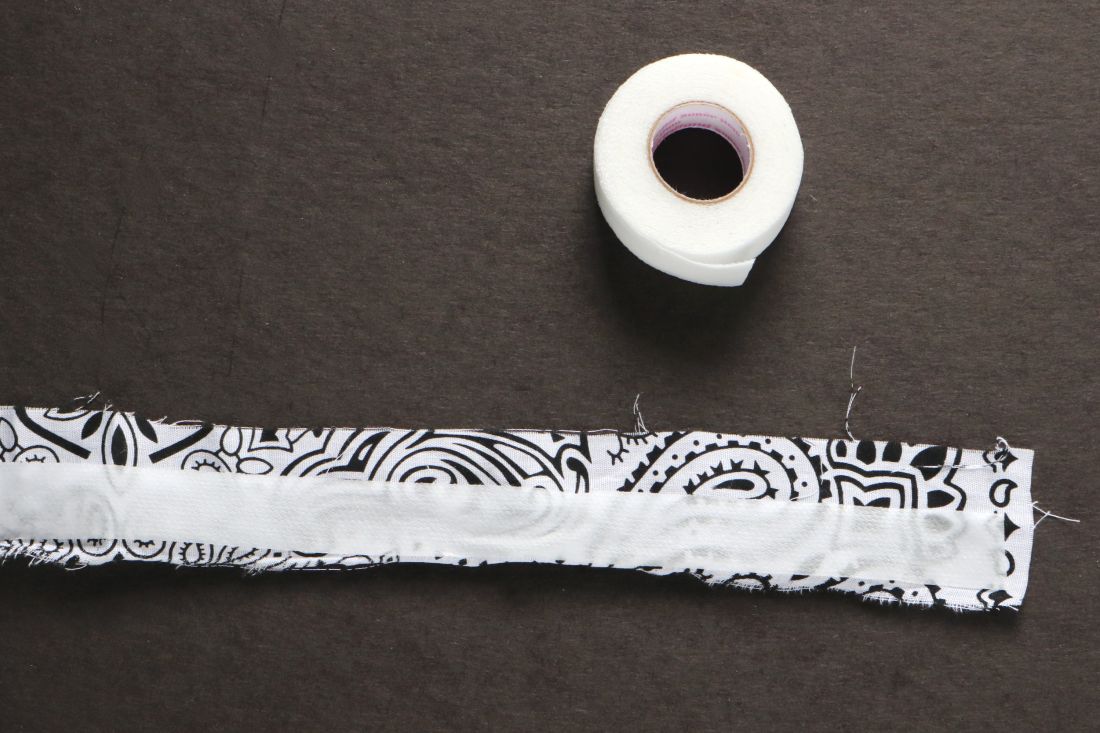
2. Cut a strip of fusible webbing tape; this should be about as long as the fabric. Place this strip along the edge of the fabric.
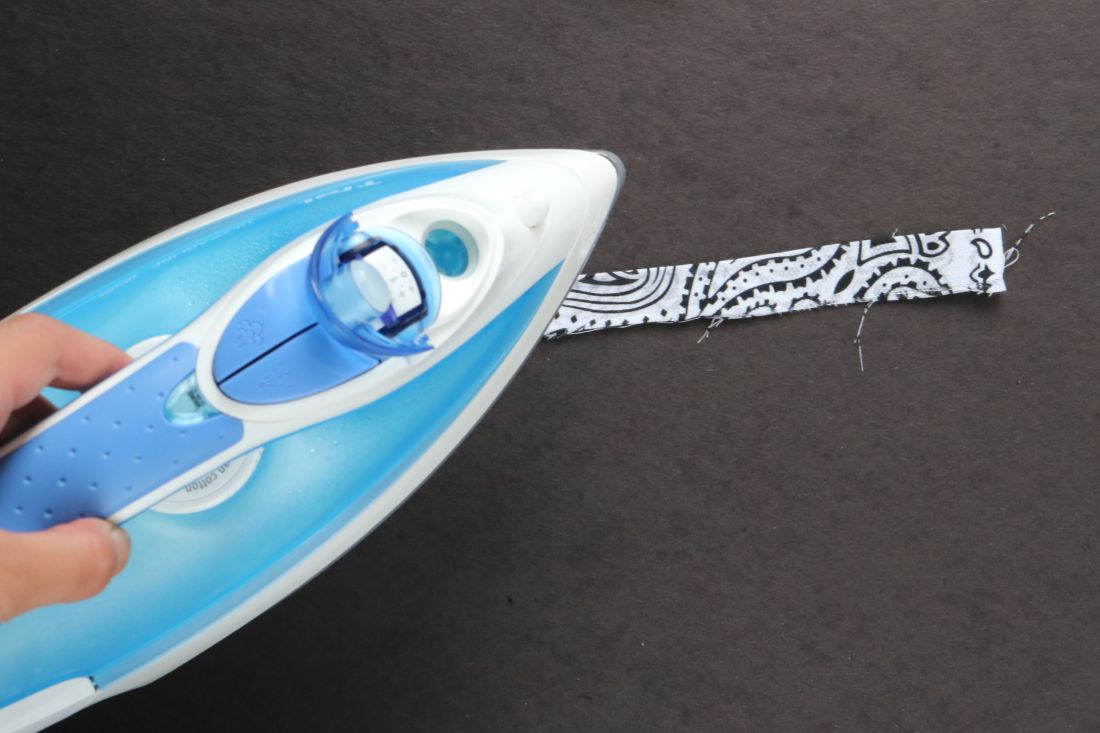
3. Fold the fabric in half lengthwise. Carefully apply an iron according to the directions on the tape’s packaging. Don’t forget to protect your surface; your best bet is to work on a firm, flat table covered with a towel. Continue ironing until the tape is completely adhered to the fabric. Set aside to cool.
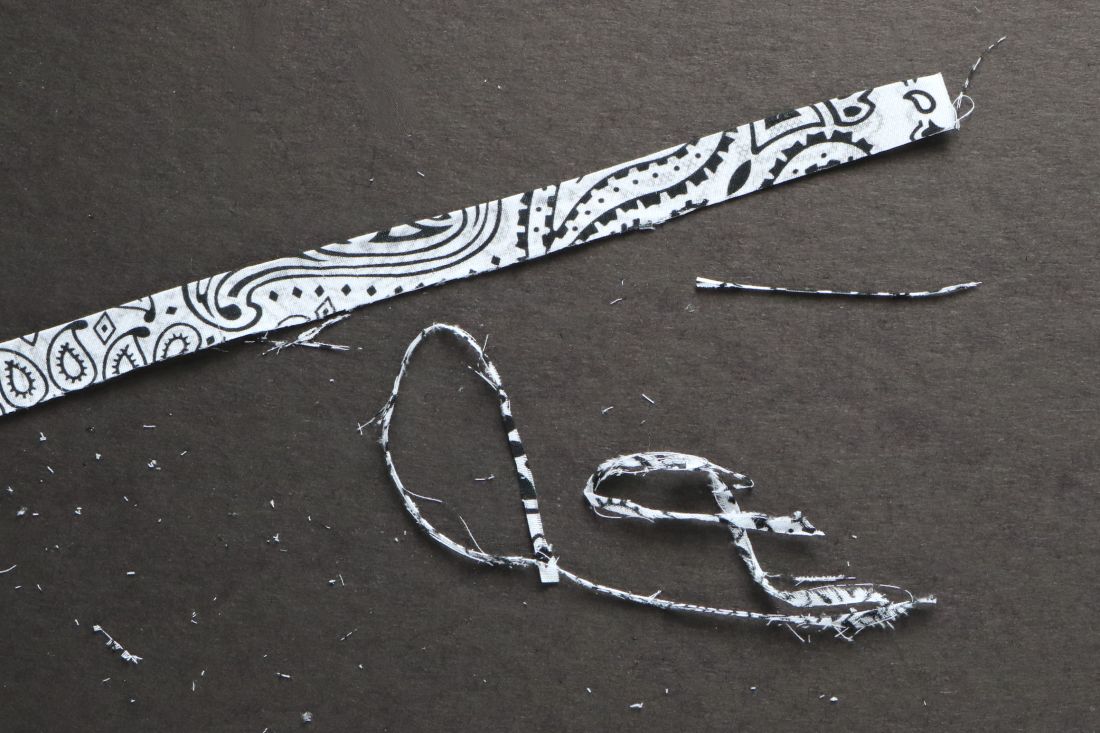
4. Using the fabric scissors, carefully trim the uneven edge. Don’t stress if it isn’t perfectly straight; it will fray over time, which will actually end up looking pretty awesome.
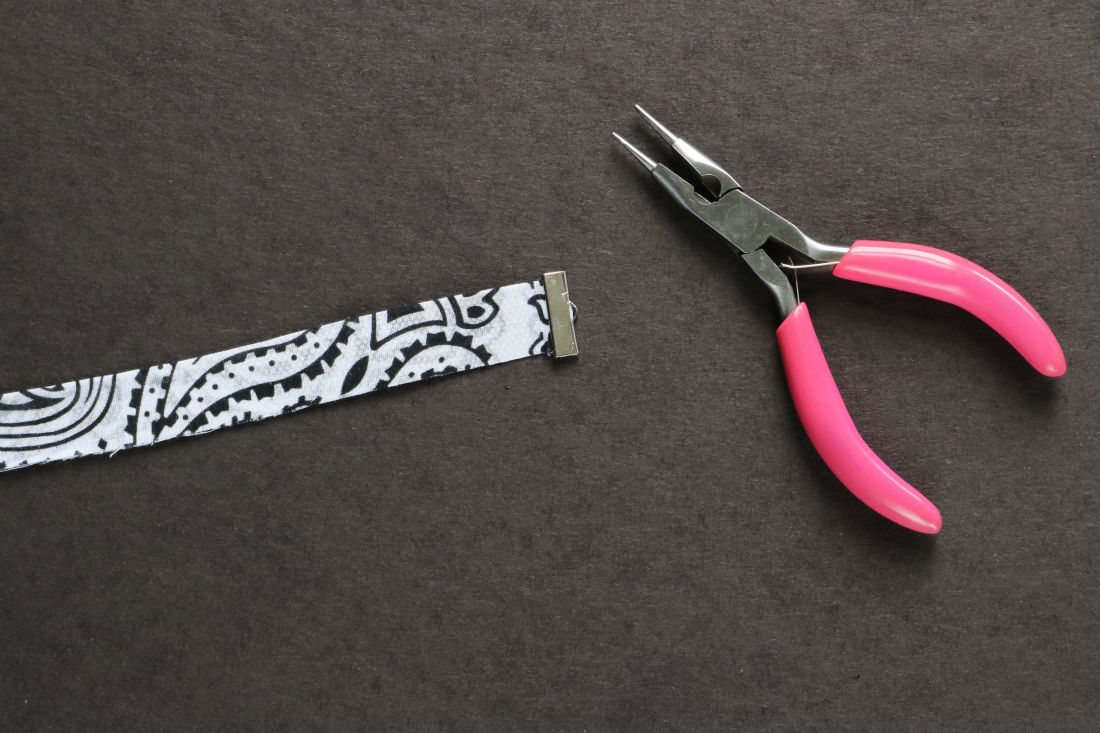
5. Place the end of the fabric strip into a ribbon end. Use the flat portion of the pliers to squeeze shut. At this point, you can trim the fabric to fit around your neck. Add another ribbon end.
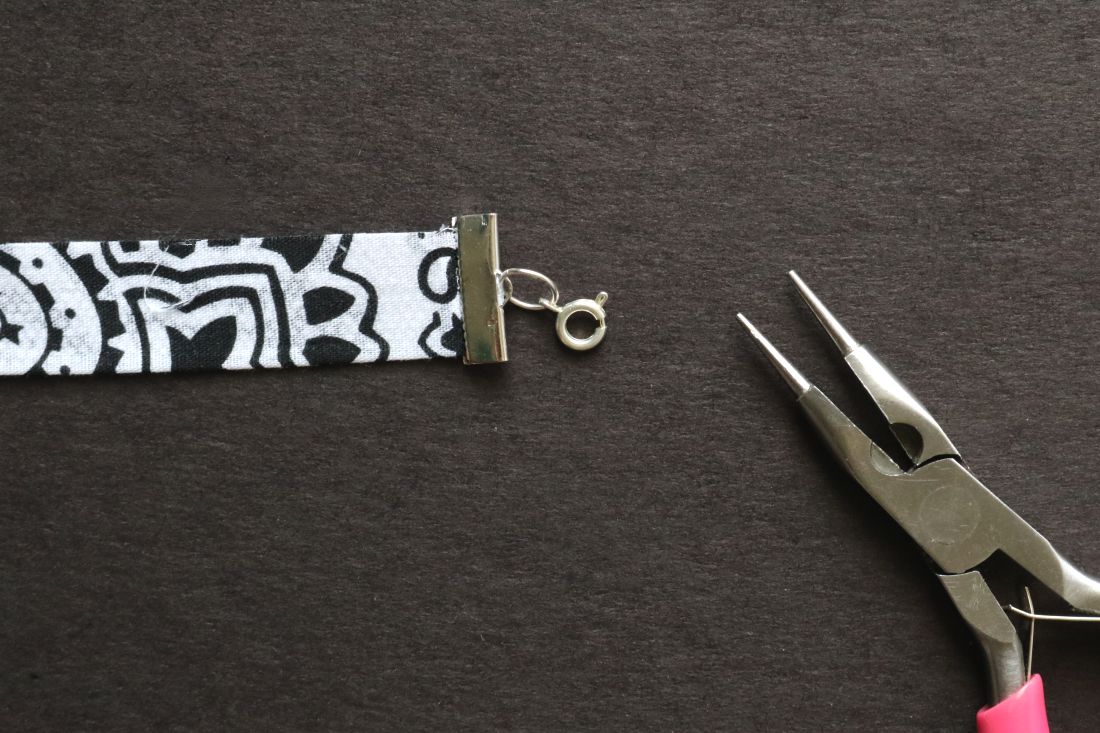
6. Attach a jump ring and a clasp to one side; add a jump ring to the other.
Fusible webbing tape is one of the best inventions out there… seriously.

Here’s a rad idea: Use a printed cotton other than a paisley bandanna to create a choker in a similar style. This an awesome way to use fabric scraps. If you only have small pieces, you can take it up a notch and sew remnants together. So. Many. Options.
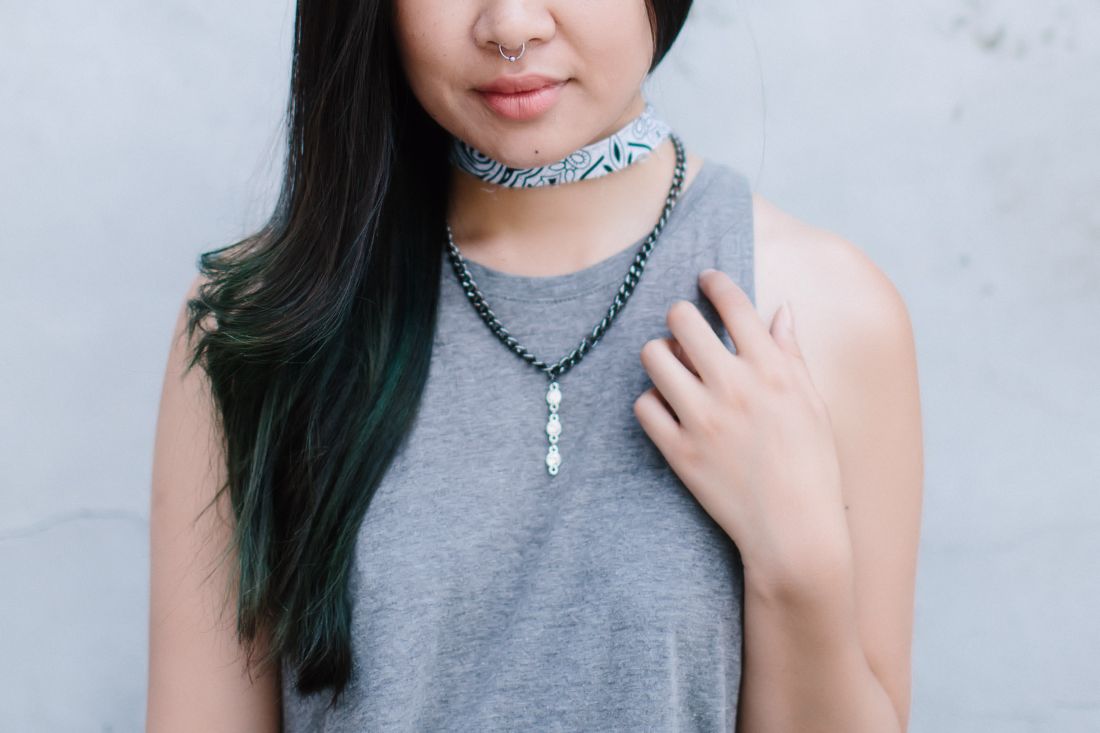
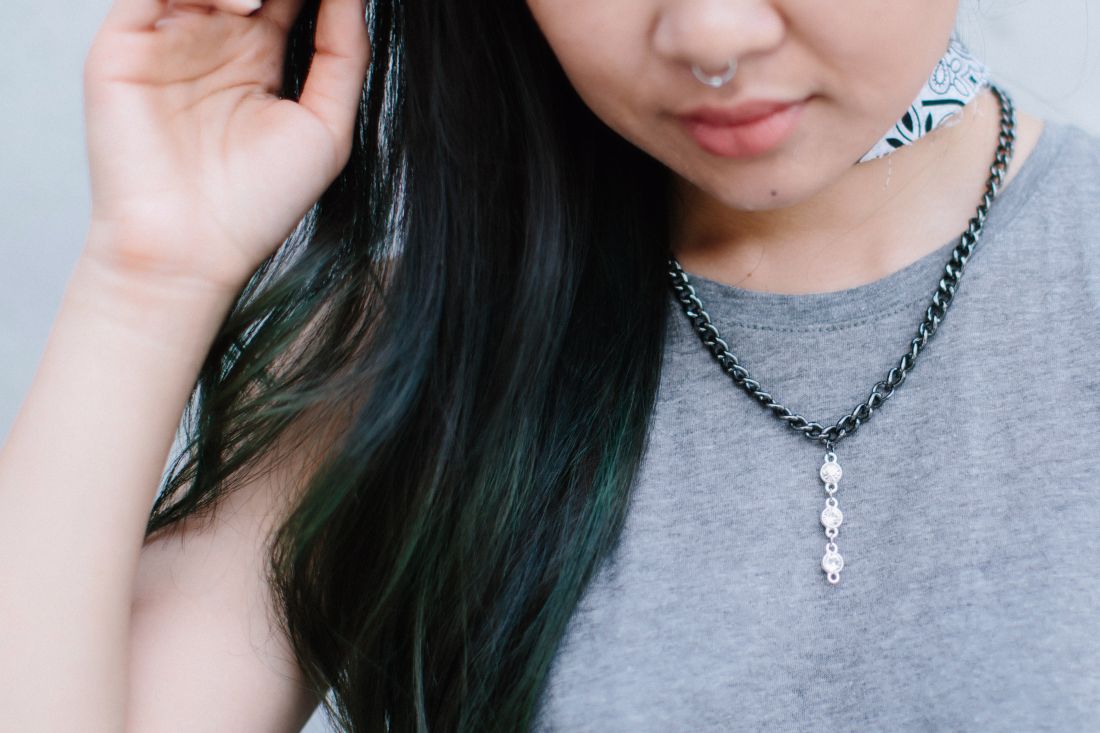
The bandanna choker works exceptionally well in layering. Here, I paired it with a rhinestone drop necklace that I whipped up while organizing some jewelry supplies. It’s funny how the most random projects end up being my favorites.
What type of fabric would you use for your choker? Let me know in the comments below!
xx K
Tutorial Photos: Kirsten Nunez
Lifestyle Images: Haruka Sakaguchi