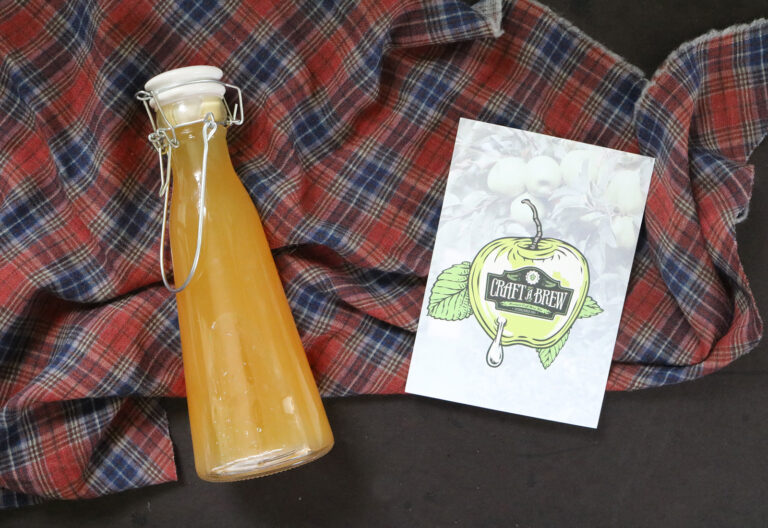
Over the past few years, I’ve developed an appreciation for hard cider. This likely stemmed from my indifferent feelings on beer, which I have to be in the mood for. Granted, I’ve totally become a regular at 2way Brewery here in Beacon, NY, but that’s an exception. (I’ve got friends that work there and it’s overlooking the water. How can I say no?) Even then, I usually go for their cider.
So when Craft a Brew asked me if I wanted to try a DIY hard cider kit, I decided to give it a shot! Craft a Brew creates homebrewing kits for cider, beer, and even wine. One cider kit makes three 1-gallon batches, which equals out to 10 Swing-top bottles worth. Sweet.
As someone who was basically crafting out of the womb, DIY is always on my mind. And while I (generally) prefer to make things from my own arsenal of supplies, I do sometimes indulge in kits. I use them when it’s a craft or technique that I’m not familiar with, such as knitting, pattern making, and … homebrewing.
That’s why I was stoked to try out this hard cider kit. I made a few newbie mistakes along the way, so the process took longer than it should have. But that’s how you learn, right? Keep reading to see how I made it. (Bonus: There’s a giveaway at the end!)
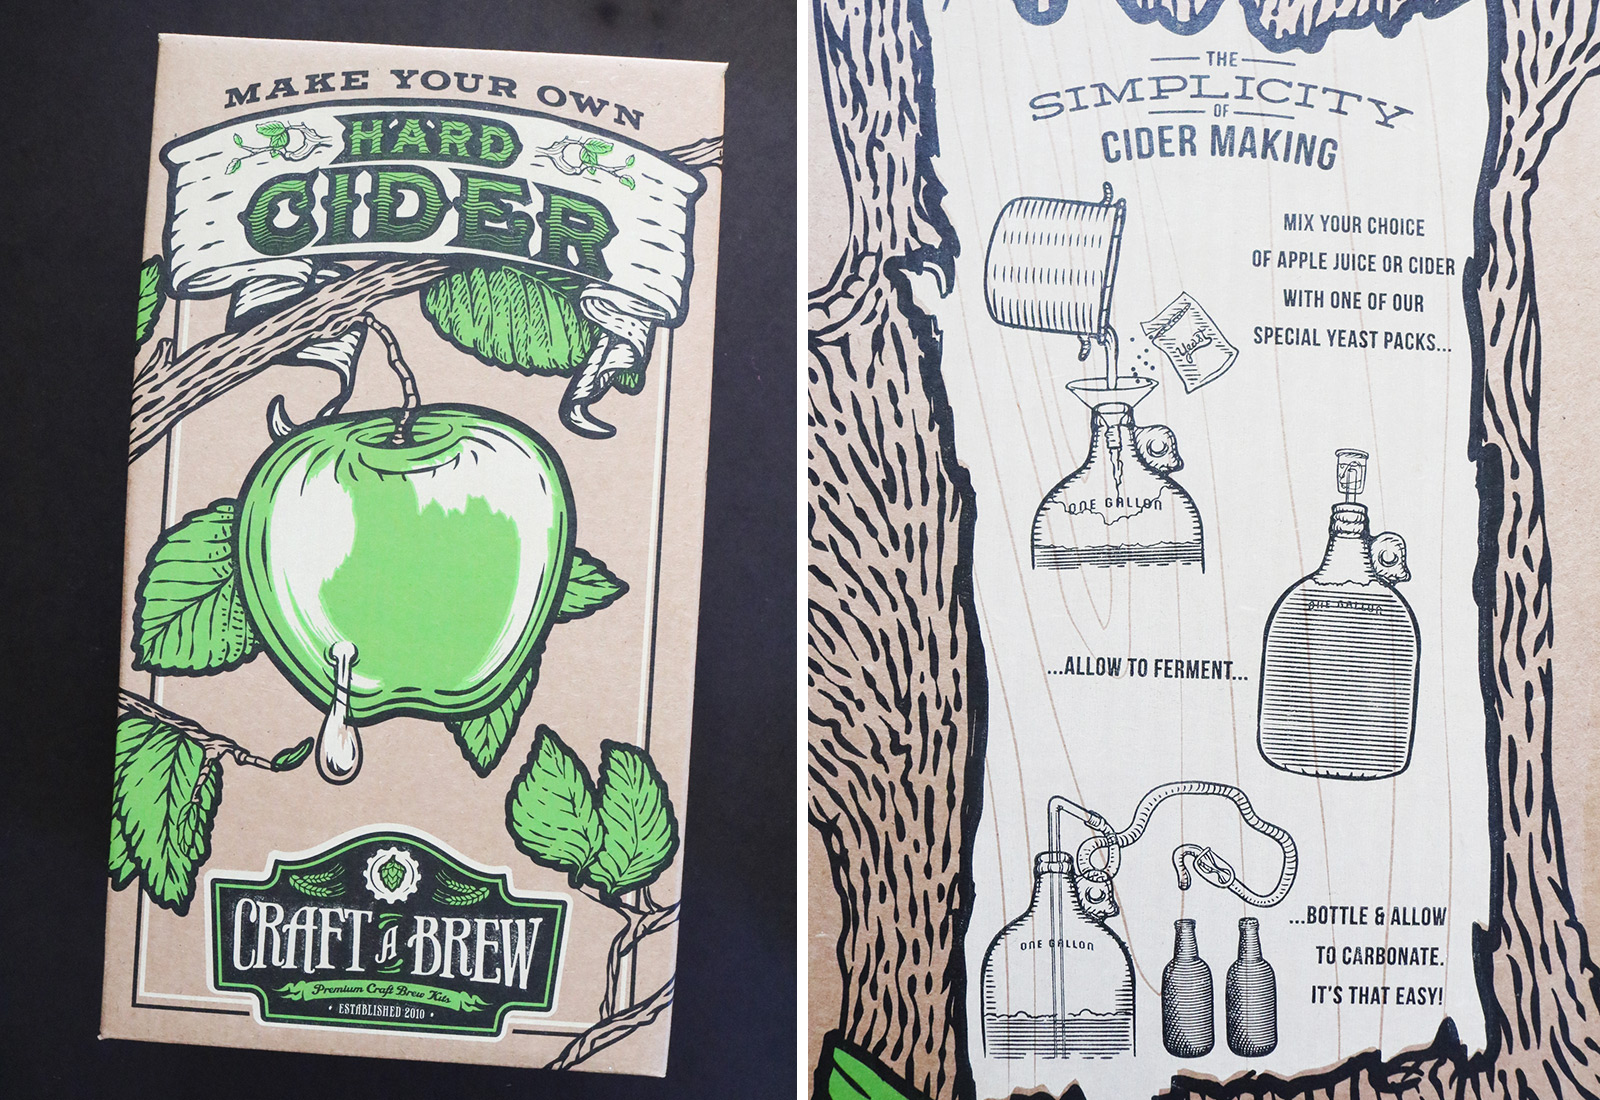
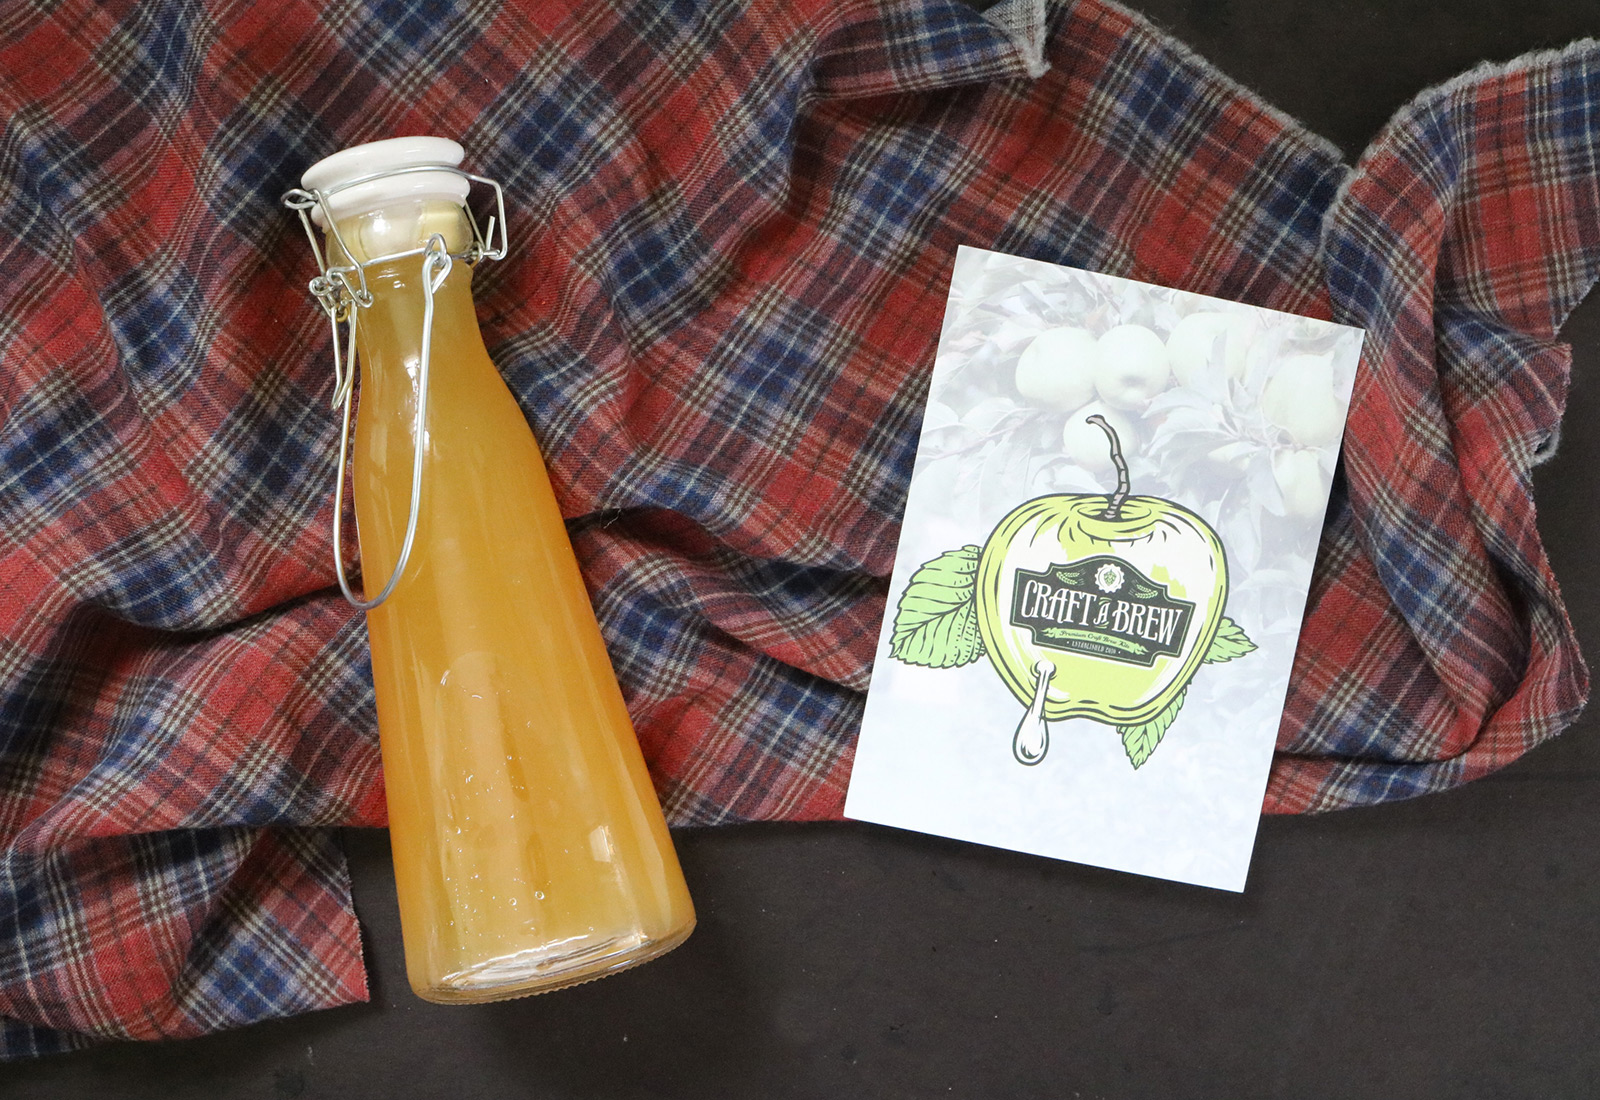
P.S. I’m really digging the packaging artwork.
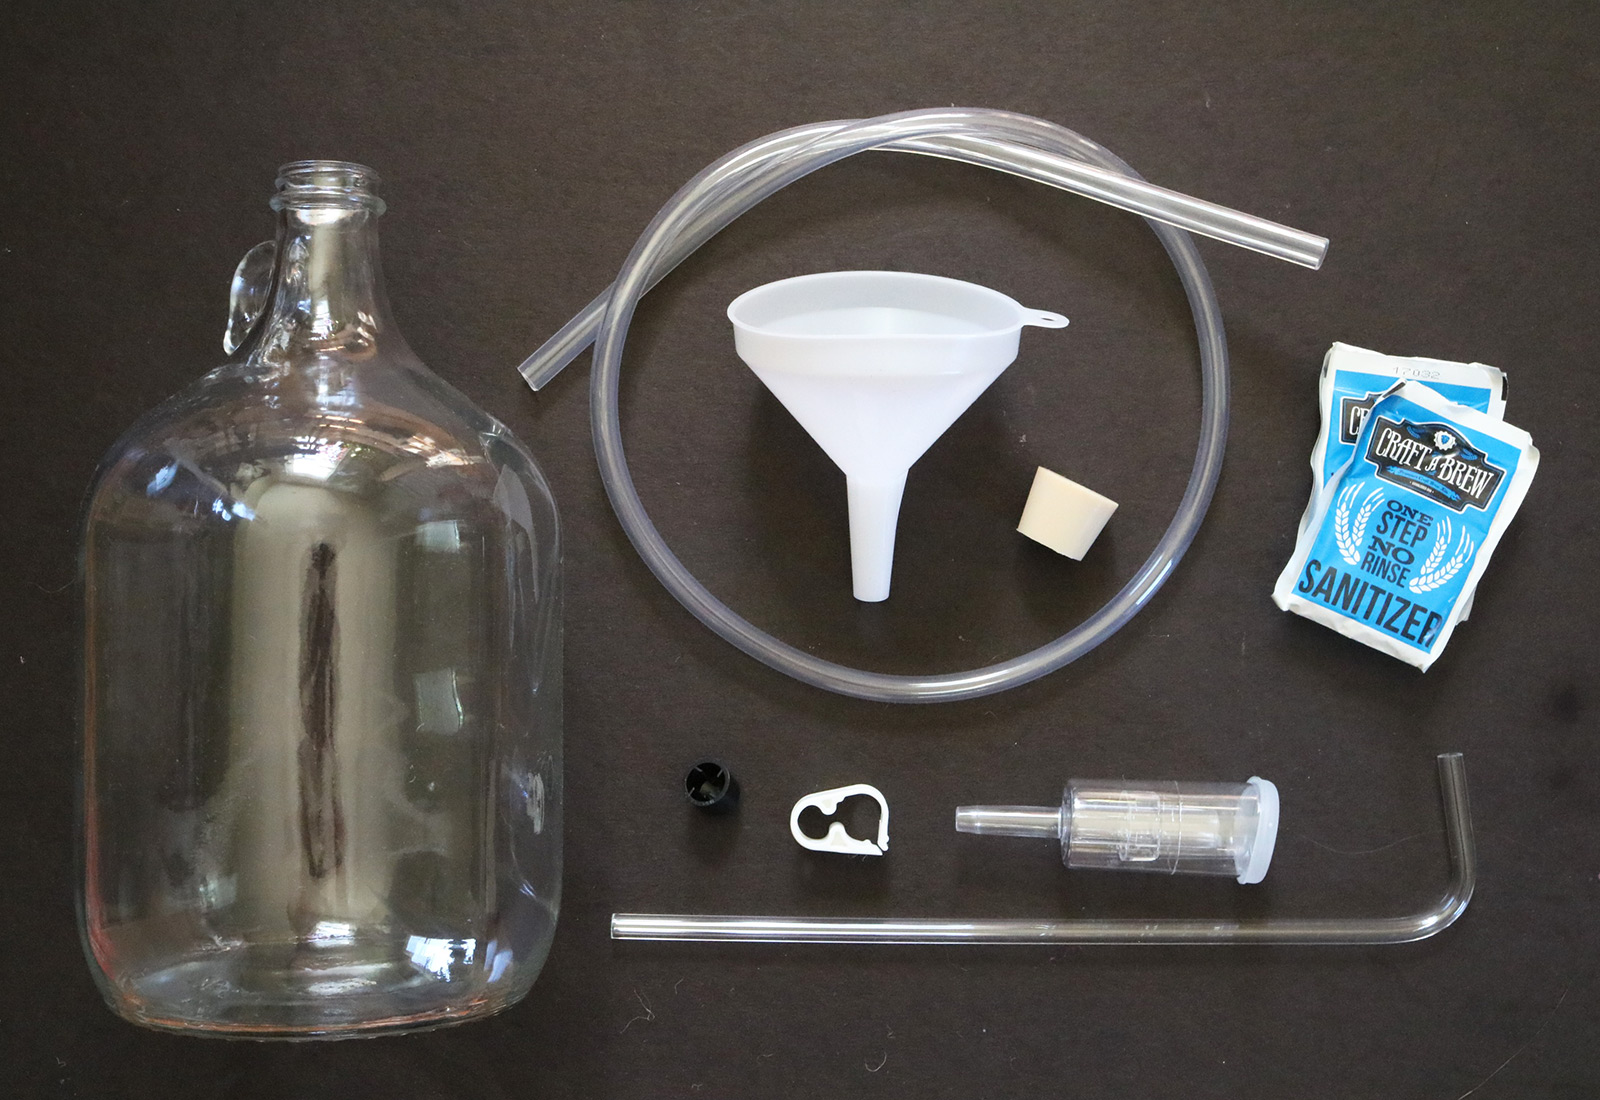
The hard cider kit includes all of the equipment you need. It also includes sanitizer, which is an absolute must for fermentation. (Pickles, hot sauce, cider… you name it.)
When you’re trying out a new craft, it can be tricky to figure out what is used for what. That’s why I appreciate kits, because they include all the essentials needed a technique or project. This way, you can be sure that you have all the basics covered.
It’s also an excellent way to know that you have the right combination of supplies. Everything needs to work together, after all!
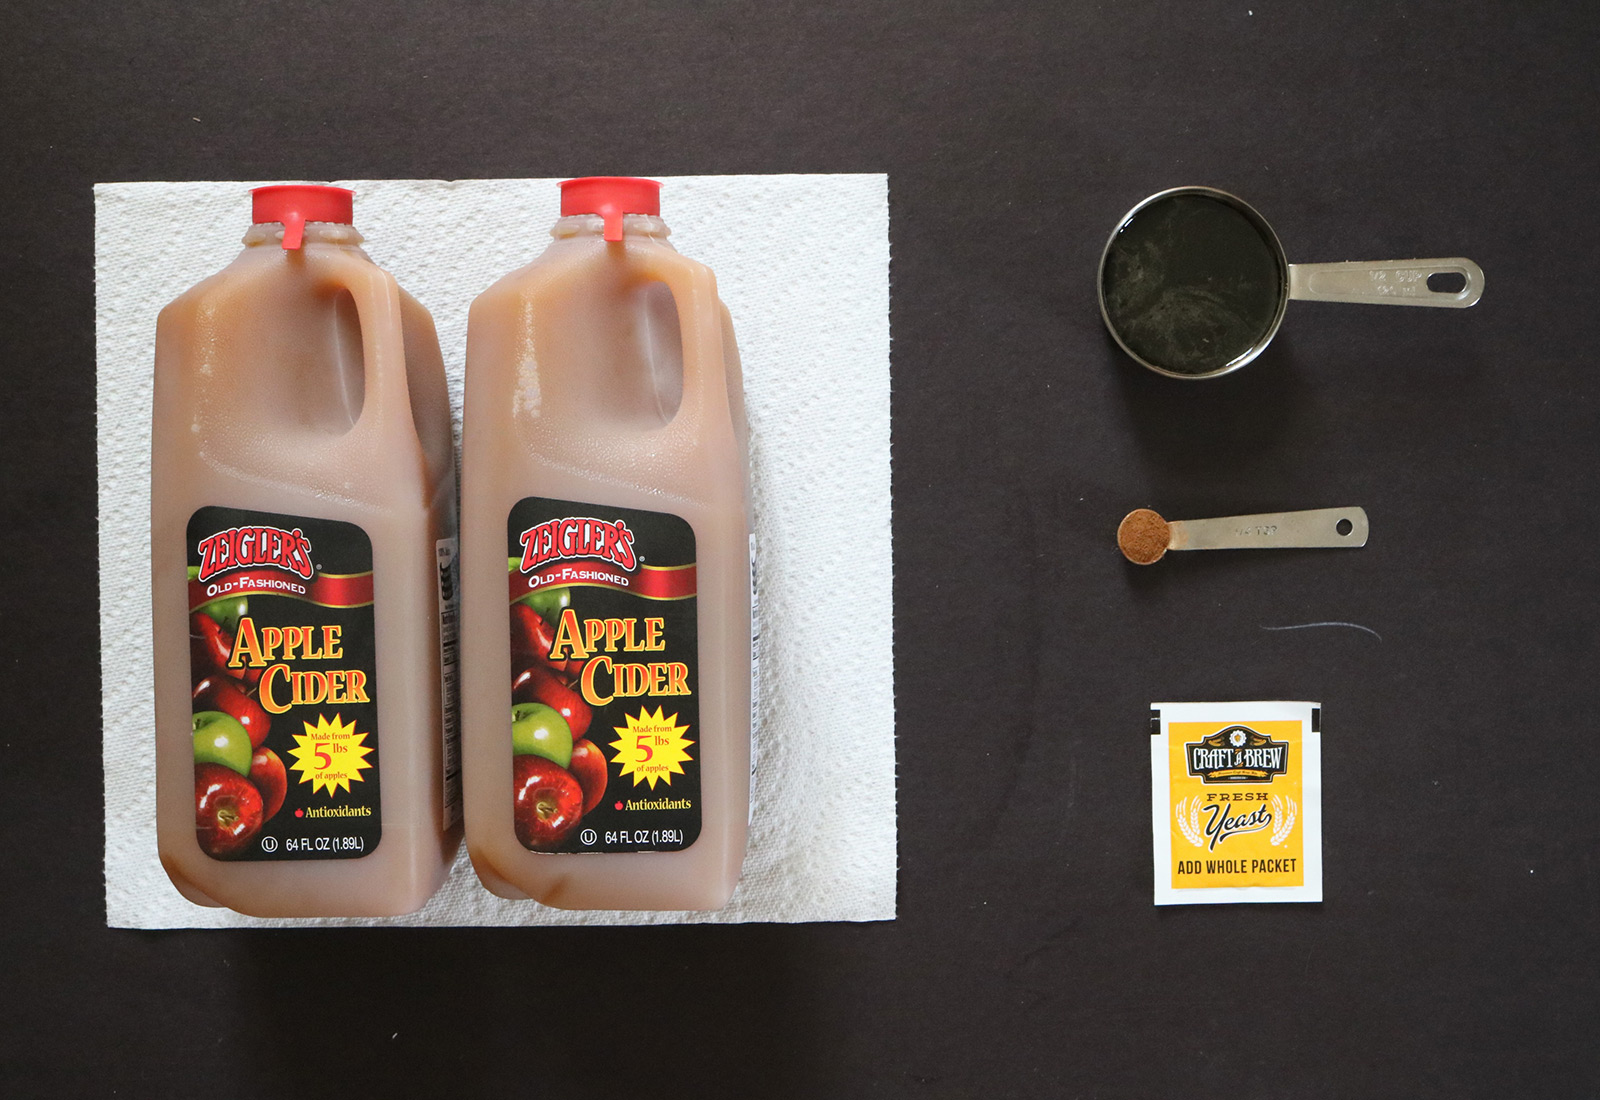
Ingredients:
- 1 gallon local apple cider
- 1 packet yeast (included)
- Brown sugar simple syrup (1/2 cup brown sugar and 1/2 cup water, combined over medium heat)
- 1/4 teaspoon apple pie spice (added after 5 days)
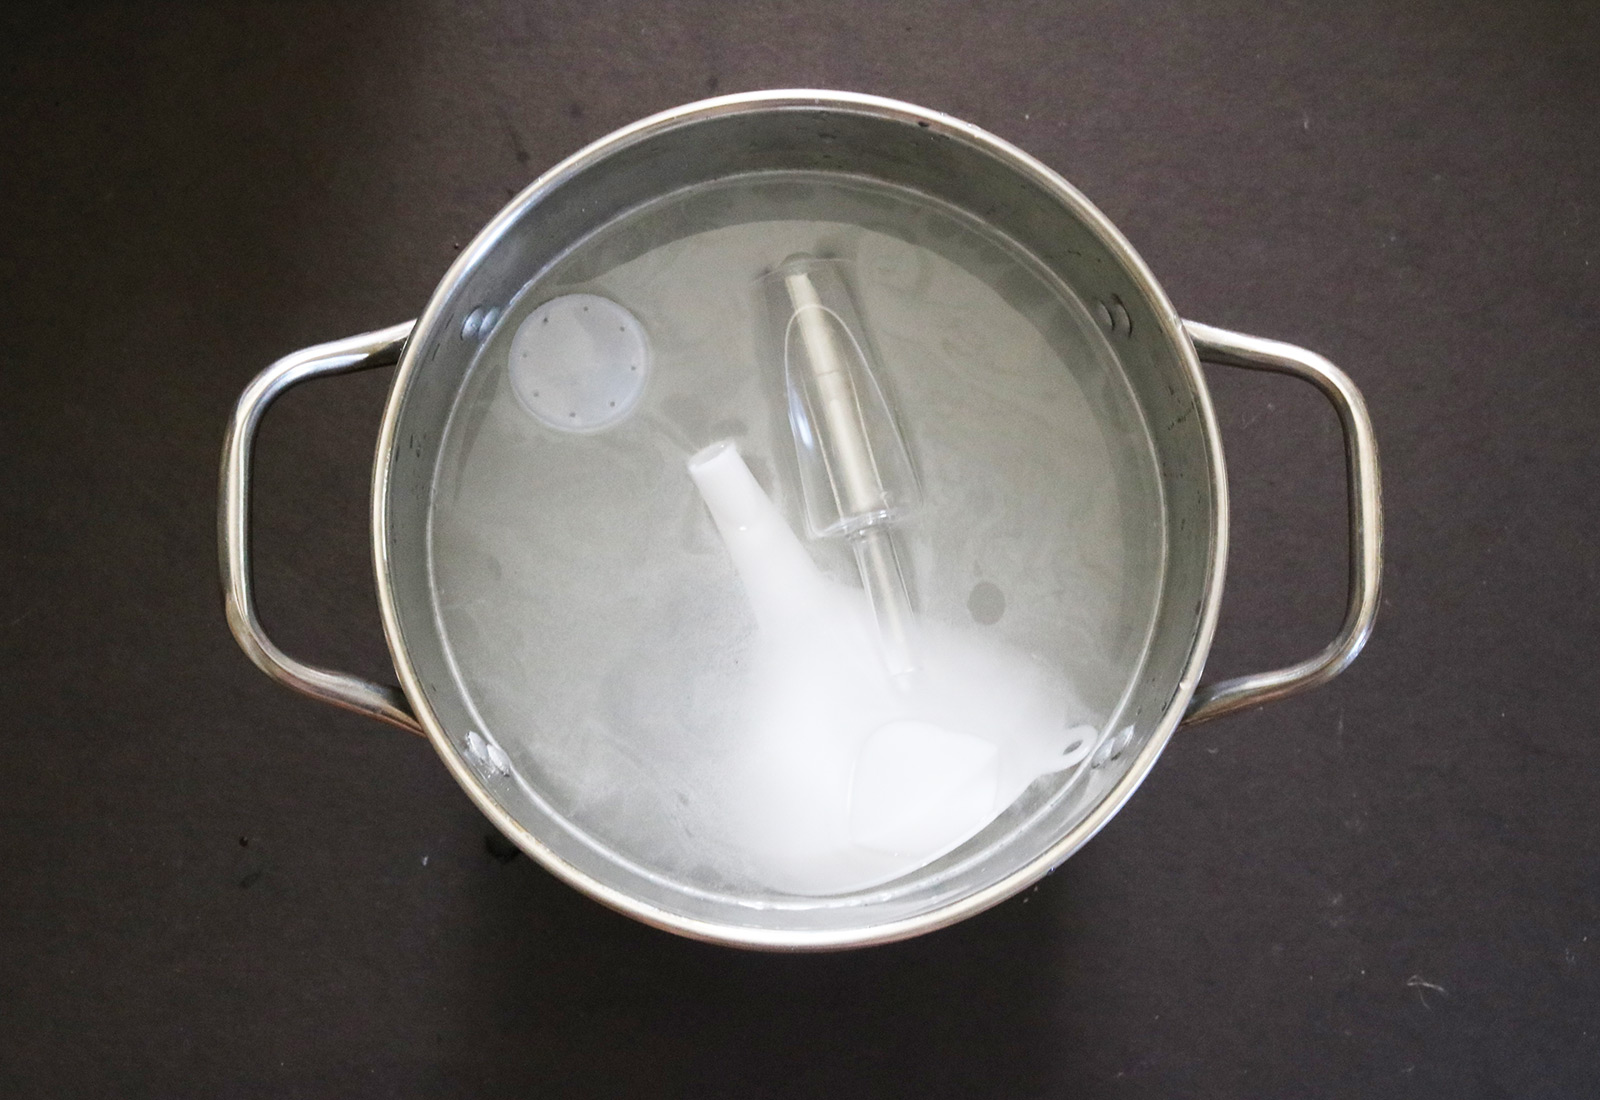
First up… sanitizing! This might very well be the most important step. You’ll also need to sanitize the carboy.
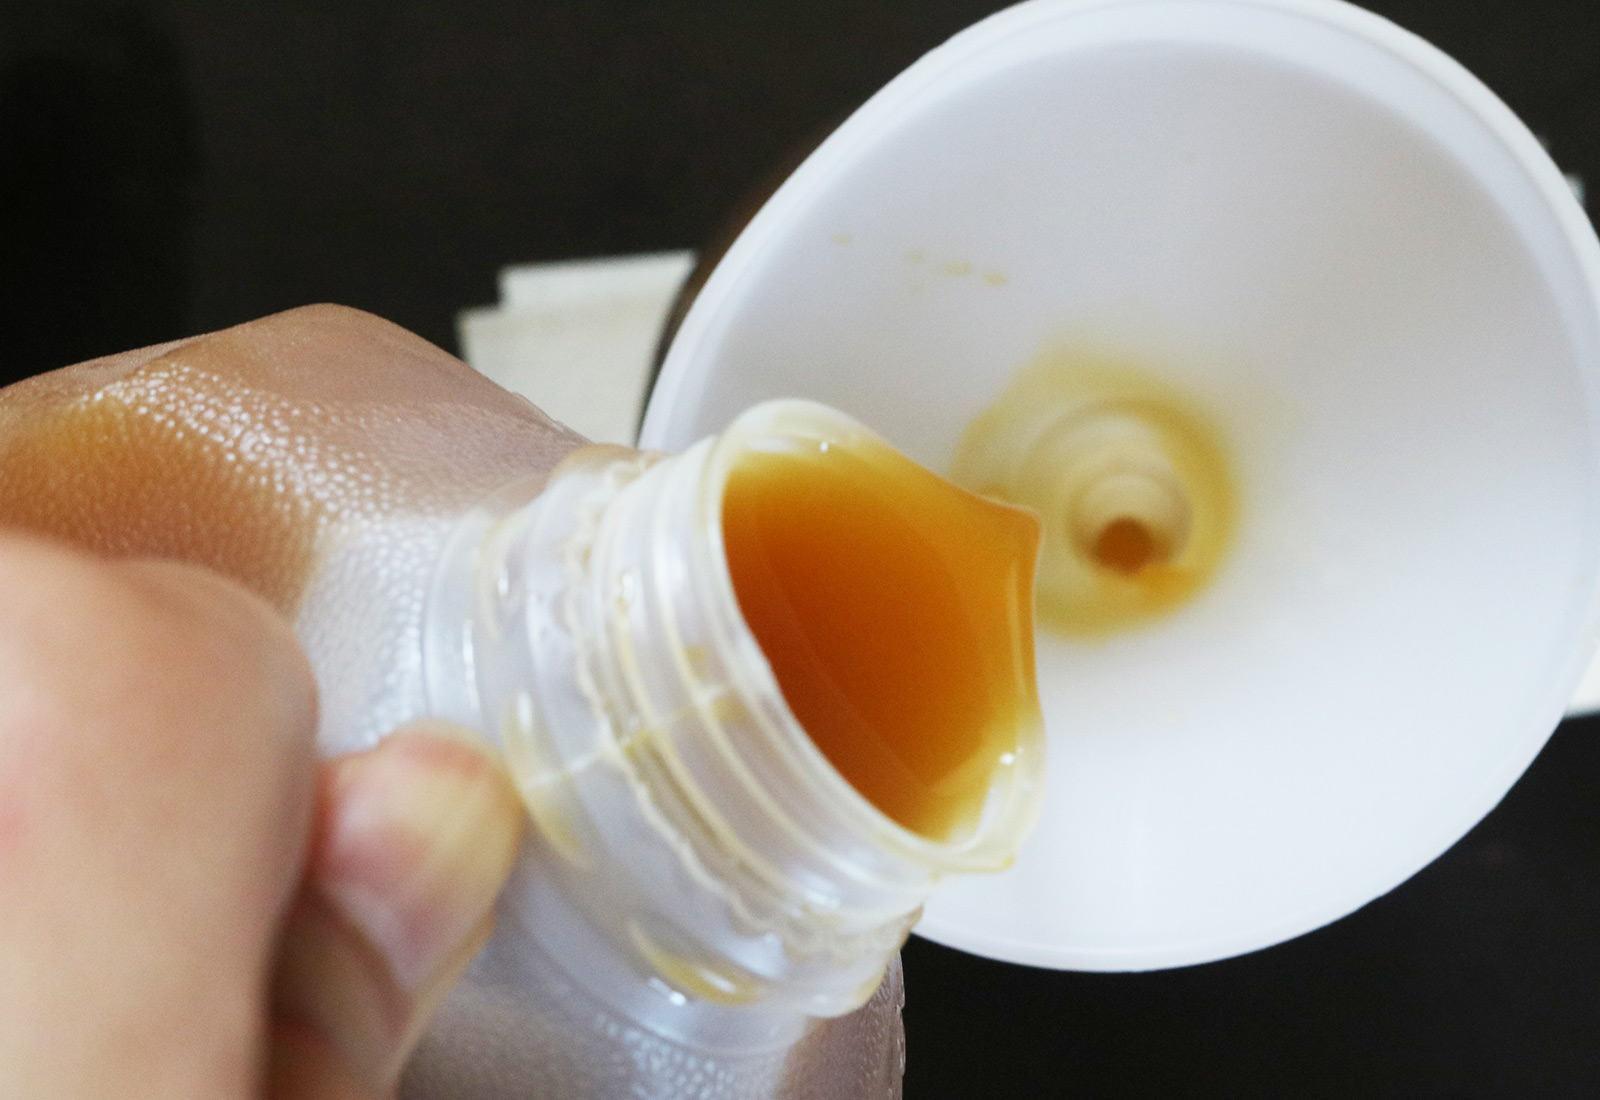
Apple cider goes into the carboy…
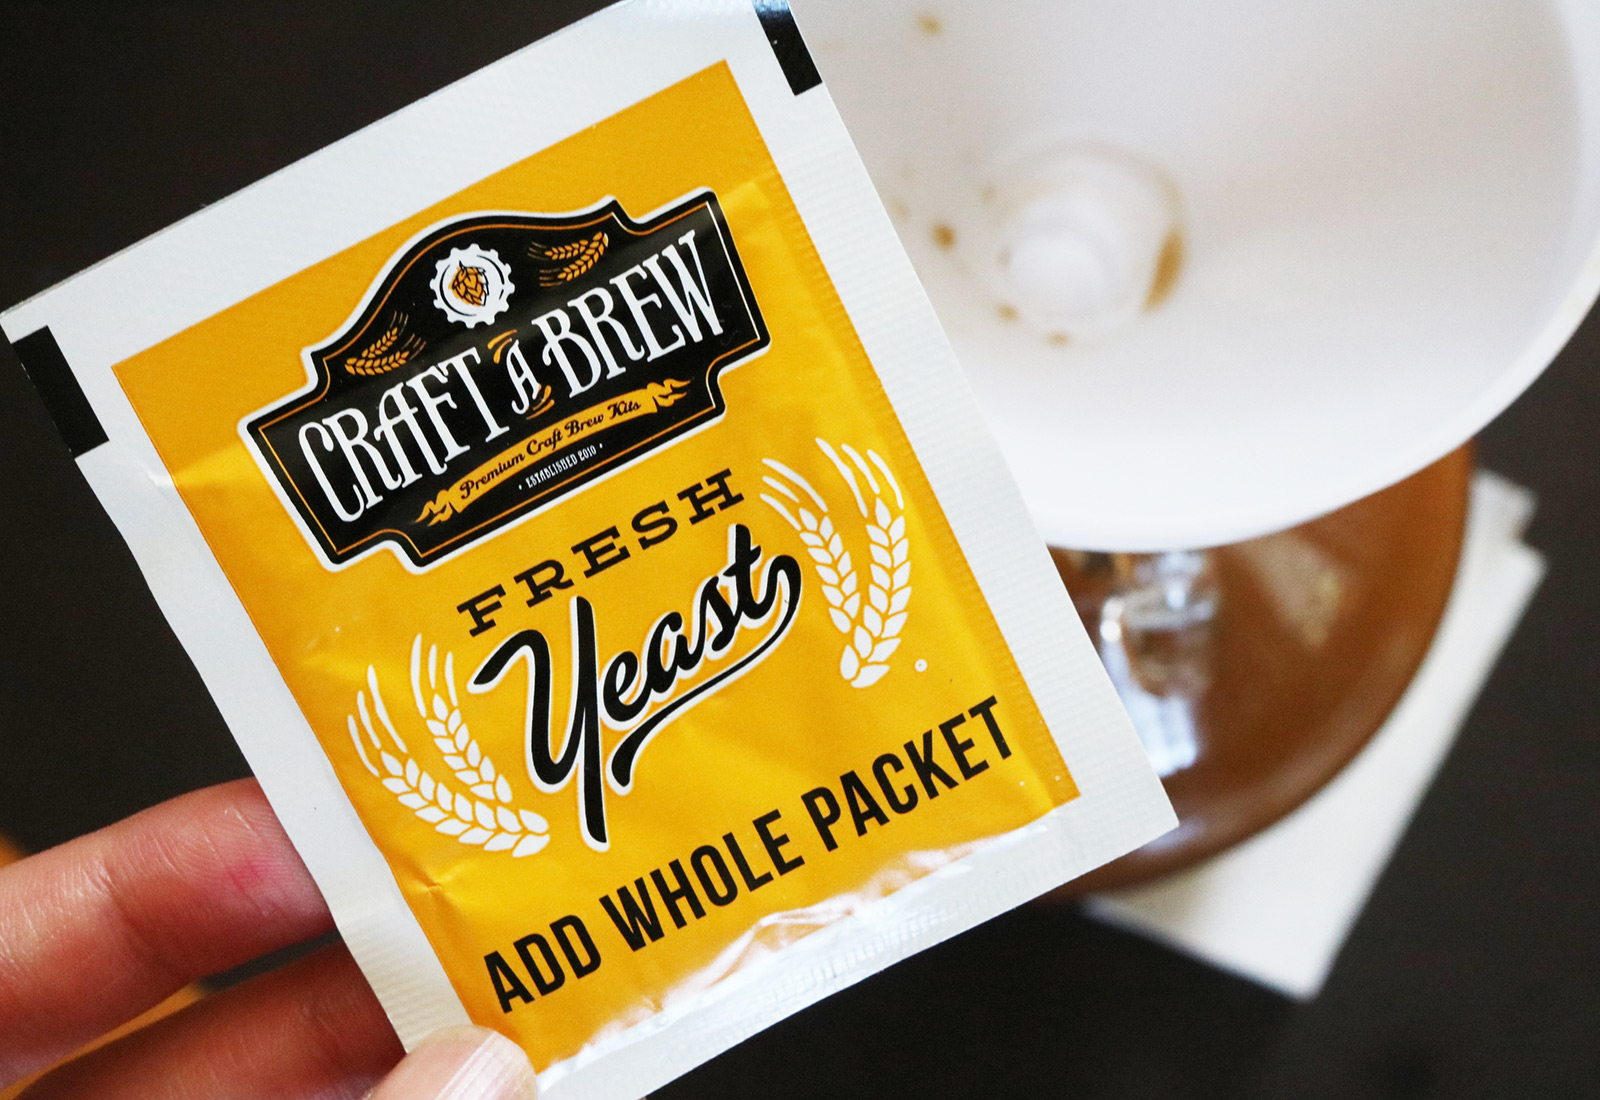
… followed by the yeast and brown sugar simple syrup.
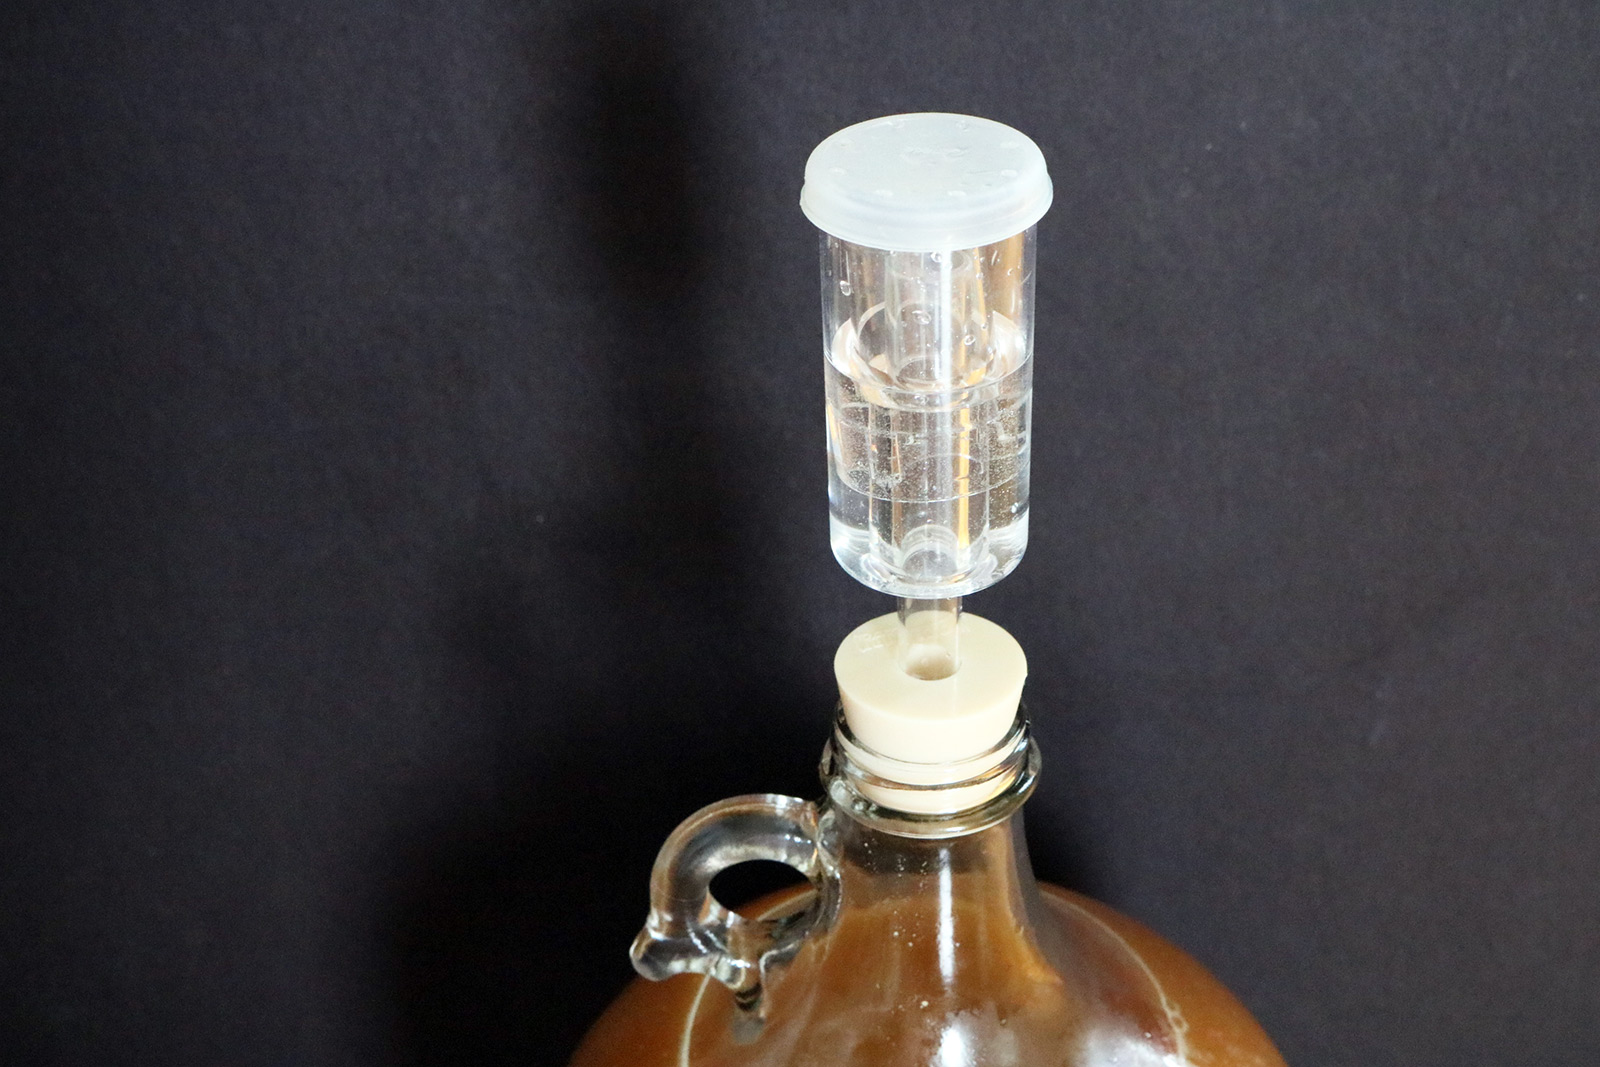
Once everything is shaken up and combined, it’s time for the rubber stopper and airlock.
Tip: Wipe off the rubber stopper (and carboy’s mouth) first. If it’s too wet, the stopper won’t stay in. And if it won’t stay in, you’ll be tempted to push the rubber stopper so much that it falls into the cider… hah. Yeah, that happened.
Aside from being totally covered in fermenting apple cider, I obviously learned the hard way. If this happens to you, use this trick to get a rubber stopper out of a carboy.
After five days, the 1/4 teaspoon of apple pie spice was added.
Fermentation took 14 days. Normally, it calls for 10 days, but the addition of brown sugar meant that the yeast had to “eat” it up. Science, am I right?
The apple cider was siphoned into bottles with the tubing and racking cane.
Photo Credit: CraftaBrew.com
The final verdict: YUM. I’ve fermented sriracha and pickles before, so this was an entirely new learning experience.
Want to give it a shot? I got your back. Thanks to Craft a Brew, one (1) lucky Wild Amor reader will receive a cider making kit to try it yourself.
Giveaway ends July 31, 2017 Monday at 12:00 AM EST. United States only.
a Rafflecopter giveaway
Good luck, and thank you Craft a Brew! To learn more about Craft a Brew, visit them on Facebook and Instagram.
xx K
FTC Disclaimer: The Craft a Brew Hard Cider Making Kit was provided by Craft a Brew. All thoughts and opinions are my own; I only collaborate with and feature companies that I truly support. Thank you, Craft a Brew!

