


Supplies:
– Jeans
– Fabric Scissors
– Plaid Flannel Scraps
– Iron (I used a Rowenta Pro-Master Iron)
– Fusible Webbing Tape (I typically use the Heat N’ Bond brand!)
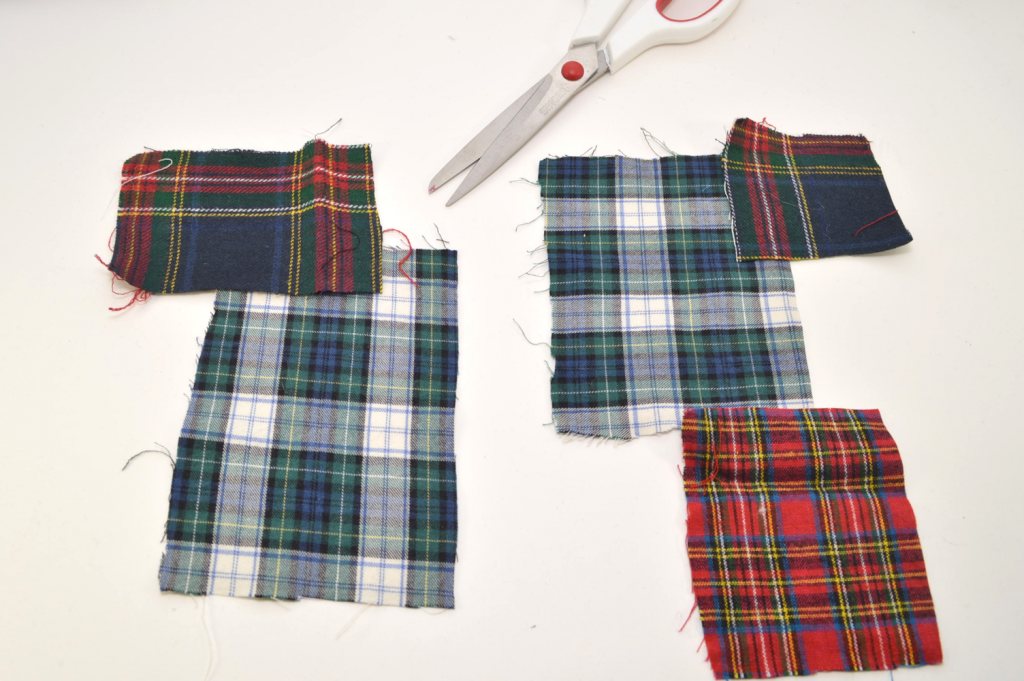
1) If you haven’t already, cut the flannel scraps into squares and rectangles. For best results, cut each remnant no more than 4.5 inches (11.43 centimeters) wide and 5.5 inches (13.97 centimeters) in height. Don’t hesitate to mix up the size range, though!

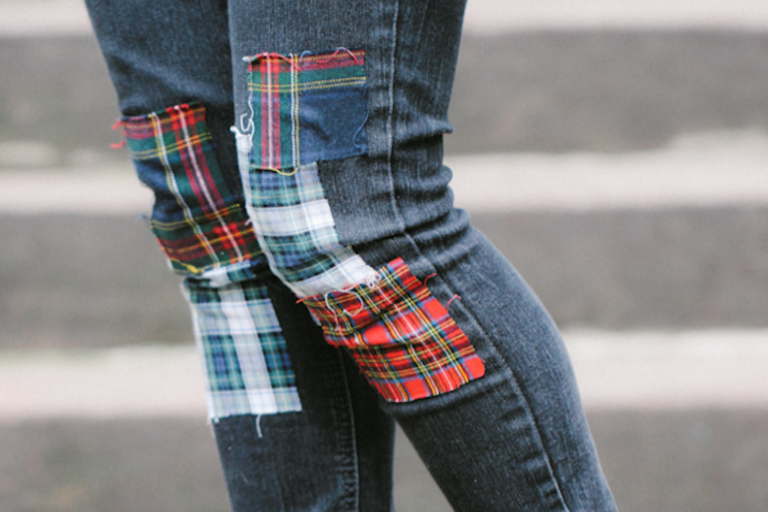
2) Determine the placement of each remnant. I focused on the general knee area.
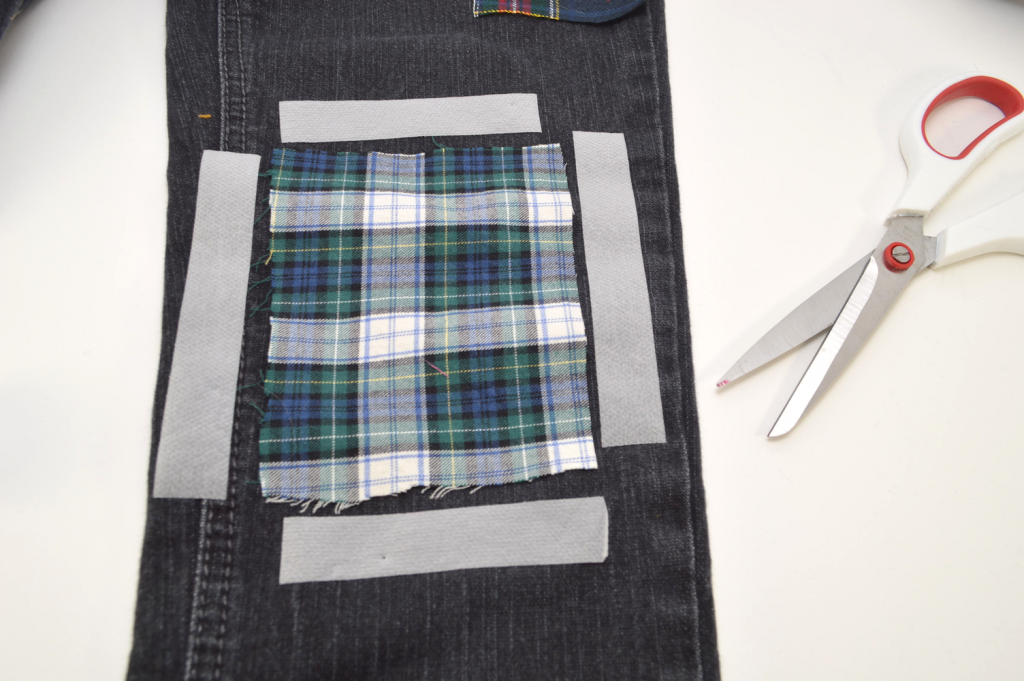
3) Cut a strip of fusible webbing for each side of the rectangle/square.

4) Place the first strip of fusible webbing tape in between the flannel and jeans.

5) Firmly apply the iron to the jeans, using the Cotton setting and a flat, hard surface such as an ironing board.
Repeat with the remaining strips. I typically add each strip one by one (or two at a time) to ensure that the fabric holds the proper placement. You never know when the fabric might budge while applying an iron. Of course, you can add all 4 at the same time if you prefer; this is just how I usually go about it.

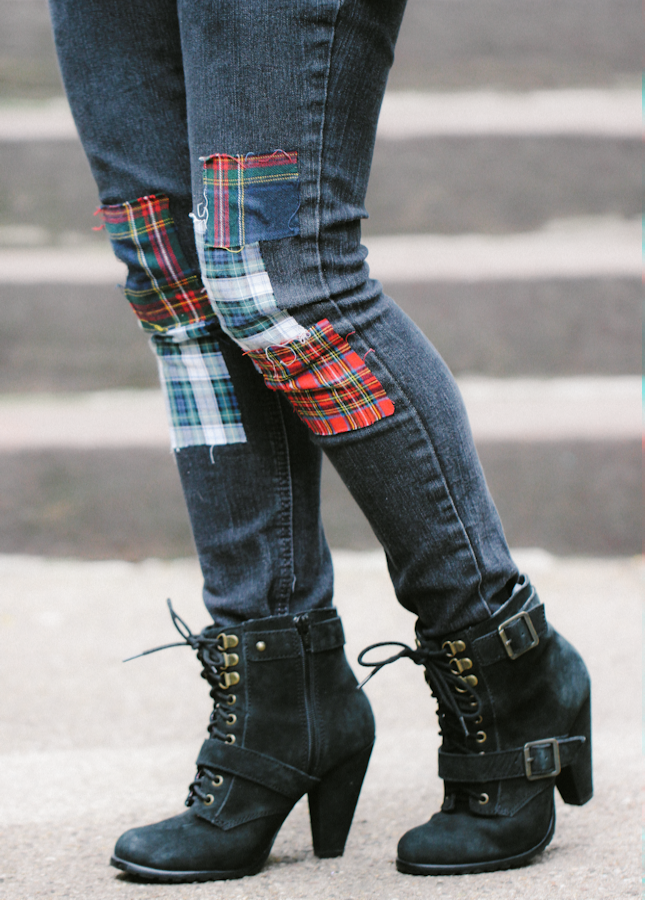

Styled Images: Haruka Sakaguchi (The Denizen Co.)