
I’ve been crafting since I was extremely young. Right out of the womb, basically. There was always a healthy mix of making original ideas and following tutorials. I could spend hours in the craft section of the library or book store —just ask my mother.
These days, I’m usually on the production side of things. Most of my jobs require me to do just that. And while I love being on this side, it’s refreshing to take a step back and soak in some guidance. Honestly, I think I need to do it more often. It’s the best kind of mental breather a creative lady can ask for.
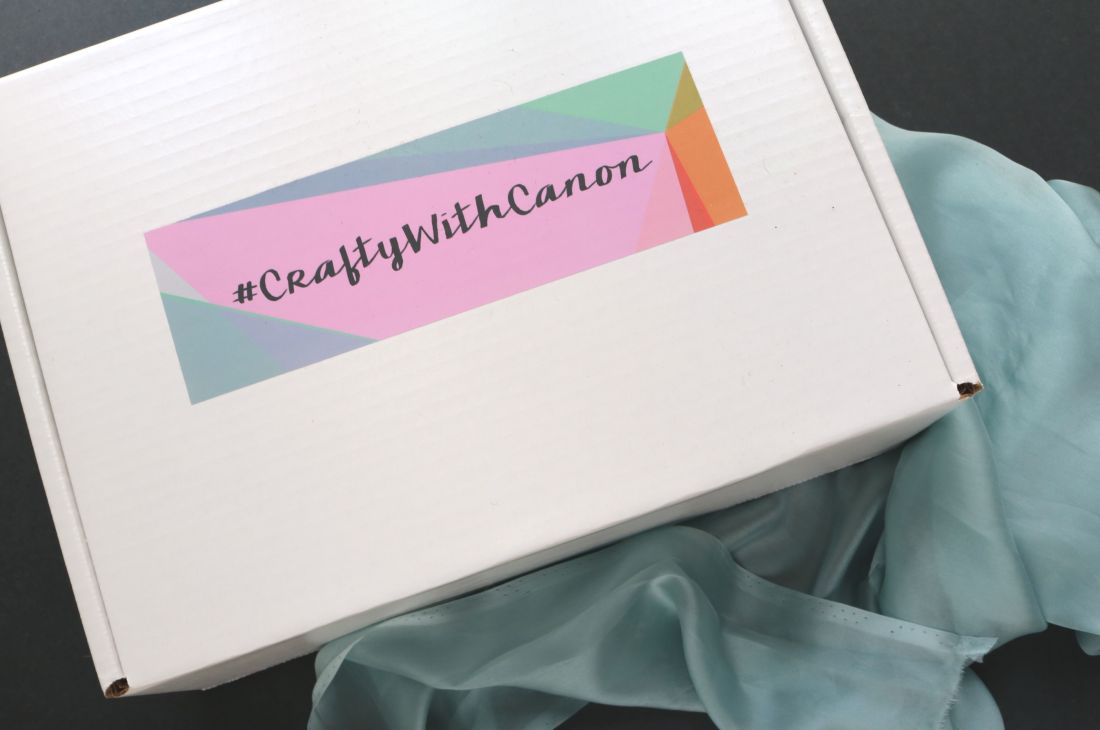
Fortunately, boxed craft kits have become a thing. And as part of Canon’s newest #CraftywithCanon campaign, I agreed to take on a mystery box of crafts. The end result? A set of watercolor-themed coasters that are so up my alley. Here’s how I made them!
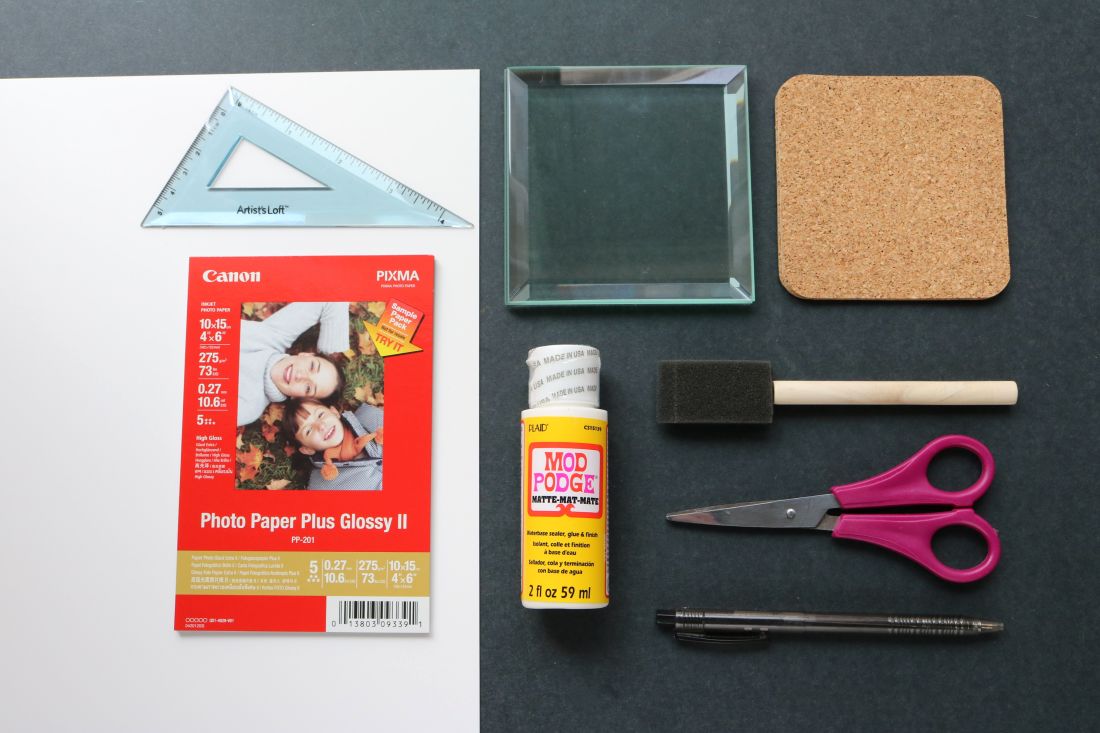
Supplies:
- 8.5×11″ Canon Matte Photo Paper
- 4×6″ Canon Glossy Photo Paper
- Clear glass tiles (2)
- Adhesive cork backings (2)
- Ruler
- Mod Podge
- Foam brush
- Scissors
- Pen
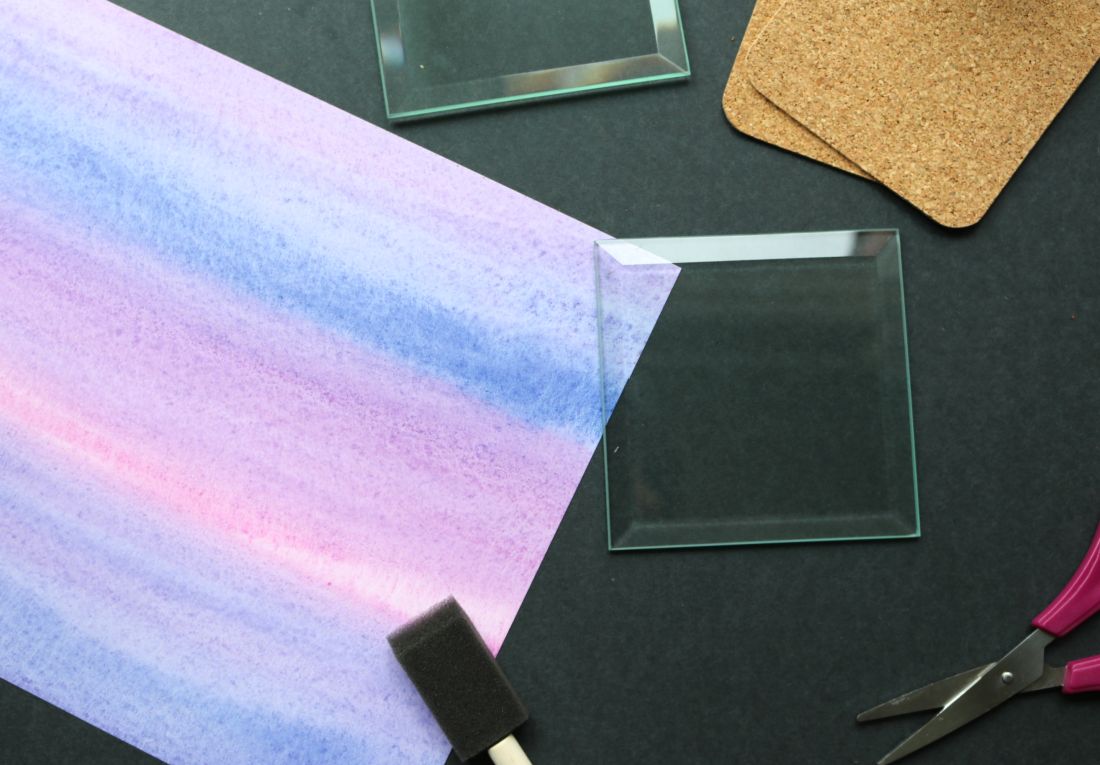
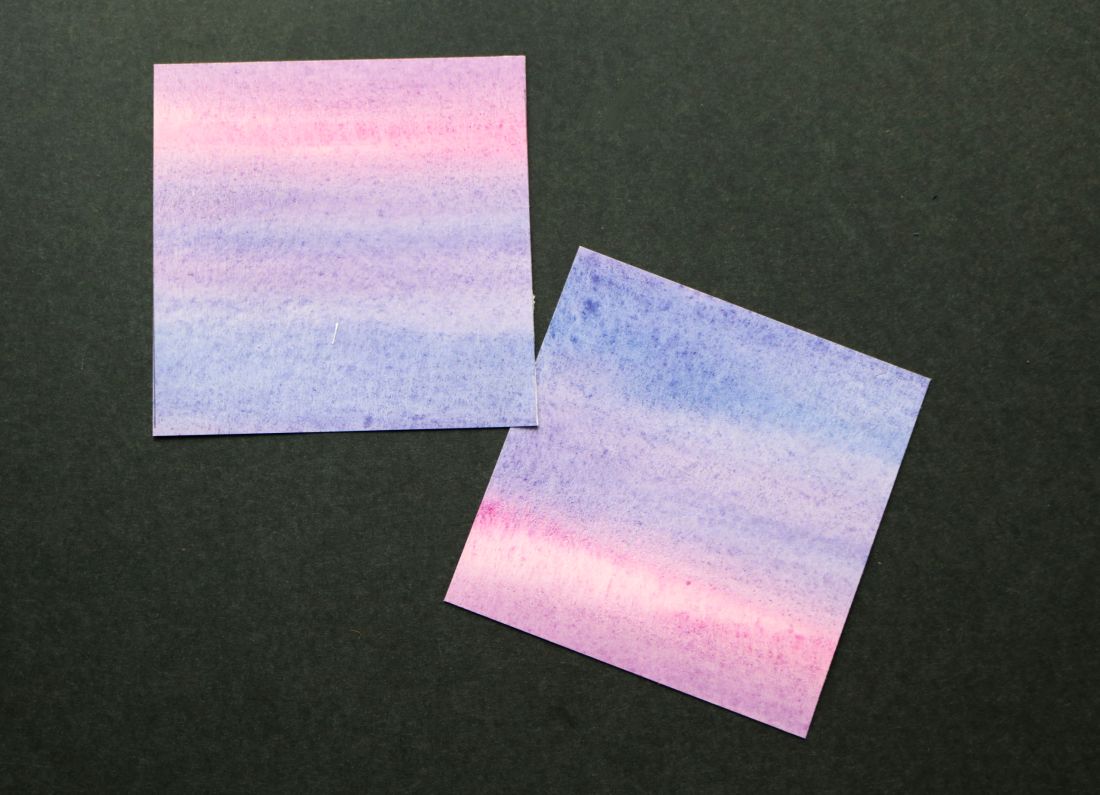
1. First, I printed out a sheet of 8.5×11″ scrapbook paper on a Canon PIXMA MG7720. I’m not sure how or why I never thought to print decorative paper at home… but it’ a brilliant concept! Of course, I went with a watercolor design in cool colors.
You can check out an entire collection of printable scrapbook papers right here.

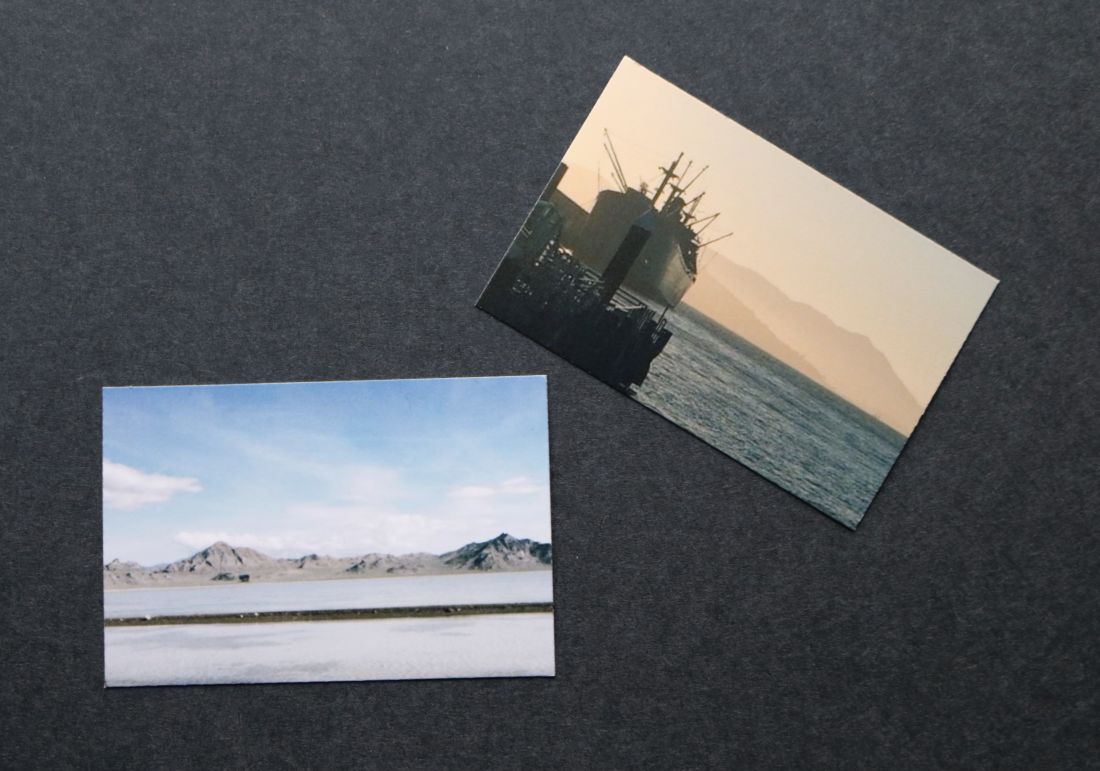
2. Next up were the actual photos. I’ve also never used smaller sheets any less than the standard size, so adjusting the tray of the Canon PIXMA MG7720 was pretty fun to play with. I’m such a geek for useful office supplies.
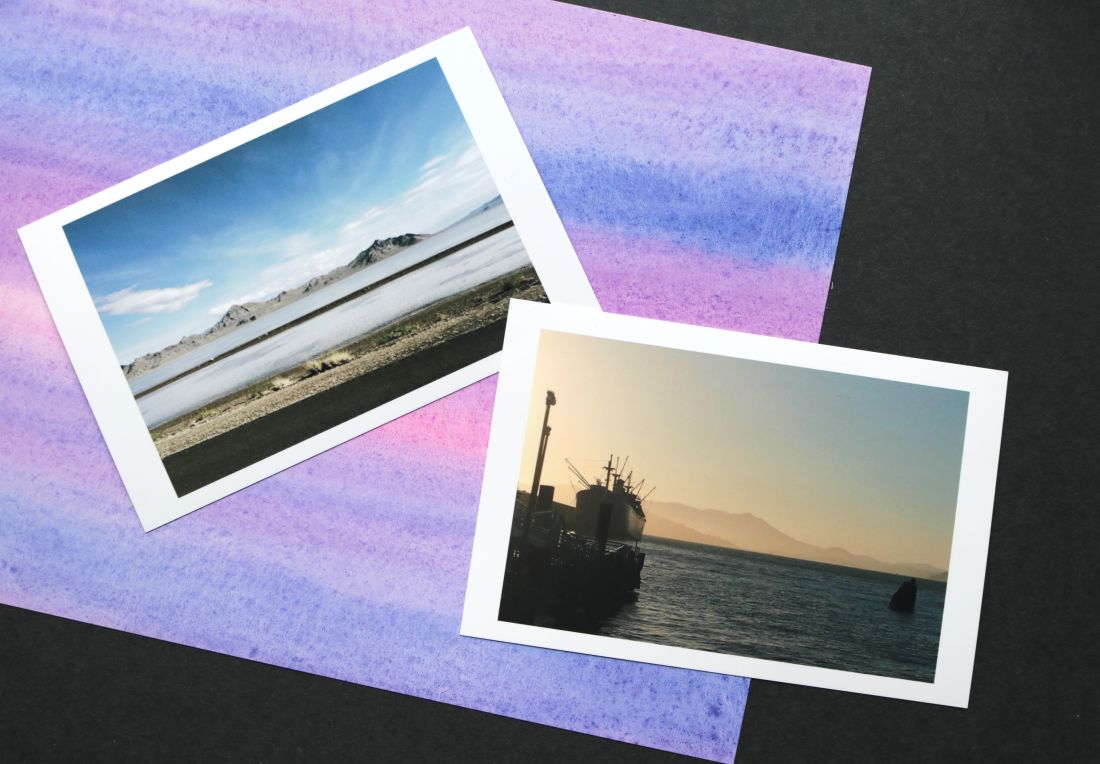
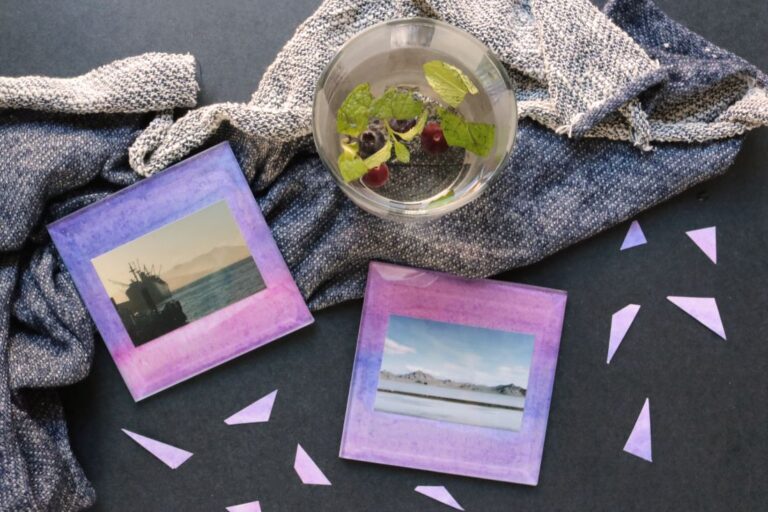
I went with shots I took of the Booneville Salt Flats in Utah and Fisherman’s Wharf in San Francisco.
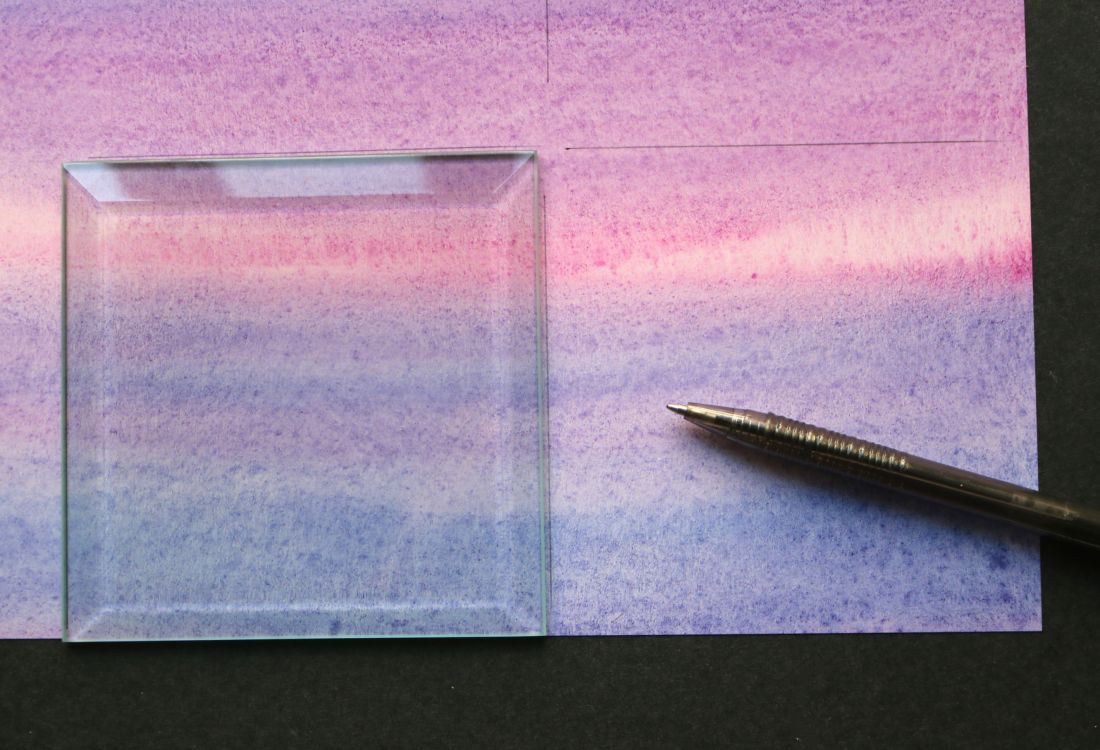
3. Time to cut the fancy paper! I used the glass coasters as a guide. I find that it’s easier to line up the second tracing with the first. That way, cutting that shared line kills two steps at once.
Instead of the scissors, I ended up using my trusty paper cutter for this one.
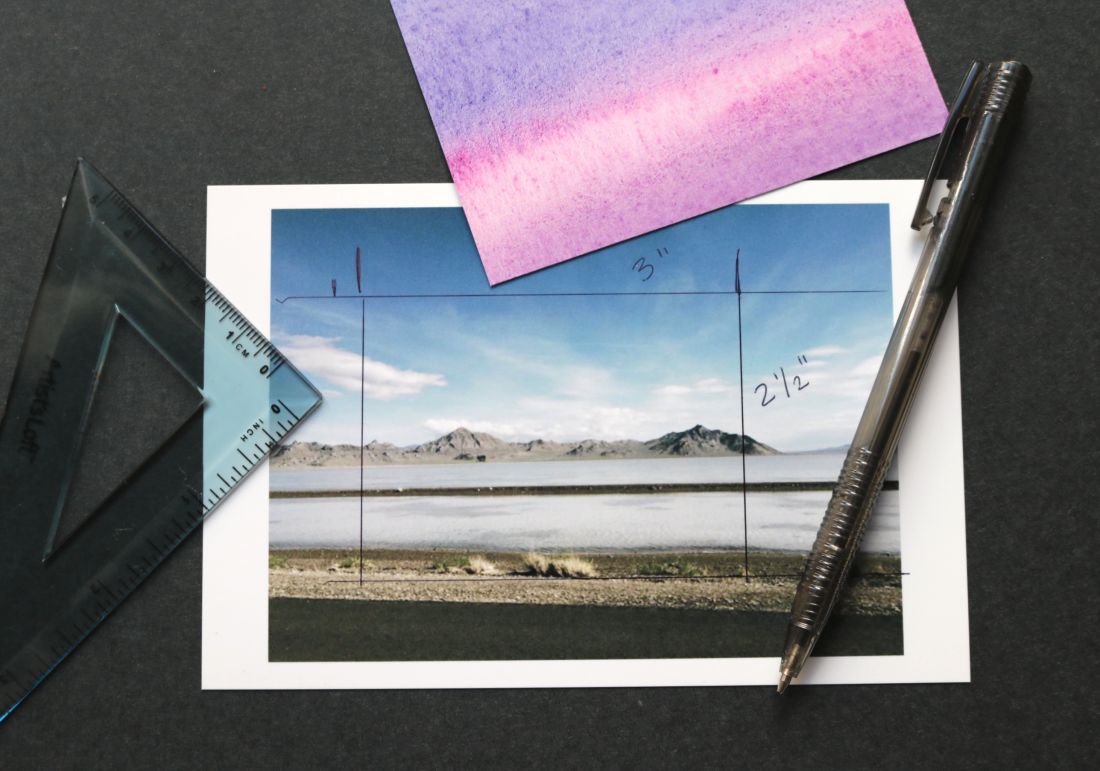
4. Using the ruler and pen, I traced a 3″ x 2.5″ rectangle onto the photo.
5. I trimmed the photo right along the lines. The same process was repeated for the second photo.
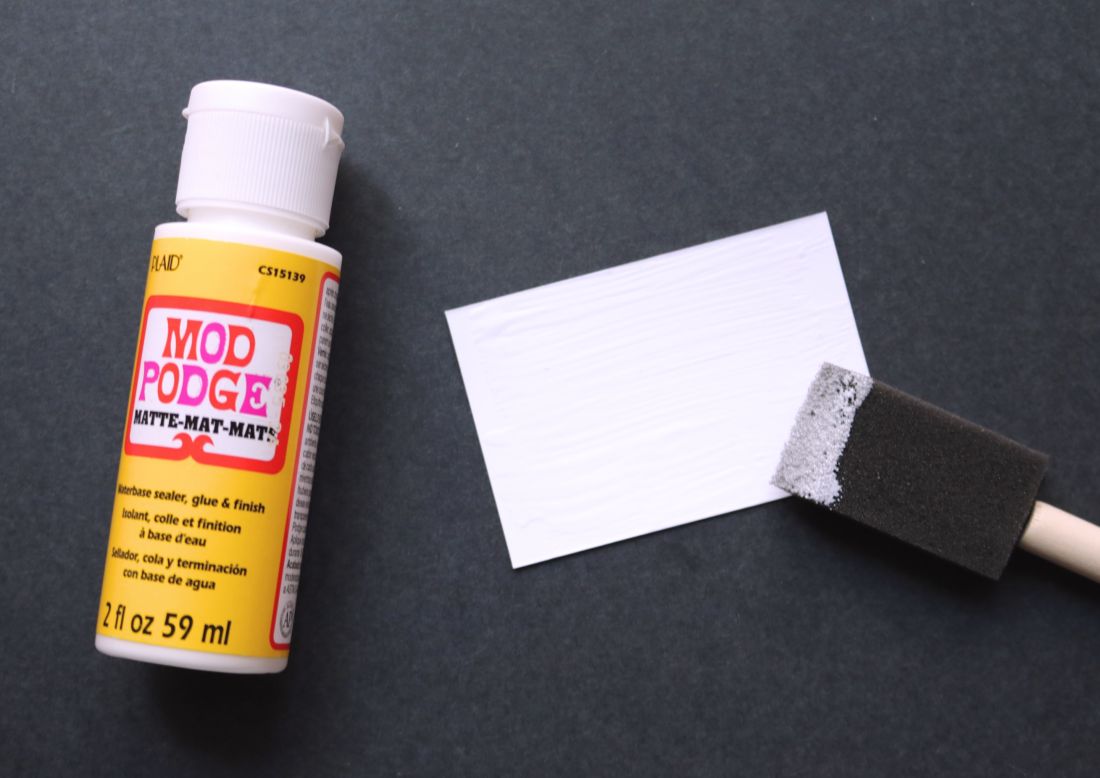
6. Using the foam brush, I applied Mod Podge on the back of each photo. A little goes a long way.
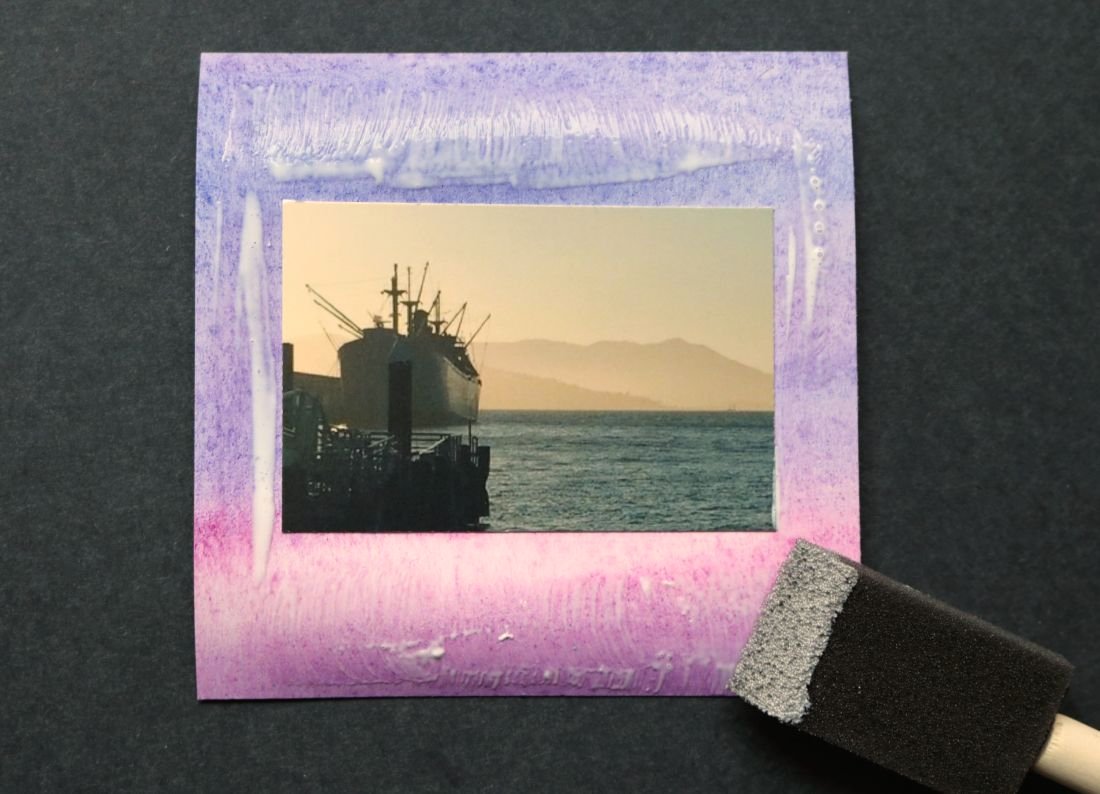
7. Carefully, I adhered each photo to a watercolor square. Next up was a light layer of Mod Podge around each photo.
8. Time for the glass. I placed the flat side of the glass coasters onto the decoupaged paper, pressing firmly.
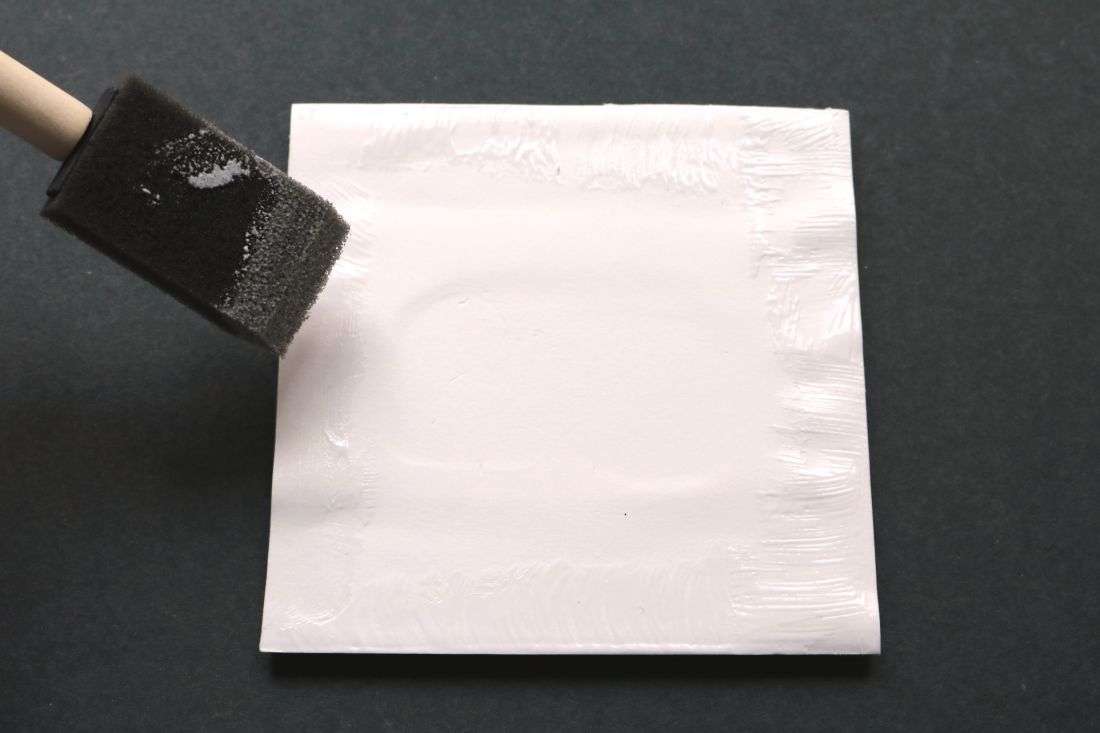
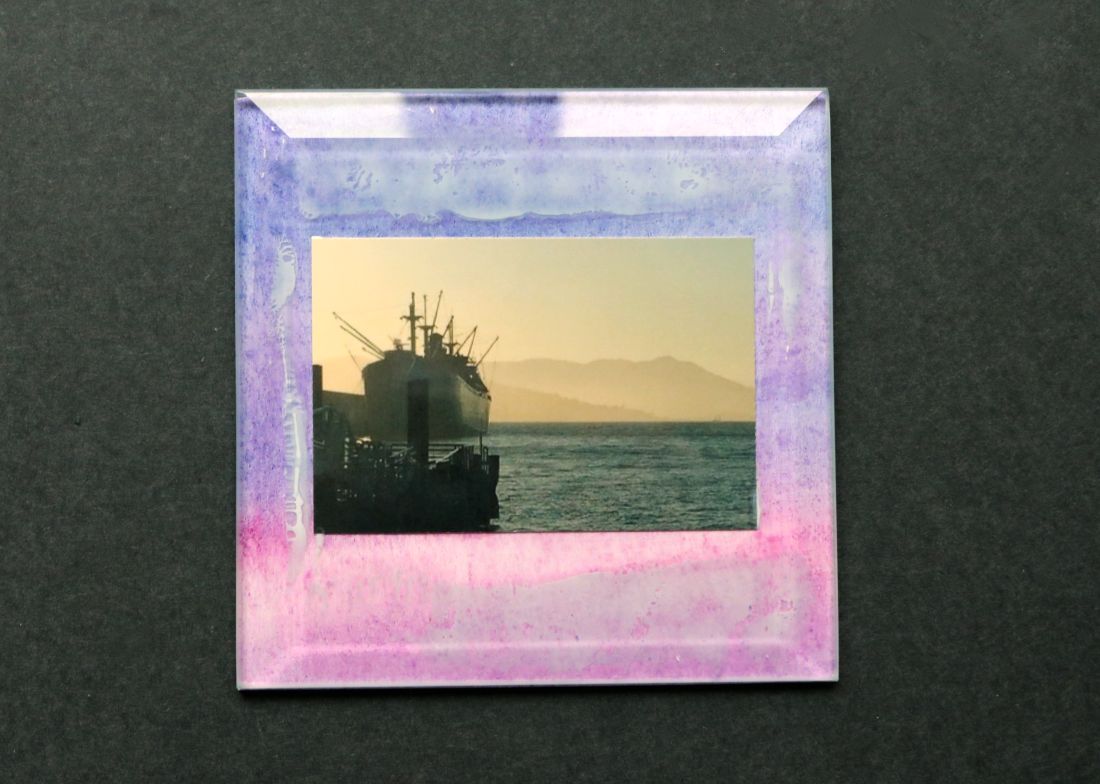
9. Then, I added a light helping of decoupage to the edges. This helps seal everything together. I also added some on the back side.
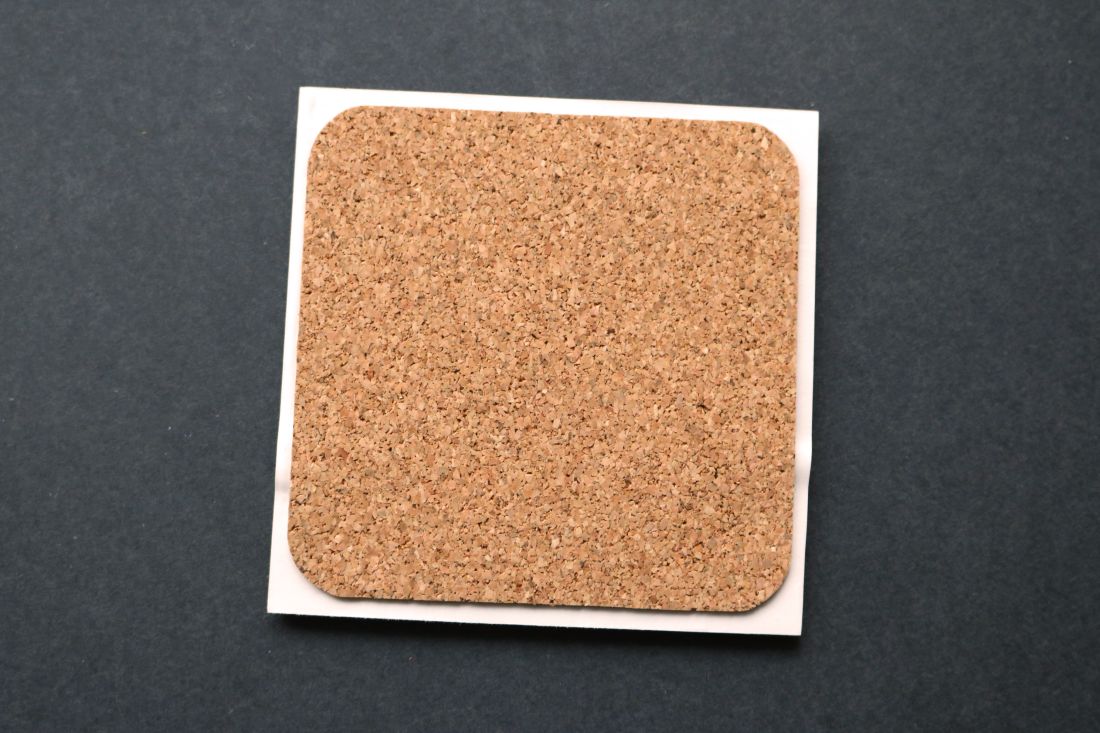
10. Now, for the adhesive cork backing. Once the decoupaged dried, my new set of coasters were good to go.

So fun and convenient. I’m a sucker for DIY coasters, which might have something to do with my coffee and tea obsessions. Two more never hurts, right?
Because this project is so easy to customize, these babies make excellent personalized gifts. And with a trusty printer like Canon PIXMA MG7720, you can print the decorative paper that speaks to you the most. Win.
How would you customize your DIY glass coasters? Let me know in the comments below! Don’t forget to check out the hashtag #craftywithcanon on Instagram and Twitter to see what fellow crafters are up to.
xx K
FTC Disclaimer: Craft supplies, Canon PIXMA MG7720, and Canon EOS Rebel T6i DSLR Camera Kit provided by Canon and Golin for review and consideration. All thoughts and opinions are my own; I only collaborate with and feature companies that I truly support. Thank you, Canon!