
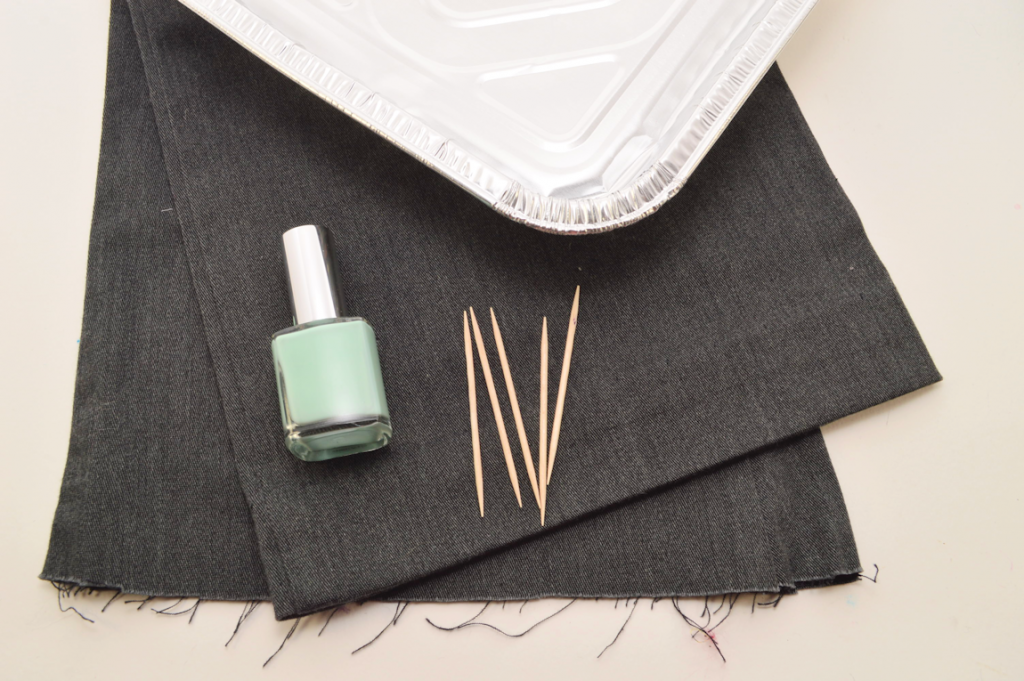
Supplies:
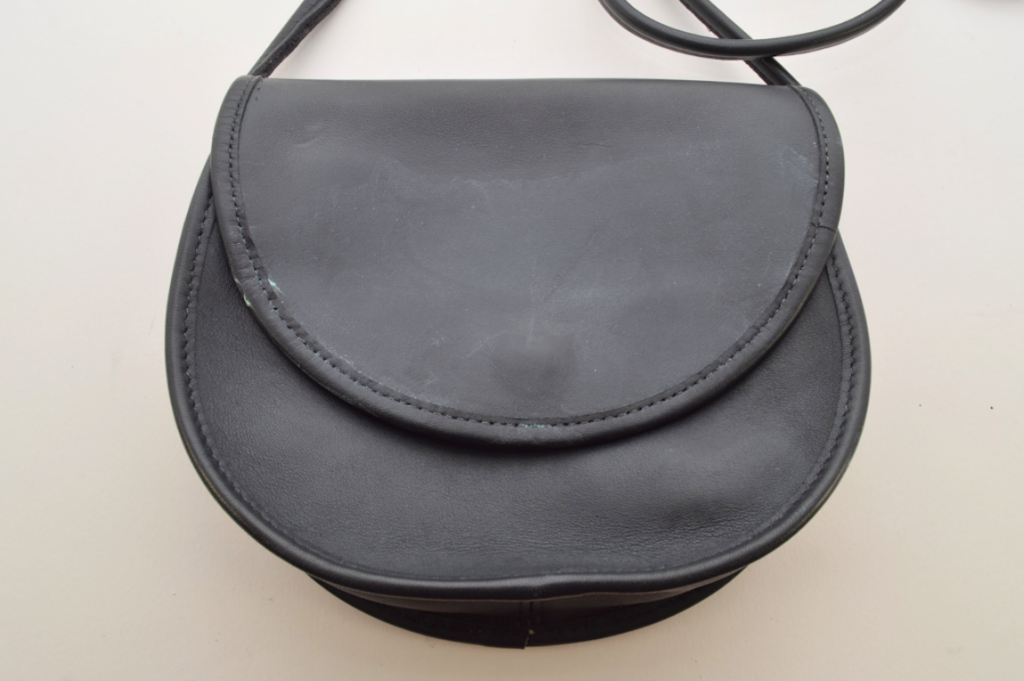
- Purse (preferably with a smooth water resistant surface and flat side)
- Foil Tin (big enough to fit one side of the purse) + Water
- Scrap Fabric (to protect your work surface)
- Nail Polish
- Toothpicks
- Nail Polish Remover & Cotton Balls (optional)
The polish remover and cotton balls are handy to keep nearby just in case you decide to start all over again. The steps below were actually my second attempt. Keep in mind, however, that the purse might discolor when it comes into contact with nail polish remover. A little bit of the navy blue color rubbed off for my purse, but otherwise it was fine.
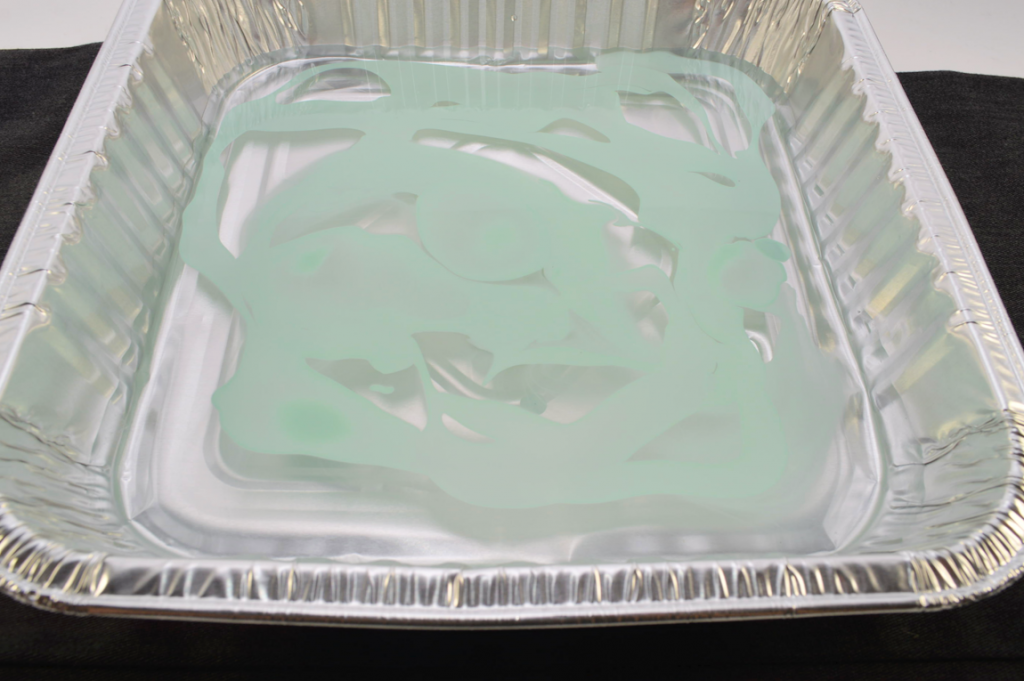
1) Fill the tin with water (about halfway should be enough). Pour a couple drops of nail polish into the water – I added about 5.
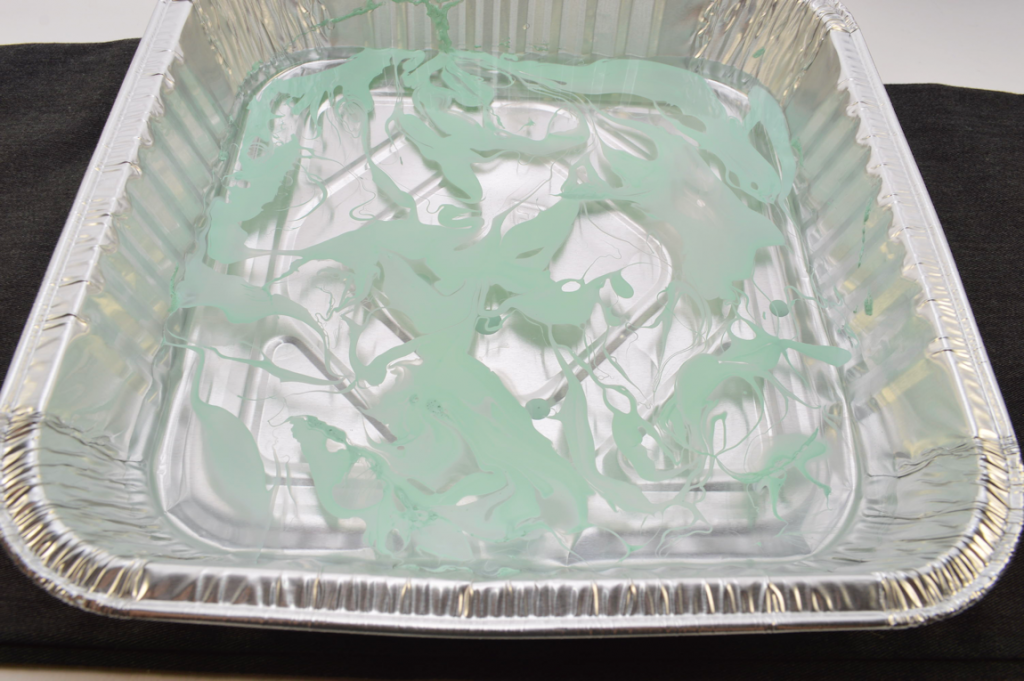
2) The polish will essentially harden in the water pretty quickly. Once you’ve added the polish to the water, you have a few seconds to take a toothpick and swirl everything around before the polish “thins” out a bit. I find the most effective method is to swirl the areas of clear water into the nail polish, creating that marbled look.
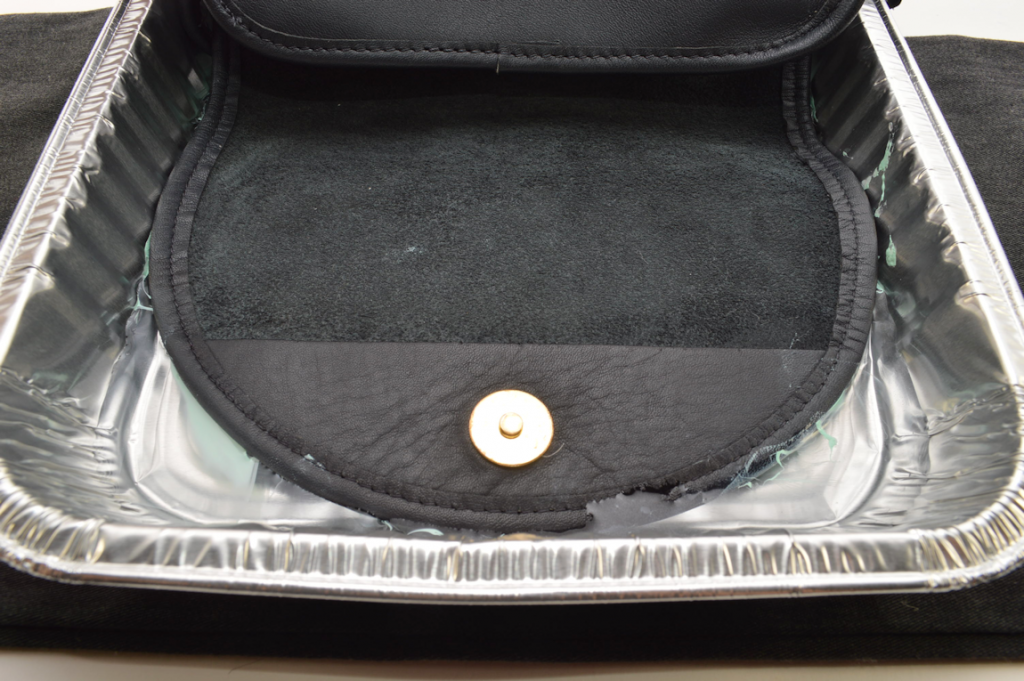
3) Dip the purse’s flap (or whatever surface you are using) into the tin. Evenly press down so that the purse’s entire surface area hits the polish. I actually missed a spot during my first try, so I repeated Steps 1-3 with a smaller amount of polish. It’s pretty hard to gauge how your marbling will come out, but remember that there’s no right or wrong to this method! It’s supposed to look uneven and random – just like real marble.
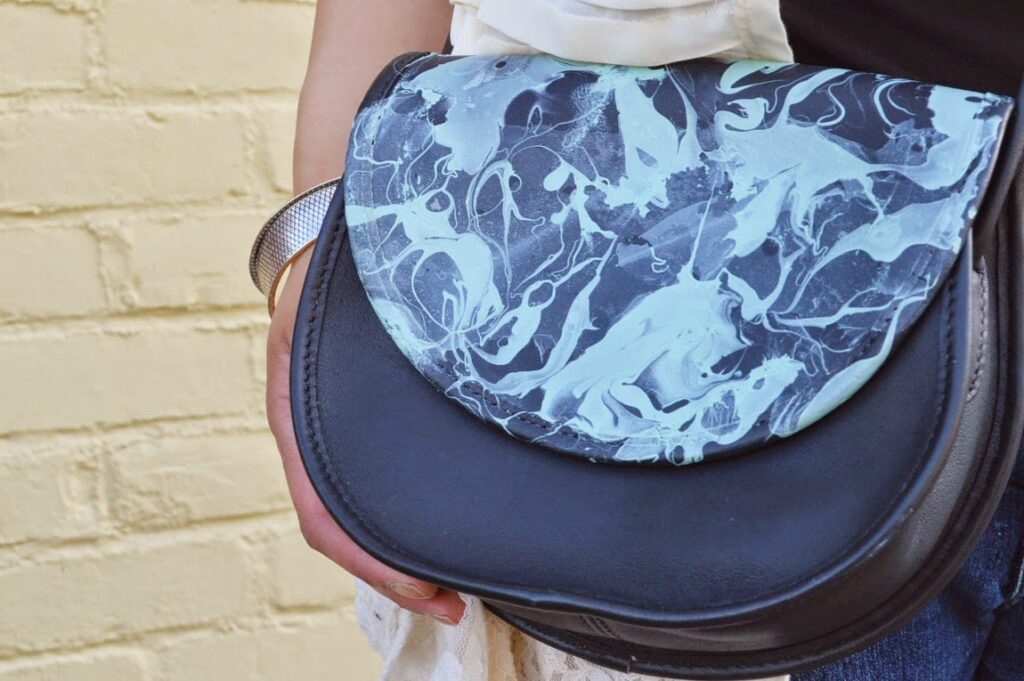
4) Let dry completely; you can gently wipe it off with a paper towel. Interestingly enough – you’ll find that the polish is actually already dry, so it’s really the water you’ll be drying off.
(I’m sure there’s some crazy scientific explanation to this…I’ll need to hit up one of my chemist friends and get back to you guys!)
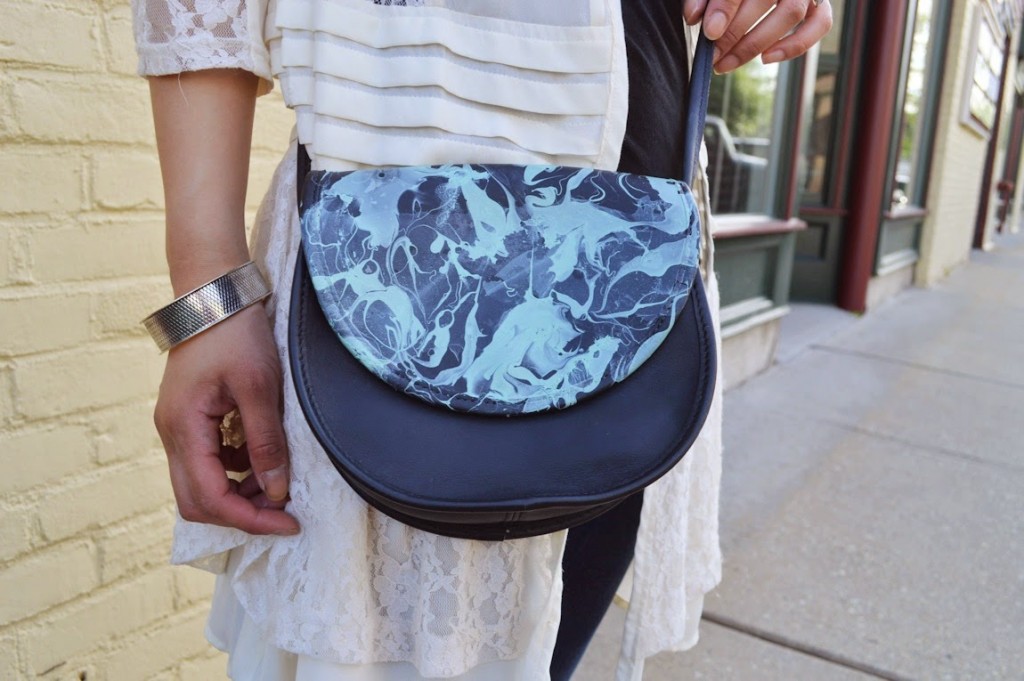
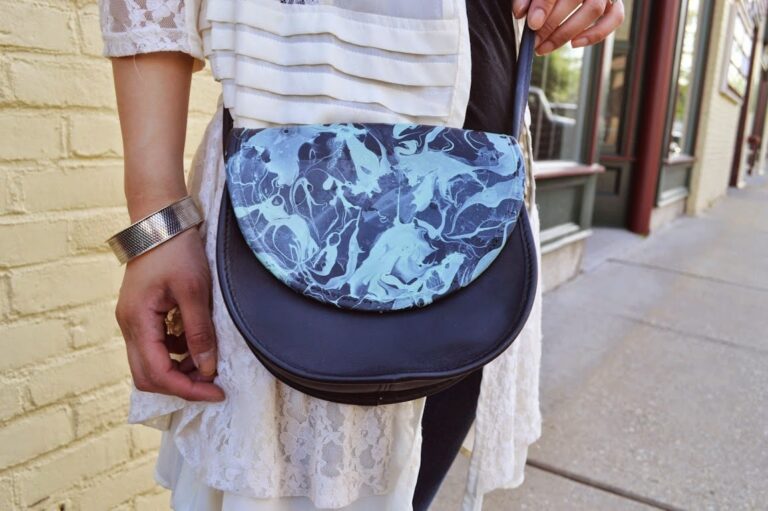
When scoping out a purse to use, I’d recommend staying away from anything with significant hardware details and imprints on the front. The flatter and simpler, the better. I somehow scored with this purse at Salvation Army; it cost me an entire $1.50.