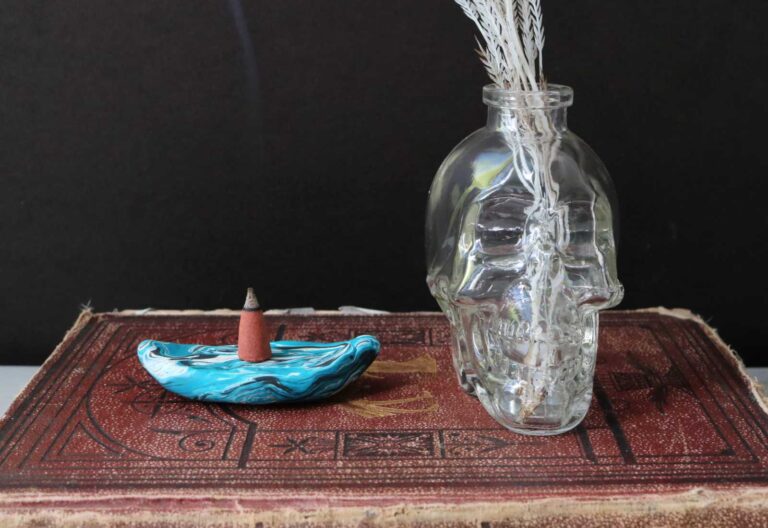
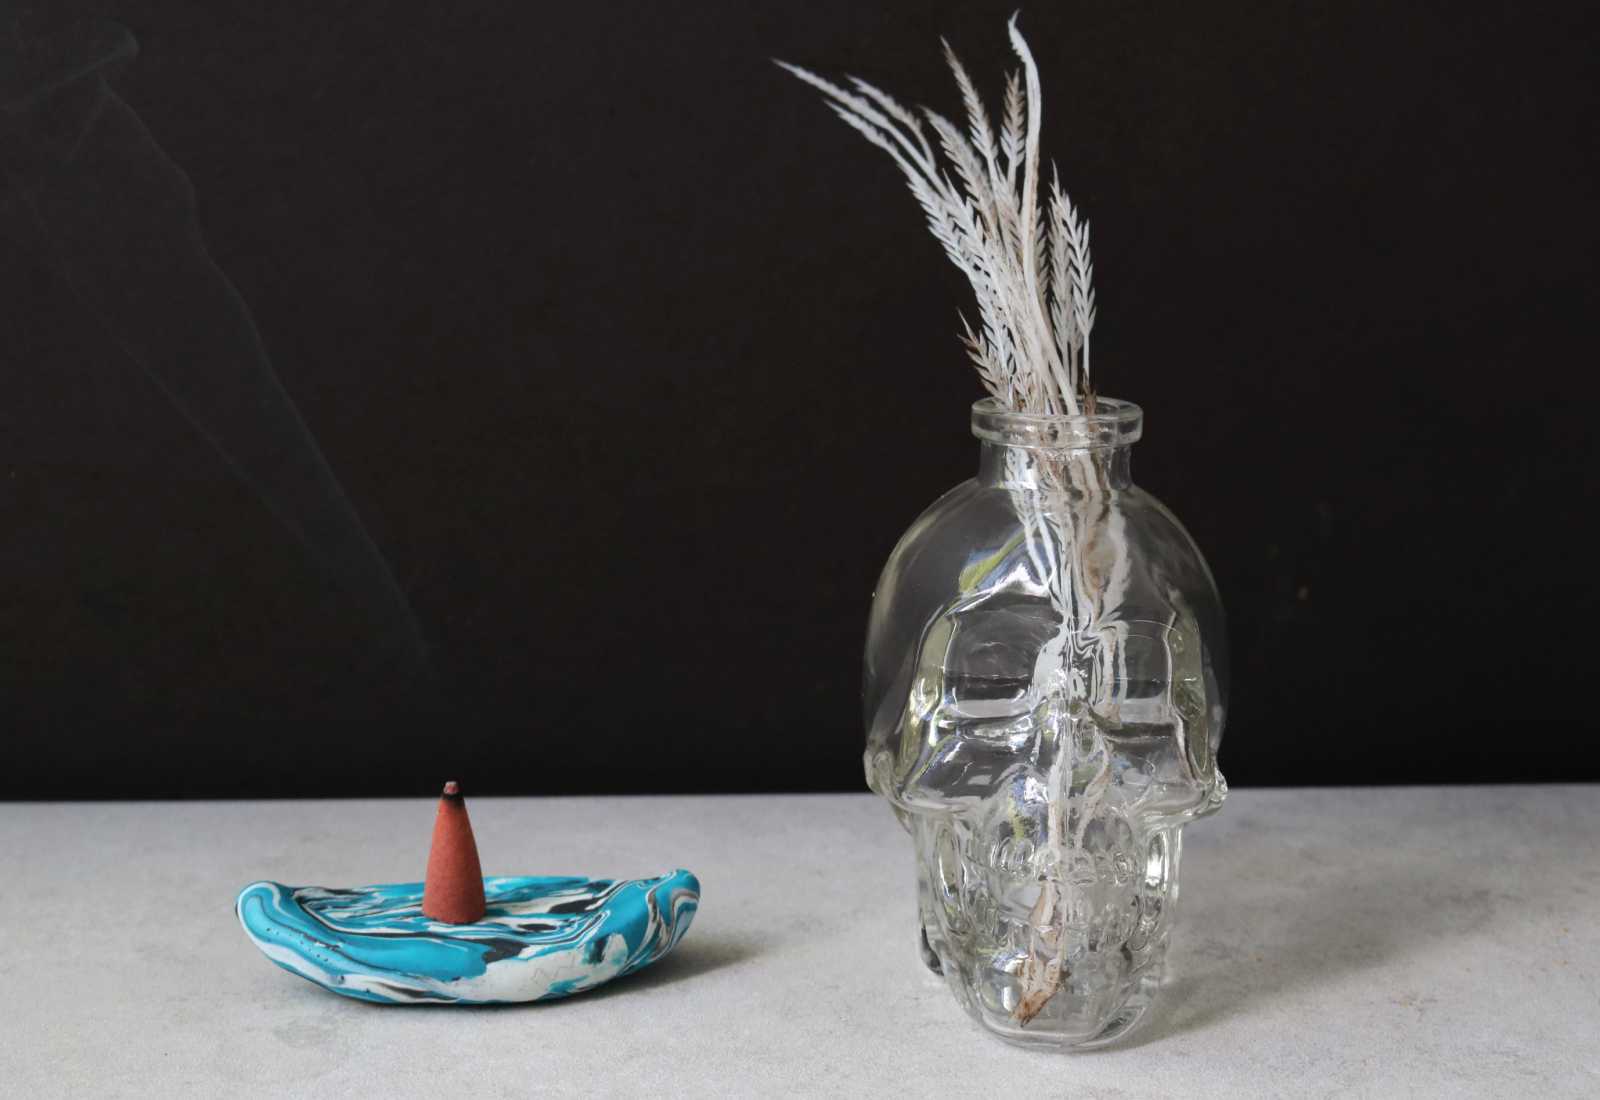
From incense and potpourri to candles and wax melts, I’m all about filling my home with amazing scents. Not only do I find it relaxing, but it makes me feel so much more comfortable in my own space. When it comes to incense, I usually go with the stick version. But when I recently picked up a pack of incense cones, I realized I didn’t have a holder. Naturally, my craftiness kicked in and a DIY marbled cone incense holder was born. It’s crazy easy to make, too. Here’s how!
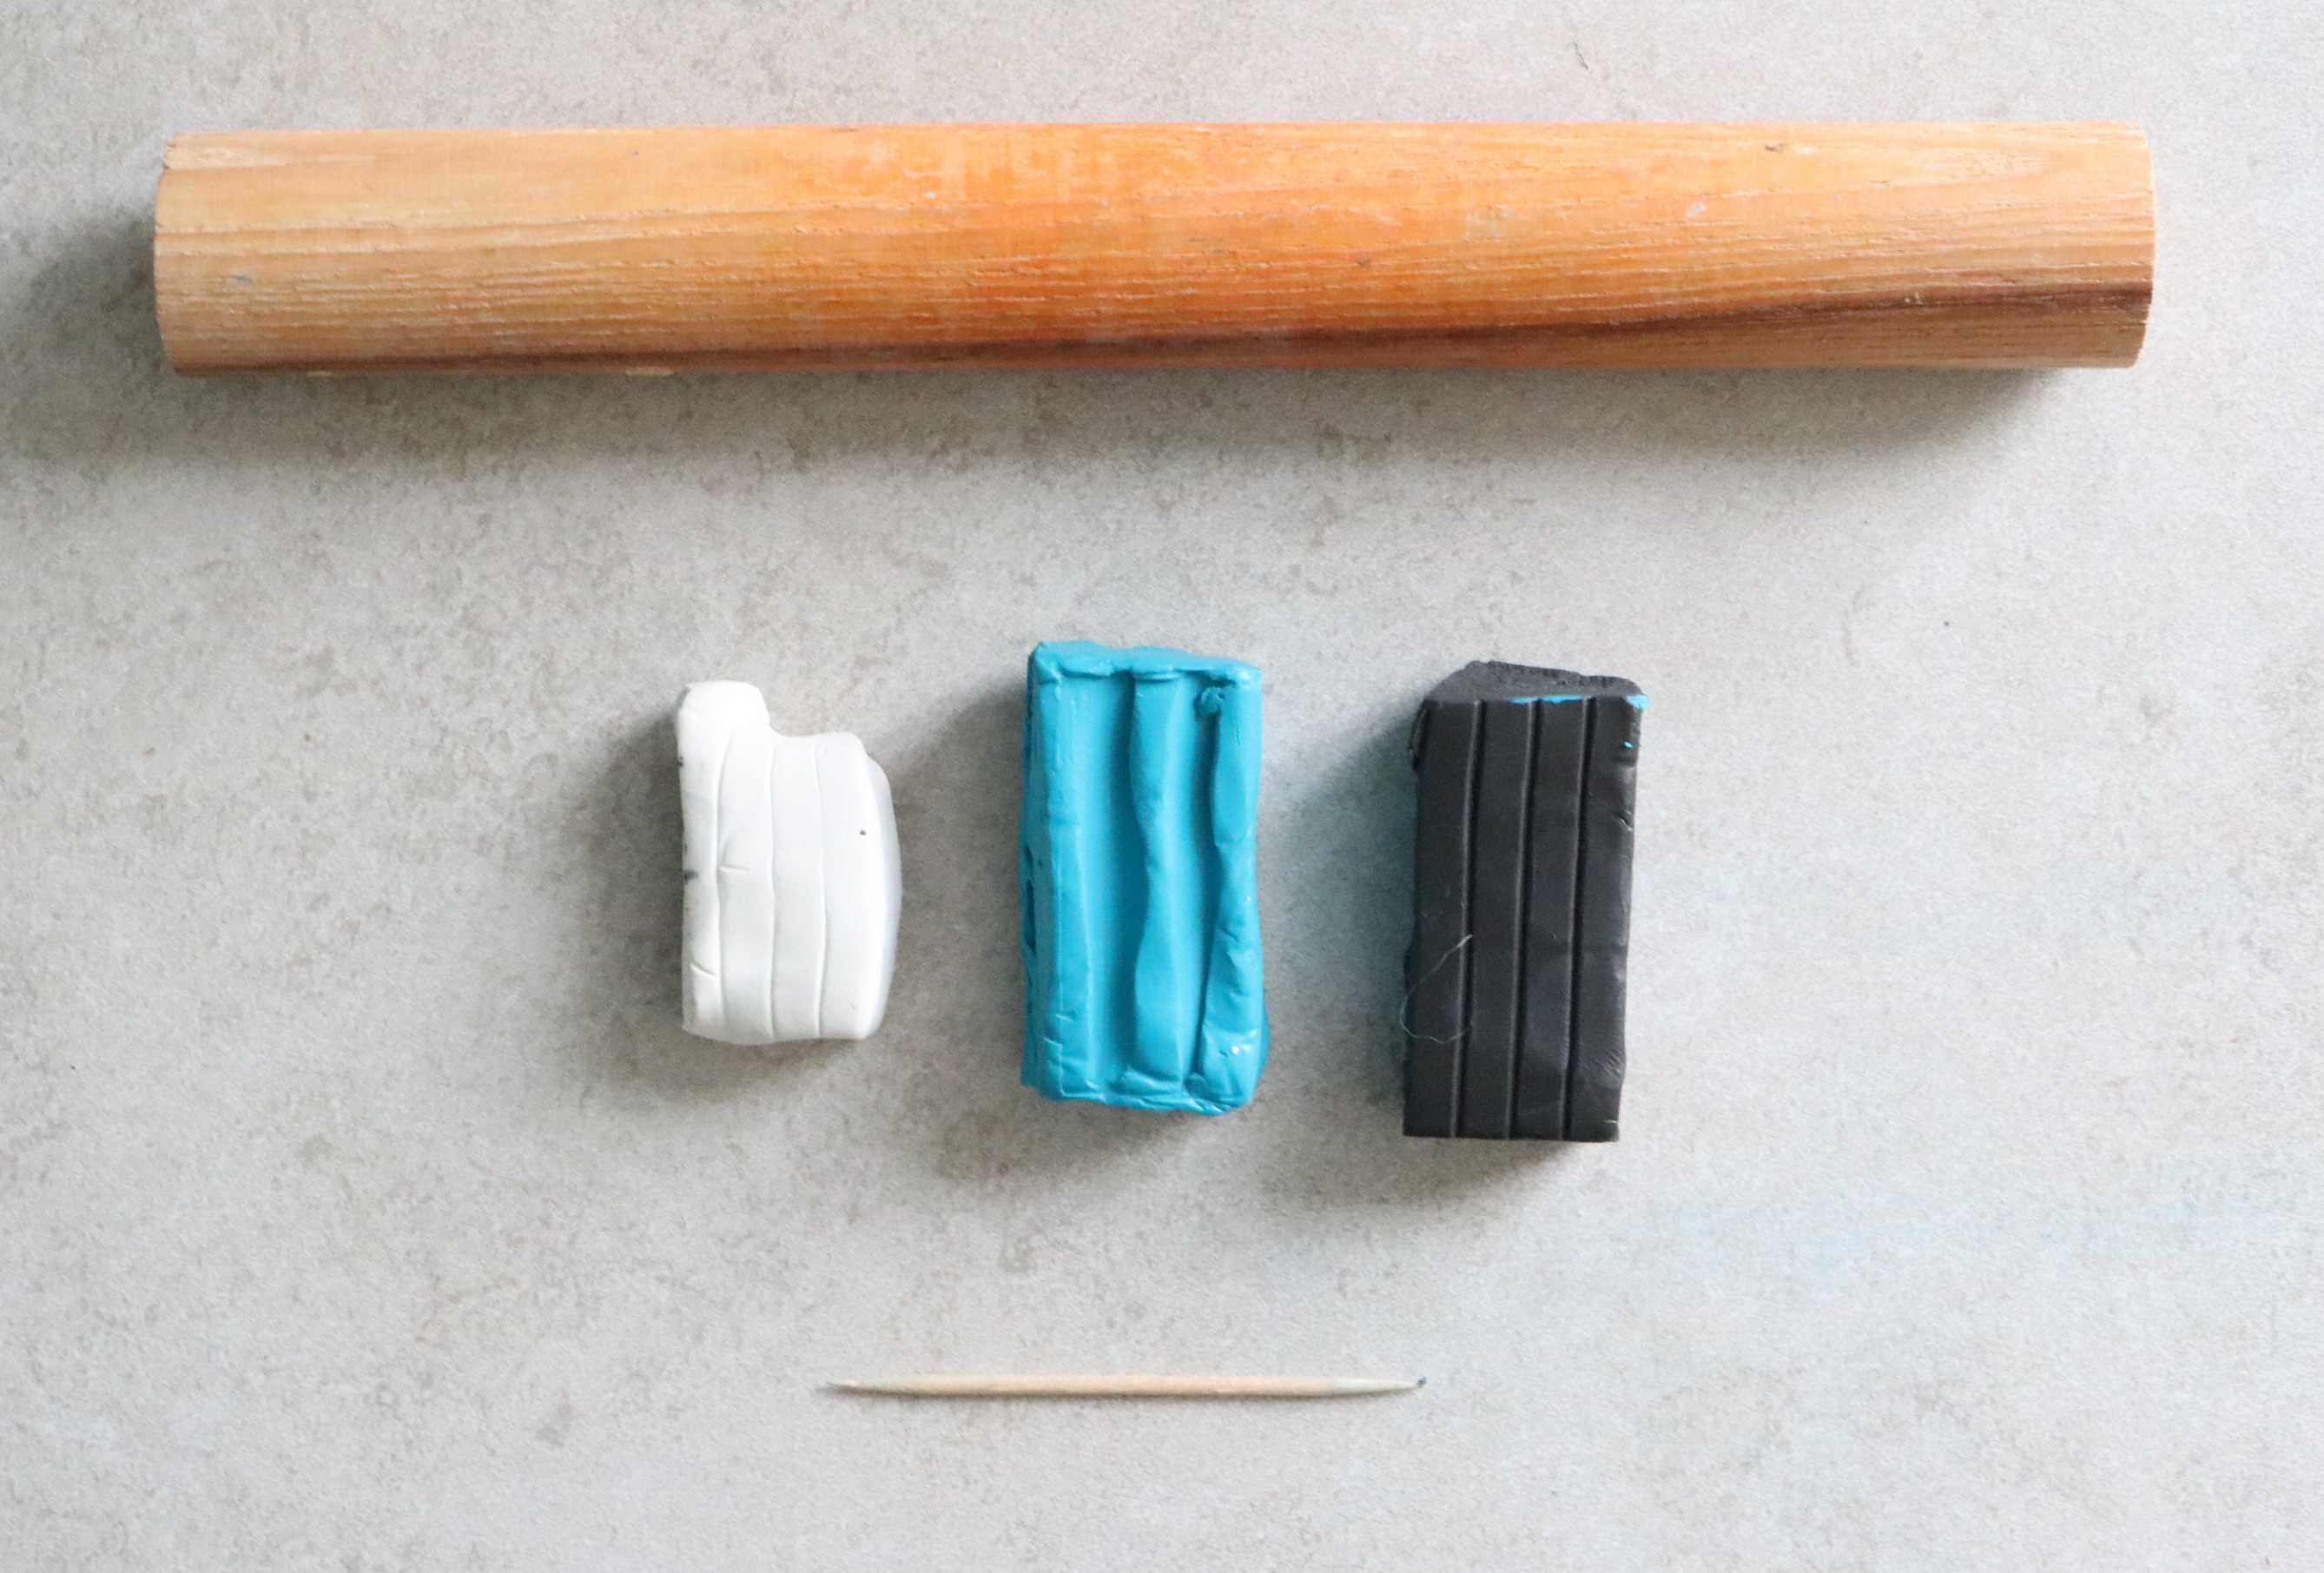
Supplies:
- Rolling pin
- Oven-bake polymer clay (2-3 colors) *
- Toothpick (optional)*
- Parchment paper and metal baking sheet
*For each color, I used just under 1/4 of each 2-ounce block.
* You can easily turn this into a normal incense holder by piercing a hole with the toothpick. Otherwise, all you need is a rolling pin and clay.
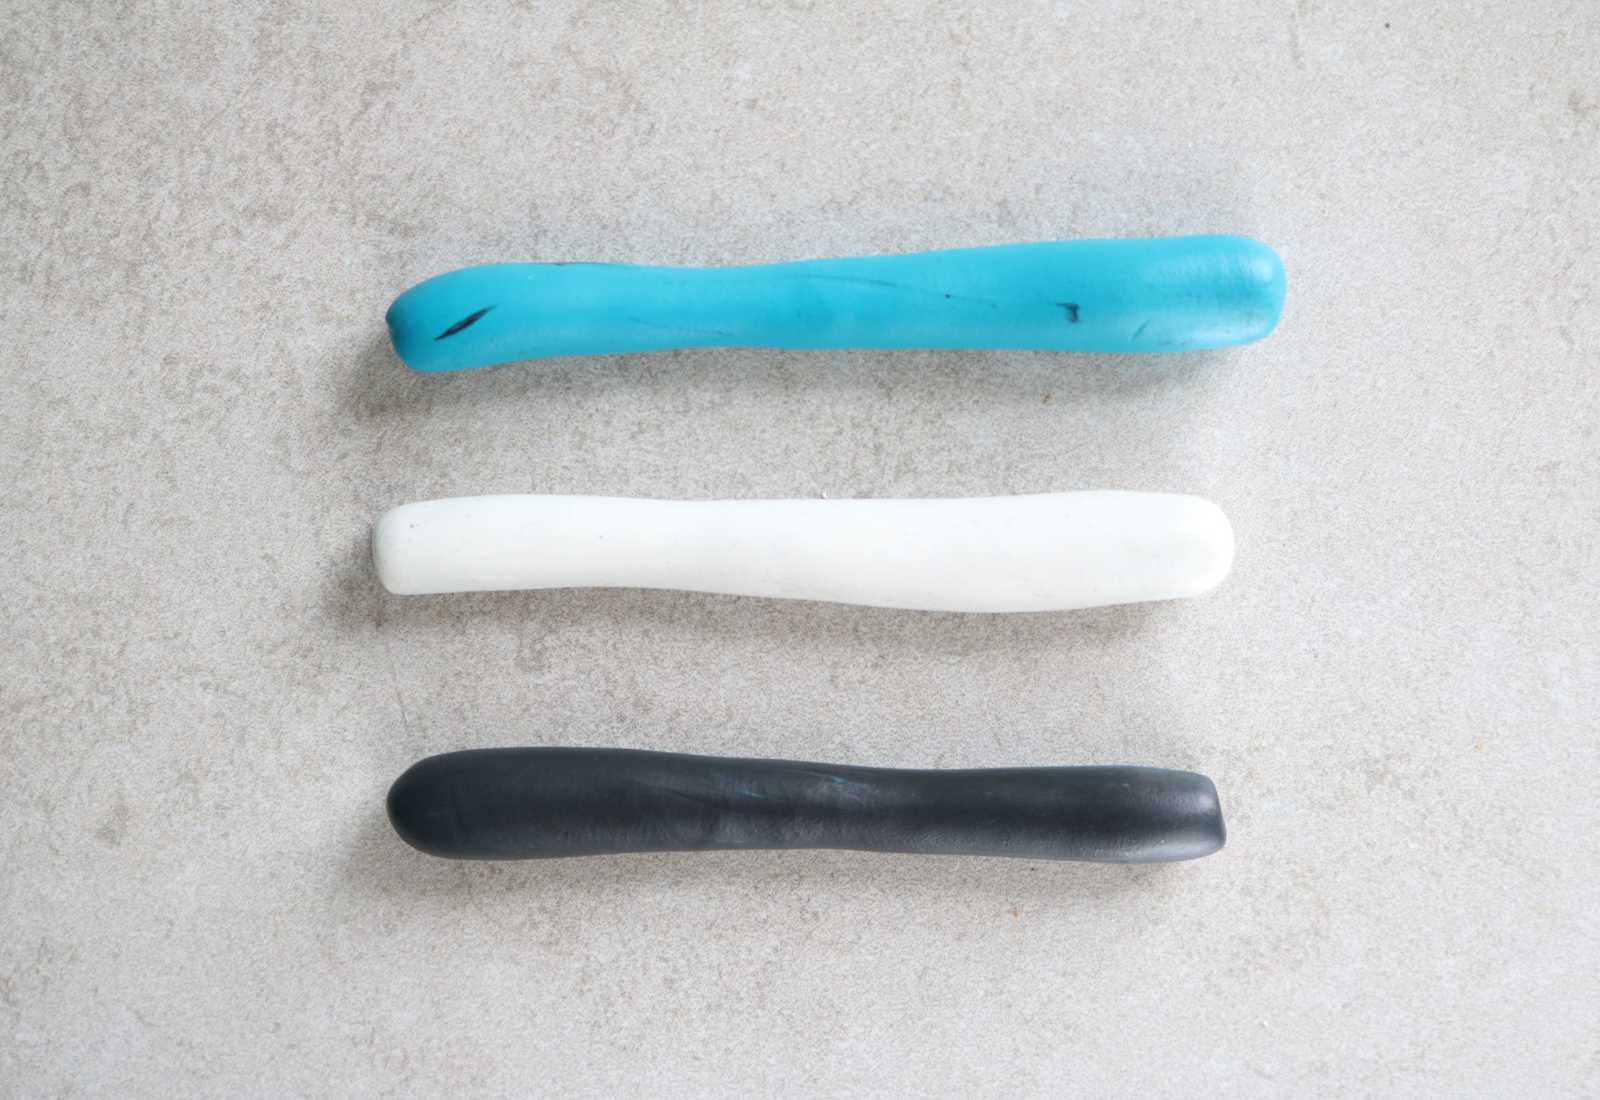
1. Roll each color into a log.
2. Twist the logs together.
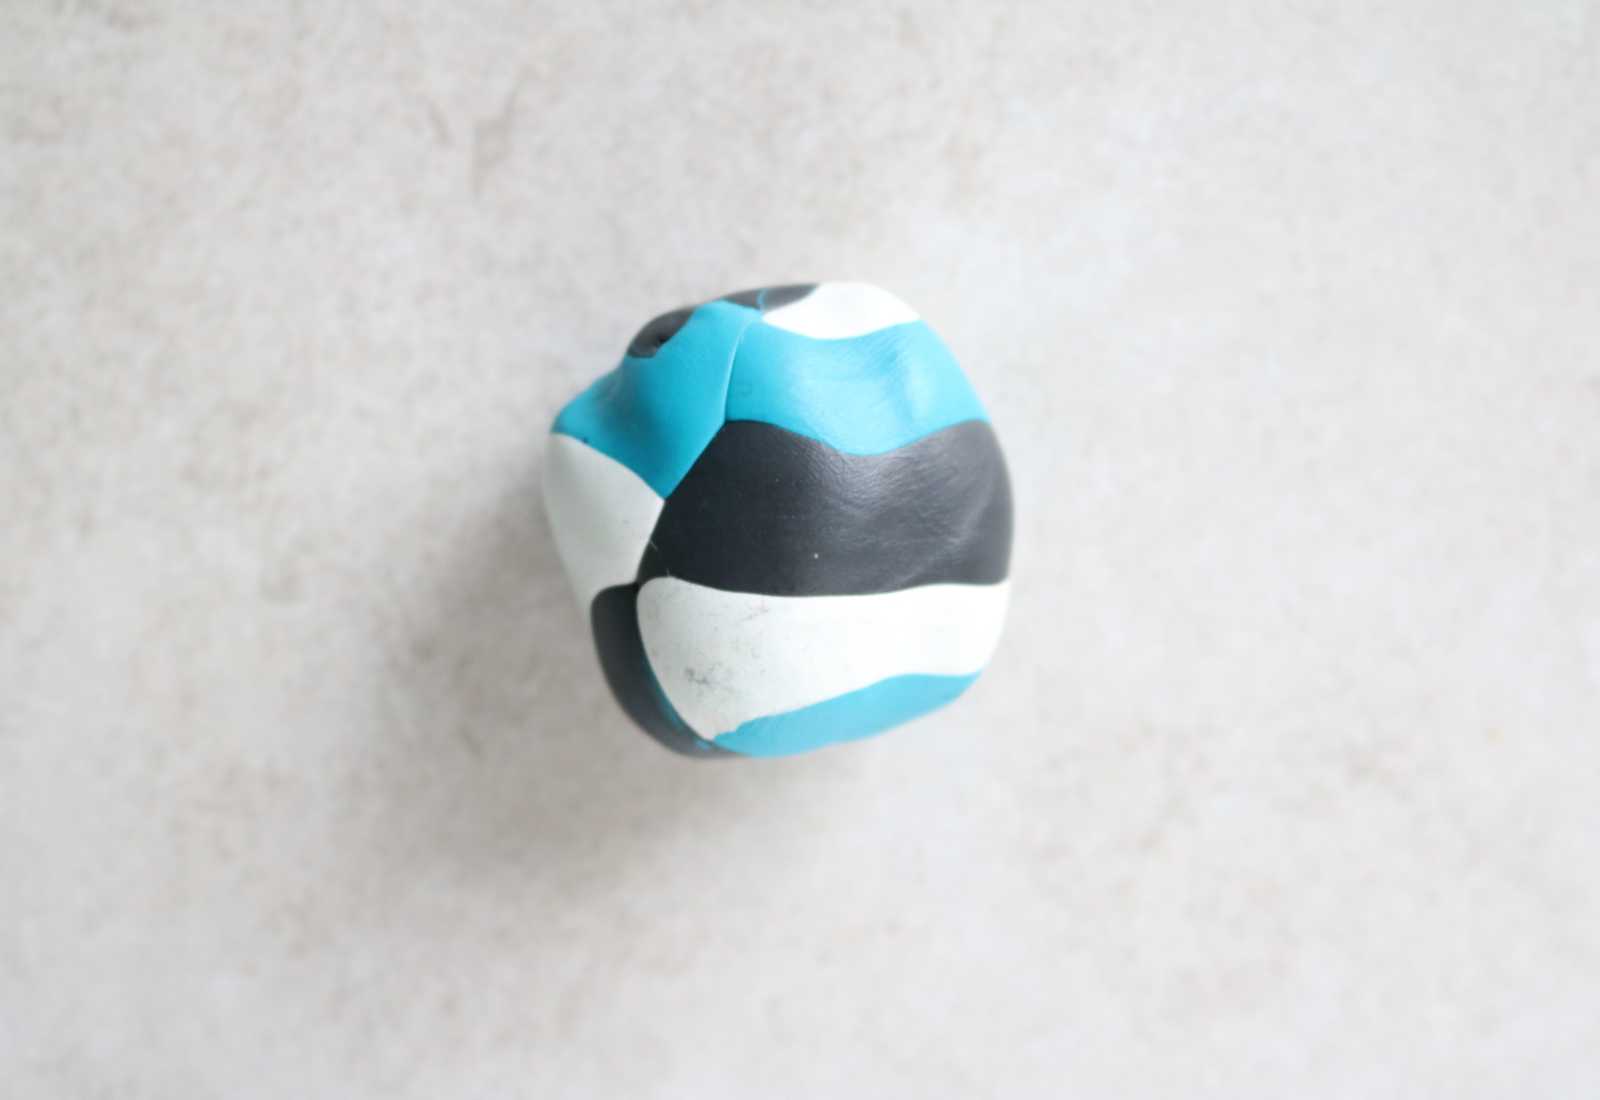
3. Roll into a ball.
4. Twist again.
5. Roll into a ball. Continue the process of rolling the clay into a log, twisting, and forming a ball.
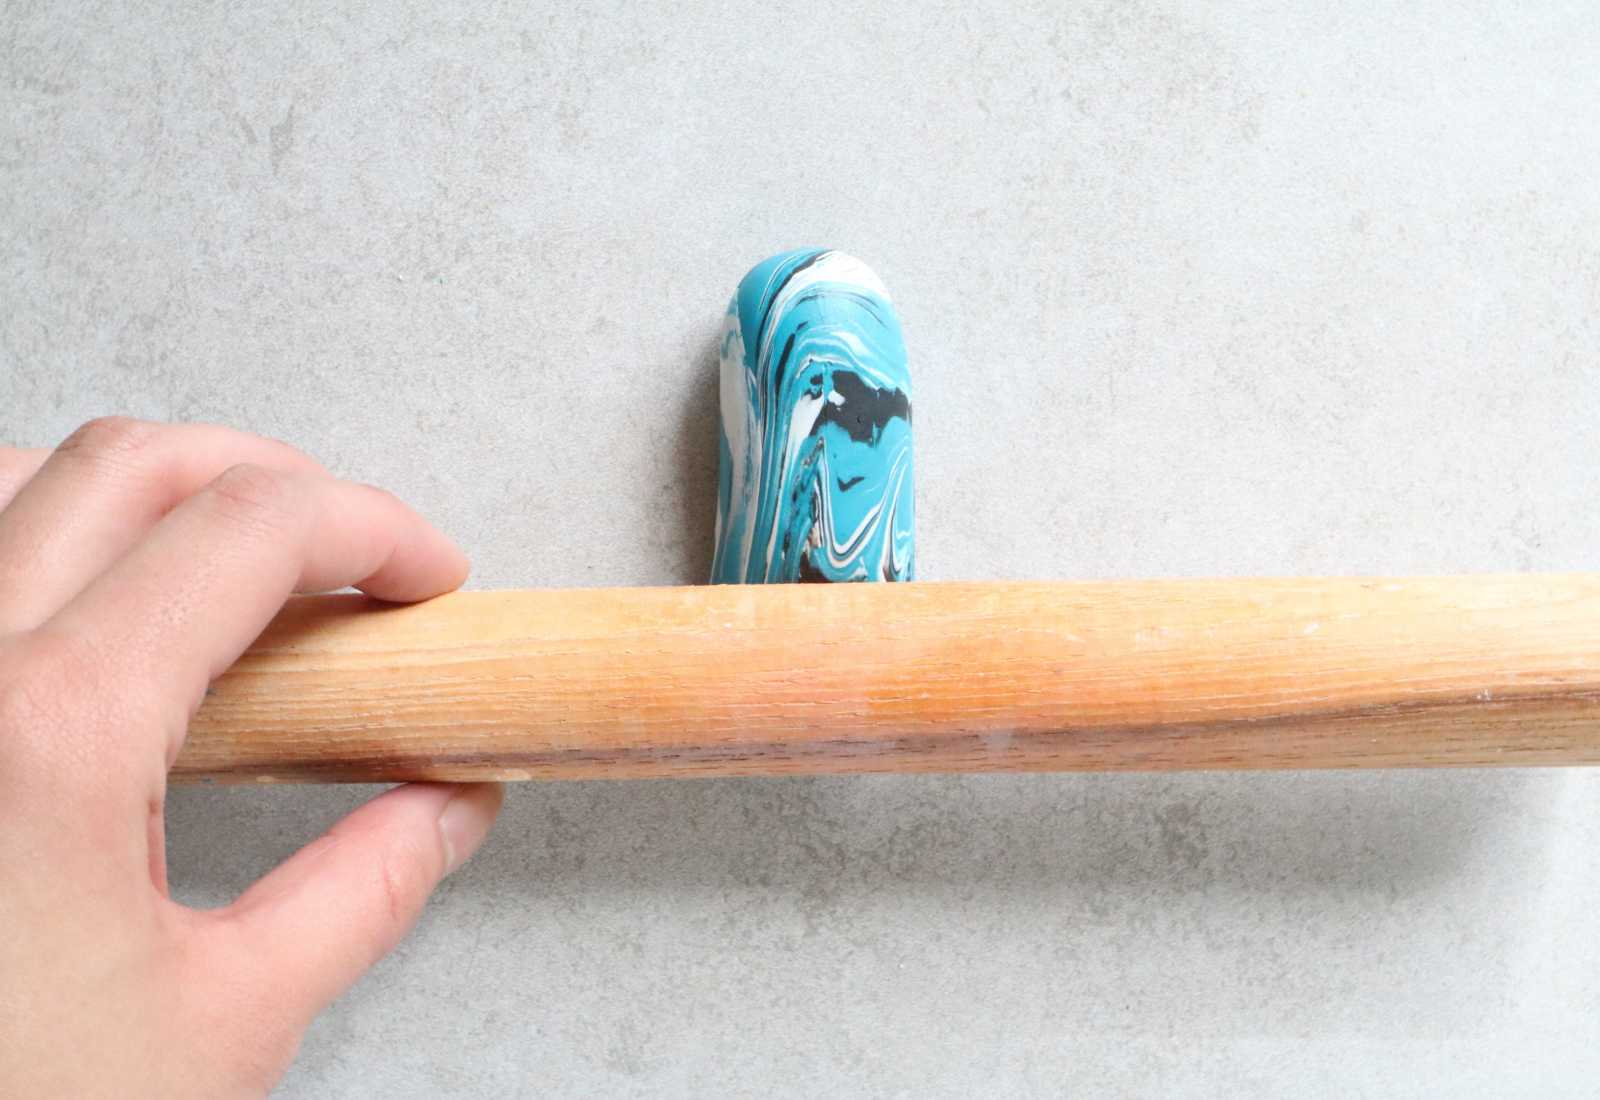
6. Using the rolling, flatten the clay.
7. Continue flatting the clay, forming an oval about 1/2 inch thick.
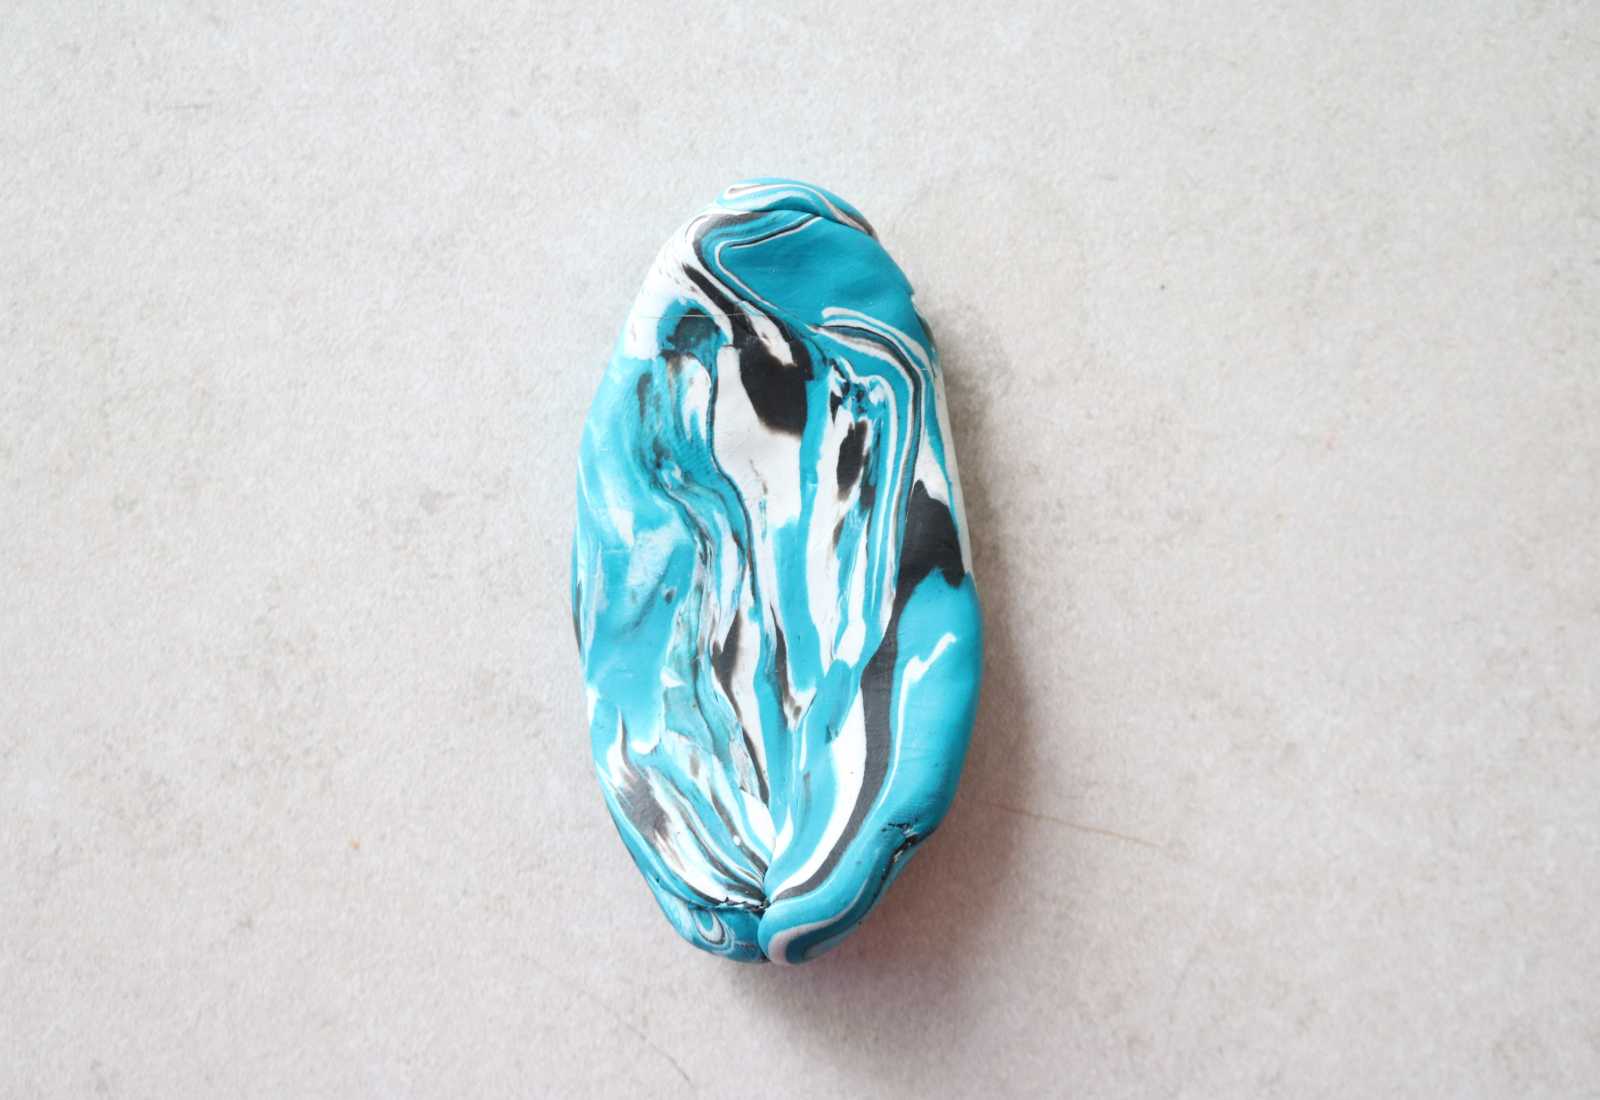
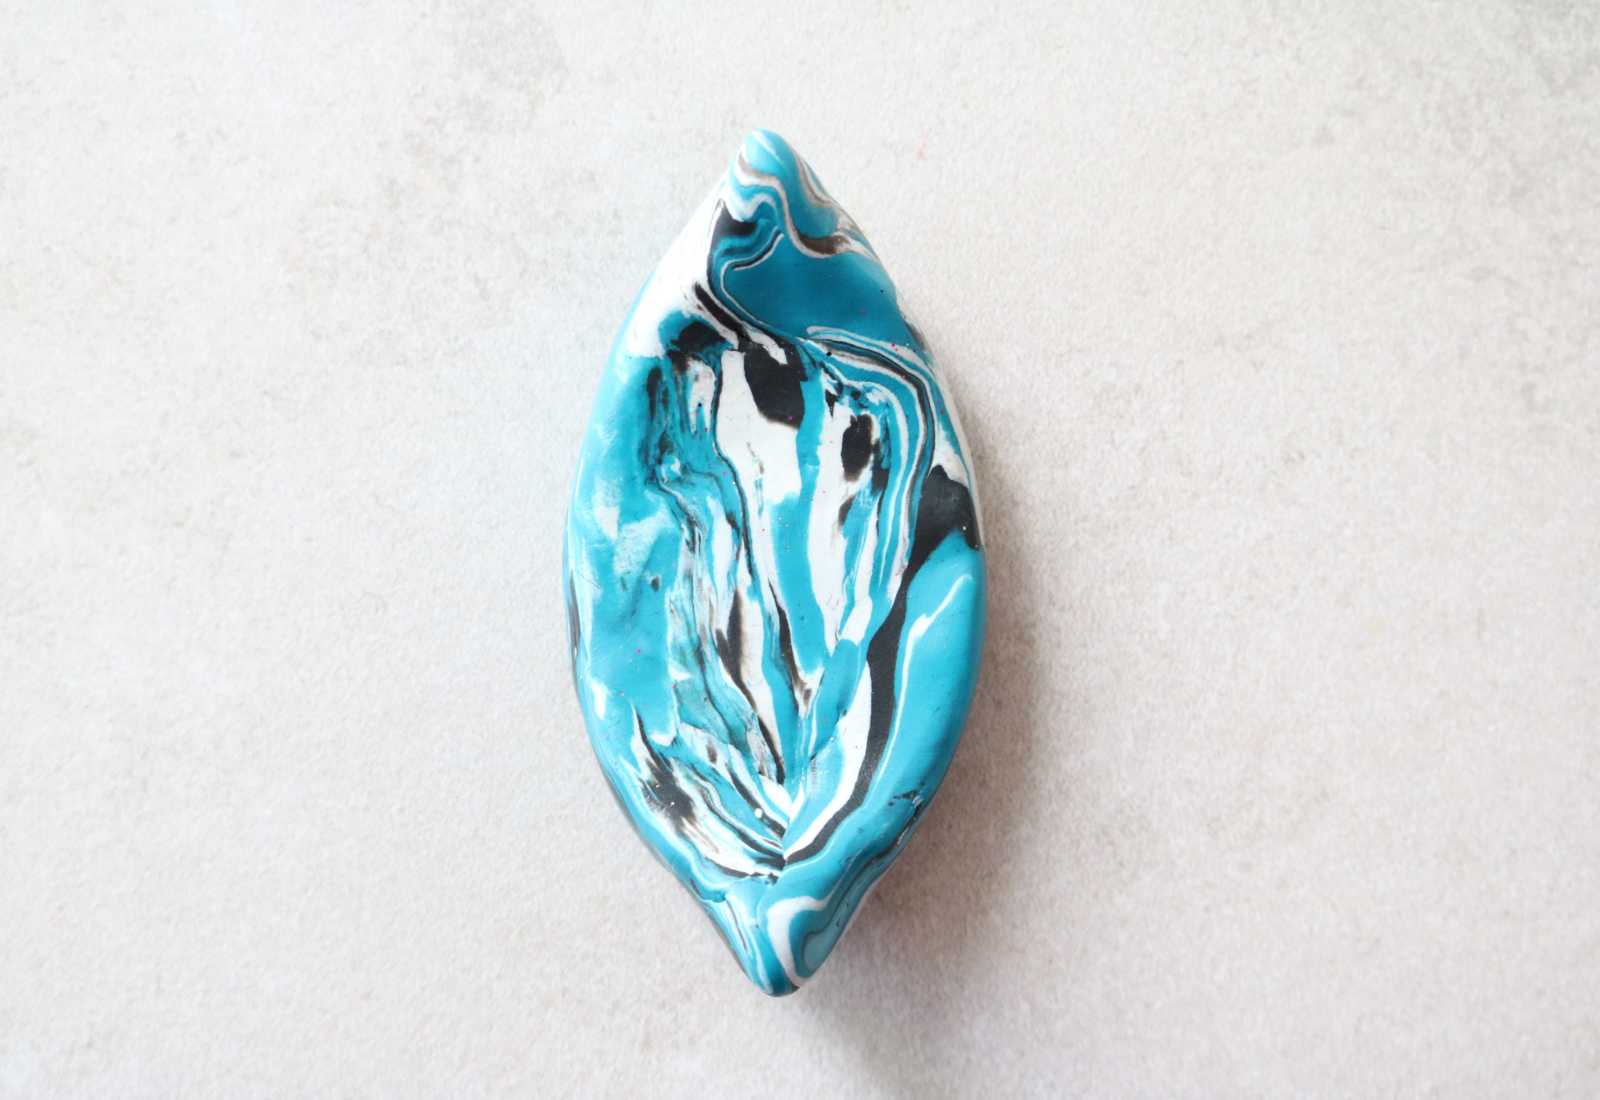
8. Pinch each end. Aim for an oval-like shape.
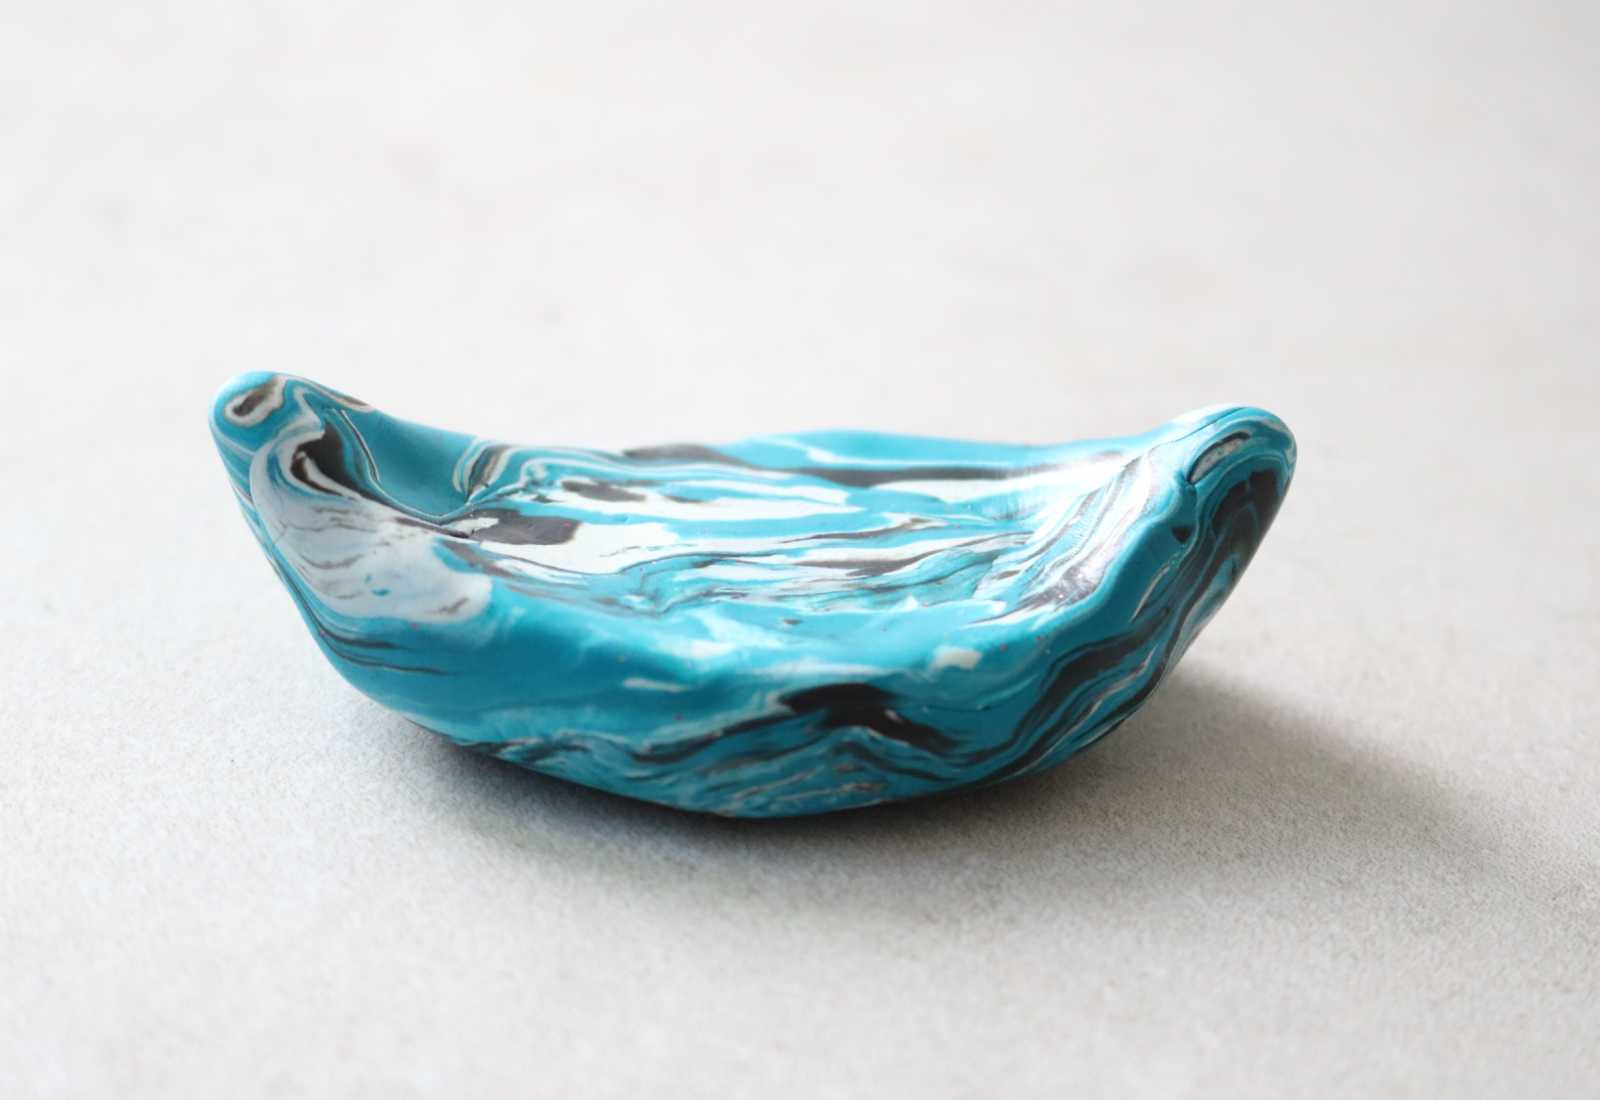
9. Curve the ends upward so that it looks a bit like boat.
10. Place on a metal baking sheet lined with parchment paper. Bake according to the clay’s directions. Most brands call for 15 minutes at 275 degrees F for every 1/2 inch.
Once cooled, your incense holder is ready to spruce up your vanity or desk. Cleaning up the remnants of an incense cone will be super easy.
This project also works especially well as a stocking stuffer or as part of a care package. Pair it with a pack of incense cones and you’ve got yourself a complete (and useful) gift.
As always, the best part is the level of personalization you can bring in. You can choose any assortment of colors; the possibilites are endless. I’d love to make a black and gold one, too!
xx K

