Anyone that knows me, knows that I love leopard print. So naturally, I’m loving this particular project. This bracelet was inspired by a piece I saw at Barneys NY, and to be perfectly honest, I’m not even sure if the leather in the original bracelet was supposed to mimic leopard spots. BUT, that’s how I interpreted it! It was also originally about $60 and I knew it could easily be made by hand for much less. I immediately thought of my stash of fabric markers, and for much less than $60, I made my own version. Keep reading to see how I made it 🙂
Supplies:
– Suede cord, length of your wrist times 2.5 (commonly called suede tape)
– Rhinestone trim, length of your wrist
– Black fabric marker or thin Sharpie
(Mine fabric marker was by Crayola; c/o Target Style)
– Jewelry pliers & scissors
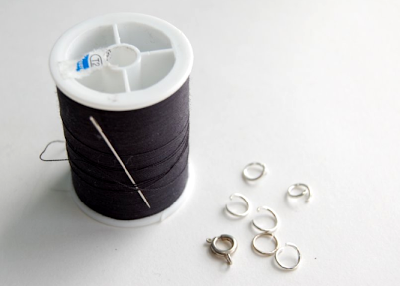
– Black thread, jewelry clasp & jump ring
1) Carefully – and randomly – draw irregular spots along one side of the suede tape. There’s no rhyme or reason to the placement – just go for it! Try to start at one end and work your way to the other, taking care to not place your hand on the spots. You’ll want to let them dry completely before working with the tape.
2) To make the leopard print more realistic, try drawing spots with empty spaces in them. In other words, don’t fill in every spot. The picture below shoes a good example of how this technique will look like when it’s all done.
3) When you’re finished, lay the suede flat and let dry. Sharpie will probably dry faster than a fabric marker. Since I used a fabric marker, I let mine sit for about half an hour.
4) Fold the suede tape in half. Begin to tie a knot at the folded end. Before securing the knot, insert one end of the rhinestone trim. Tighten the knot, making sure that the rhinestone trim is in it.
5) Start braiding! It might be a bit awkward to work with at first, but it will begin to take shape as you keep going.
6) Keep braiding until you reach the end of the rhinestone trim. Tie the suede around the rhinestone, and tighten (first picture). Using the pliers, connect two jump rings.Take one suede strip, and slide a jump ring through it. Tightly tie a knot and trim the excess (second picture).
7) Cut a strand of black thread. Go back up to the first knot and wrap the thread around the rhinestone trim/cord. Tightly tie it off and cut the excess. This is just to further secure the rhinestone trim, so that it doesn’t slide out of the suede knot.
8) Using the jewelry pliers, attach a clasp and a jump ring to the suede loop.
Finished bracelet, for much less than $60!I bought my rhinestone trim at Michael’s for about $4; there was enough trim in the package to make 3 of these bracelets. The suede tape is from M&J Trimming, one of my favorite supply shops in the Fashion District. You can also find suede tape at your standard craft store. At M&J, one yard of 10mm wide suede tape is about $1.50…and one yard is obviously more than enough, too. Between a Sharpie or single marker and the jewelry clasps & jump rings, I’d say this bracelet barely $5 to make.
xo!


