

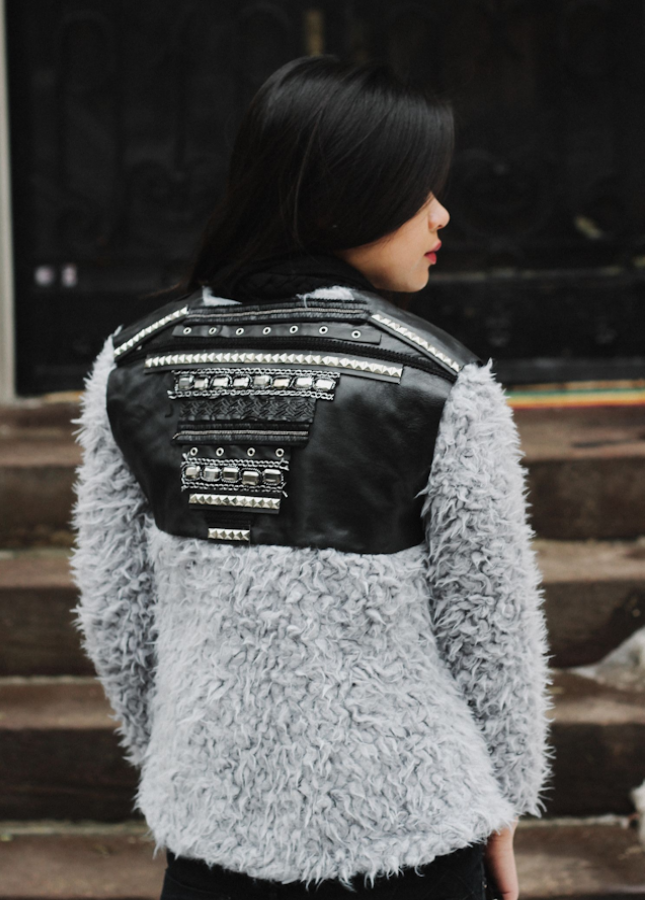
Despite the talk of spring on the horizon, it’s still feeling very much like winter here in New York. And while many DIYers are planning spring and summer projects – myself included! – I decided there’s still room for a faux fur jacket DIY. I mean, there’s always room for one…especially when it involves badass leather details and studs.
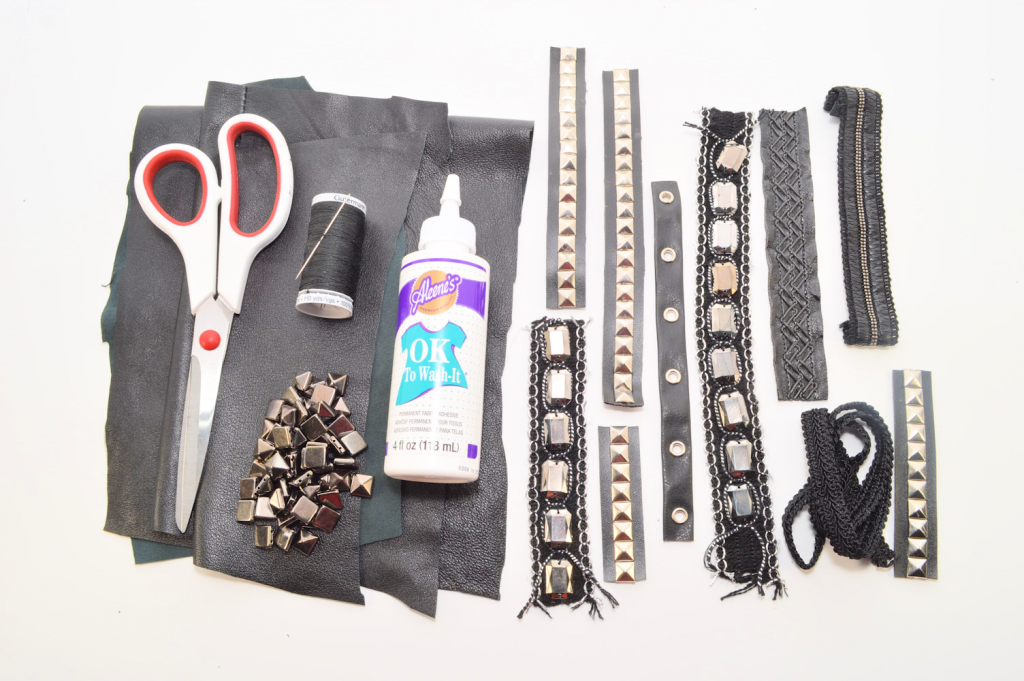
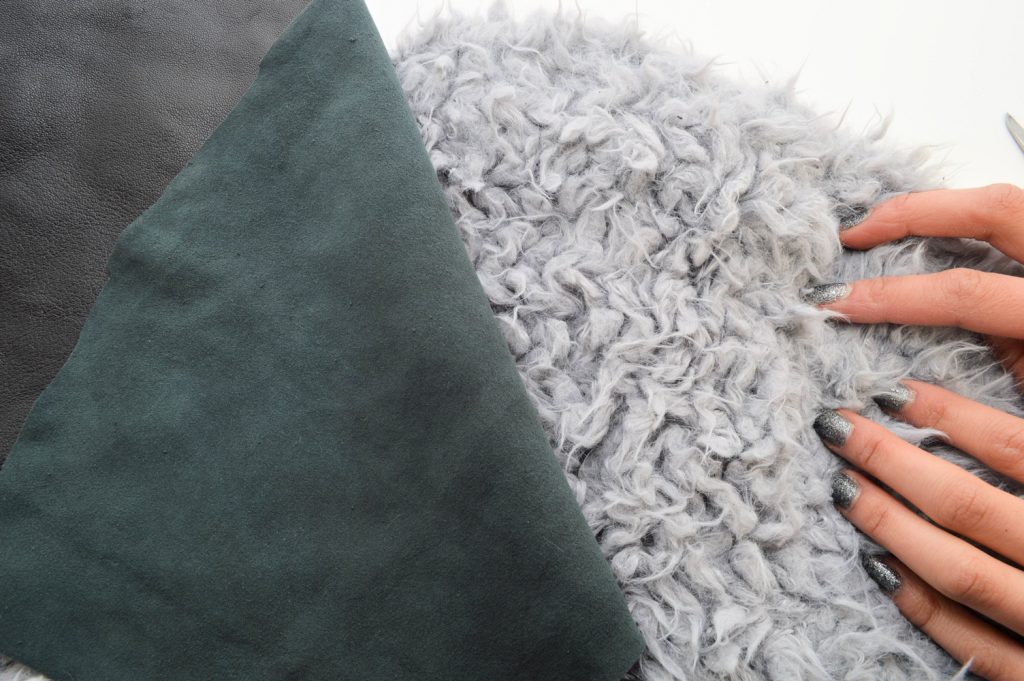
The four key materials that I used were fabric scissors, faux leather (from a pair of thrifted pants that I took apart), fabric glue, and embellished trims. Lots and lots of embellished trims. I actually used all leftovers from past projects – proof that it pays off to hang onto the remnants! My lack of super long trimmings actually inspired the shape and design of this project. Love it when it works out that way.
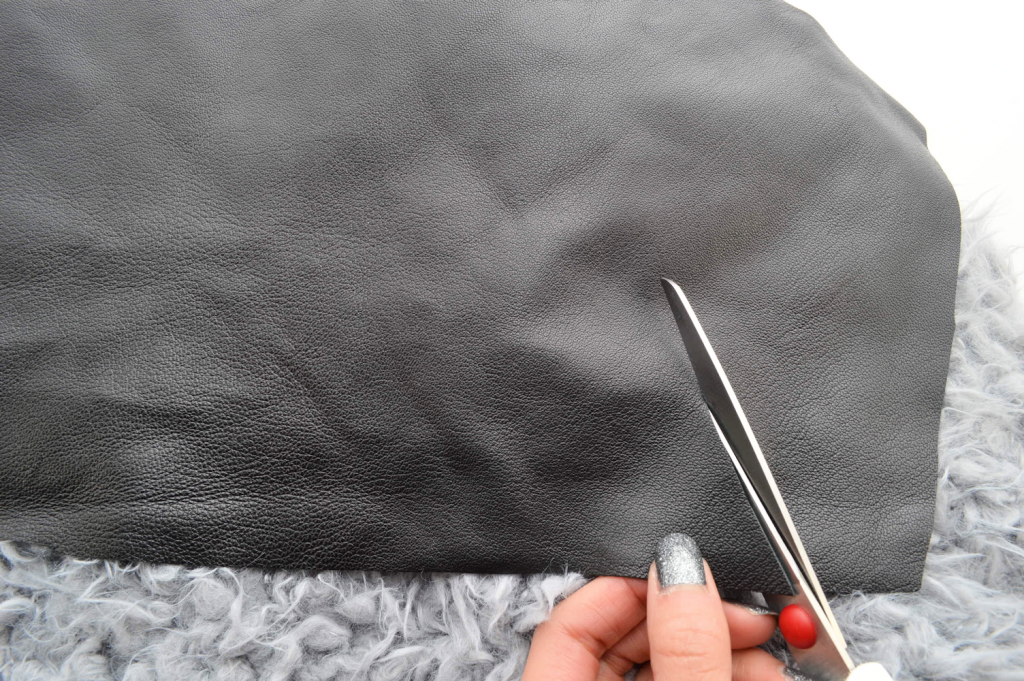
Cut the faux leather, using the seam as a guide. I’d recommend cutting less than you think you should, then trim accordingly once you get rid of some of the pleather. If you’re wary about eyeballing it, you can use a gel pen to draw a guide.
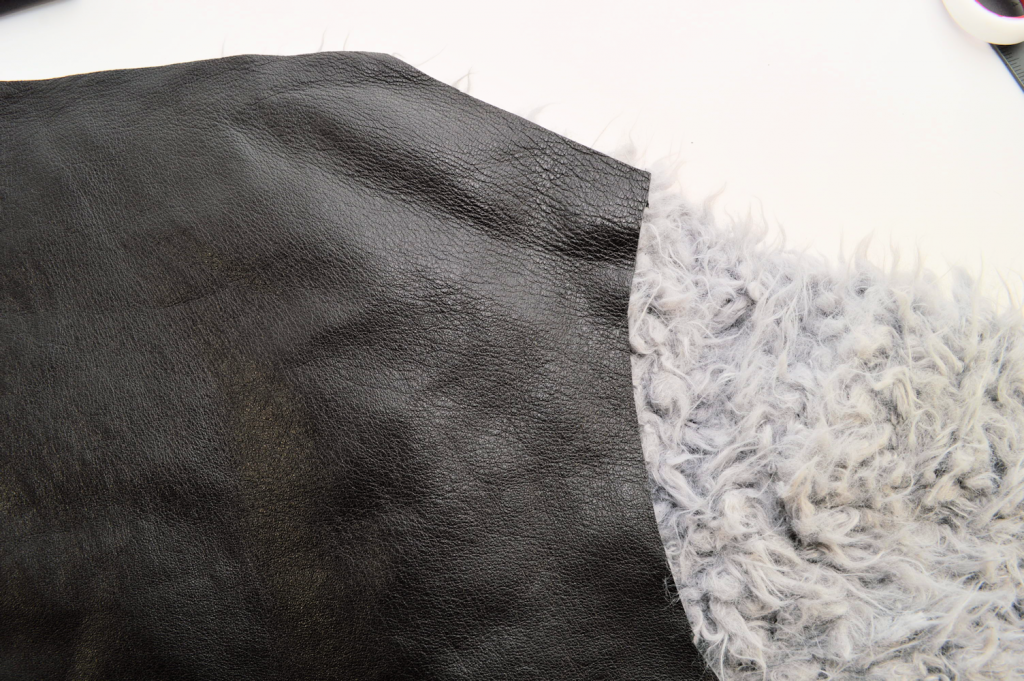
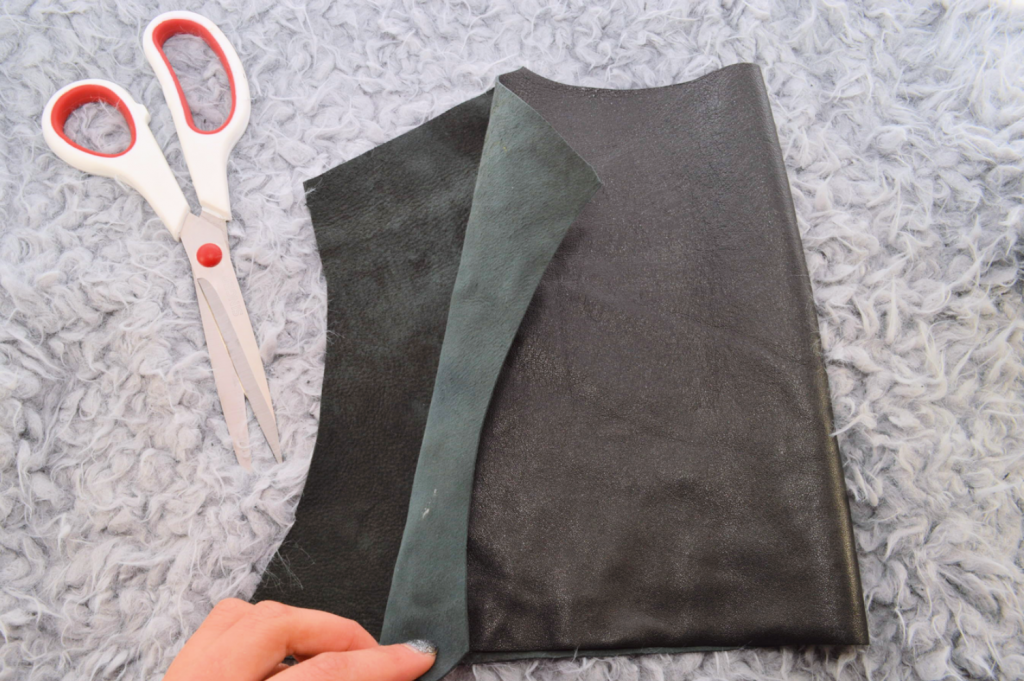
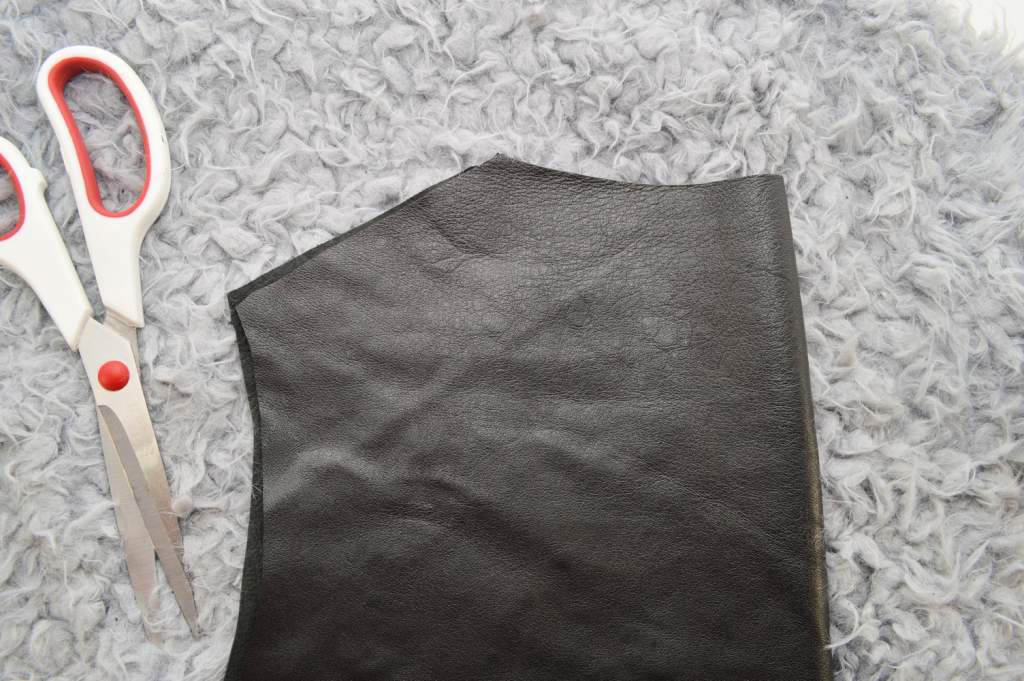
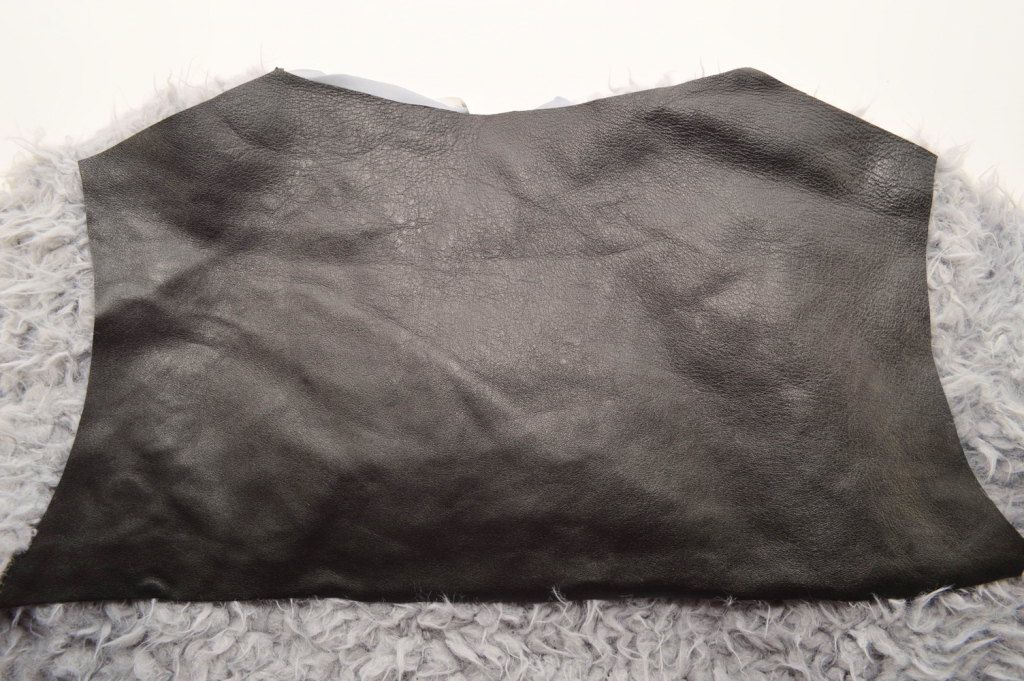
Don’t forget to cut across the bottom to straight the edge, as well as the upper back/lower neck portion.

Add fabric glue along the edges.
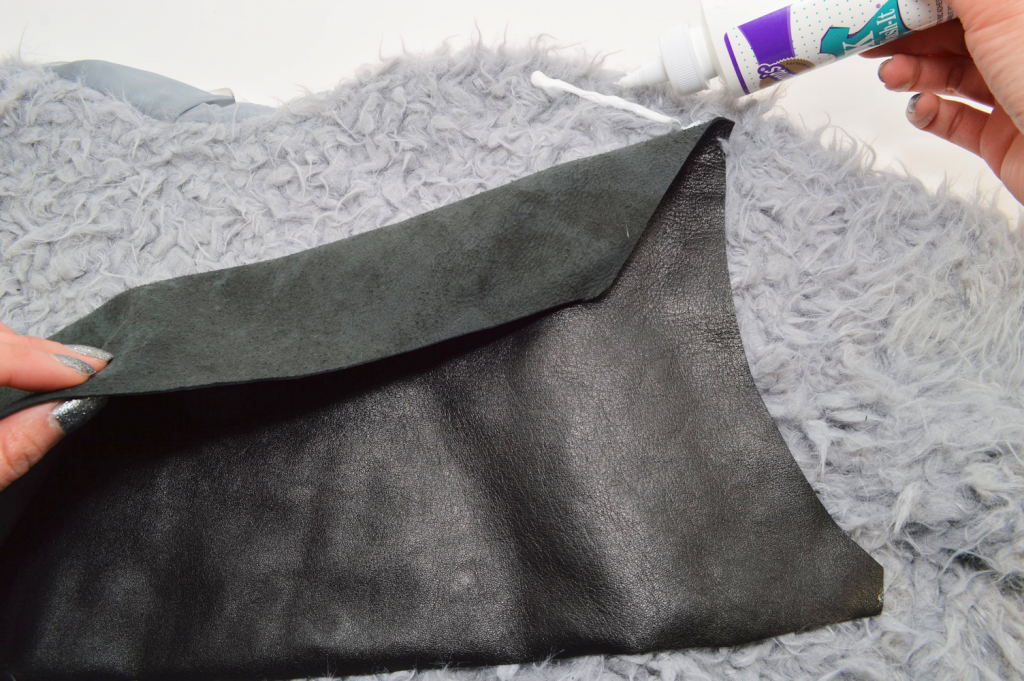
Continue along each side. Pat down to remove any wrinkles or air bubbles and let dry.
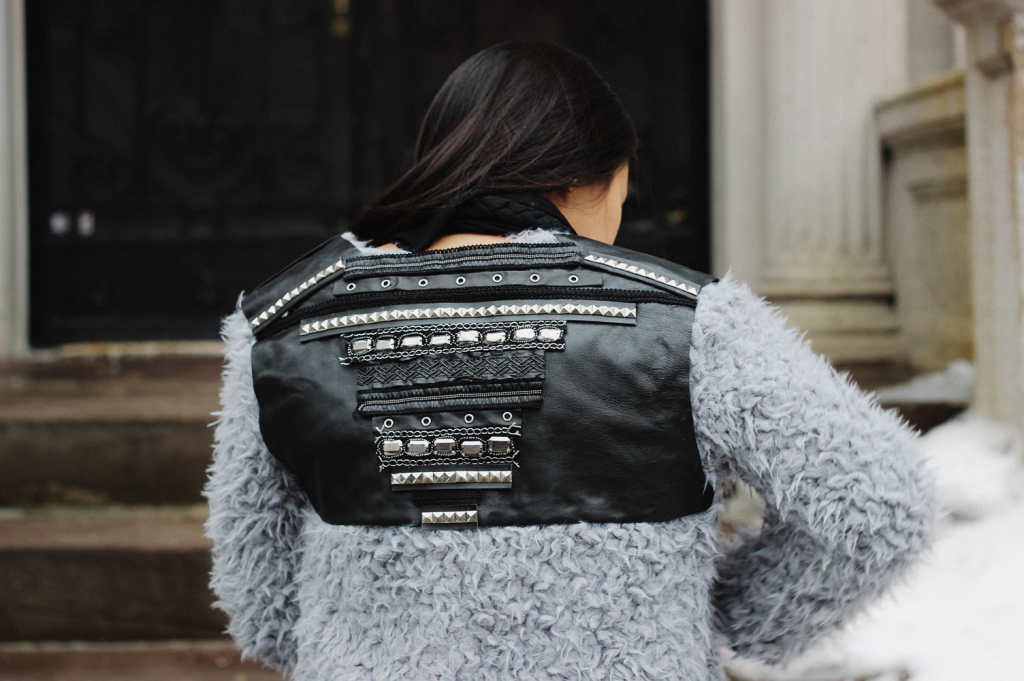
Add your rows of trimmings, however you’d like; I created a layout resembling an upside down pyramid. The order of the trims depended on the length of each one.

If you’d like, add faux leather panels and more trimmings to the front.

Lifestyle Images: Haruka Sakaguchi (The Denizen Co.)