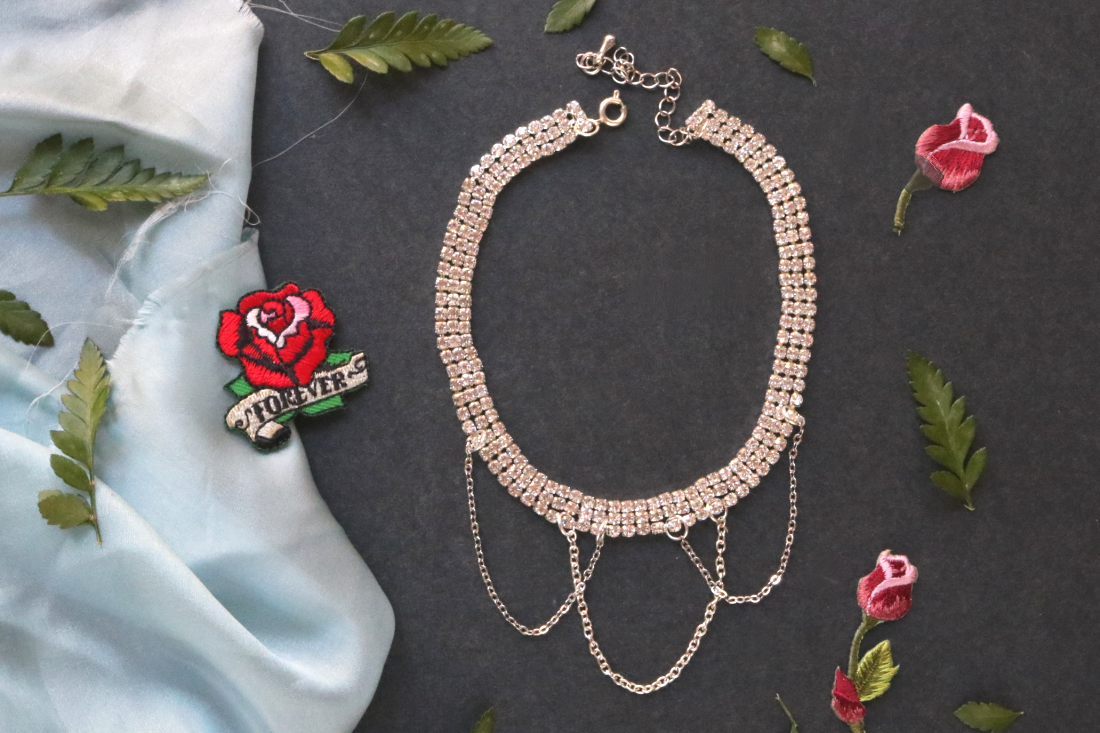
While I’m not crazy about blingy embellishments, I can get down with rhinestones when they’re used in a not-so-conventional way. And in the interest of sharing my love for wedding-appropriate ideas, this choker DIY would make an amazing unconventional bridal piece. Let a girl know if anyone wants to get married; I definitely want to wear this down the aisle.
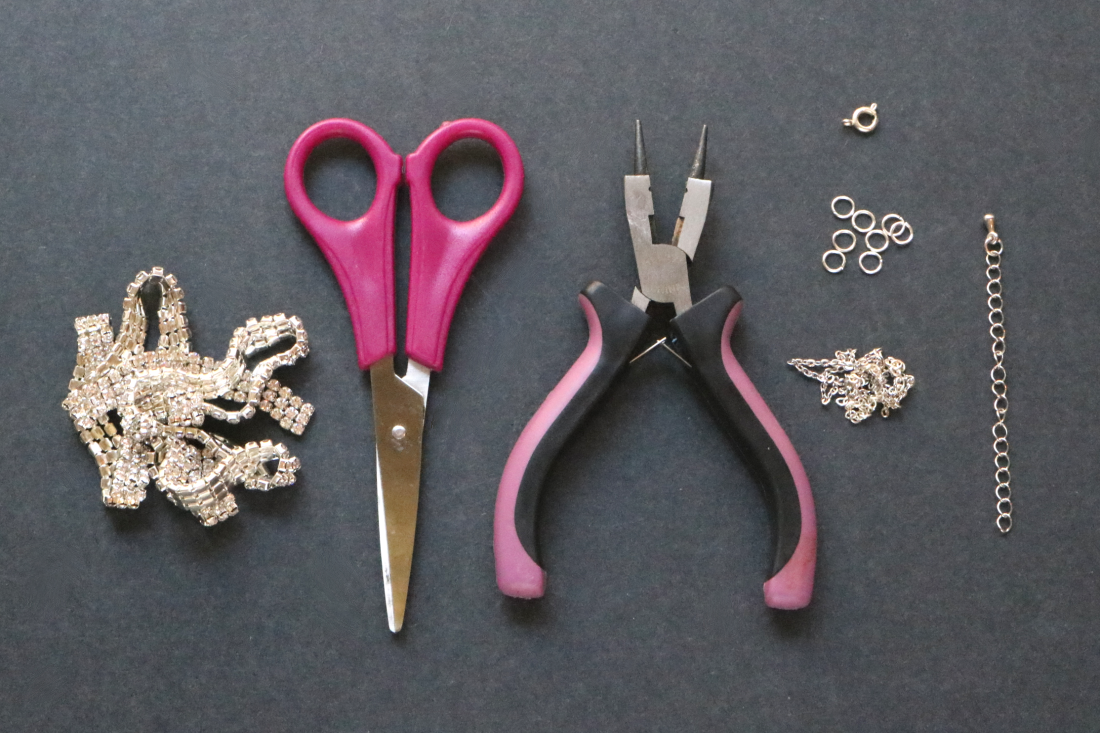
Supplies:
- Rhinestone trim
- Scissors
- Jewelry pliers
- Jewelry clasp
- 4mm jump rings
- Thin chain scraps
- Extender chain (optional)
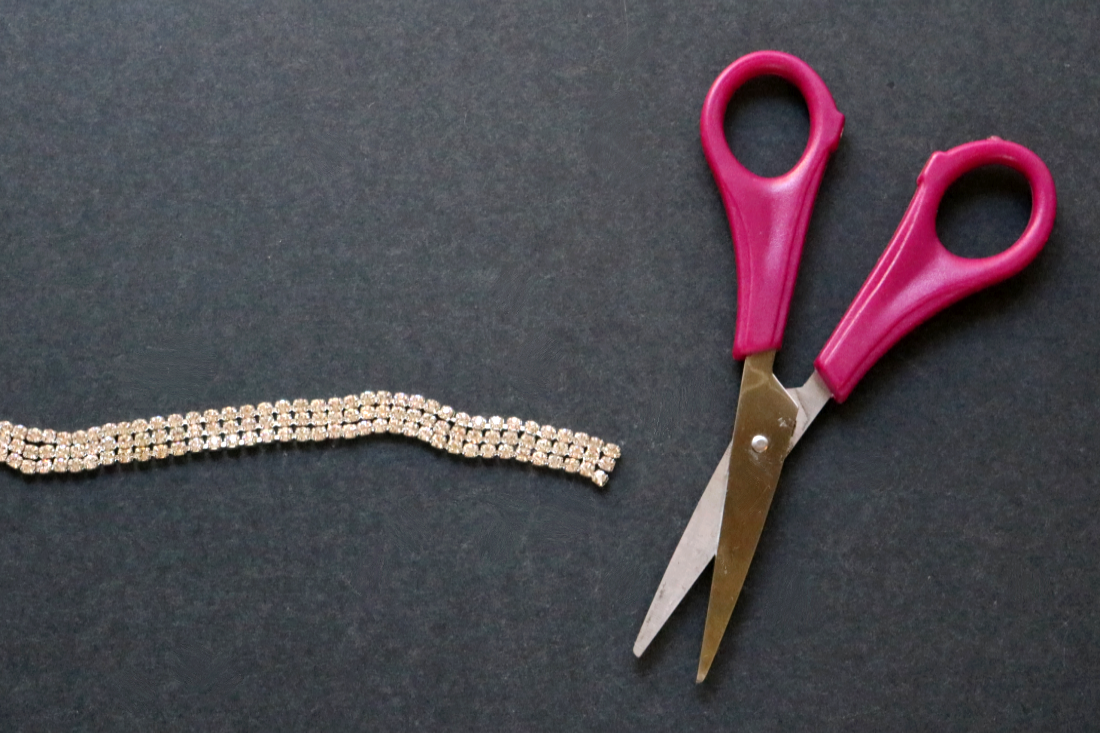
1. Trim the rhinestone trim, if needed. It should short enough to fit snugly around your neck, but long enough to fit comfortably.
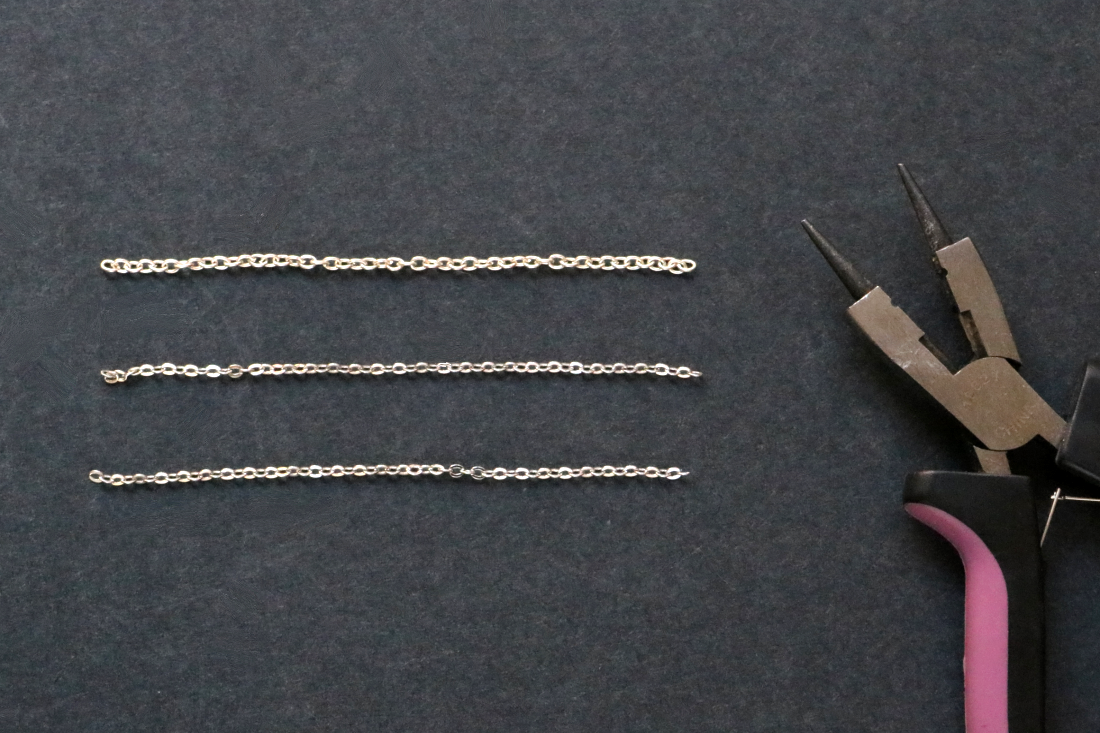
2. Trim three strands of chain measuring 3-6 inches long. The longer the chains, the longer the draped detail will be.
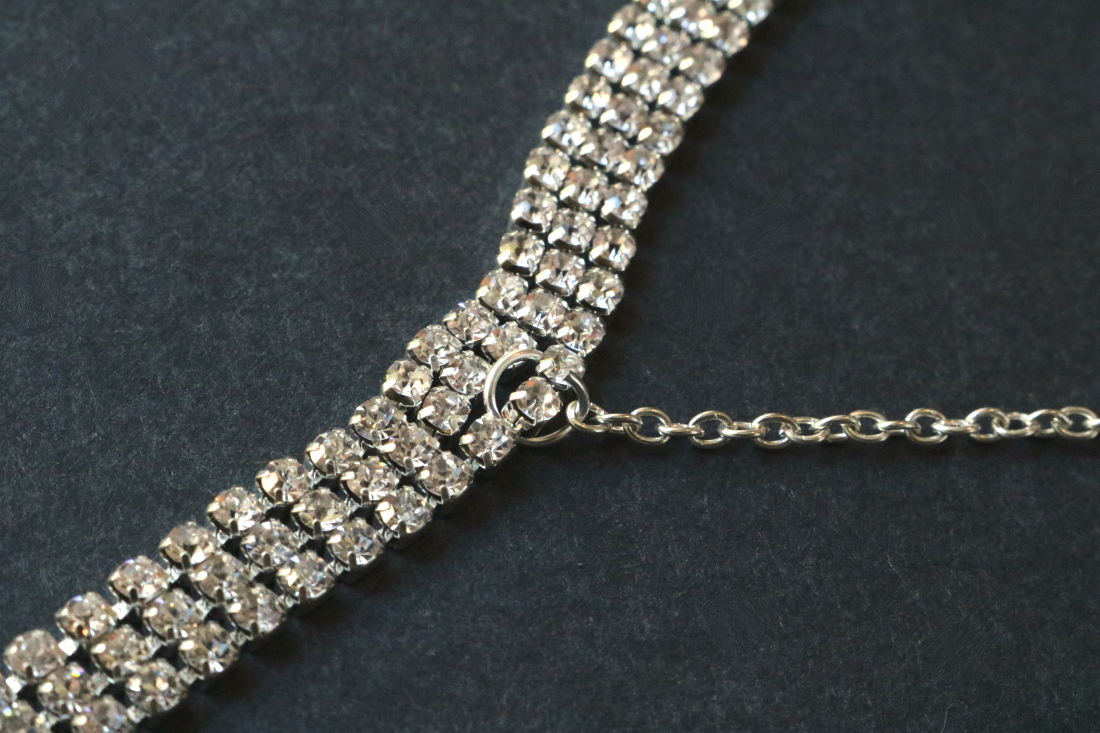
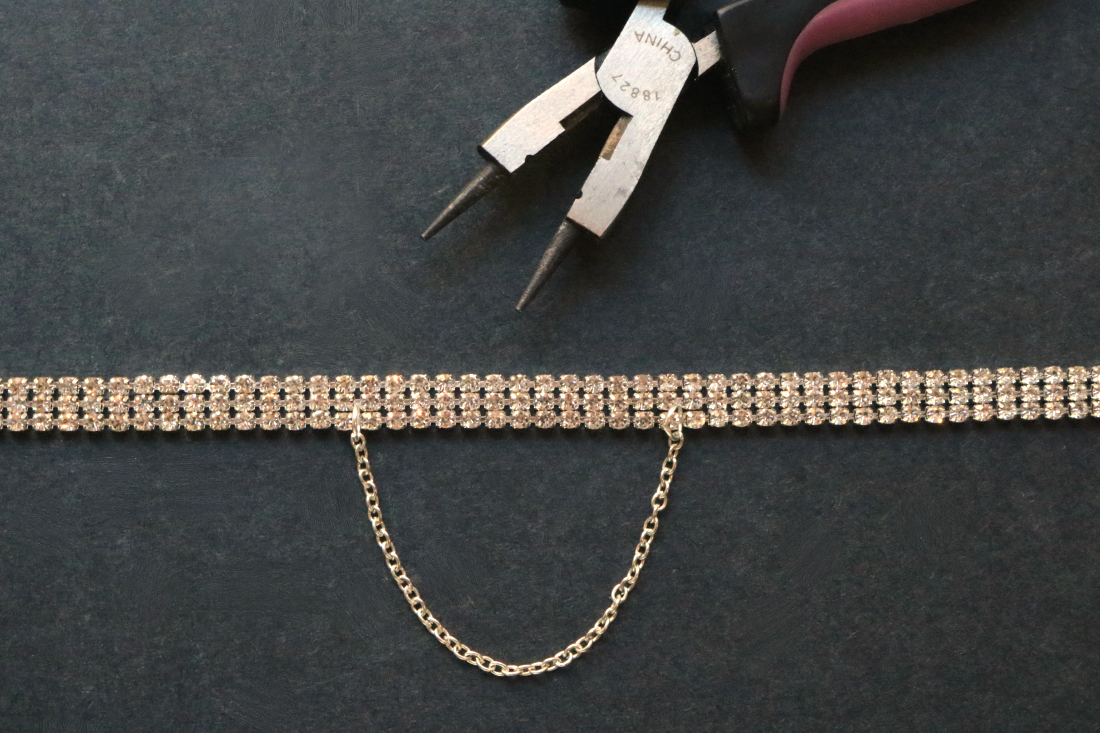
3. Find the center of the rhinestone trim. To the left of this midpoint, add a strand of chain with a jump ring.
4. Connect the opposite end of the chain to the right of the rhinestone’s midpoint. You can just eyeball this; it doesn’t have to be placed perfectly in the center.
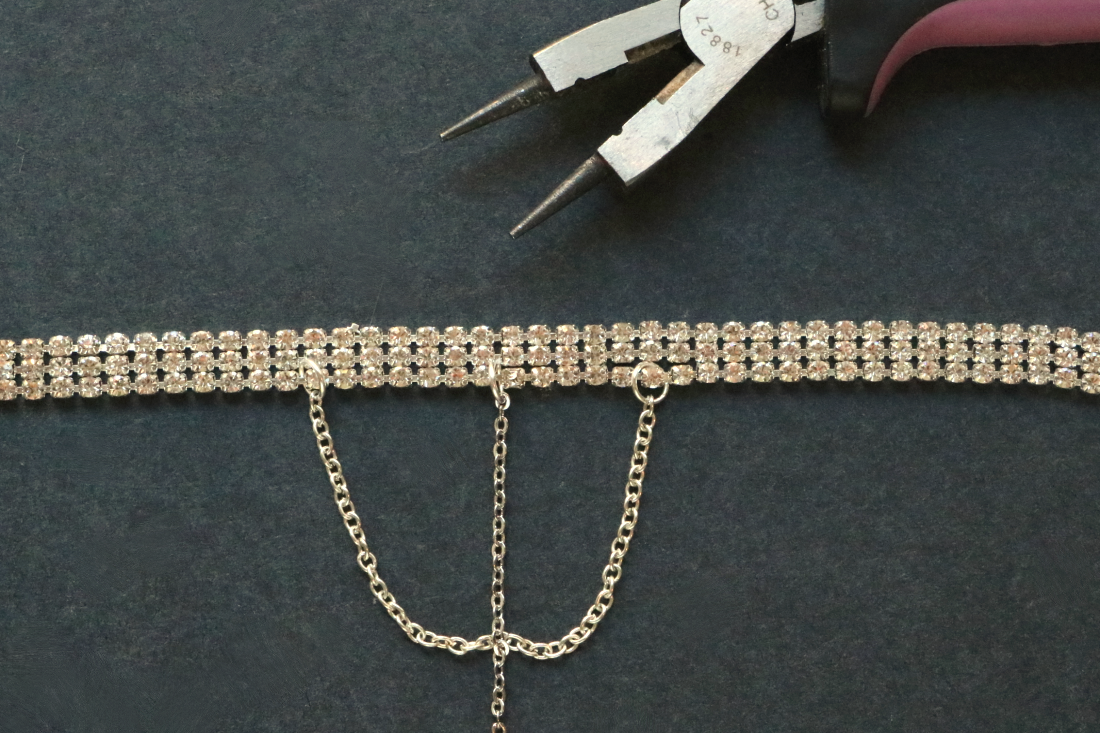
5. Add a second strand of chain in between the first.
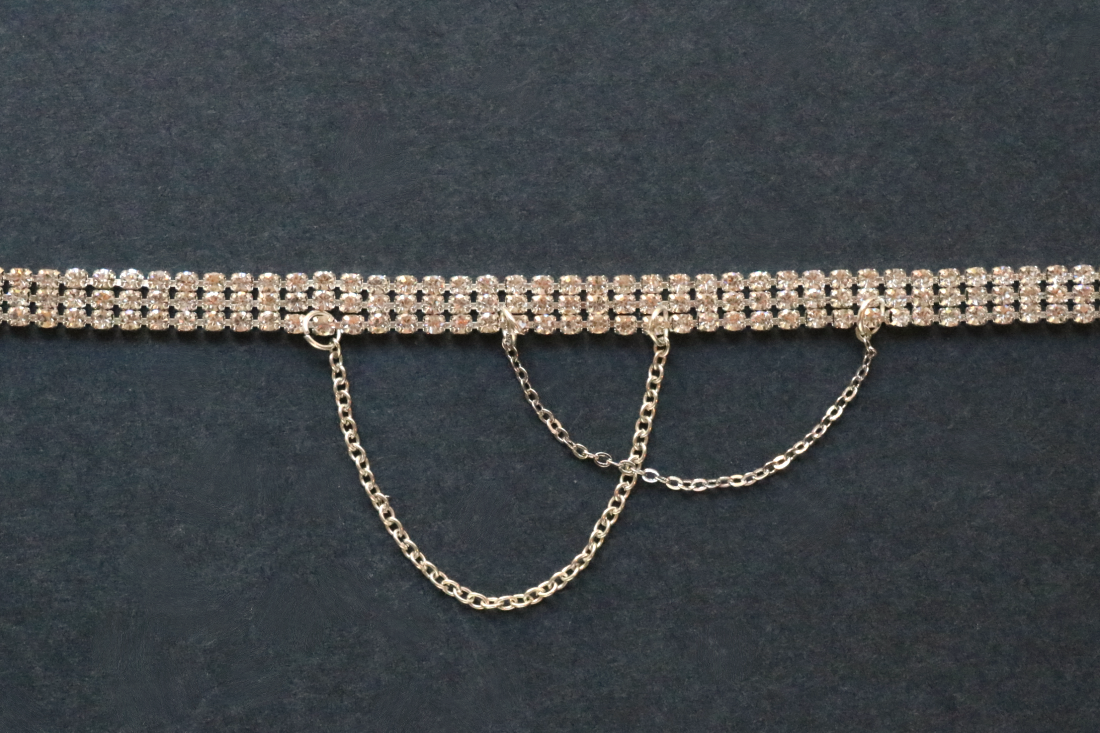
6. Connect the opposite end to the rhinestone trim. I created a larger interval between the two ends of this chain for a wider drape. Feel free to do the same (or not) depending on your preferred finished look.
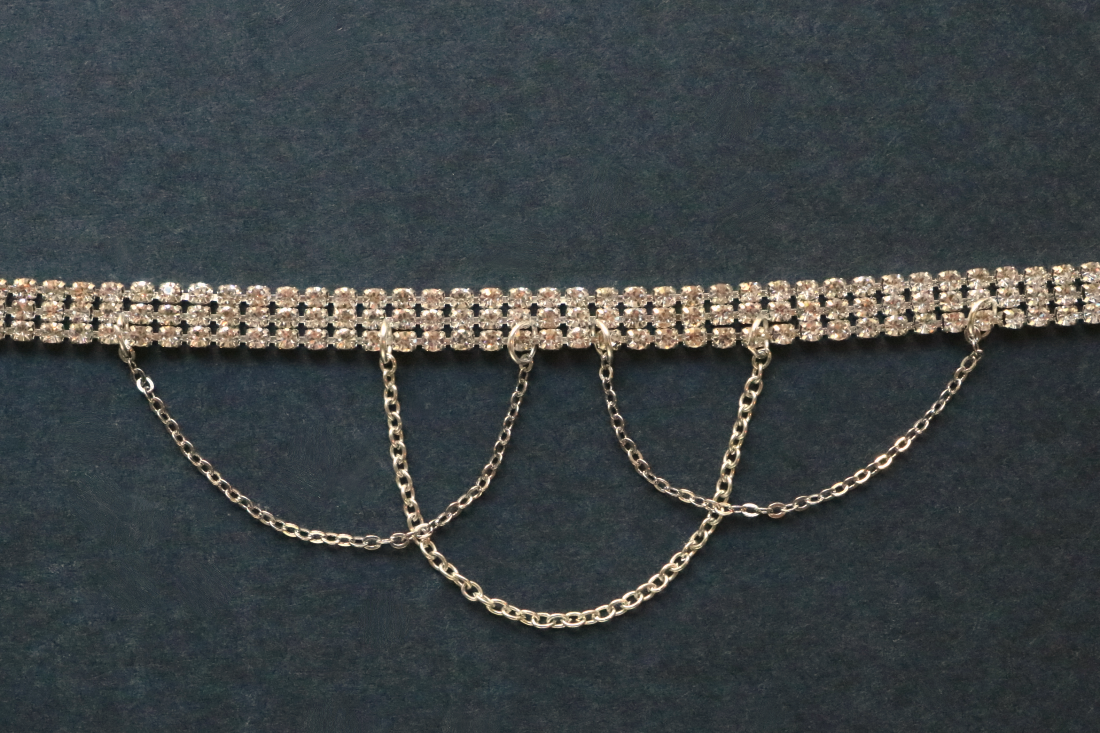
7. Repeat on the other side of the first draped chain.
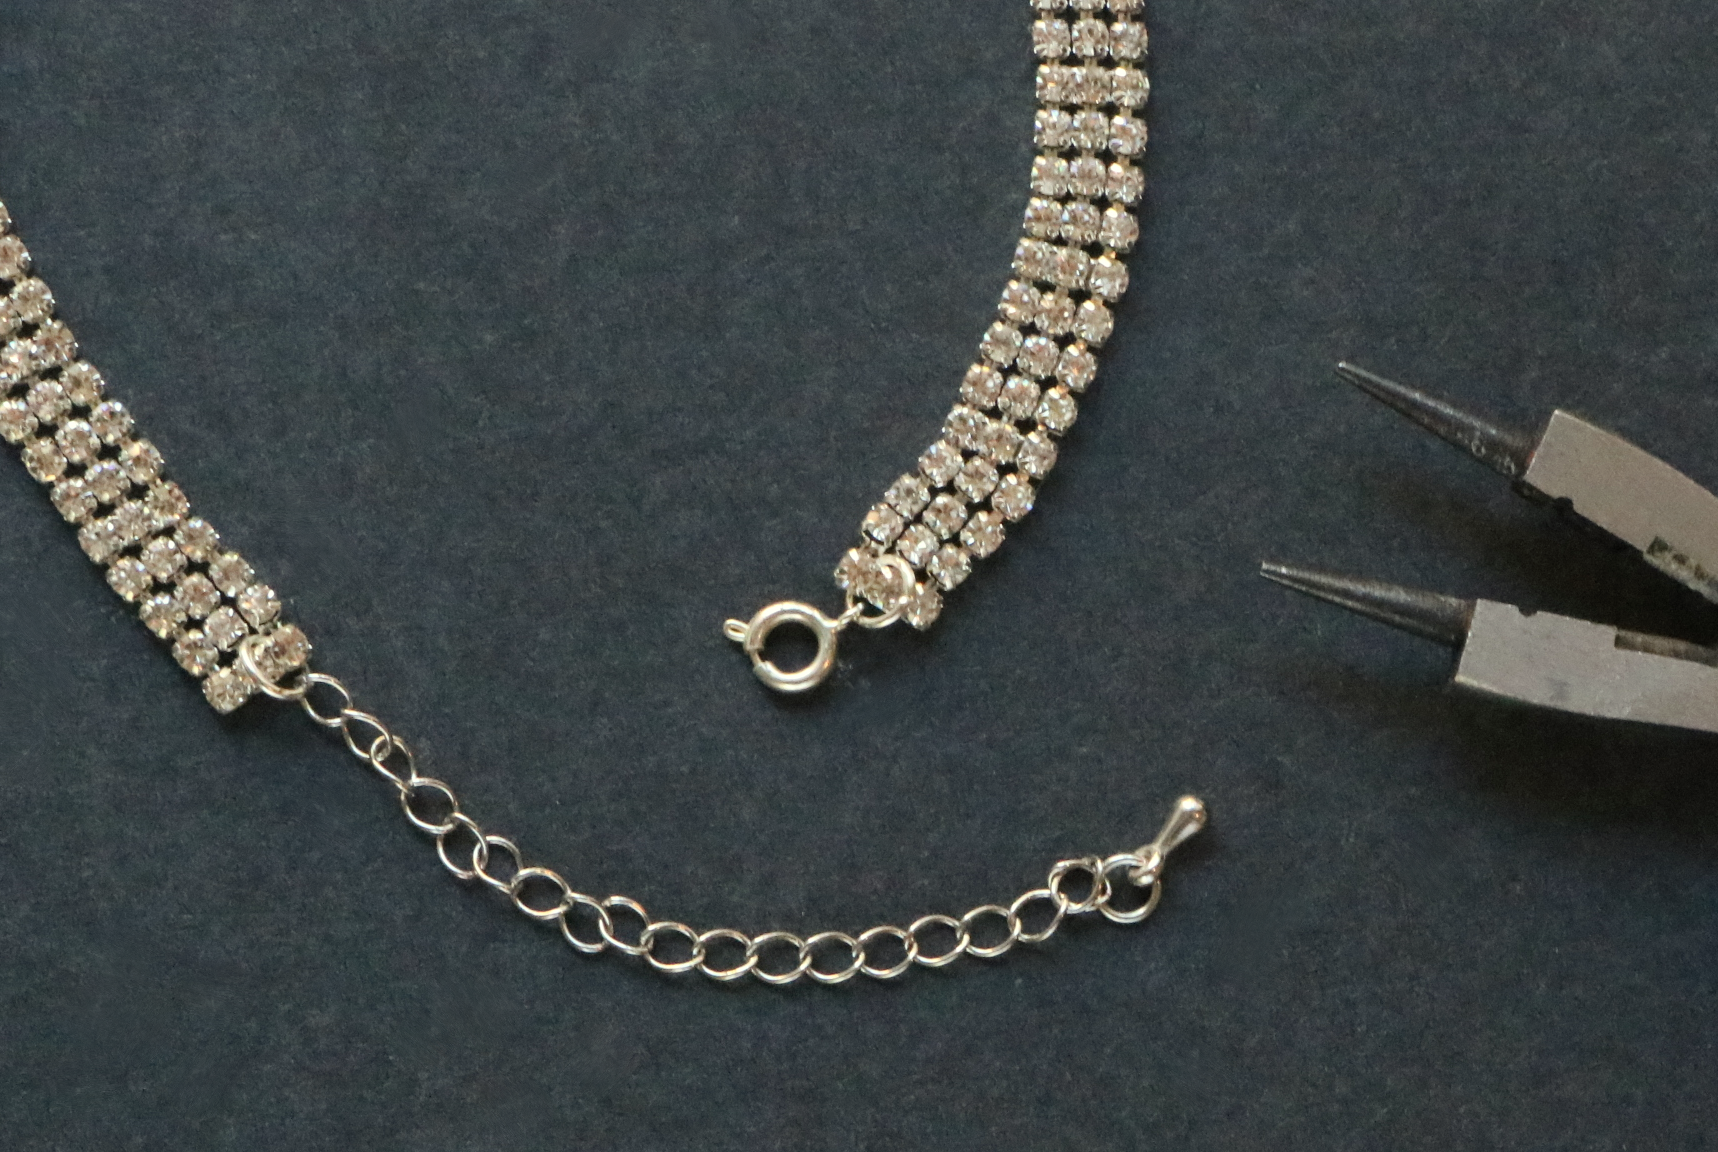
8. At one end of the rhinestone trim, add a jewelry clasp. At the opposite end, add a jump ring and/or extender chain.
Loooove.
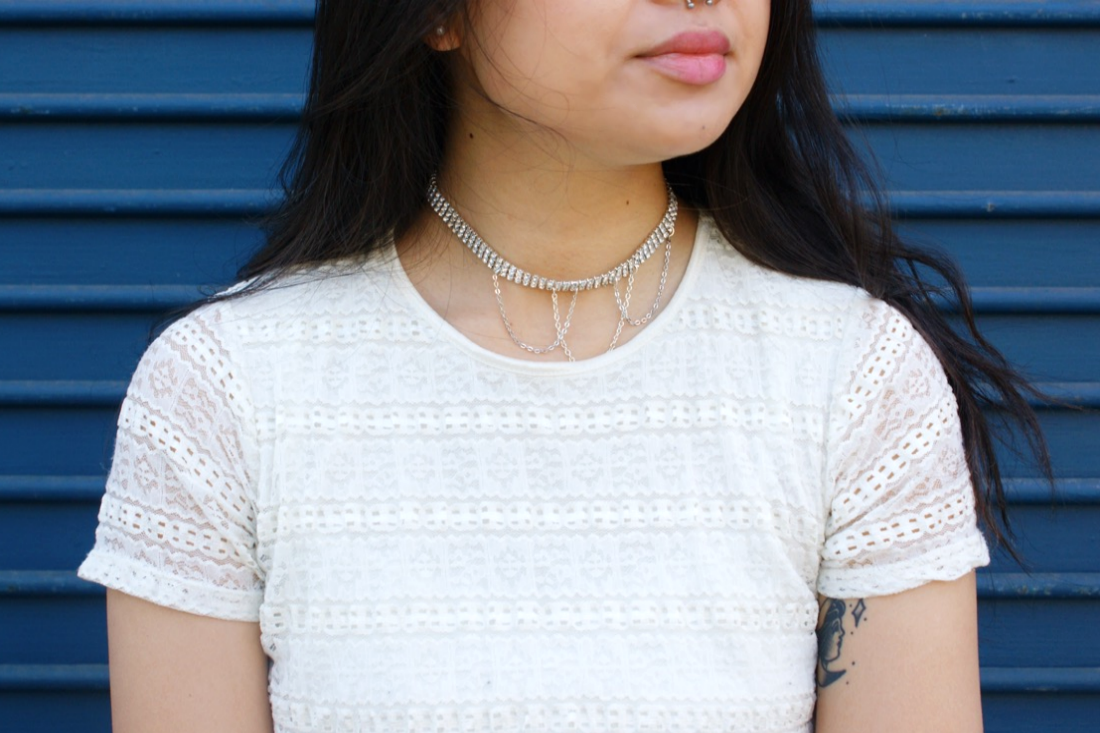
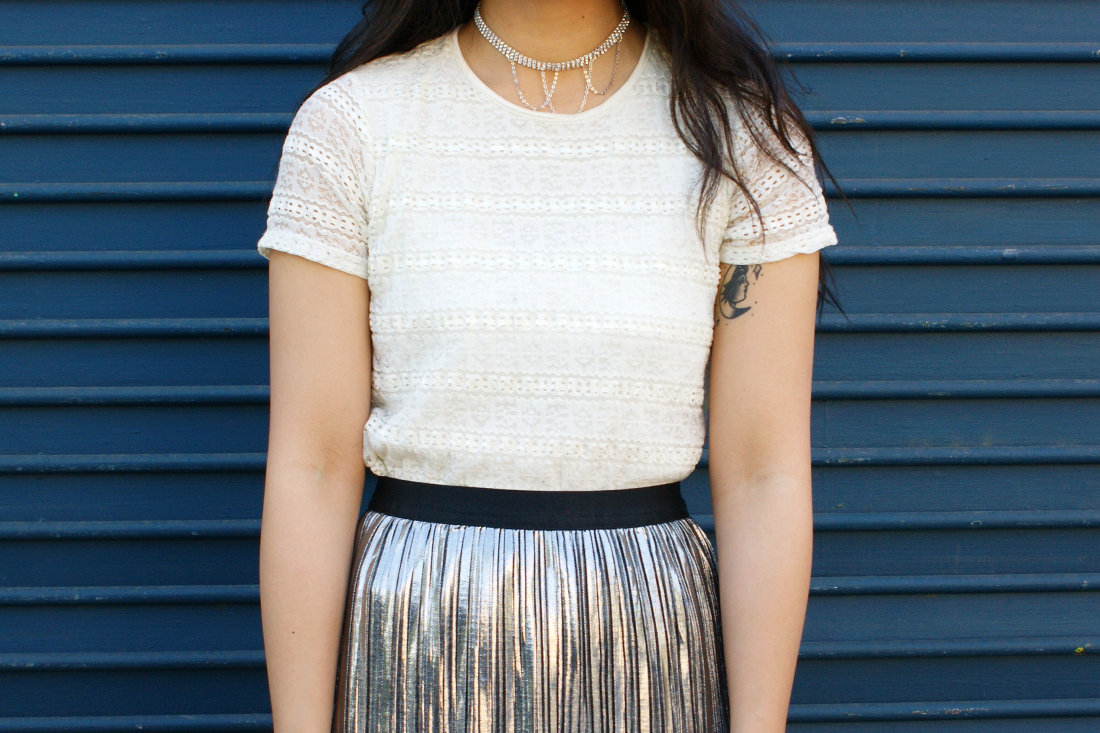
Obviously, it can be worn on any ol’ day. It’s one of those pieces that can spice up a plain t-shirt or dress.
Clearly, I’m a sucker for that draped chain look. Here are some of my past tutorials that use a similar technique:
- Chain Bib Necklace (Wild Amor)
- Draped Jewelry Flower Crown (eBay)
- Thread-Wrapped Bib Necklace with Ordinary Key Rings (eHow)
xx K
Tutorial Photos: Kirsten Nunez
Lifestyle Images: Albert Martinez


