

During the last few years, I’ve been falling (hard) for DIY projects featuring wood elements. And after I took a few classes at SF’s Woodthumb in SOMA, the love grew x1000. Triangle bookshelf? Check. Wooden six pack? Check, check. So, it’s no surprise that my latest tutorial for Wild Amor features wood veneer, a wood-obsessed-crafty-lady’s best friend. Here’s how to make some embellished wood earrings!
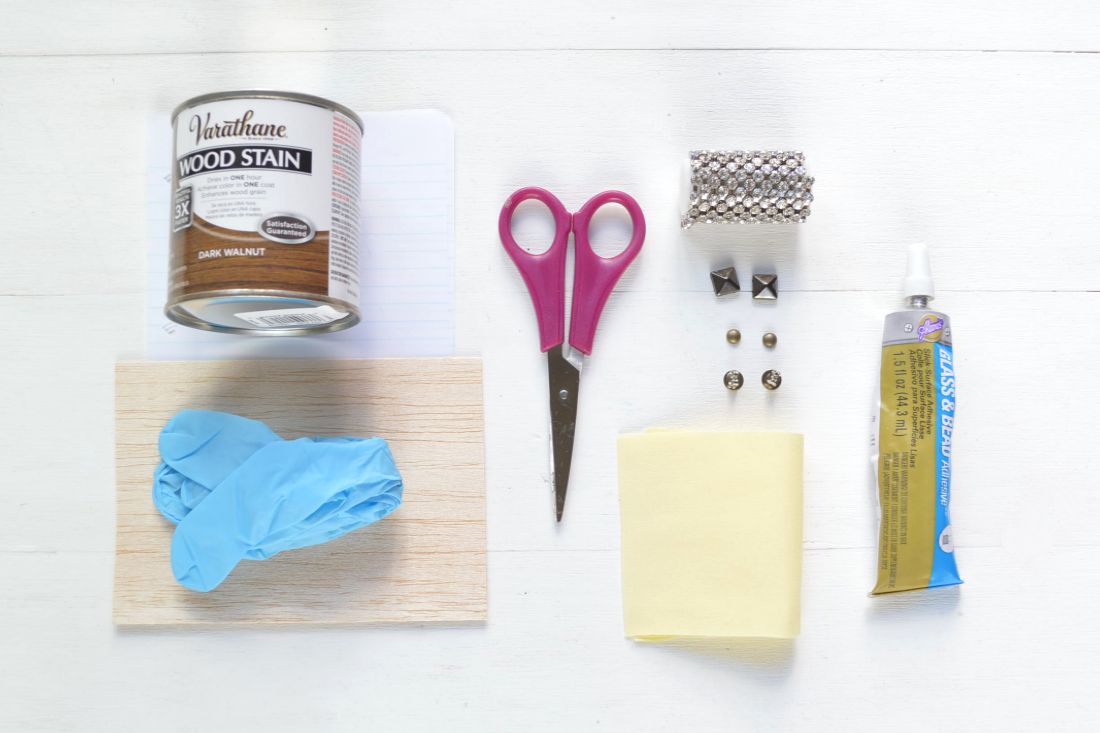
Supplies:
- Wood stain
- Wood veneer
- Rubber gloves
- Scrap paper/fabric/old newspaper
- Scissors
- Rhinestone chain, flat back gems & studs, etc.
- Blank earrings posts (2)
- Jewelry glue/strong craft glue
You can find wood veneer in the wood section of most craft stores. It’s my newest obsession.
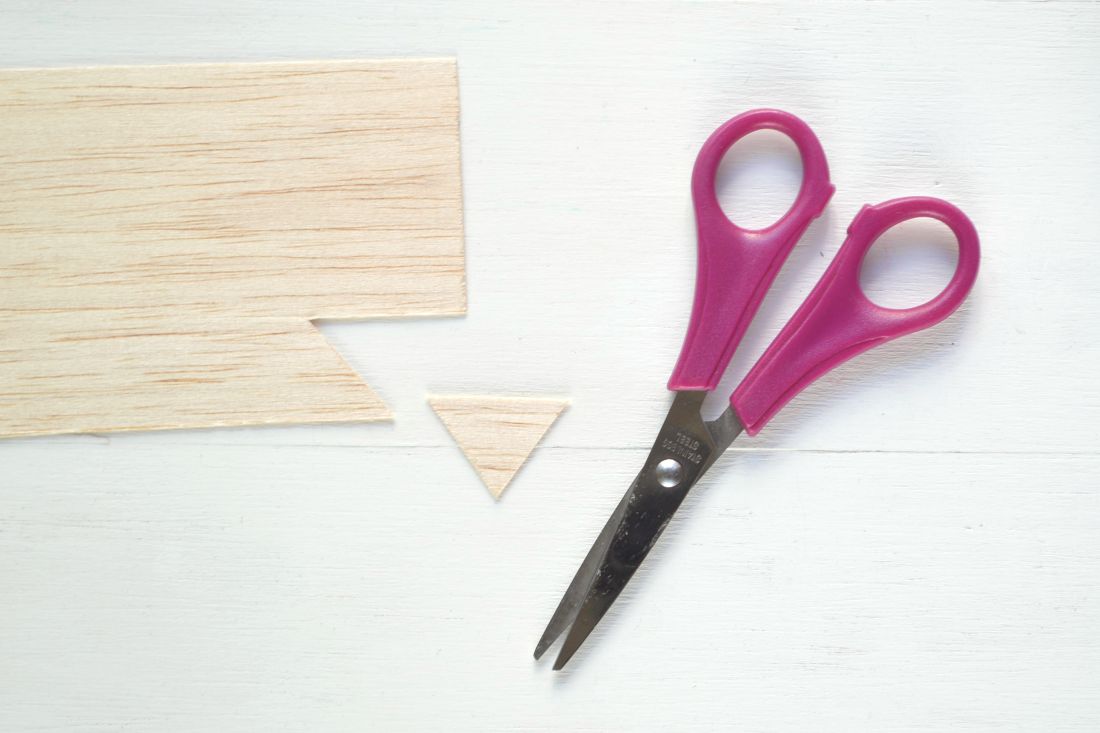
1. Using the scissors, cut a piece of wood veneer in a geometric shape of your choice.
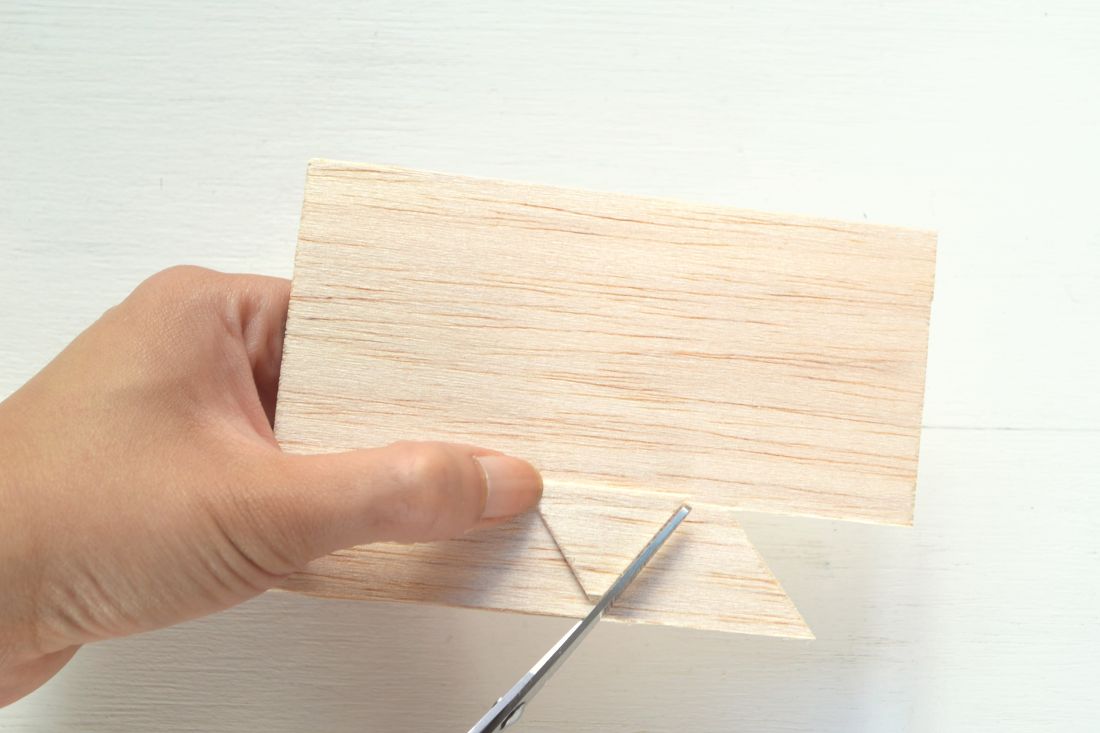
2. Use this piece as a pattern to cut out the second shape.
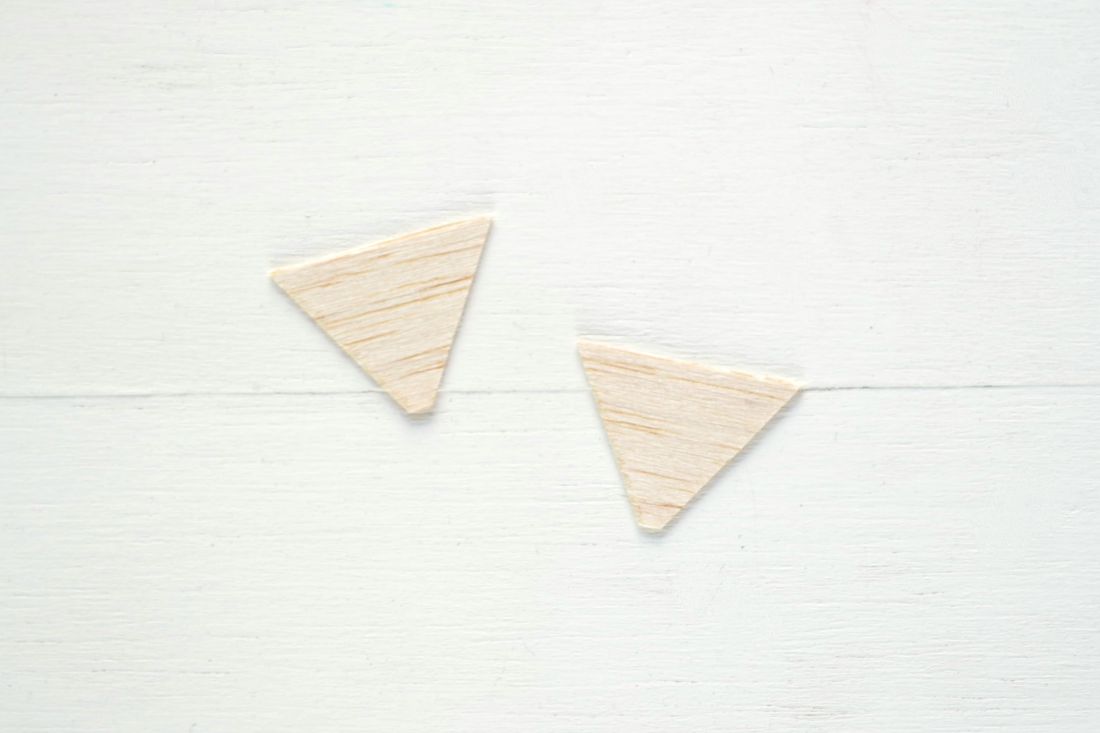
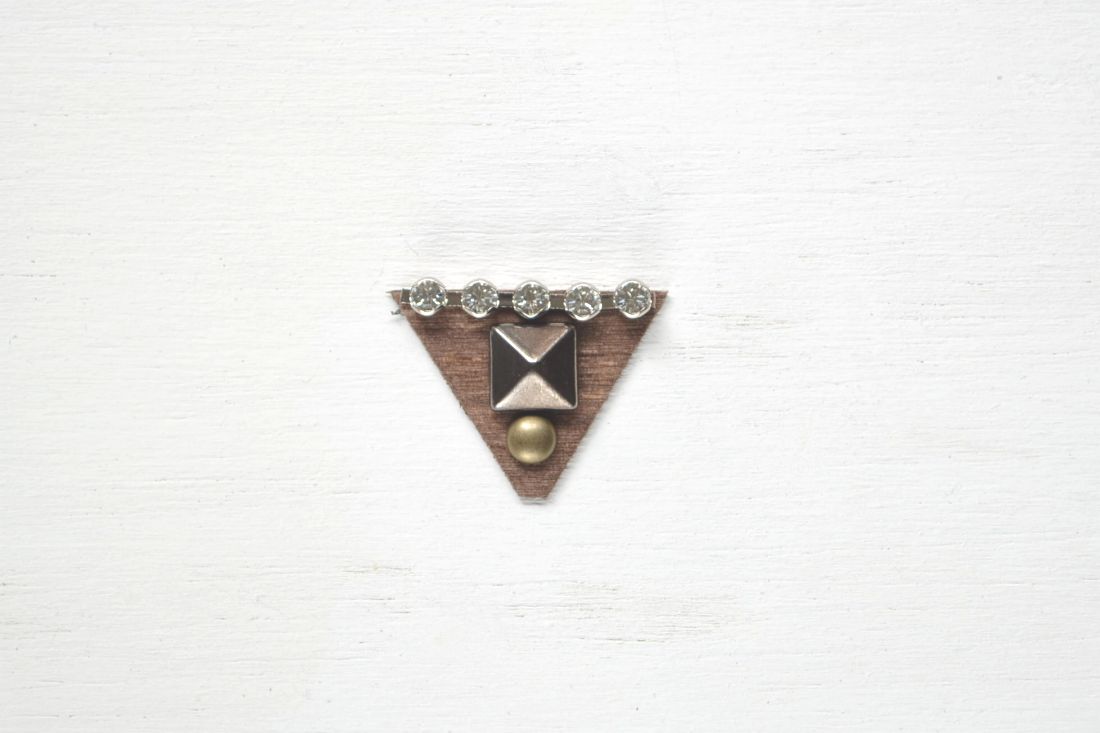
3. Stain the wood pieces and let dry according to the package’s directions. Once dry, glue the embellishments according to your liking.
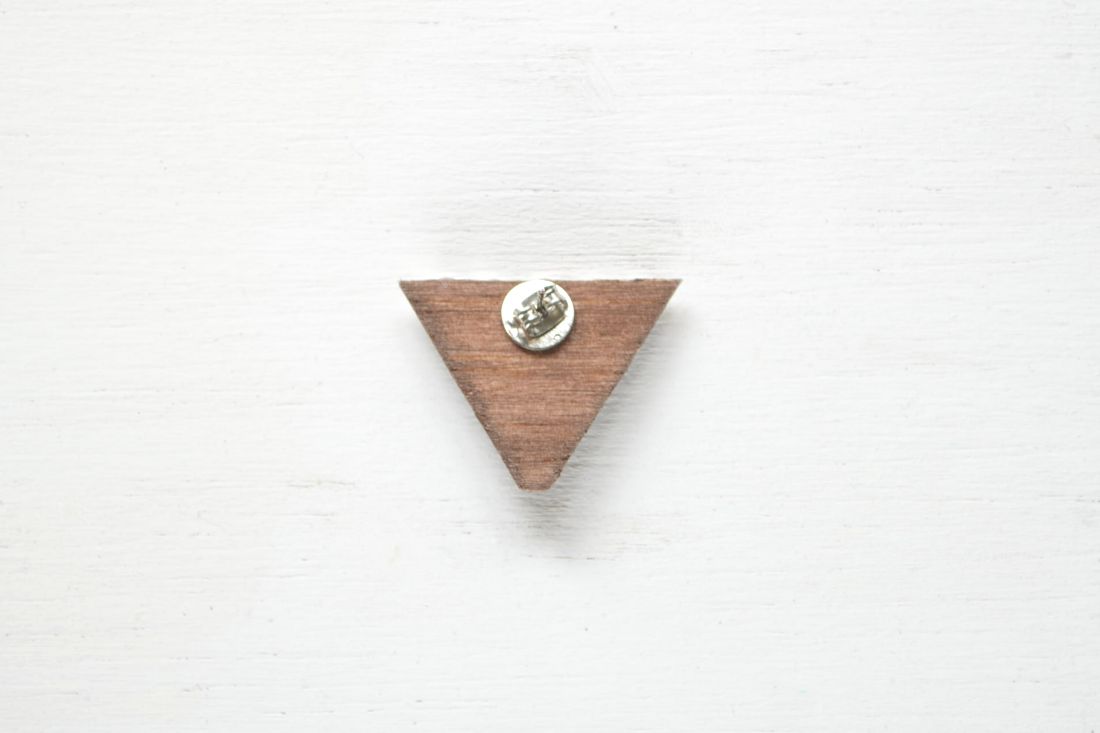
4. Glue an earring post to the back of each piece.

Repeat with the second earring and you’re good to go. EASY!
xx K
Tutorial Photos: Kirsten Nunez
Styled Photo: Nick Wolf