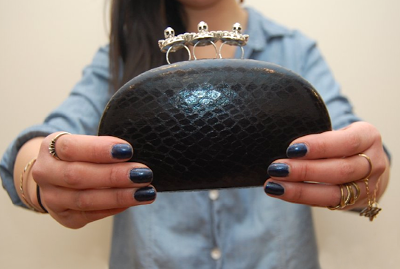
All I can say about this DIY is: love love LOVE. It’s a redo of the first two eyeglass case clutches I made last year (
here and
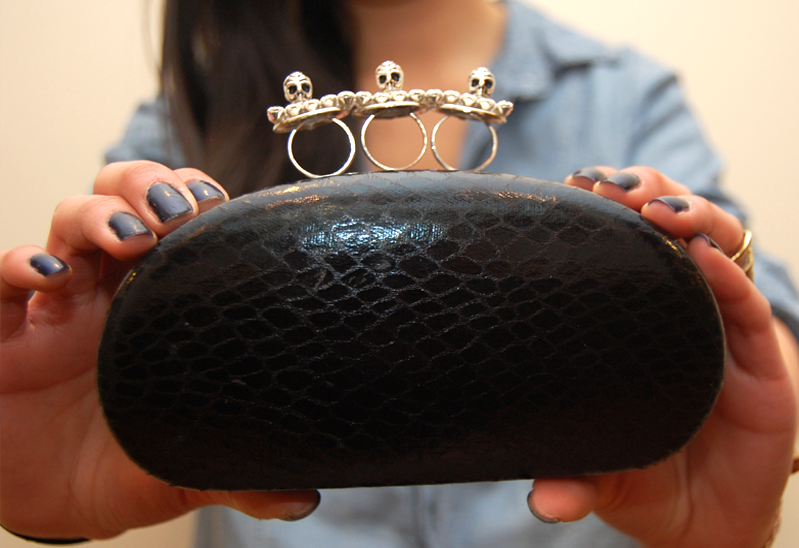
here), but this one is my favorite by far. The general shape and build is inspired by the Alexander McQueen clutches, even though eyeglass/sunglass cases obviously weren’t used in the original designs. I don’t do as many designer DIY’s as I used to – but when I thought of this, I knew I had to do it.
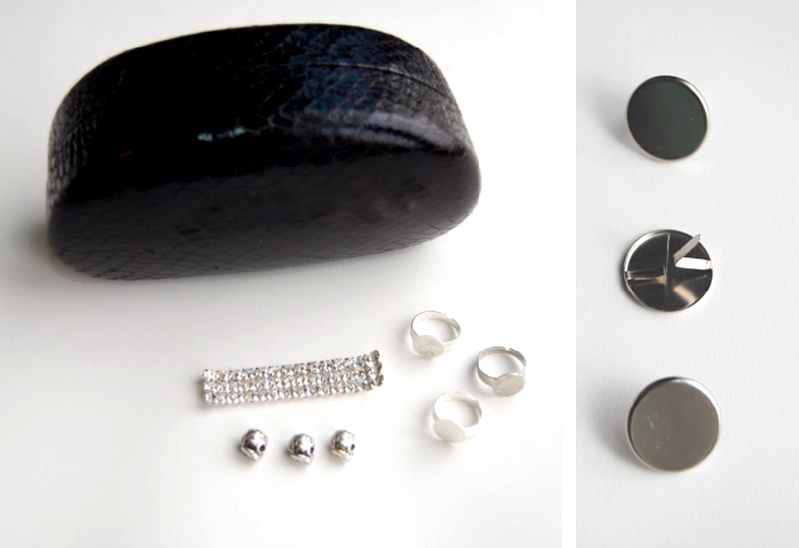
Supplies:
– Large eyeglass/sunglass case
– Bead (s)
– 3 flat metal pieces (I used scrapbooking brads)
– Rhinestone (or whatever!) trim
– 3 ring blanks
– Super glue/E 6000
– Jewelry pliers
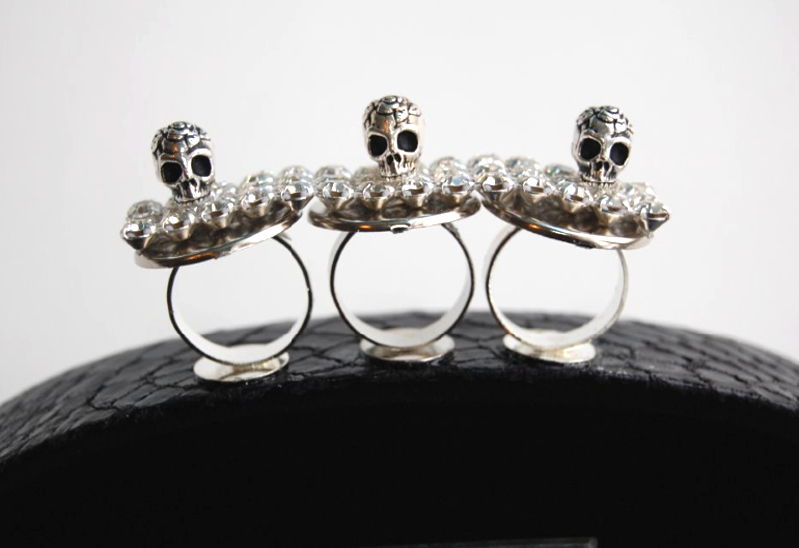
You can go so (SO) many different ways with the beads you choose. I bought these little guys at one of my favorite supply shops in Manhattan,
Beads on Fifth. They go along with my personal love for anything creepy & pretty (if that’s even the right way to describe it?) – I also love that they’re etched with a subtle floral design.
The rhinestone trim I used was purchased at M&J Trimming, also in Manhattan. You might recognize it from the Rhinestone Mutli-Finger Ring I made recently.
The metal pieces can be anything – flat charms minus the loops, metal scrapbooking tags, or whatever you have on hand. I had a few silver scrapbooking brads leftover from the Elastic Brad Belt project, so I used those. These were purchased at Michael’s.
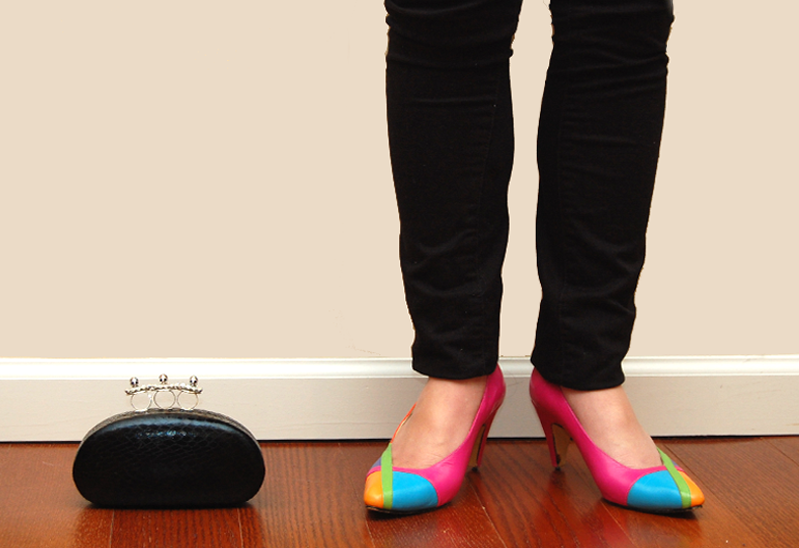
As for the case? I got this sunglasses case at TJ Maxx for $6.99 – I had a gift card from my birthday last July, so I figured I’d use it up!
1) Glue the ring blanks onto the case, pad side down. Let it dry for a little bit.
2) If needed, pry off the prongs (or loops, depending what you have) on the metal pieces with pliers.
3) Glue the metal pieces on top of the ring blanks. Again, let it dry for a bit, just so they aren’t sliding around when you continue onto the next step.
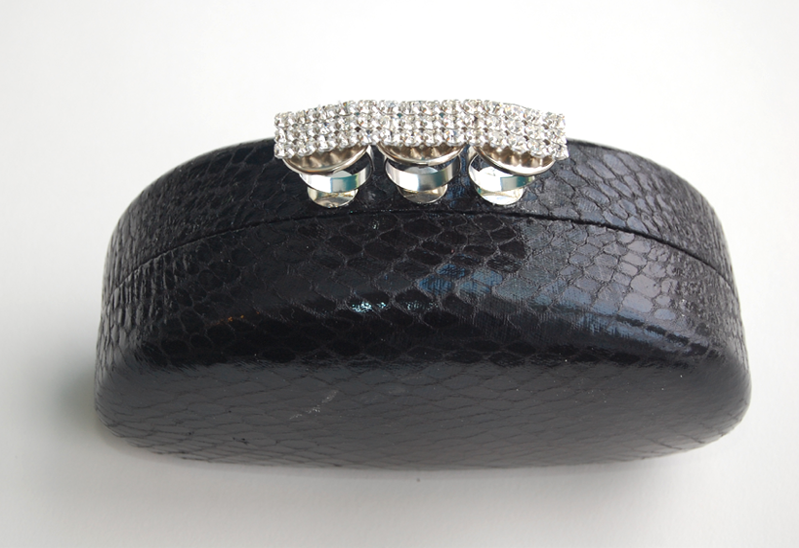
4) Carefully glue the trim along the top.
TIP: Glue the center of the trim to the middle piece first, wait until it’s semi-dry then work on the right and left sides. There’s going to be a lot of sliding around if you don’t let the glue dry at least for a little bit in between steps.
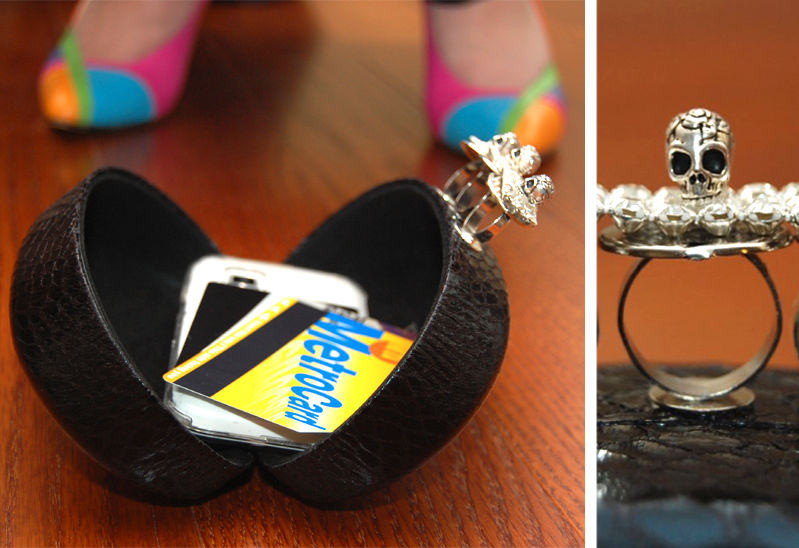
5) And when that’s (almost) dry? Glue the beads on top of the trim. If your trim has an uneven surface, you might have to press and hold for a bit. Let everything dry overnight.
It’s a PERFECT fit for my phone + cards, cash, lip balm.
So easy to make, too.
(I love my obnoxiously bright shoes. They’re vintage, the heel height is practical, and they cost me $1.99!)
If you decide to make one, it goes without saying that I fully expect to see a picture! My e-mail is kirsten.studsandpearls@gmail.com, or you can always send it to me on Twitter or S&P’s Facebook fan page.
Also, thanks to my good friend Miss Gabriella Vargas for helping me shoot these pictures. Self-timer can be pretty evil sometimes, so the help was immensely appreciated.
xo!
kirsten