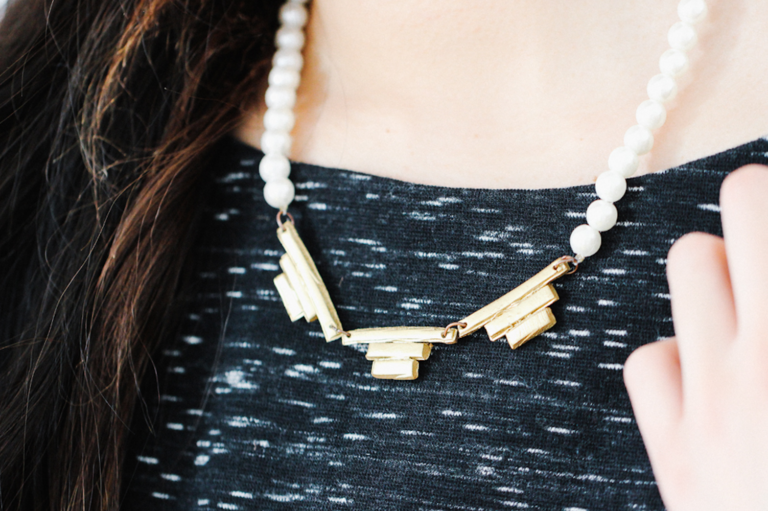
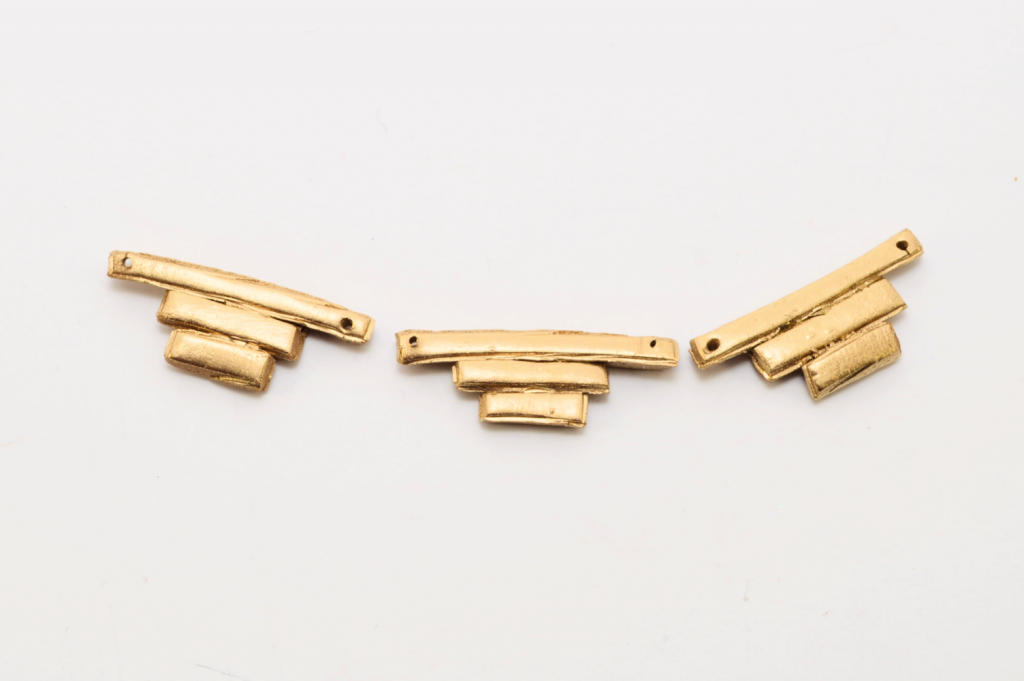
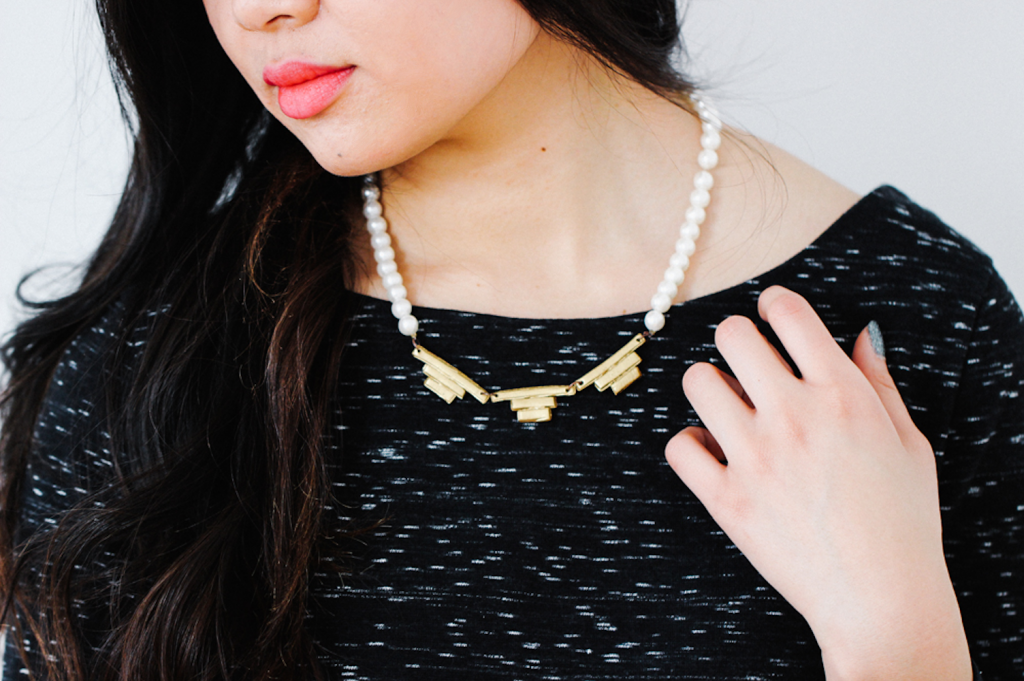
I’ve always seemed to love gradients, whether we’re talking about colors, shapes or prints. This one is no exception! For this necklace DIY, I combined my love for edgy, bold metallic shapes with feminine pearls.
Supplies:
– Clay Rolling Pin
– Crimp Beads (at least 4)
– Jewelry Clasp and Closure or Large Jump Ring
– 6mm Jump Rings (7)
– Faux Pearl Beads
– Beading Thread or Wire
– Polymer Clay *
– Toothpick
– Spray Paint *
– Scissors
– 3-in-1 Jewelry Pliers
– Liquid Seam Sealant (or Clear Nail Polish)
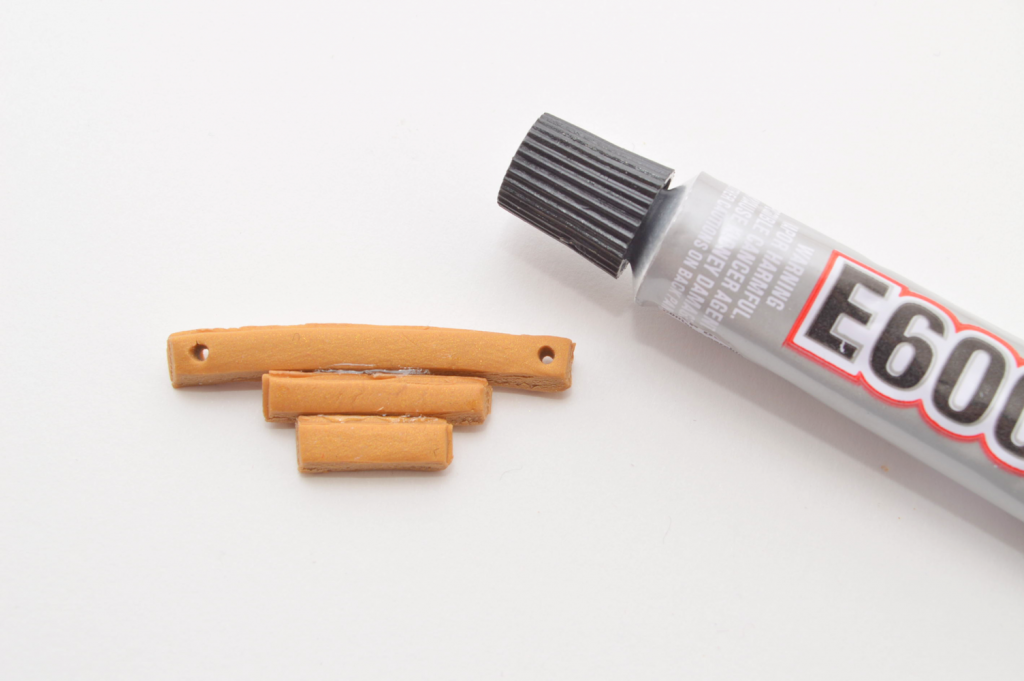
– Strong Craft Glue (Such as E6000 )
– Access to Oven
*For best results, use polymer clay and spray paint of the same color. I chose metallic gold.
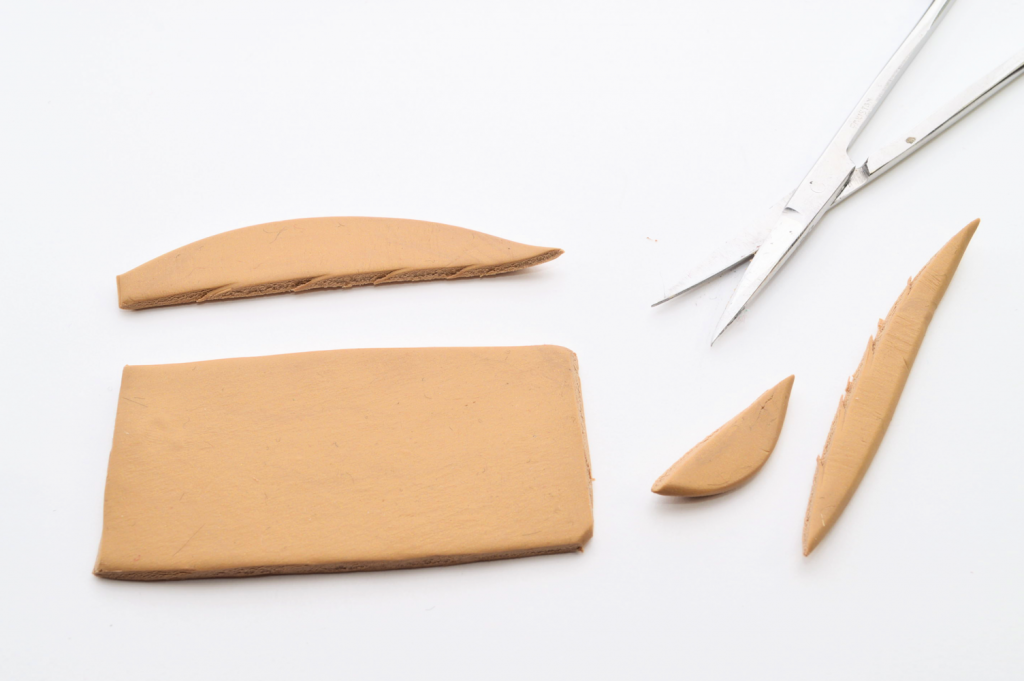
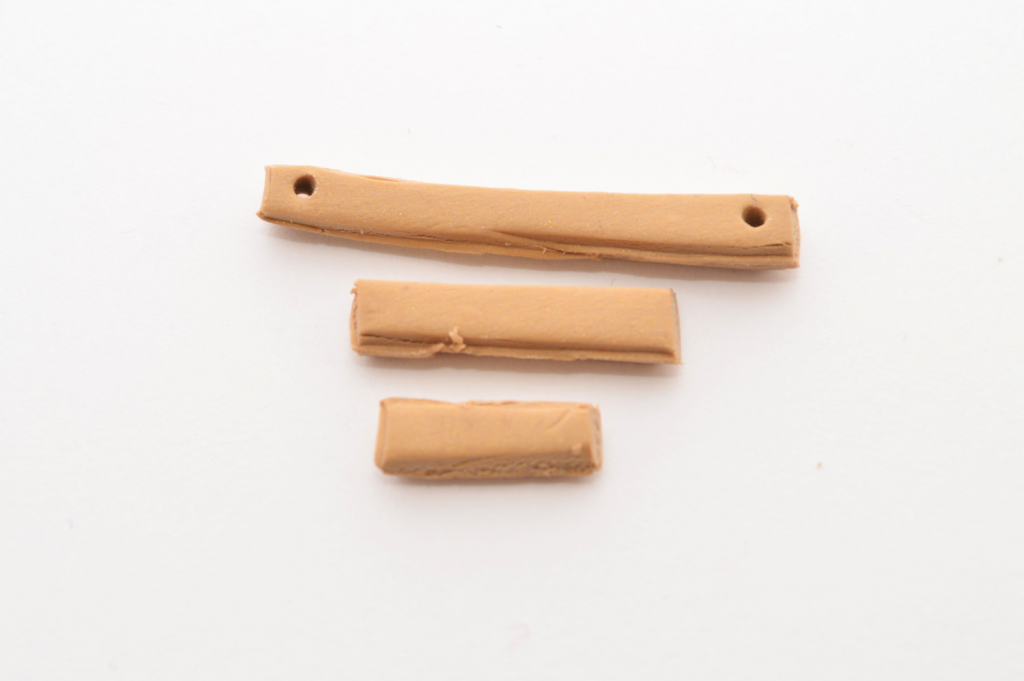
2. Using the scissors, straighten out the edges, forming a rectangle.
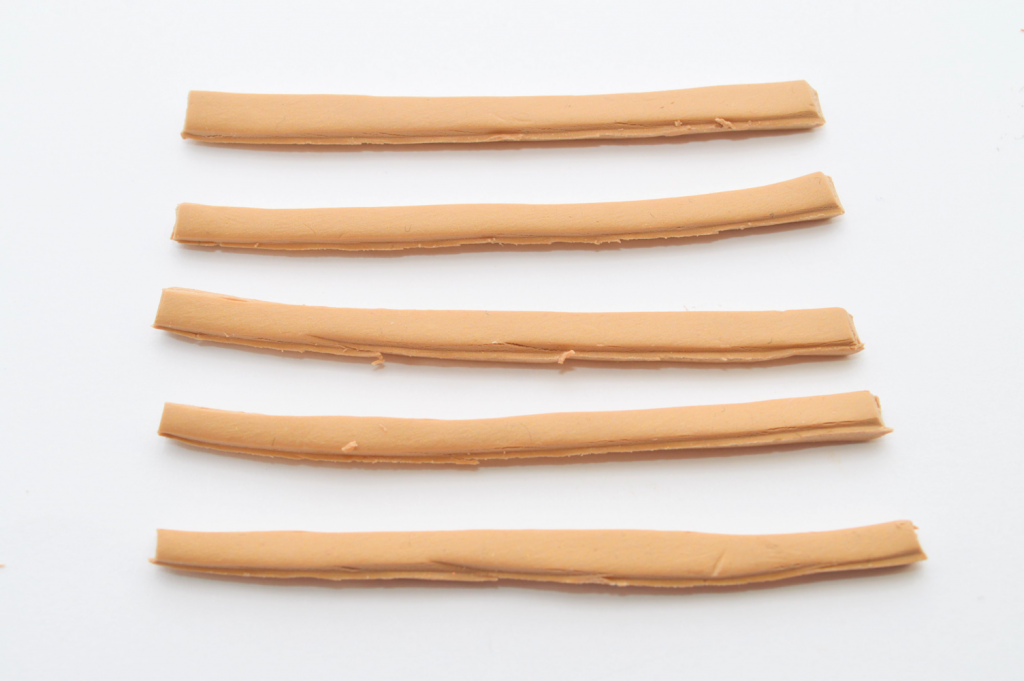
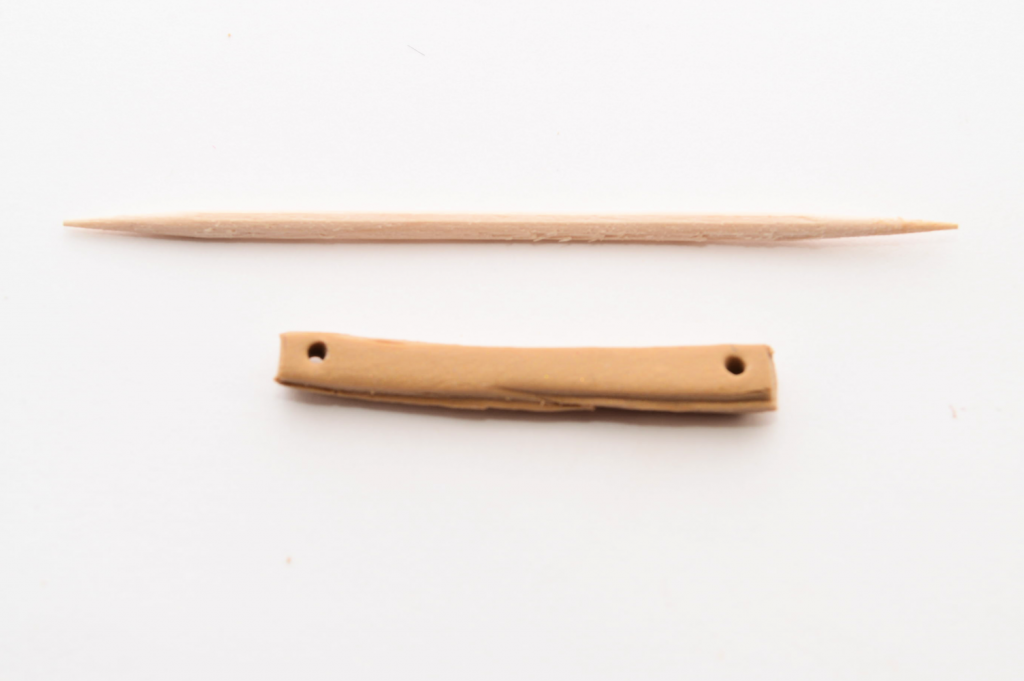
5. Using the toothpick, pierce a hole at each end of the longest strip.
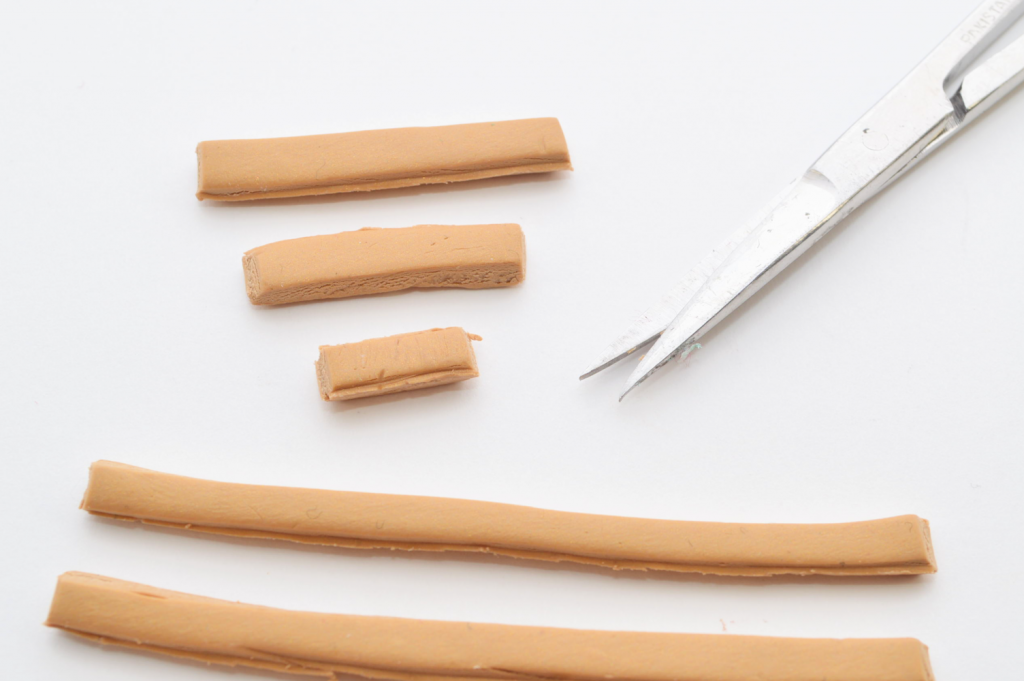
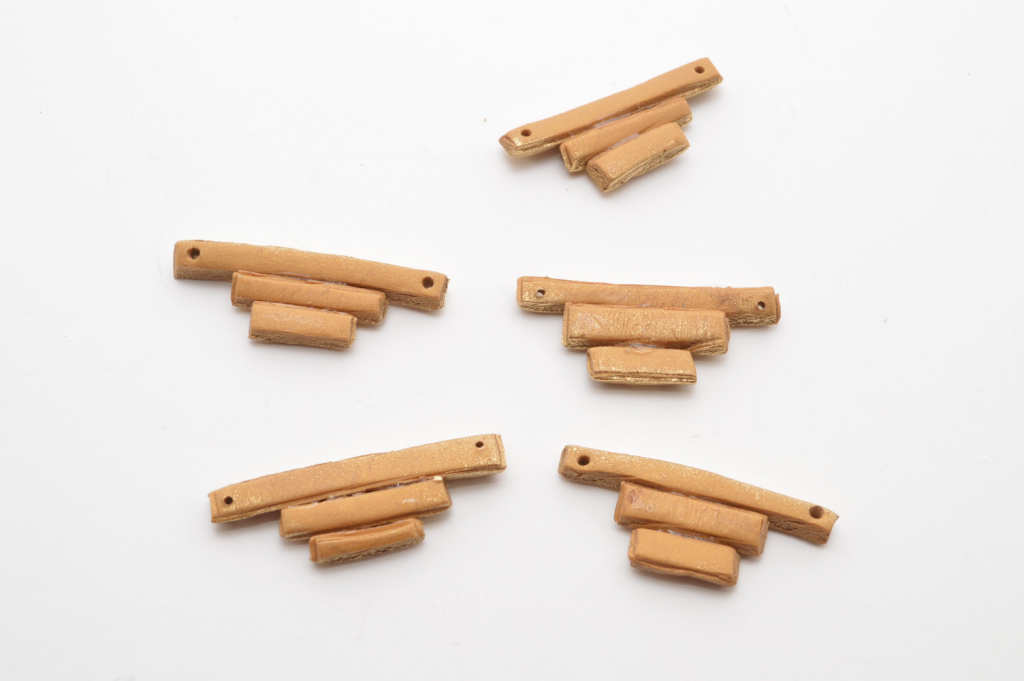
8. Pick the three that look best, and spray paint. Let dry completely.
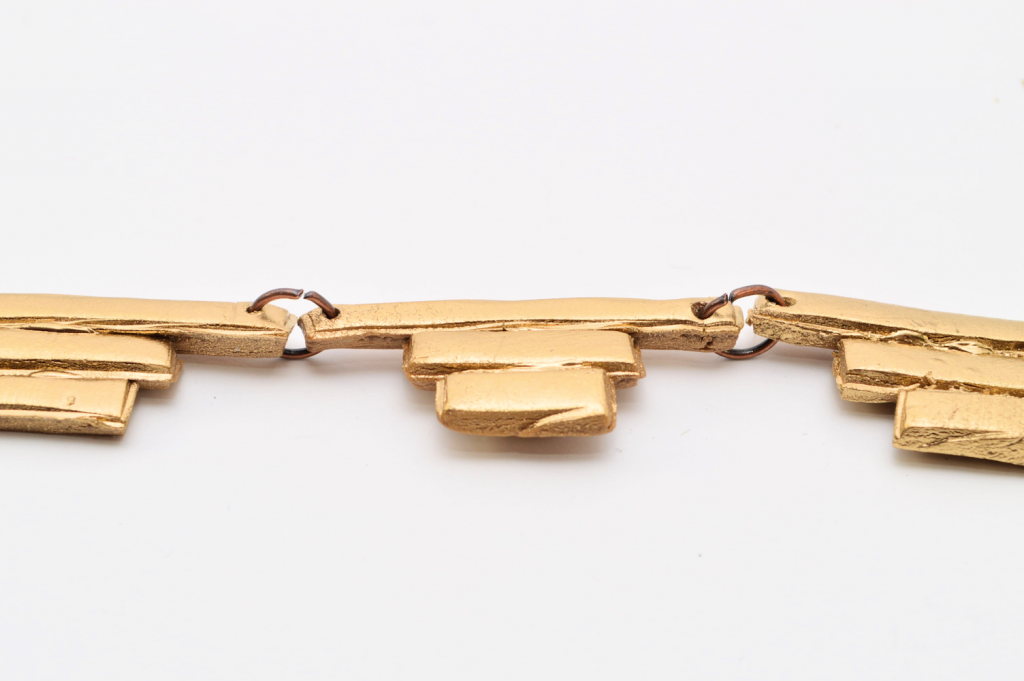
9. Link together with jump rings.
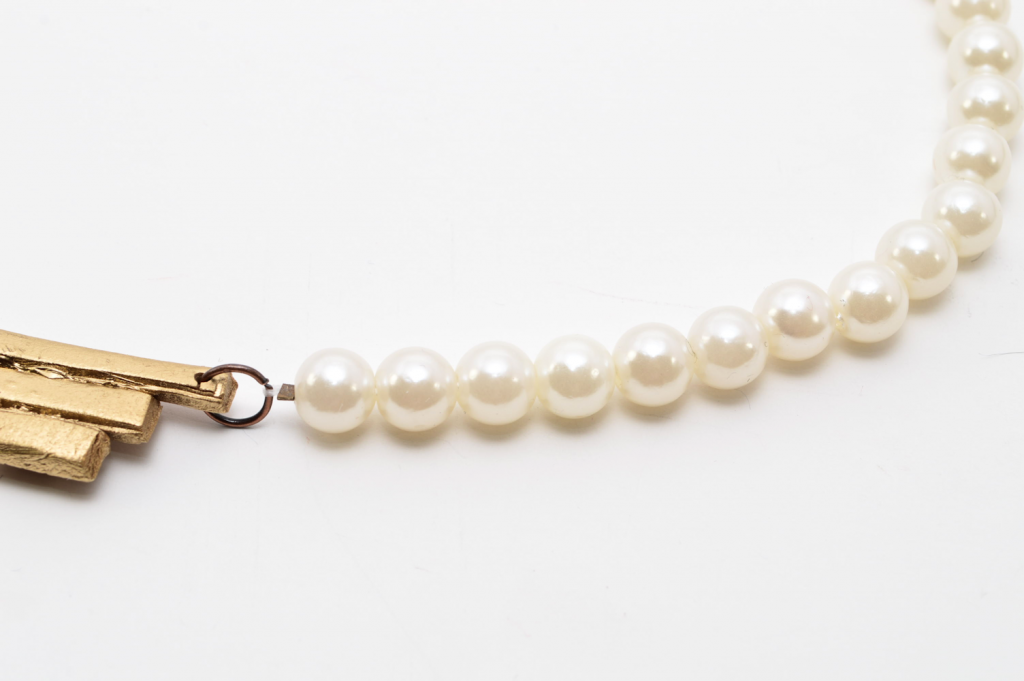
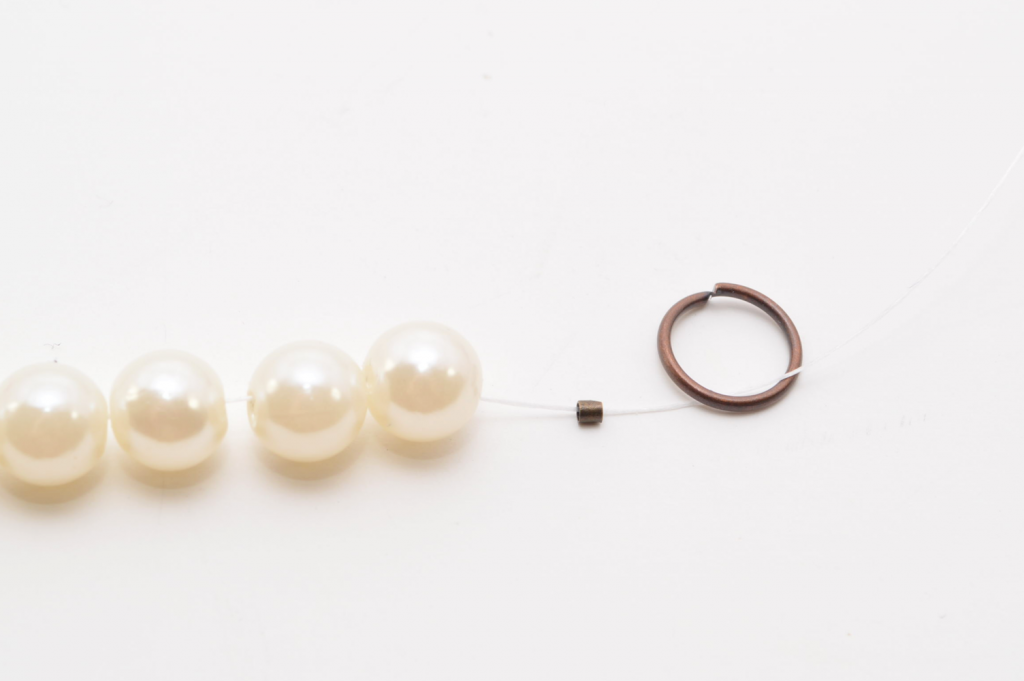
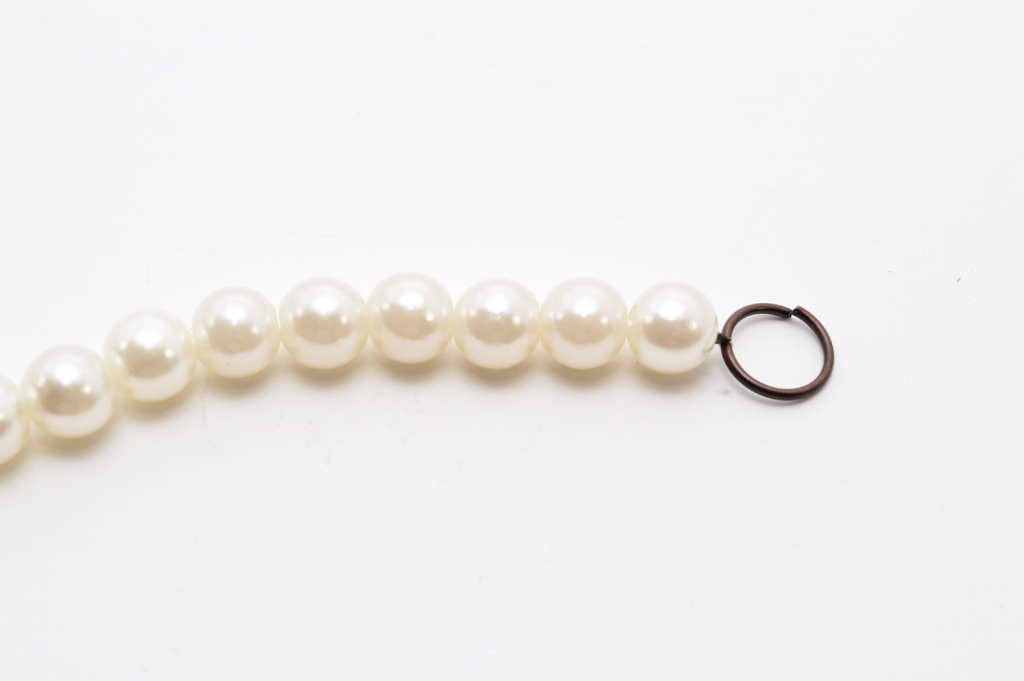
10. Add a jump ring to end tier. Cut a long strand of beading thread, add a crimp bead and feed through the jump ring. Insert the thread back through the crimp bead.
11. Flatten with the flat portion of the jewelry pliers and add pearls.
12. Add beads for about 6 inches (15.24 centimeters). Add a crimp bead and and insert through the closure or large jump ring.
13. Insert the thread back through the crimp bead and through the first few pearl beads. Flatten the crimp bead with the flat portion of the jewelry pliers.
14. Repeat on the other side, adding a jewelry clasp at the opposite end.
15. Optional: Add liquid seam sealant or clear nail polish to the crimp beads for extra security.

