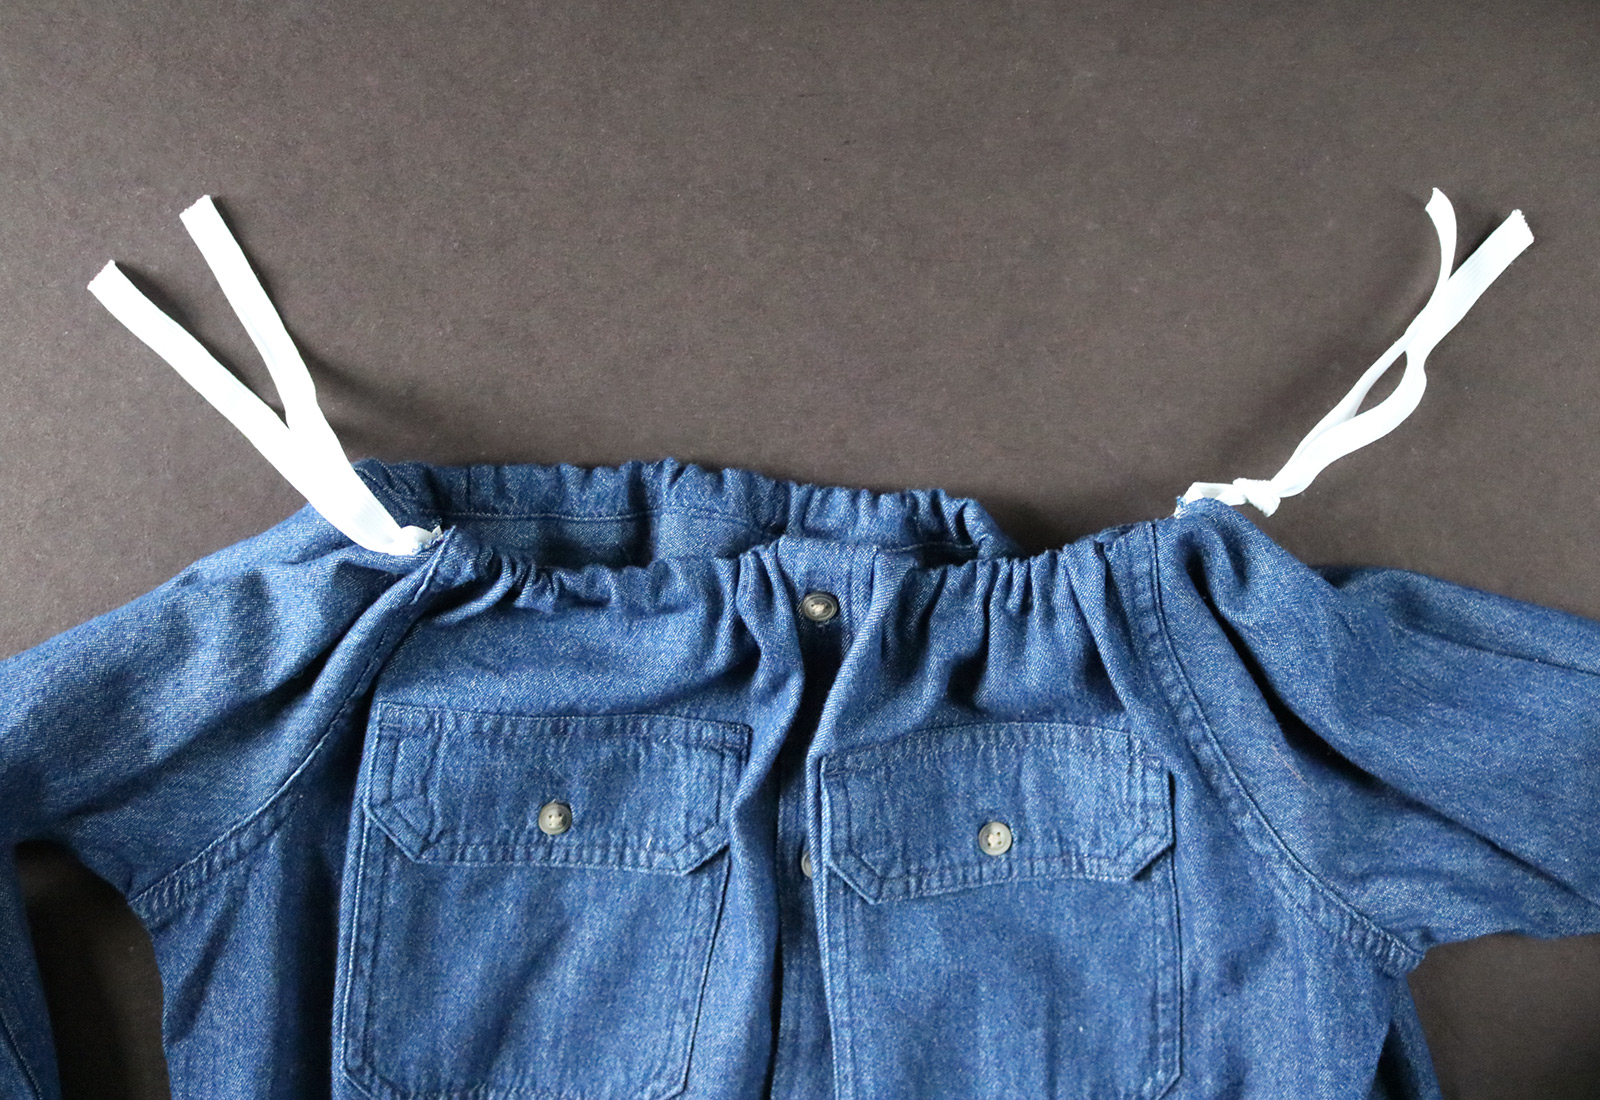
Nothing makes me geek out more than totally transforming old clothes. (Or any item, really.) Extra points for turning it into a trendy piece that would cost 5 times more in stores! Take this off-the-shoulder project, for example. It was made with a Men’s denim button down, thanks to fusible webbing tape and elastic. Yes, that means it’s a no-sew DIY. And yes, that means it was dirt cheap. (Five bucks, to be exact). Here’s how to do it yourself:
Supplies:
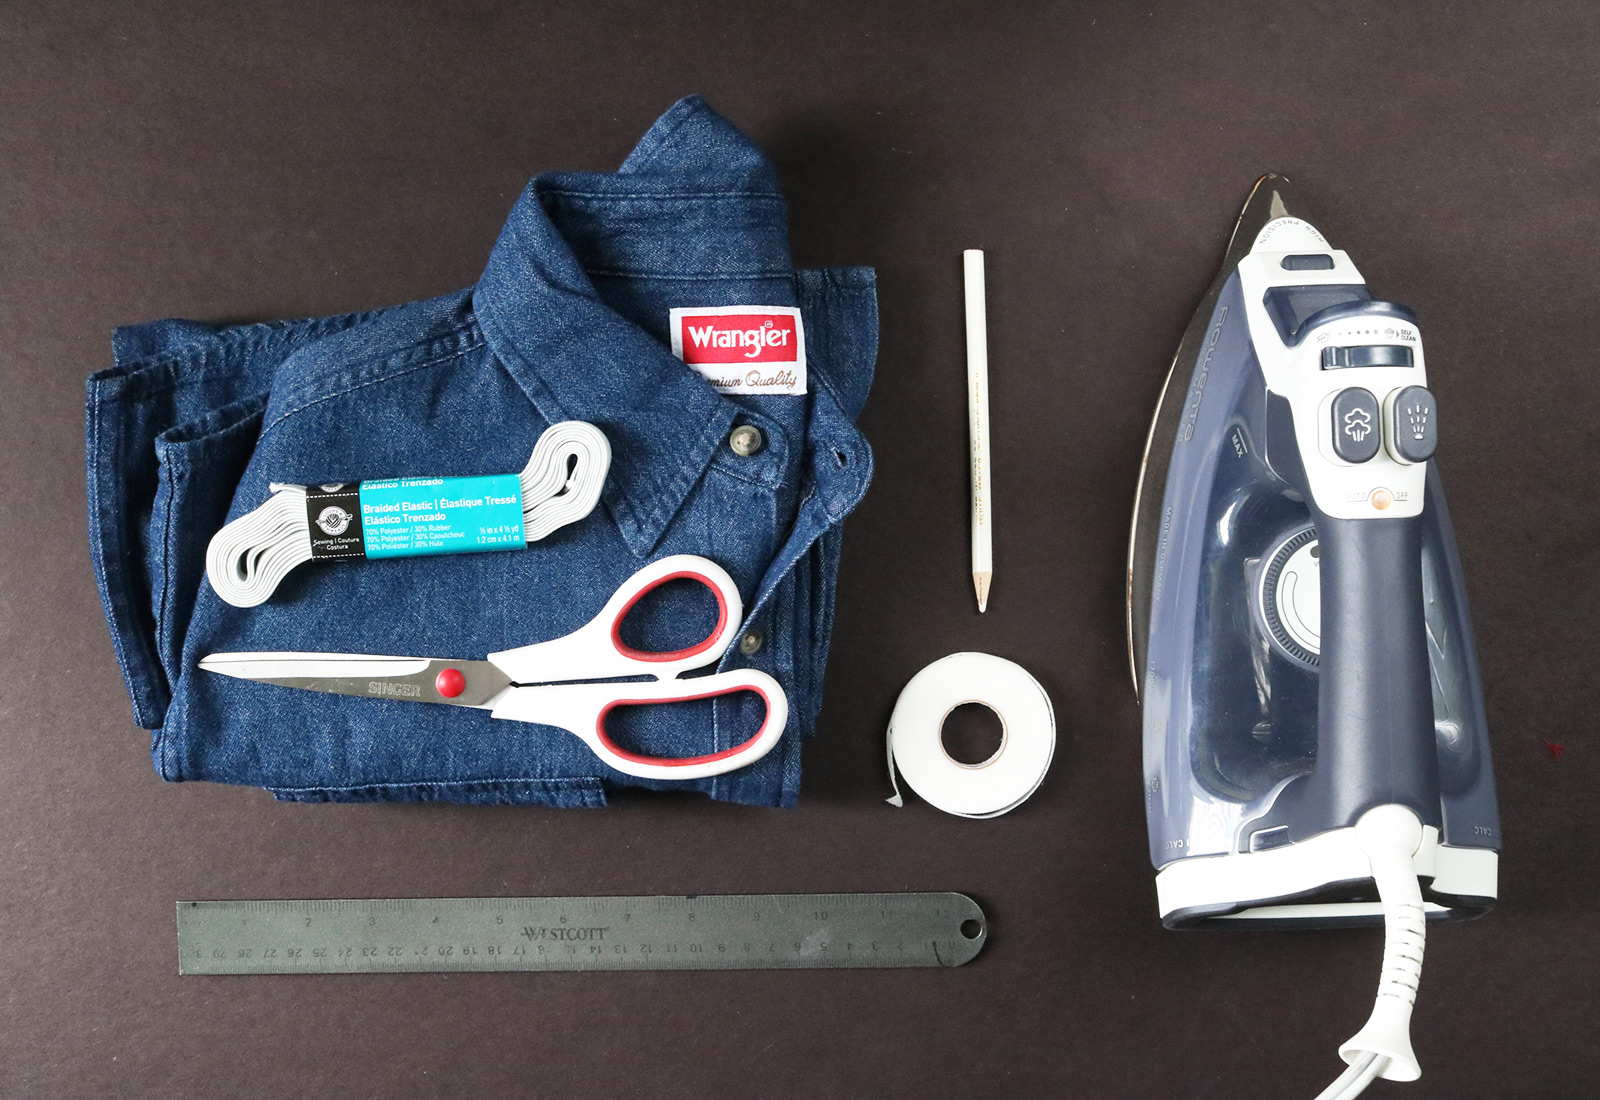
- Button down shirt (Men’s or Women’s)*
- 1/2-inch wide elastic
- Fabric scissors
- Chalk pencil
- 1/2-inch wide fusible webbing tape
- Ruler
- Iron
* To make a tunic, use a shirt that’s bigger than your usual size. Otherwise, use a button down in your own size for a normal shirt. (I used a Men’s denim button down for a slightly looser, longer fit.)
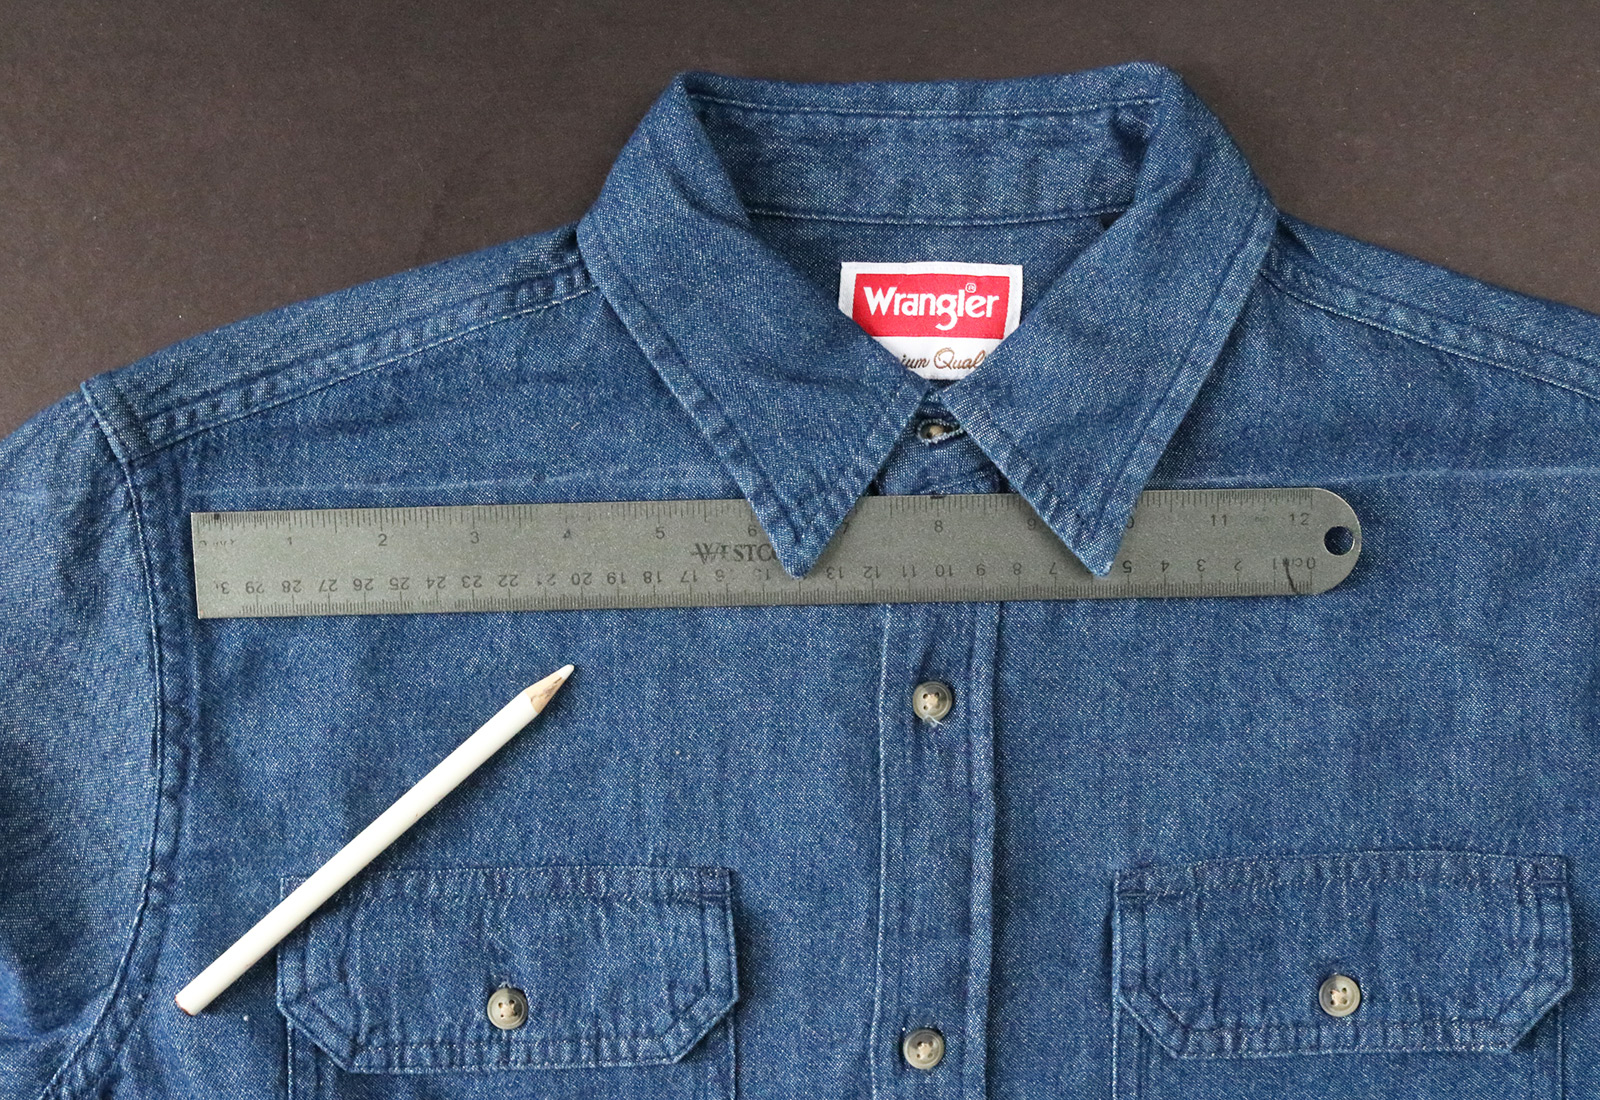
1. Place the shirt on a flat, hard surface. Using the ruler, draw a straight line across the collar bone of the shirt.
Not sure where that is? Start right below the spot where the shoulder seam crosses the sleeve seam.
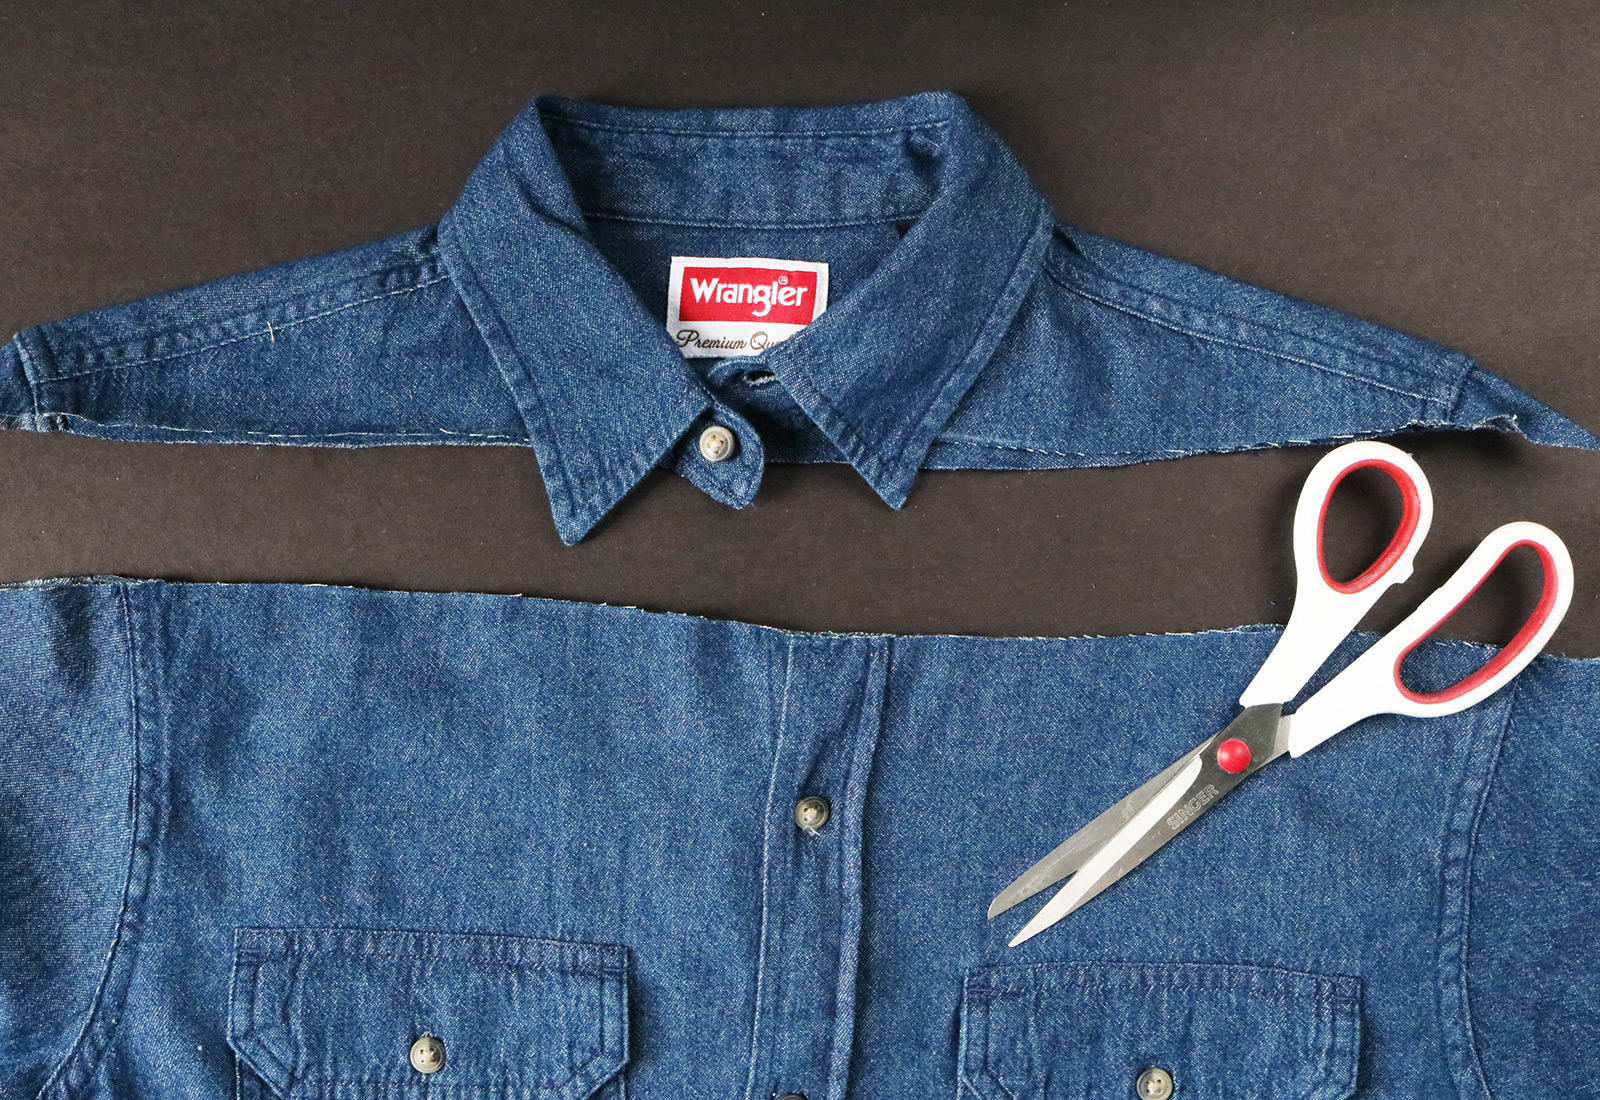
2. Cut right along the line.
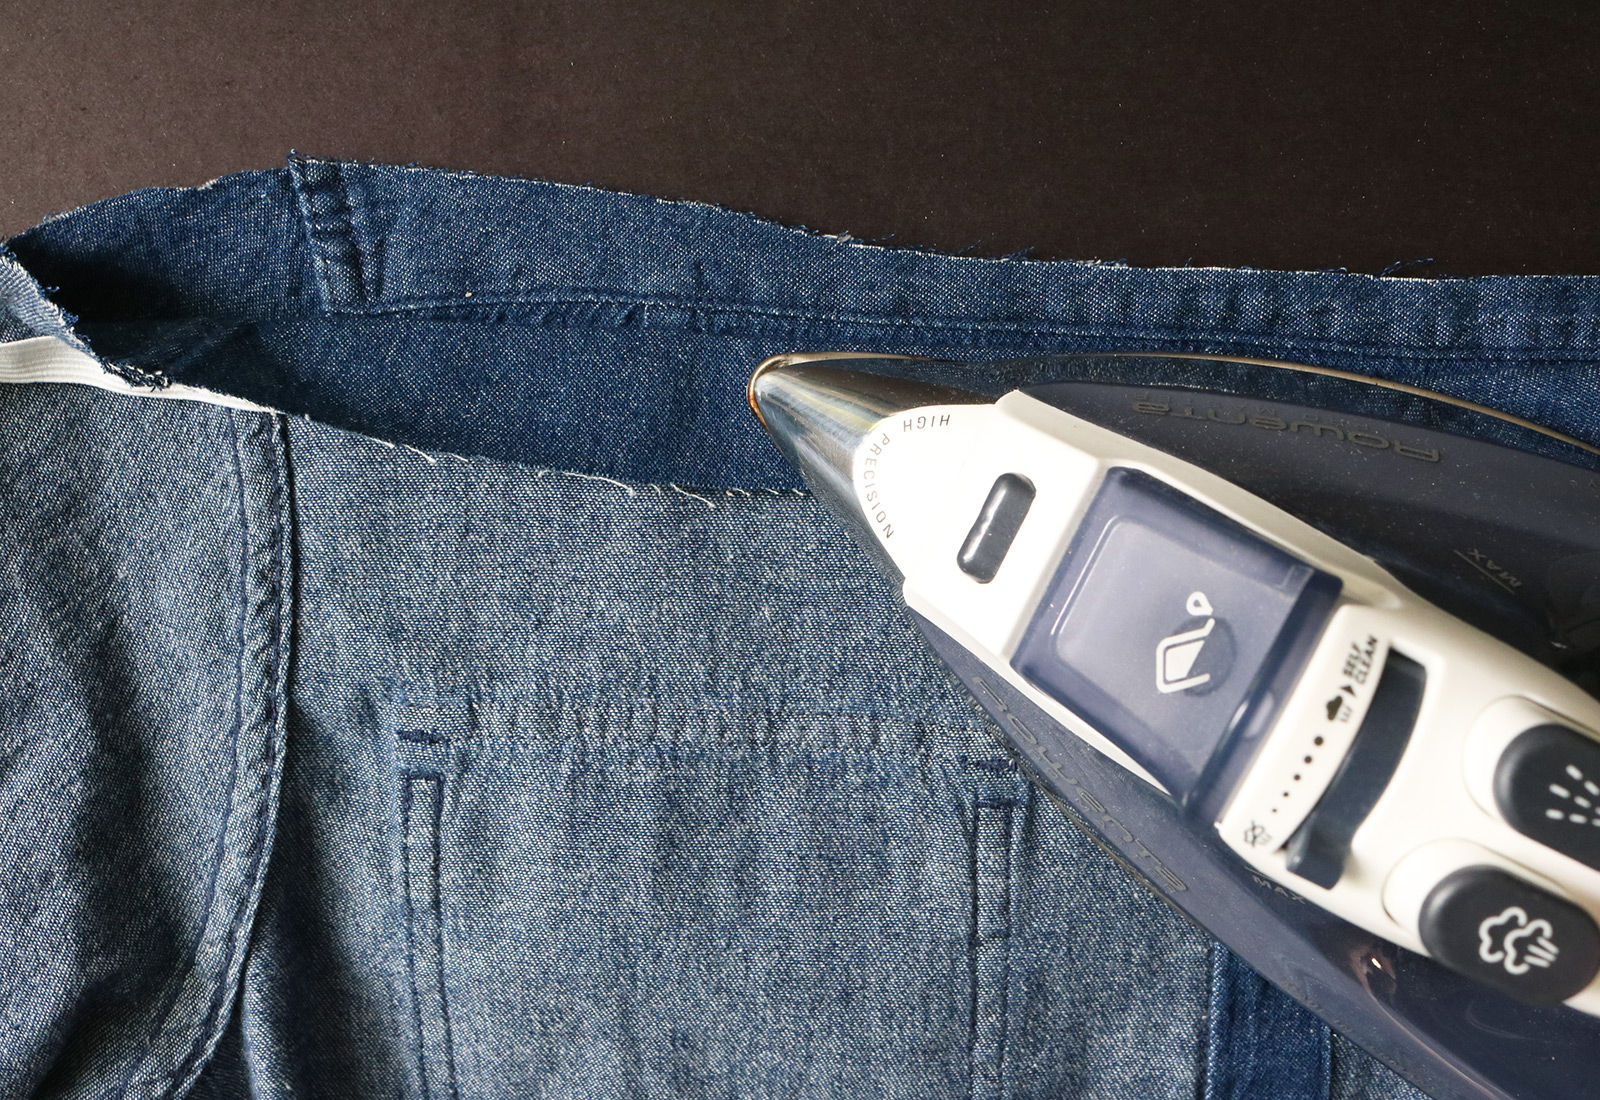
3. Turn the shirt inside out and fold down the edge by one inch. Iron to hold the fold. Repeat on the other side.
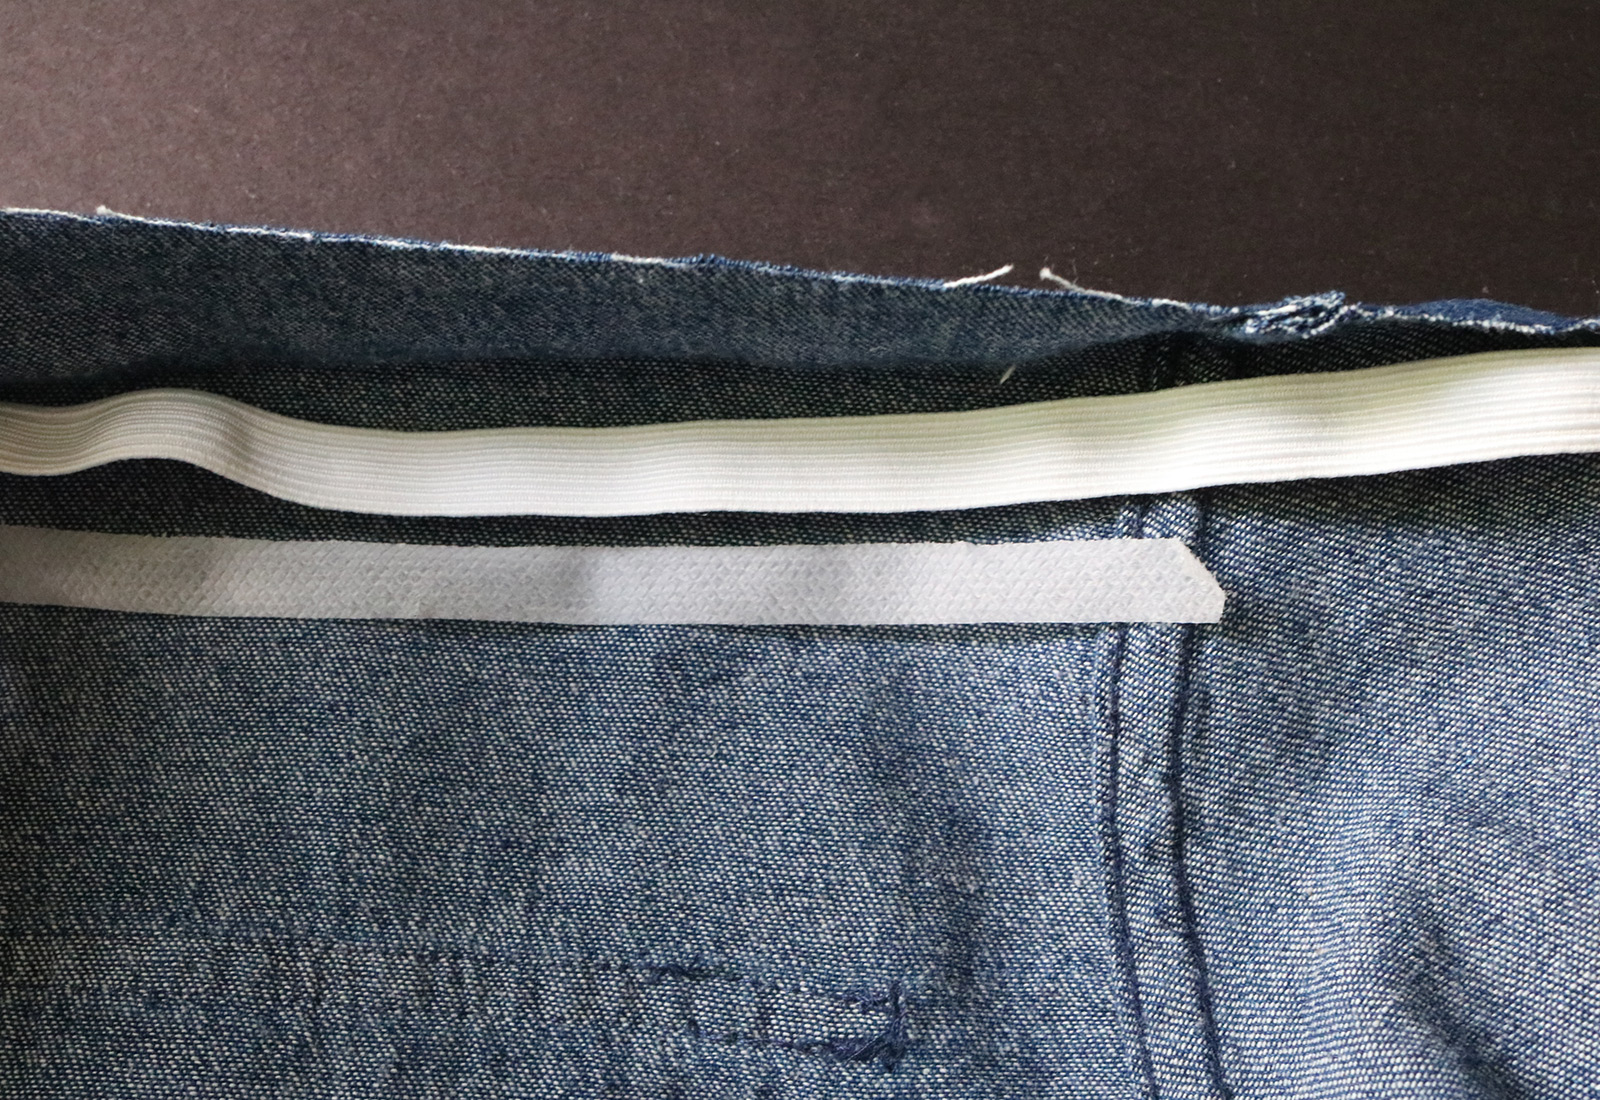
4. Cut two strands of elastic—one for the front and one for the back. Each strand should be long enough to lay under the entire fold plus five inches on each side.
Next, cut two strands of fusible webbing tape. Each piece should be long enough to fit just under the fold. Basically, each end should hit the sleeve seam.
Place the elastic right up against the fold, and the fusible webbing tape right under it near the raw edge. Again, your best bet is to lay out the shirt on a flat surface.
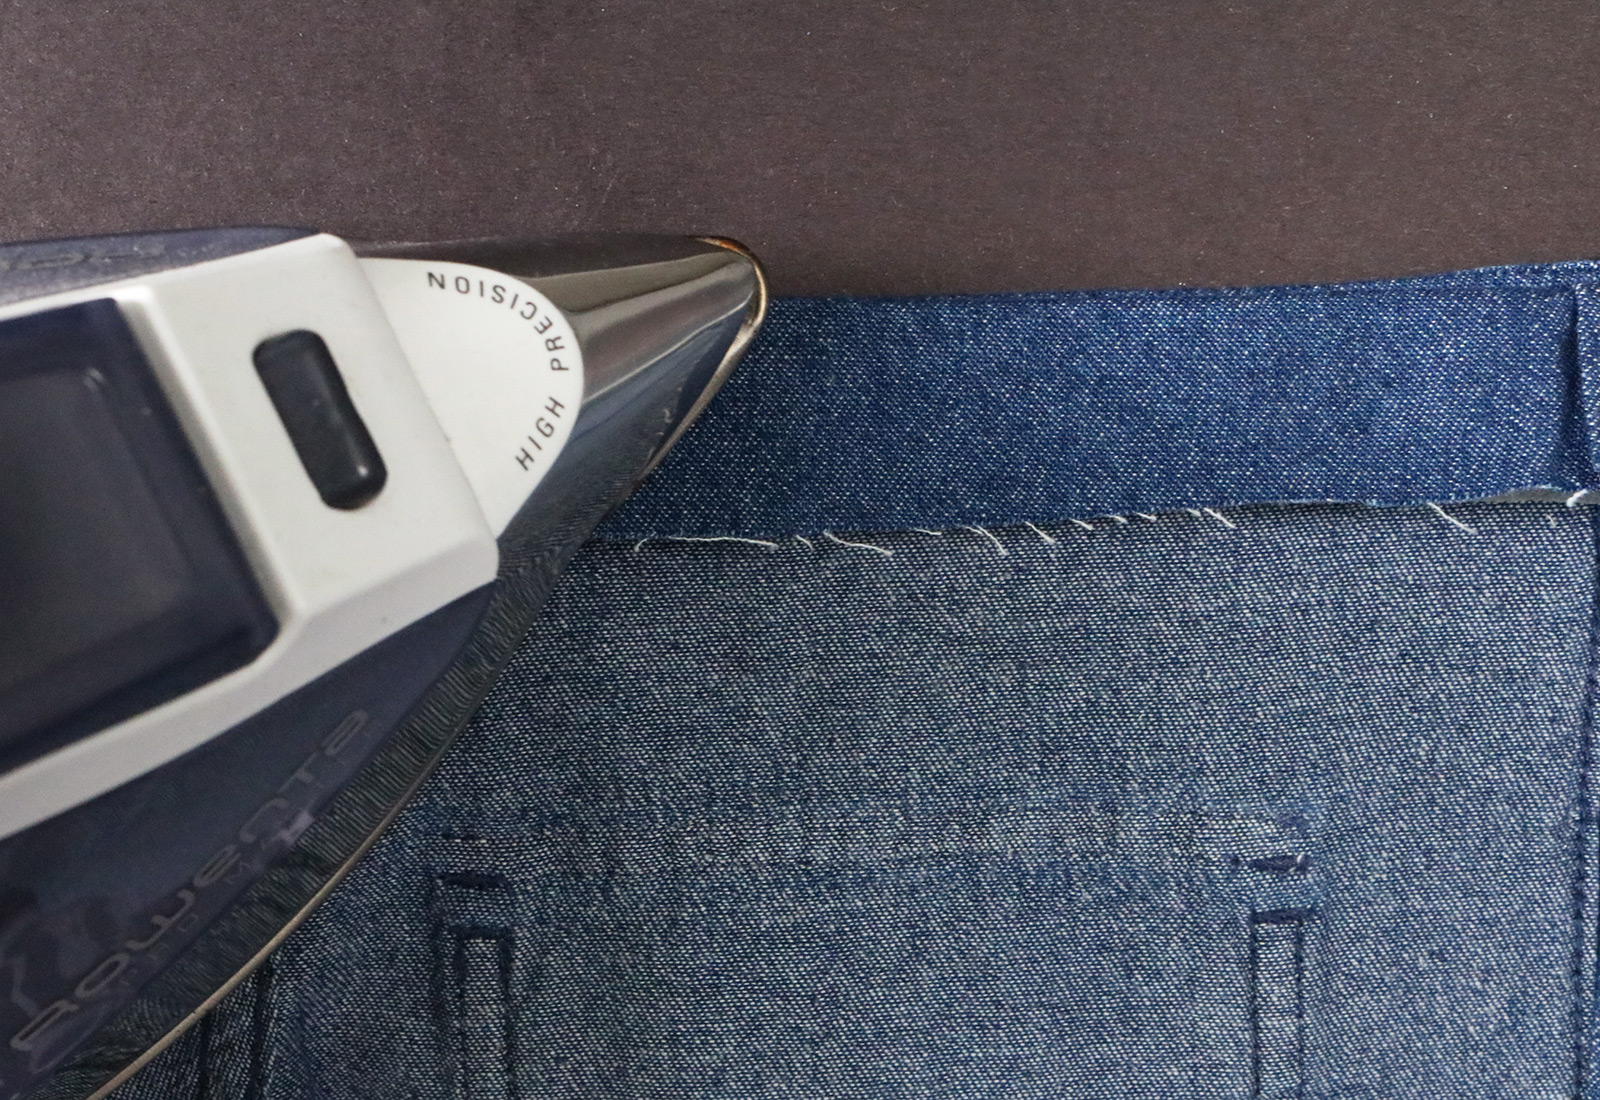
5. Fold the fabric back over and apply an iron, working in segments. If you’re not sure how to use fusible webbing tape, check the instructions on the packaging.
Turn the shirt over and repeat Steps 4 & 5 on the other side.
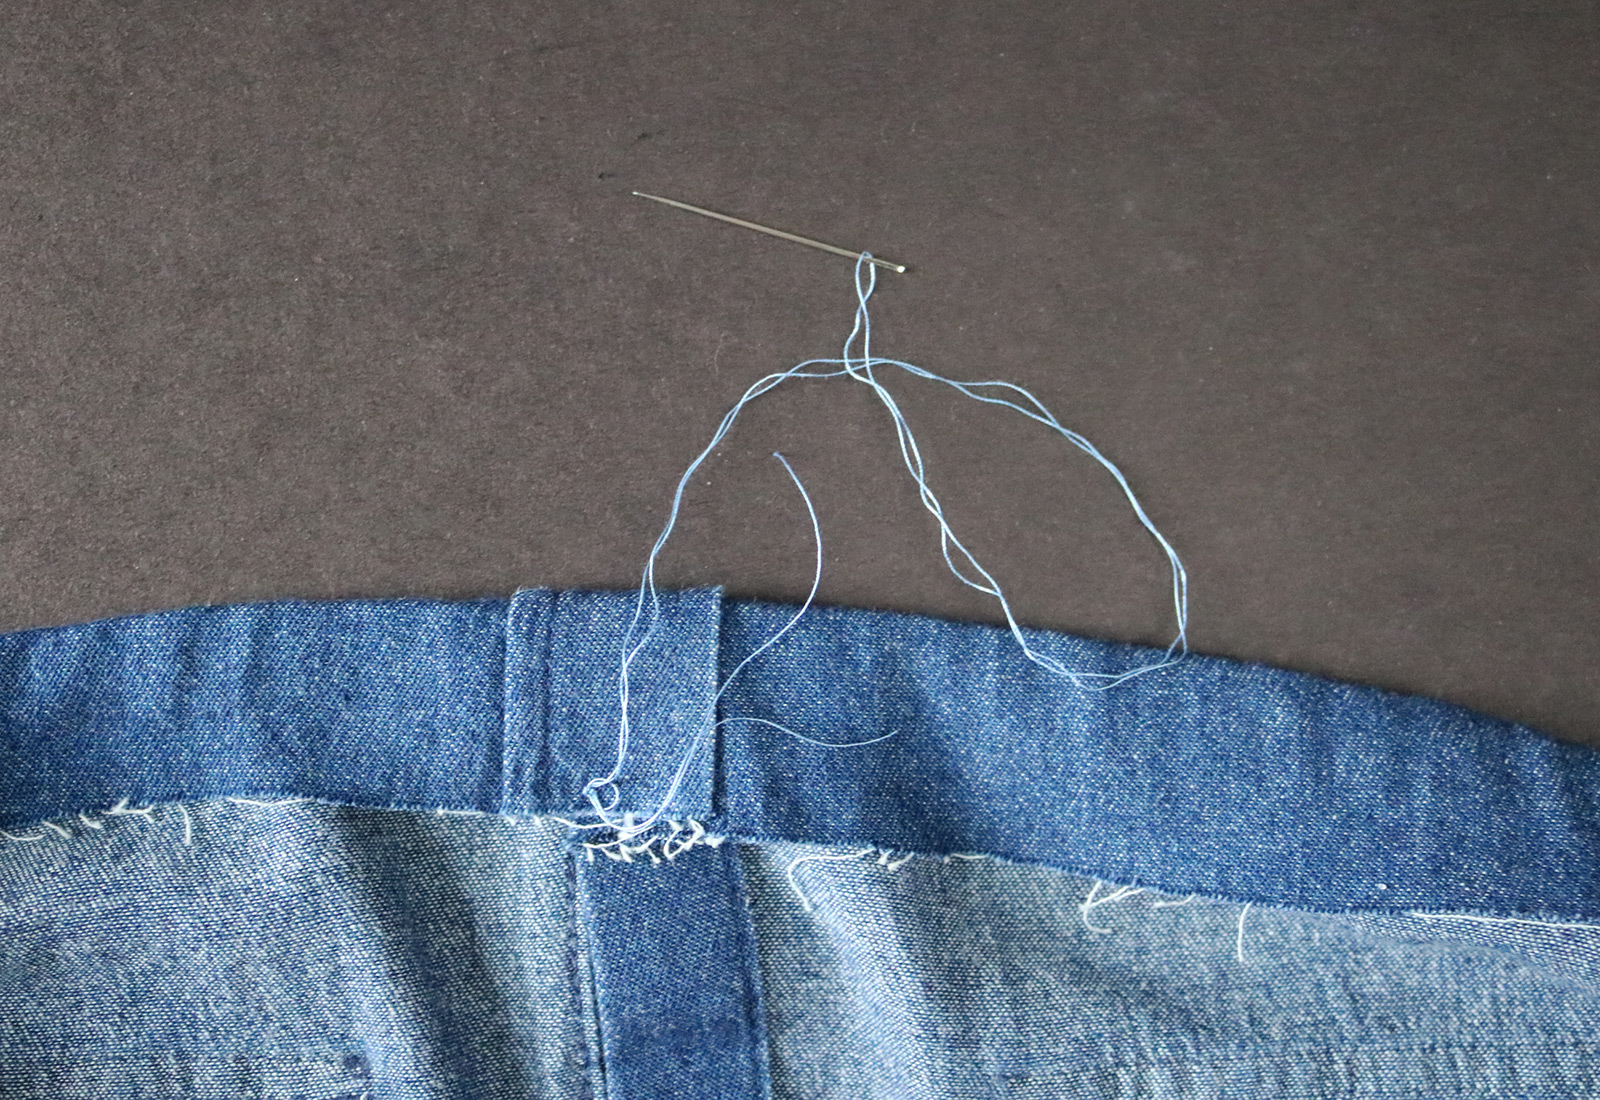
6. Thanks to the shirt’s buttons, the front will have extra layers of fabric that won’t stick to the fusible webbing. You can keep everything in place with a few hand stitches.
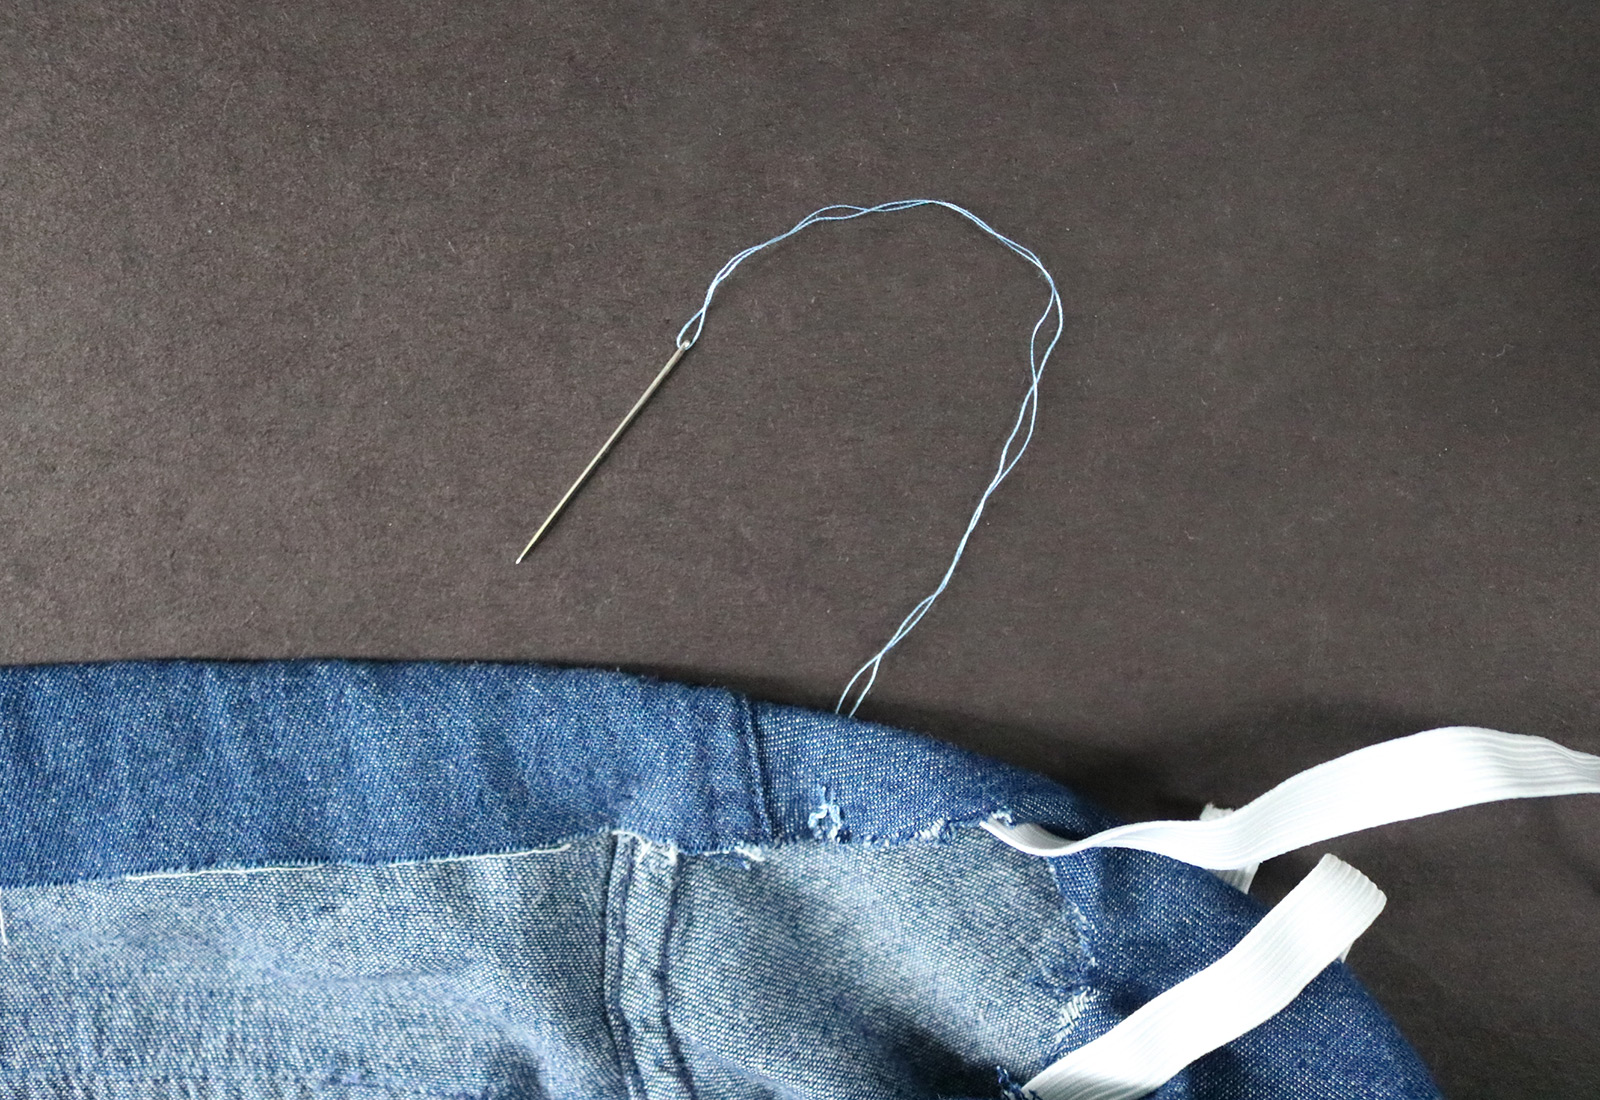
7. A few hand stitches will also be useful at the shoulders, right where the fusible webbing tape ends.
8. Turn the shirt right side out. Pull the elastic and bunch up the shirt to ruche it. Tightly tie the elastic at each end.
Try it on to make sure it stays on your shoulders. If needed, untie the elastic and adjust accordingly. Once you’ve got the right fit, snip away the excess elastic.
If you’d like, use a few hand stitches to close up both shoulders even further. This will help conceal the elastic better.
I am 150% obsessed with how this came out. Since I used a Men’s shirt, I can wear it as a tunic over leggings or jeans. (I usually wear Small in Men’s, but used a Medium for this.) Feel free to use a size that suits your desired fit and style.
Next on my list? Using this technique to re-purpose a Men’s plaid shirt. If I keep this up, my future husband (whoever he may be) should probably keep a lock on his closet.
Seriously, you can turn any button down or top into an off-the-shoulder piece. Love love love it.
xx K
Tutorial Photos: Kirsten Nunez
Styled Photos: Haruka Sakaguchi


