I’ve always had a soft spot for hardware. Growing up, I constantly tagged along to Home Depot and Lowe’s with my father. I remember thinking that what the hardware store is to him is the equivalent of what the craft store is to me: a place full of potential and creativity.
These days, I still love hardware stores. From a crafty perspective, there are so many odds n’ ends that are waiting to be used in unconventional ways. At least… that’s what I tell myself.
This marble tray project was born in the aisles of Home Depot. The moment I came across marble tiles, the idea snowballed from there. It also goes to show that being open to new and unfamiliar supplies can yield some interesting results.
$12 and two steps later, and you’ve got yourself a marble tray. Here’s how to make it!
Supplies:
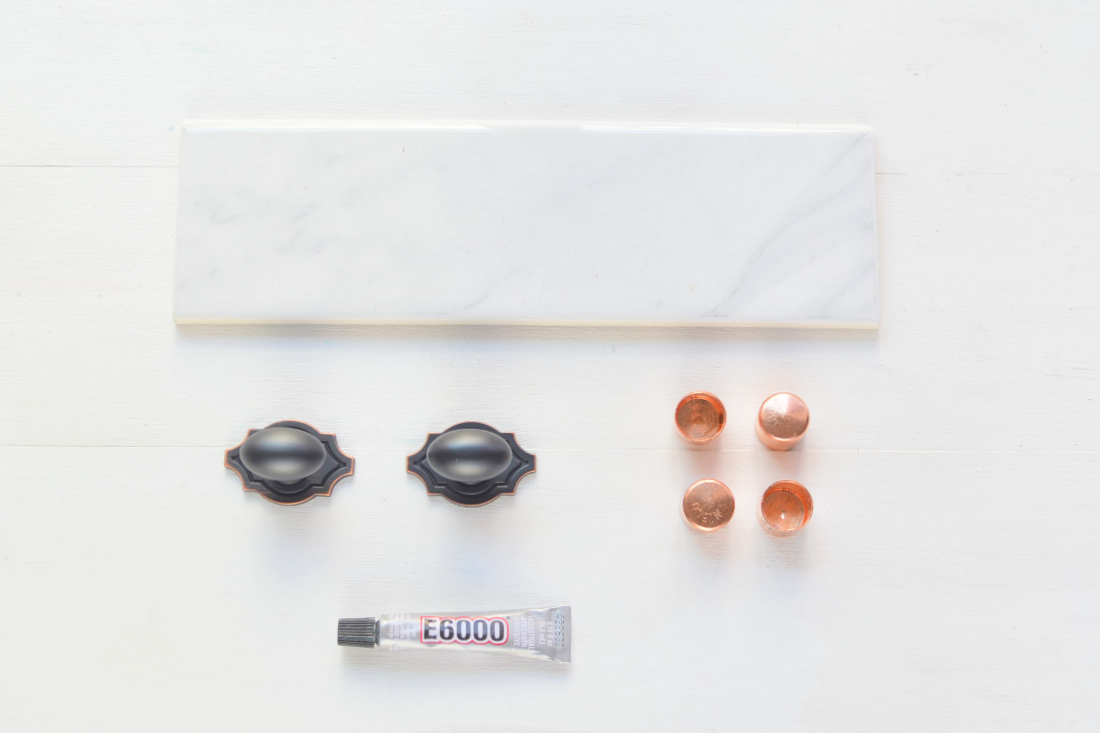
- Marble tile
- Screw-on drawers pulls (2) **
- Copper tube caps (at least 4)
- Strong industrial-strength craft glue (such as E6000)
The size of the marble tile will determine the finished size of your tray. I used a fairly small rectangle tile, similar to this one.
Make sure the drawer pulls are small enough to fit across the tile; this is less of an issue with square tiles, though! Don’t forget to choose drawer pulls that have a flat-backed surface, too.
As for the copper tube caps? These come in a variety of sizes. I used four 1/2 inch caps. If you’re using a bigger tile, you may want to opt for bigger caps. On the flipside, you could also go for a greater quantity of the smaller caps. Either way, make sure there are enough caps to be evenly distributed across the tile. This will ensure that the weight is properly sustained.
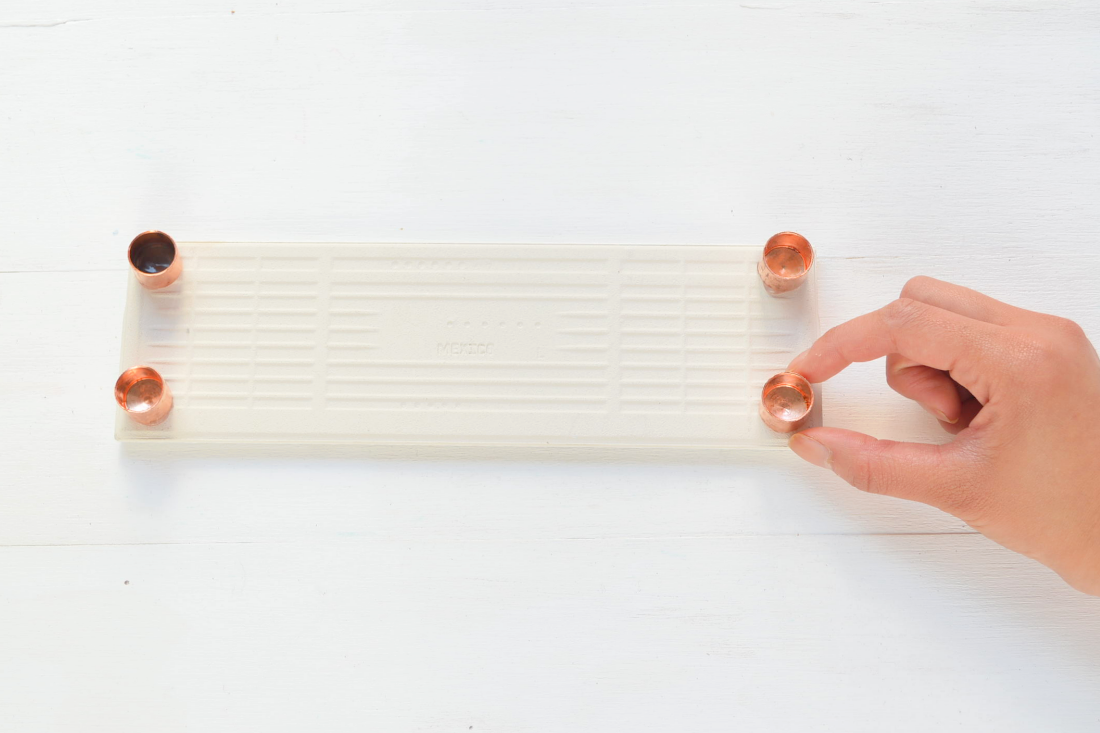
1. Turn the marble tile over. Glue the copper tube caps, flat side down. Leave to dry.
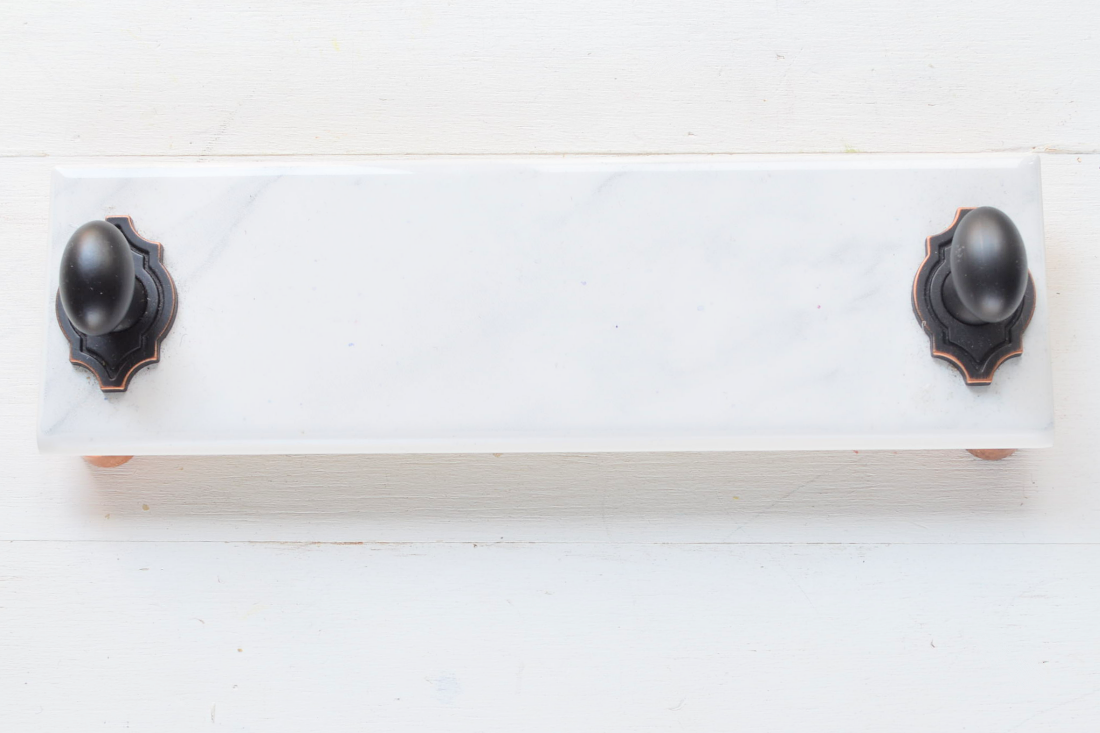
2. Flip the marble tile right side up, resting on the copper tube cap “feet”. Glue the drawer handle pulls in place.
(You won’t need the screws that the drawer pulls are packaged with!)
Once the glue is done doing its thing, your new tray is ready to dress up your vanity/desk/book shelf. I like to use mine to display small trinkets, candles, and jewelry.
This may be one of my quickest, easiest projects yet. What would you use your tray for? Let me know in the comments, below!
xx K

