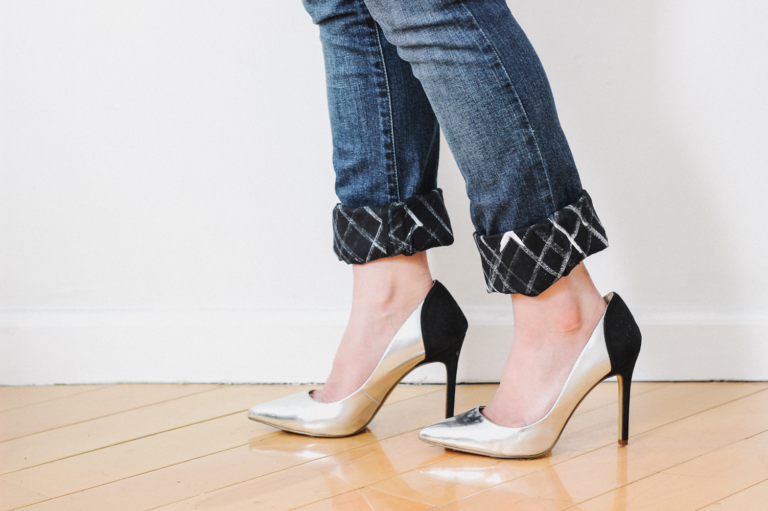
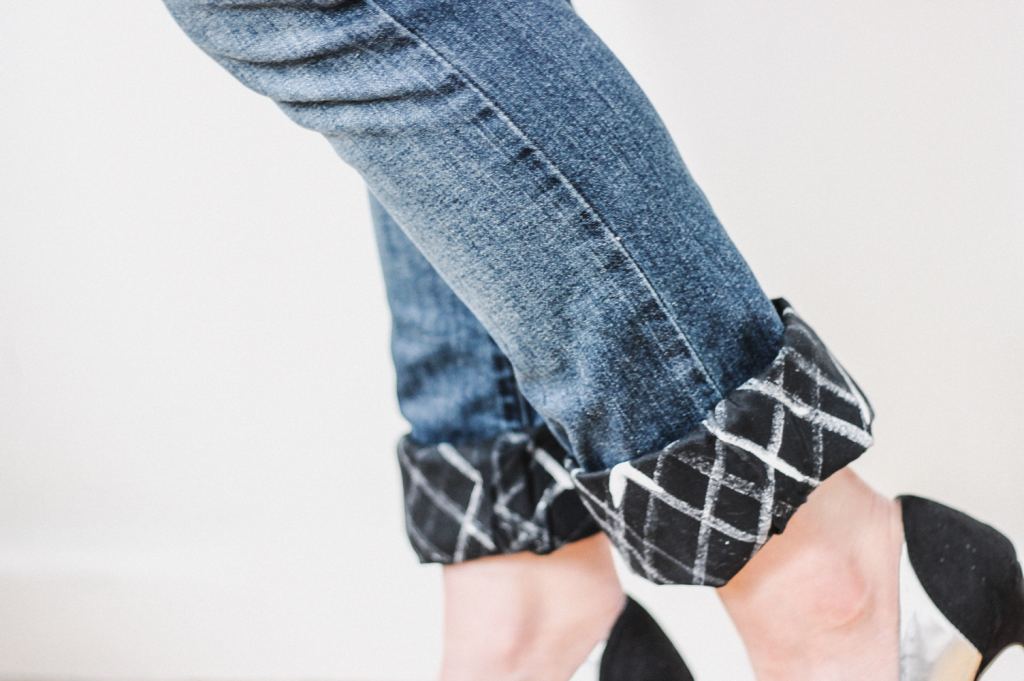
Anyone notice how black and white grid prints have been everywhere lately? From Old Navy to Vince, this basic print has been making quite the impact. I’m a sucker for black and white, so naturally I back this trend 100%. What’s awesome is because it’s so basic, it technically won’t ever go out of style; these are the types of trends I can get behind.
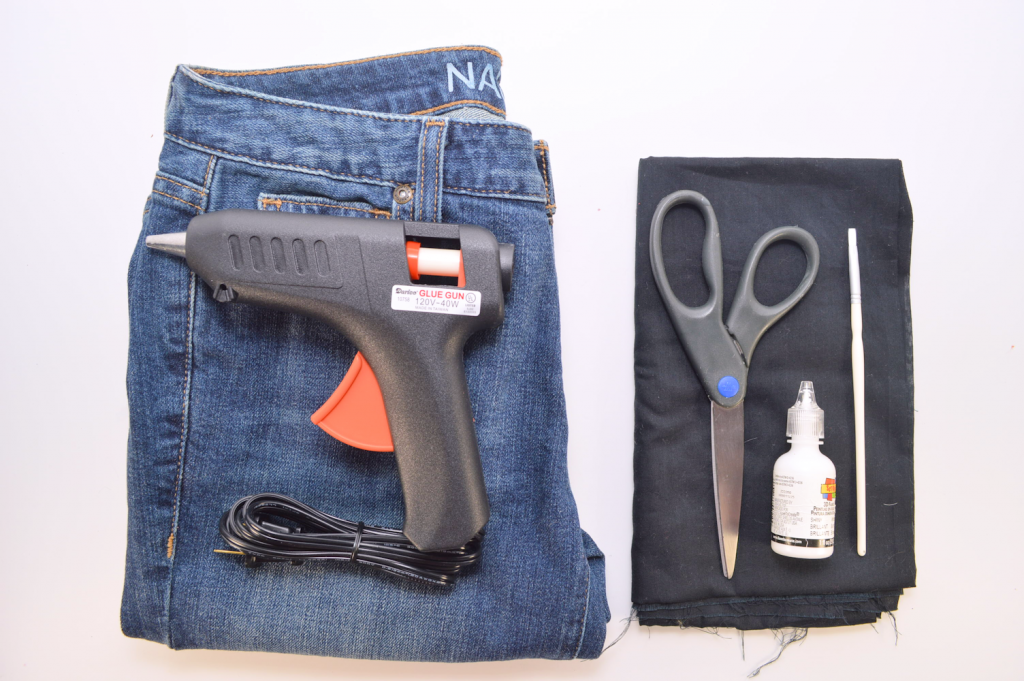
– Jeans
– Hot Glue Gun + Fabric Glue Sticks
– Fabric
– Contrasting Fabric Paint
– Fabric Scissors
– Thin Paintbrush
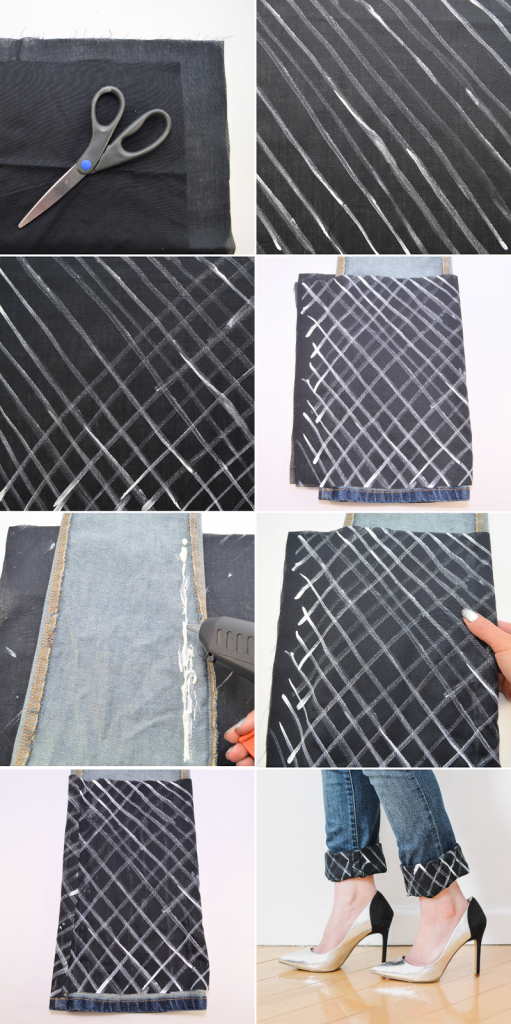
1) Cut two rectangles of fabric, each measuring 2 times the width of one pant leg (plus 3 inches). The height is up to you; I made mine long enough to reach mid-calf, so that I can cuff them up to three times.
2) Paint diagonal stripes. They don’t have to be perfect!
3) Paint diagonal stripes in the opposite direction. Let dry completely.
4) Fold the fabric in half, painted side facing out. Turn the jeans inside out and place one pant leg in between the folded fabric.
5) Add a line of hot fabric glue.
6) Fold over the fabric and press down to secure. Repeat Steps 5-6 until all of the fabric has been glued to the jeans. (You can also use normal fabric glue. Hot fabric glue dries super fast, which is why I used it.)
7) Once the fabric has been glued to the pant leg, glue down the raw edge and trim any excess fabric. Repeat on the second pant leg.
Note: If your jeans end up being super bulky when cuffed, try cutting away the thick bottom edge of each leg. This will help immensely.
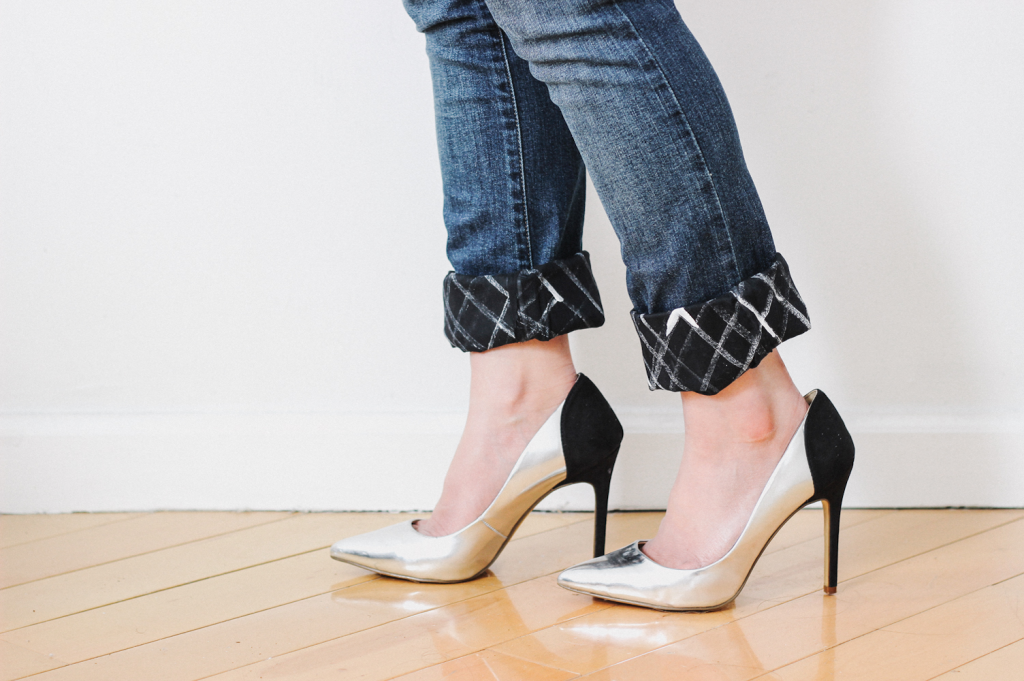
Lifestyle Images: Haruka Sakaguchi (The Denizen Co.)

