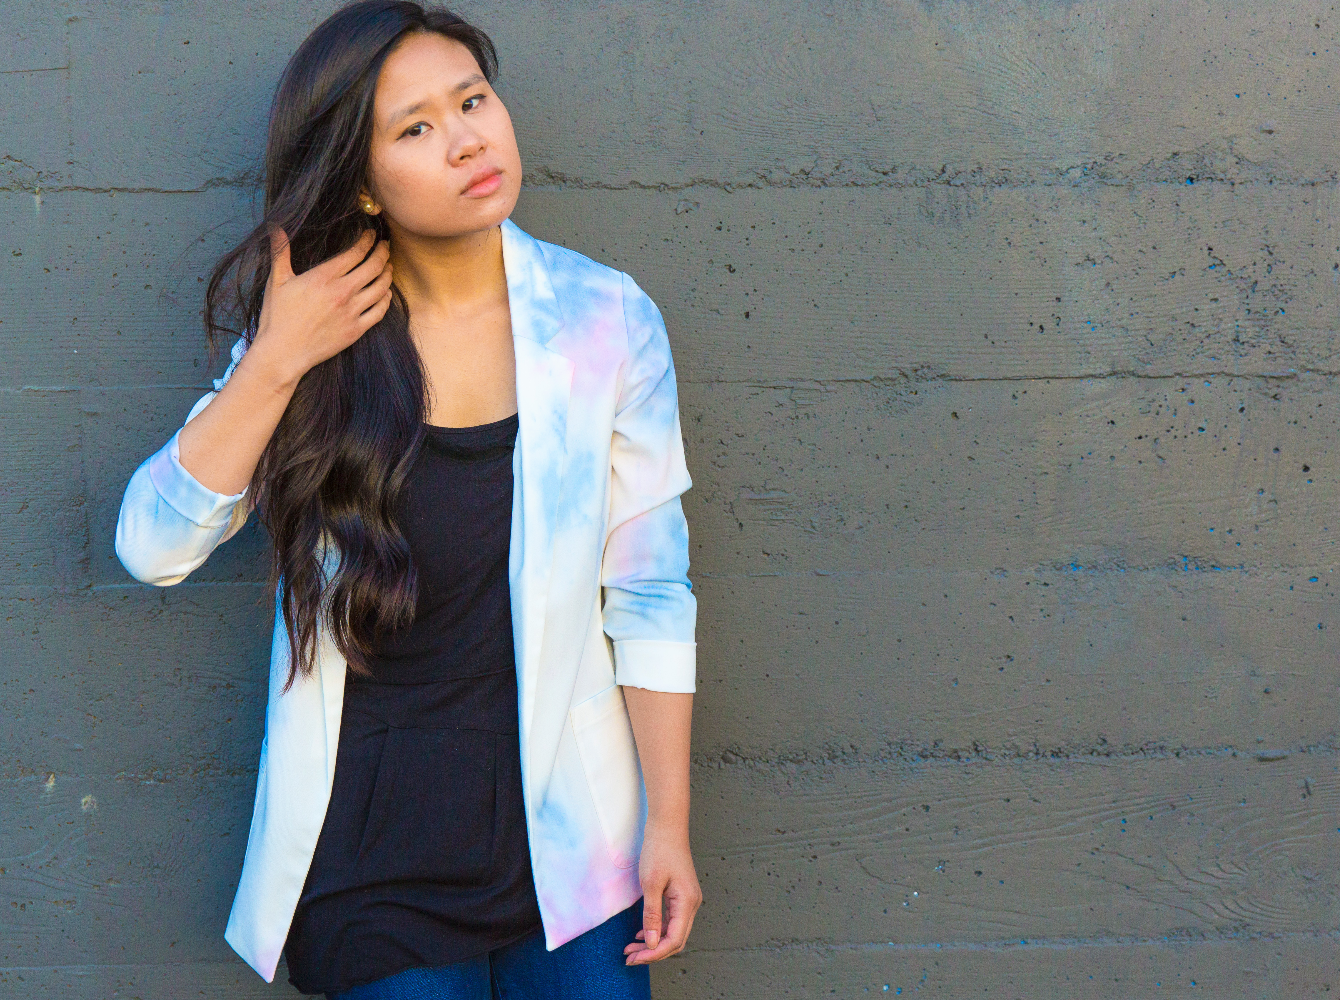
When it comes to fabric projects, I have always loved dabbling in dyes — figuratively, at least. Not trying to turn myself into a Lisa Frank character anytime soon. And since I know you don’t have a million hours to sift through five years of projects, here’s a rundown of my favorite fabric dye tutorials from over the years:
- Ombre Lace Shirt (2011)
- Dip-Dyed Flannel Shirt (2013)
- Tie Dye Word Tank Top (2013)
- Rhinestone Ombre Necklace (2014)
- Watercolor Hi Tops (2014)
- Watercolor Sweatshirt Jacket (2015, Brit + Co)
- Watercolor Pillowcases (2015, We Heart This)
Clearly, your girl’s got a thing for dye jobs.
So, when Rit Dye launched a collection of dyes made to color synthetic fabrics, I was swooning all over the place. The line, called DyeMore, is formulated to add color to 100% polyester, acrylic, nylon, acetate, and polyester/cotton blends. Basically, DyeMore is perfect for all of the fabrics who think they’re too cool for traditional fabric dyes.
Thanks to the lovely crew at Rit, I was able to take a few colors for a spin. You can also find DyeMore on Amazon and The Rit Studio.
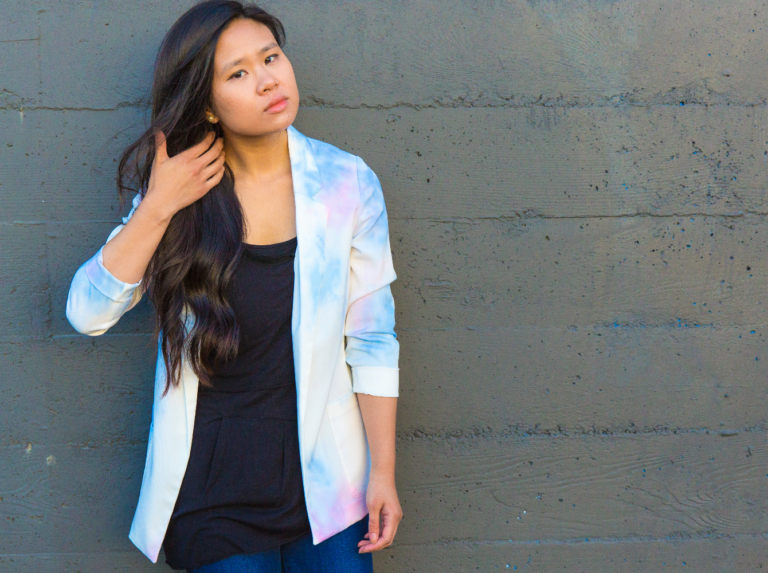
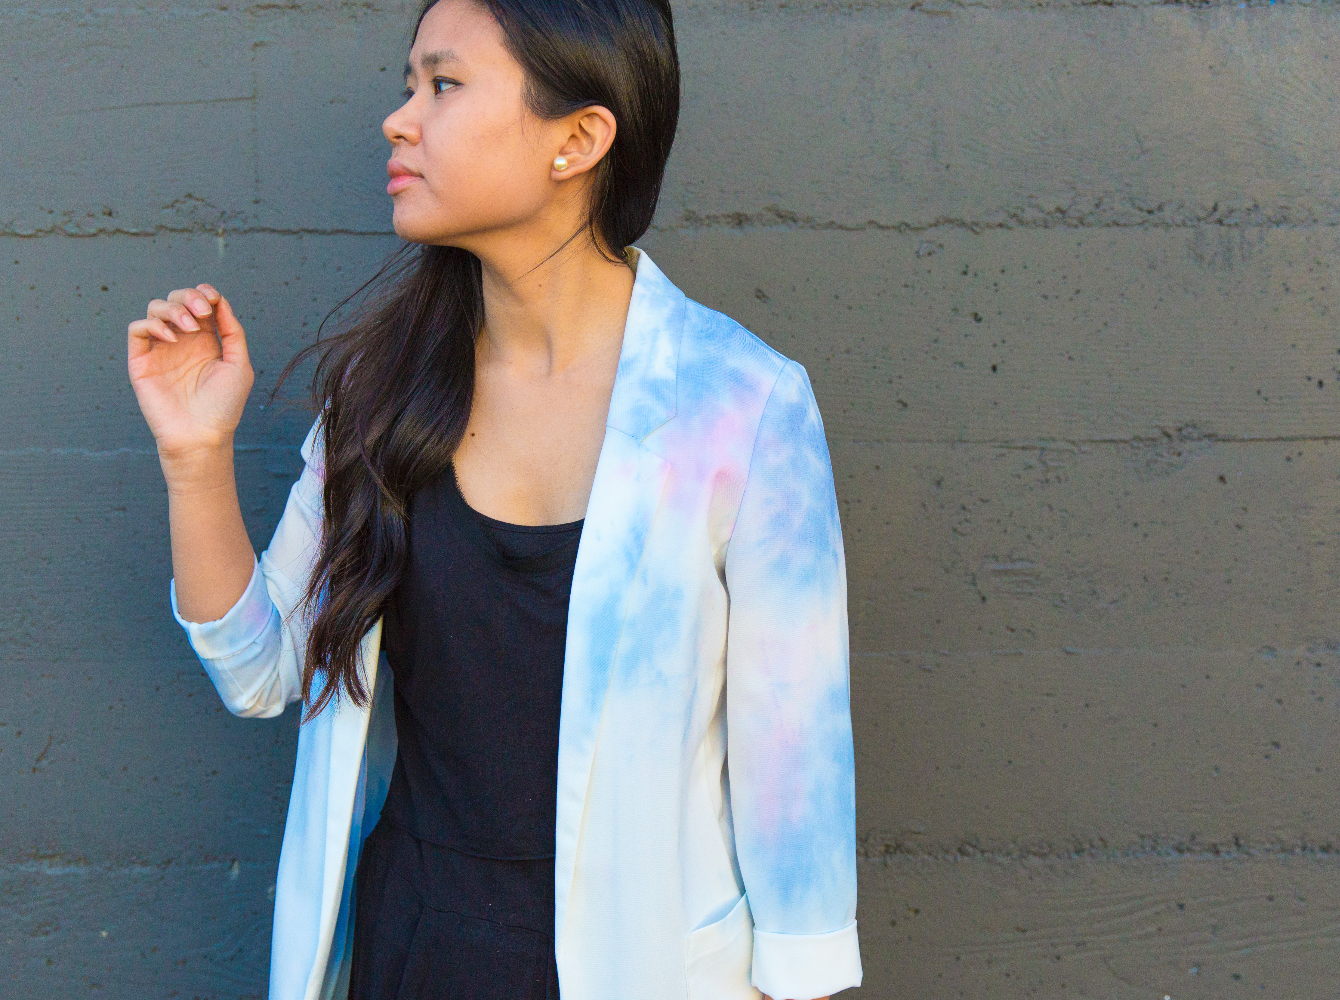
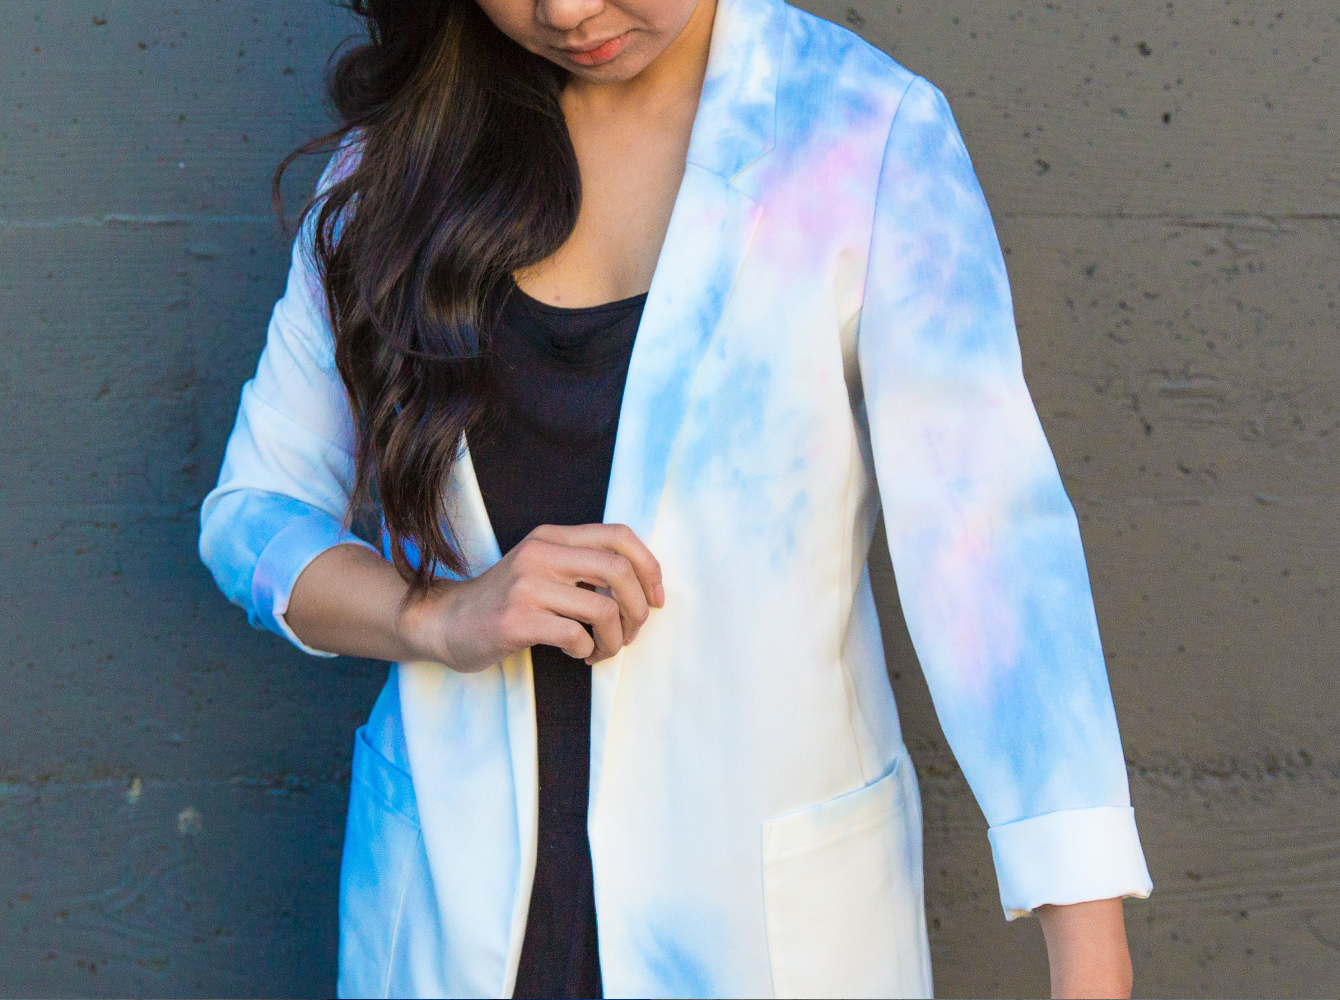
The end result? A dreamy “watercolor” blazer that’s got me all heart eyes. Here’s how to make it!
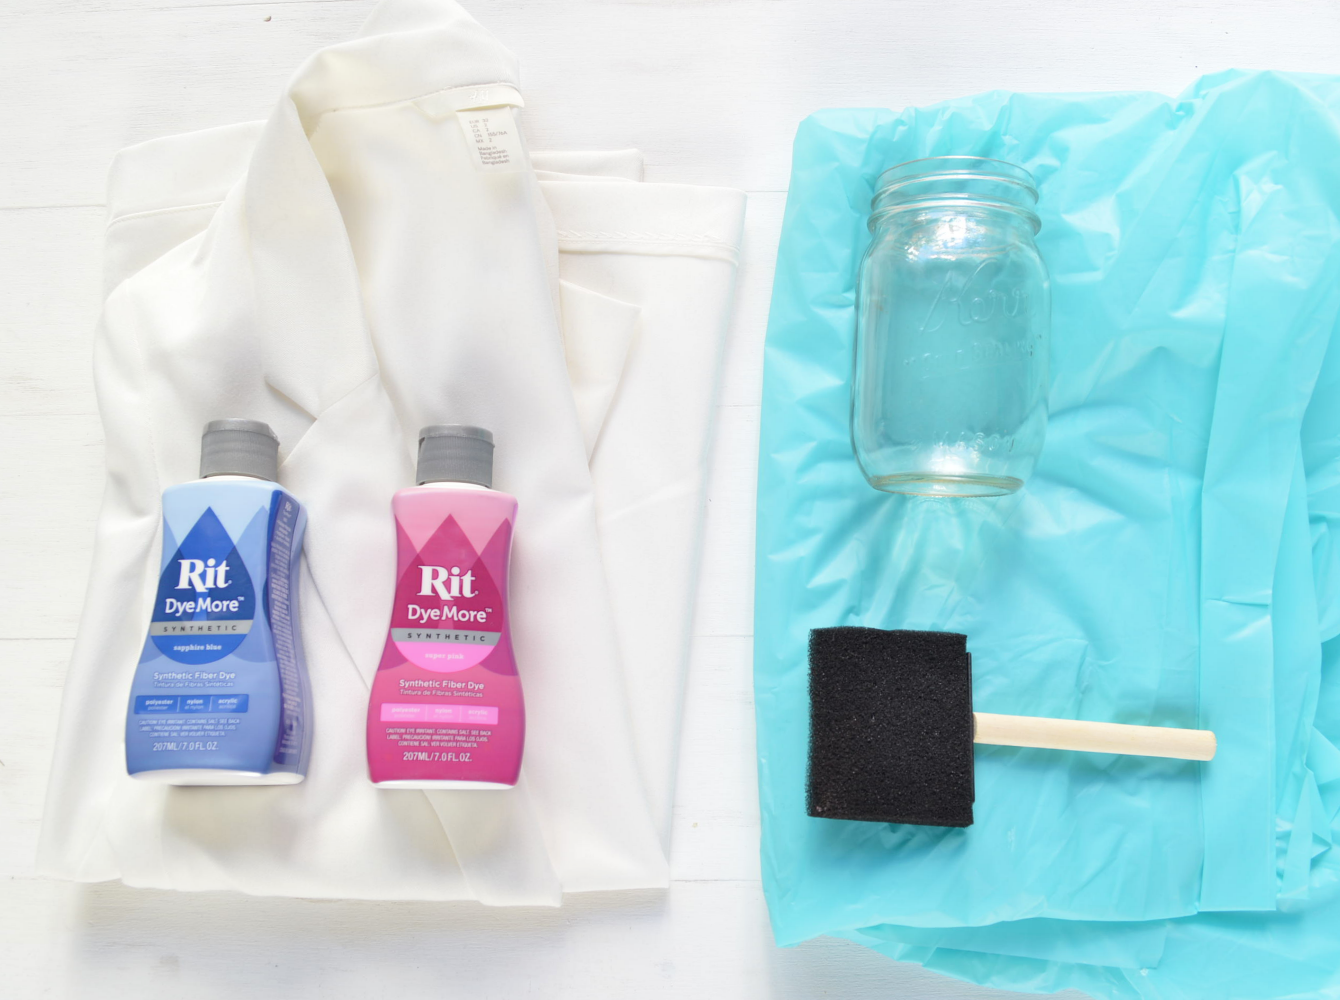
Supplies:
– White, beige, or light gray blazer
– RIT DyeMore in Sapphire Blue and Super Pink
– Glass jar or bowl
– Hot water
– Wide foam paint brush
– Tarp or plastic table cloth
This blazer was purchased at H&M. Any light-colored blazer will do.
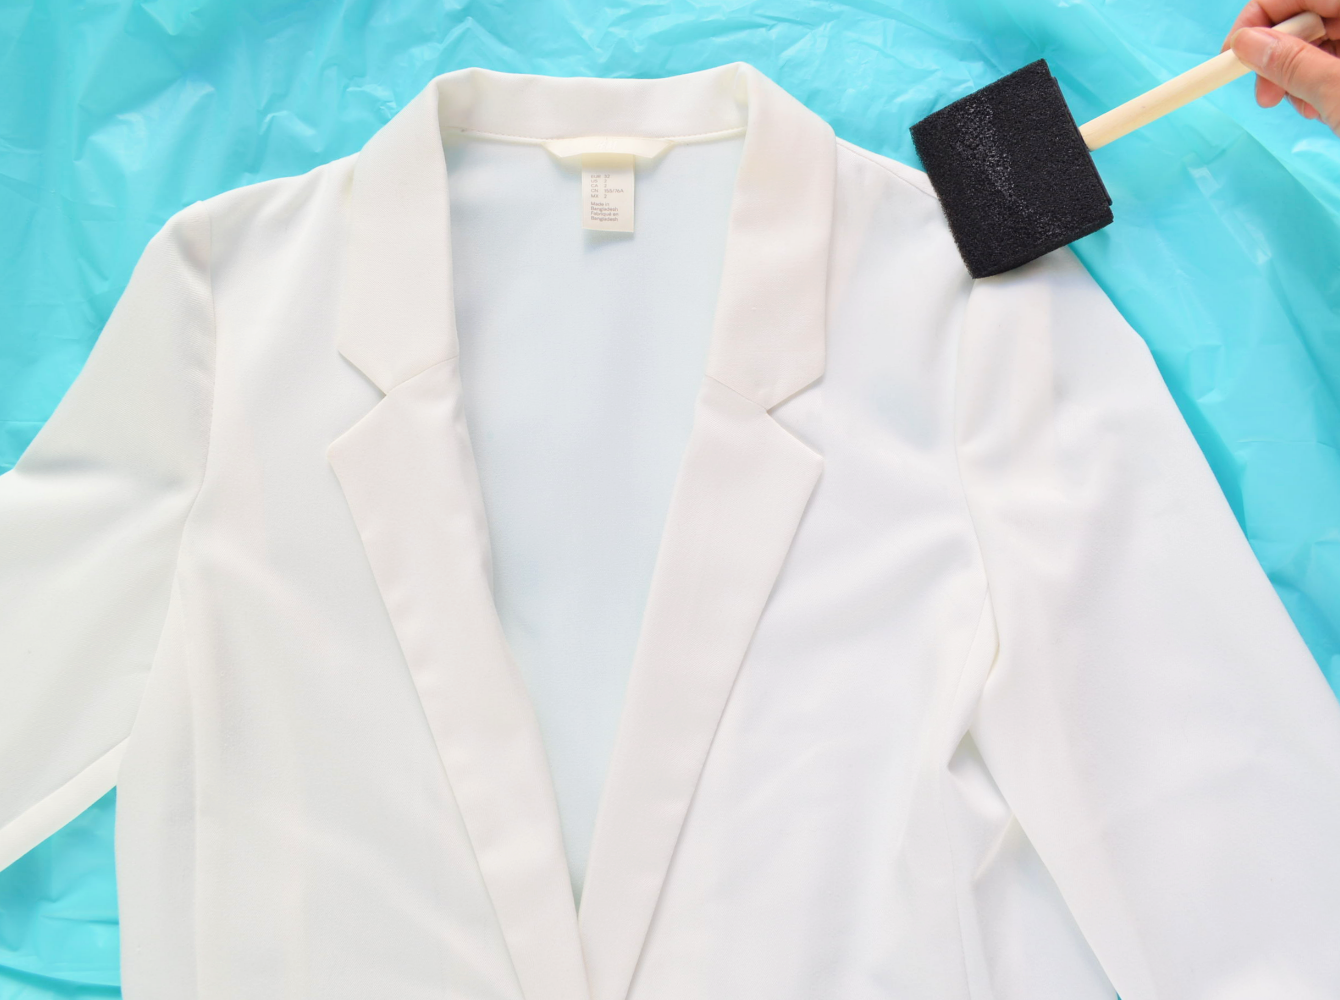
1. Protect your work surface with the tarp or table cloth. For best results, work on a flat, hard surface.
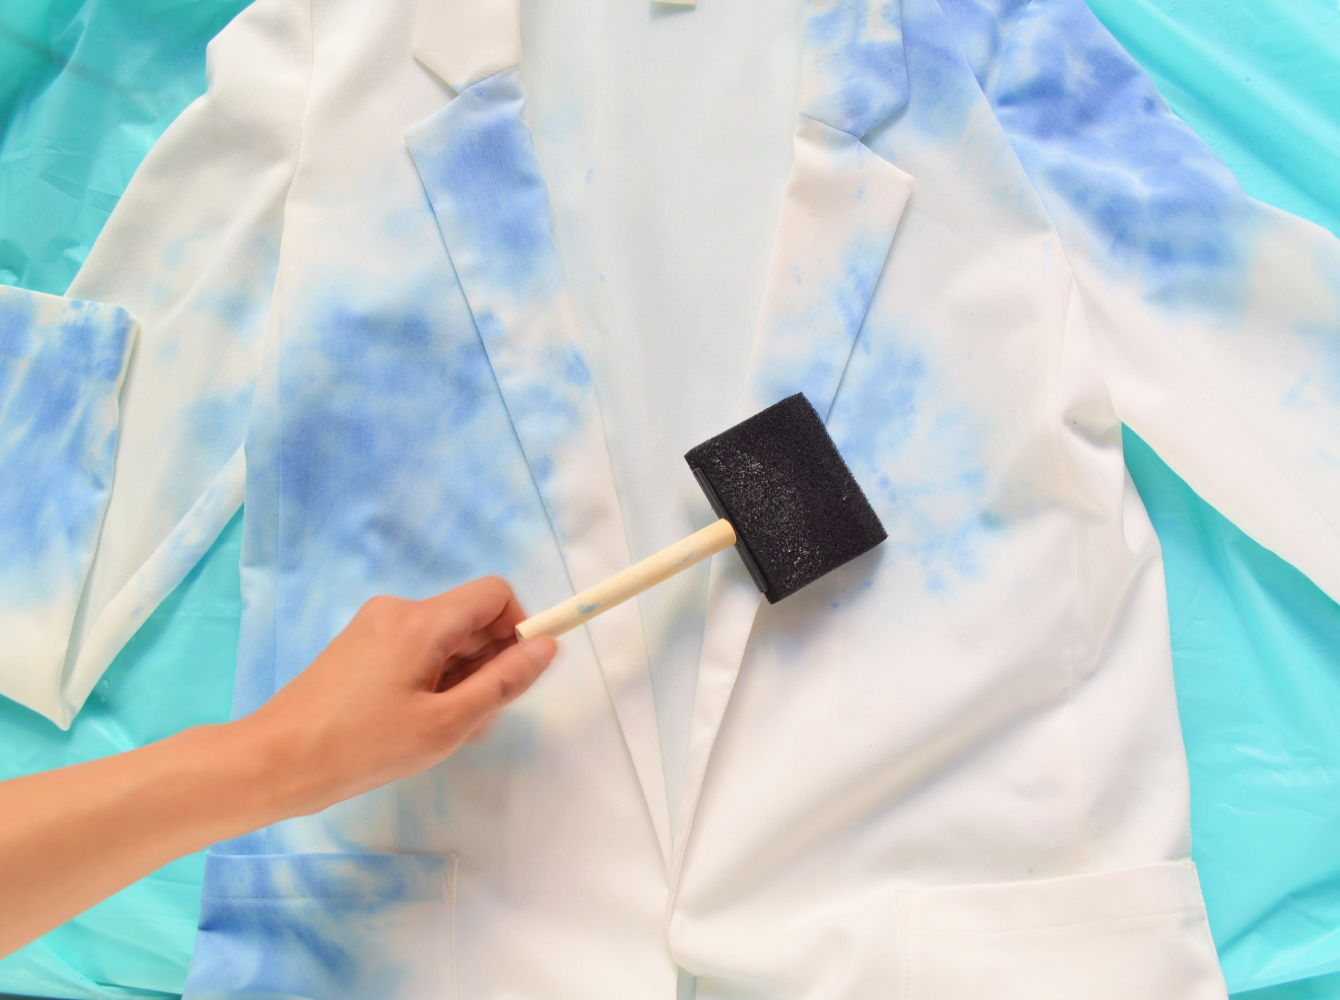
Lay the blazer on top and choose an area to start coloring. Soak up the foam brush with hot water and dampen the area.
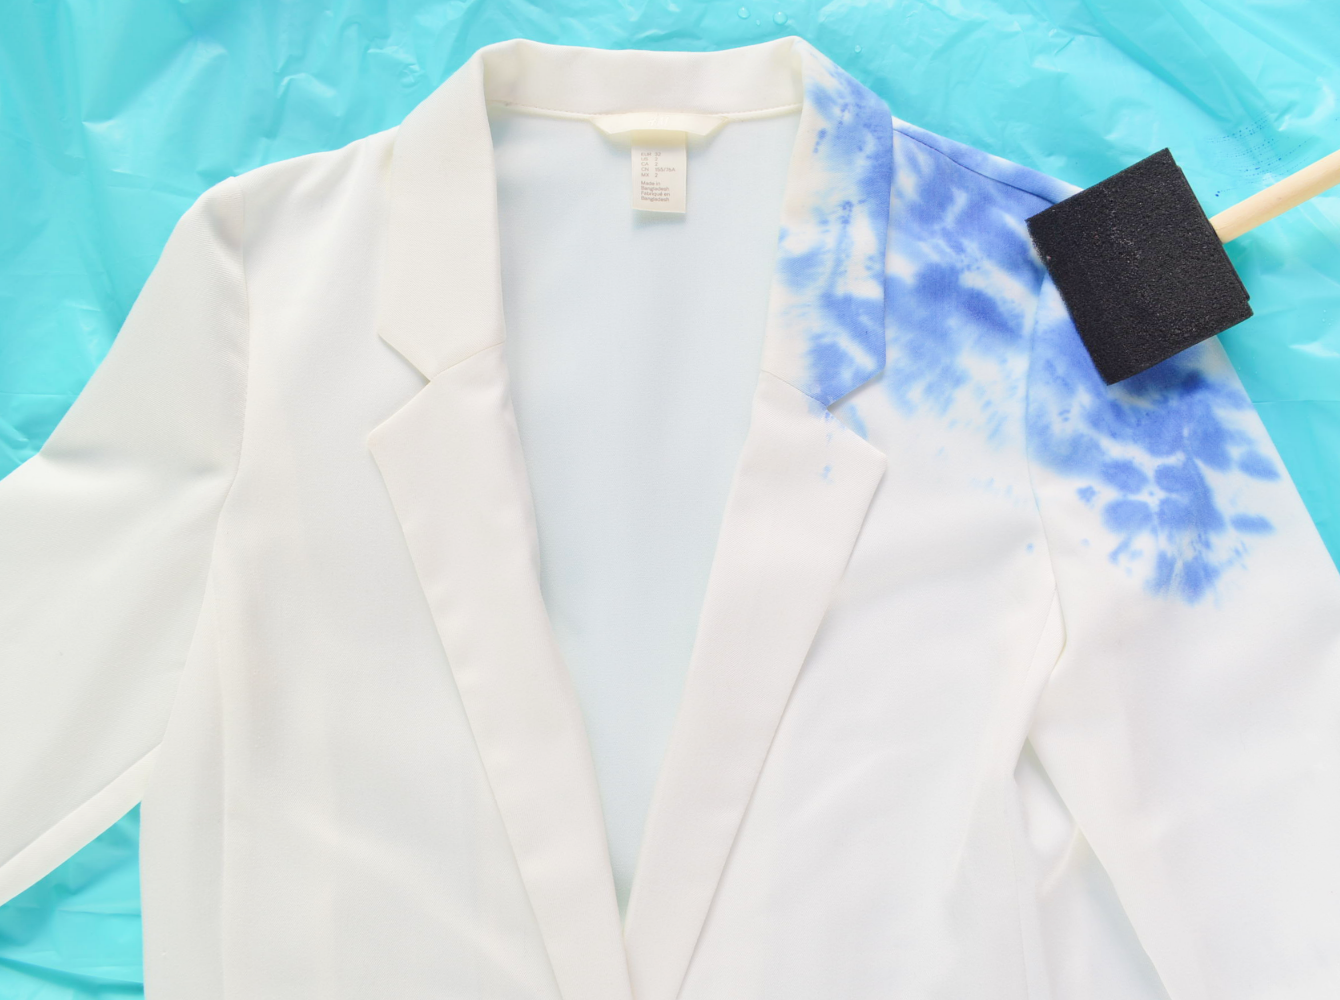
2. To add the first color, pour a little dye directly onto the brush. Dabble the brush straight into the wet area on the blazer.
Don’t trust yourself pouring dye onto a brush? (It’s OK, I’m clumsy as heck, too)… Simply grab a separate container and pour some dye into it.
3. Repeat Steps 1-2 on additional parts of the blazer. Keep it organic looking by choosing random spots and just going for it.
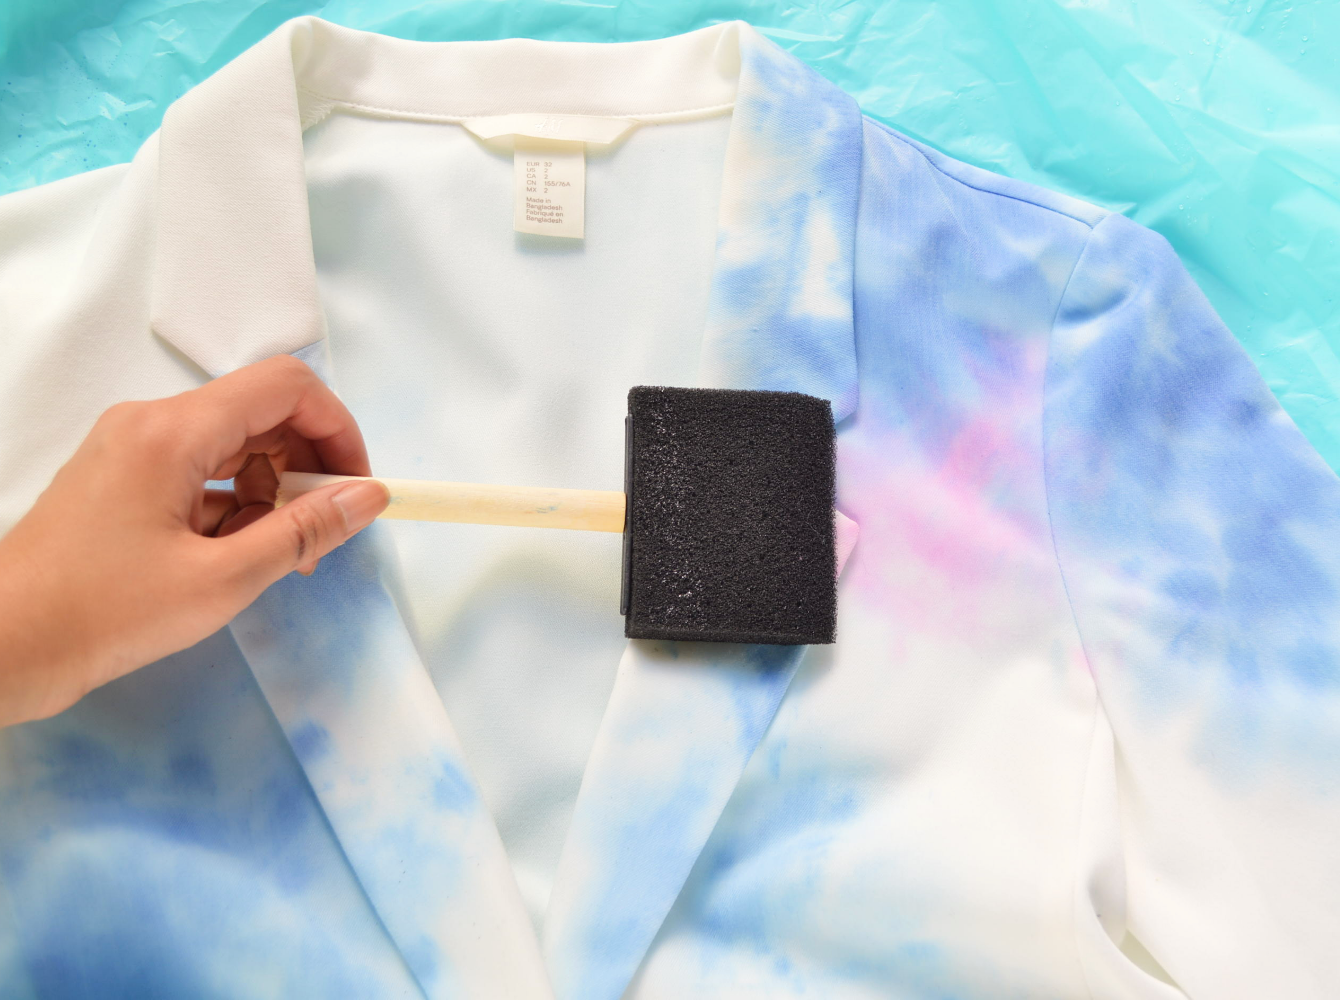
4. Once you’ve had enough of the first shade, bring in the next one. Alternate between adding this color directly onto white spots and right on top of the first shade. Again, this will keep things looking more natural and organic.
In the spots that you apply the second color right on top of the first, let the dyes bleed together to create that moody, dreamy vibe. You can facilitate this by wetting your brush with (clean) hot water and dabbing it right where the colors cross. This will encourage the colors to run and blend together.
Let your colorful creation dry completely.
I love to pair this number with solid neutrals; it really makes the colors pop.
Tutorial Photos: Kirsten Nunez
Styled Photos: Nick Wolf Photography

