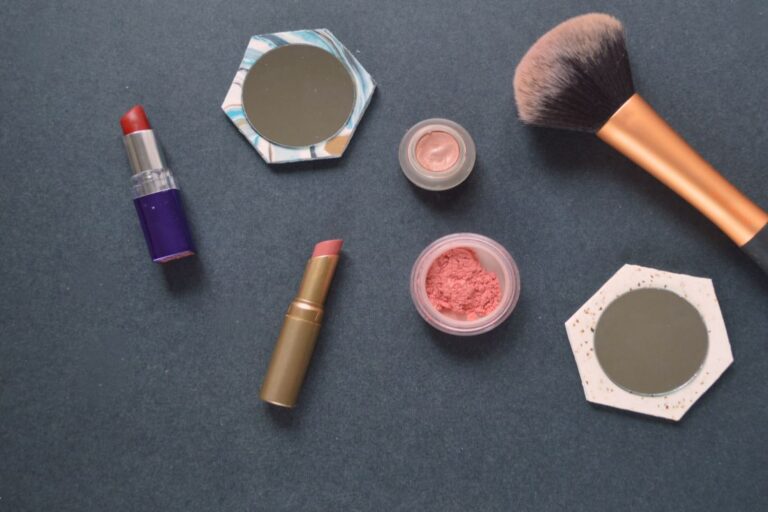
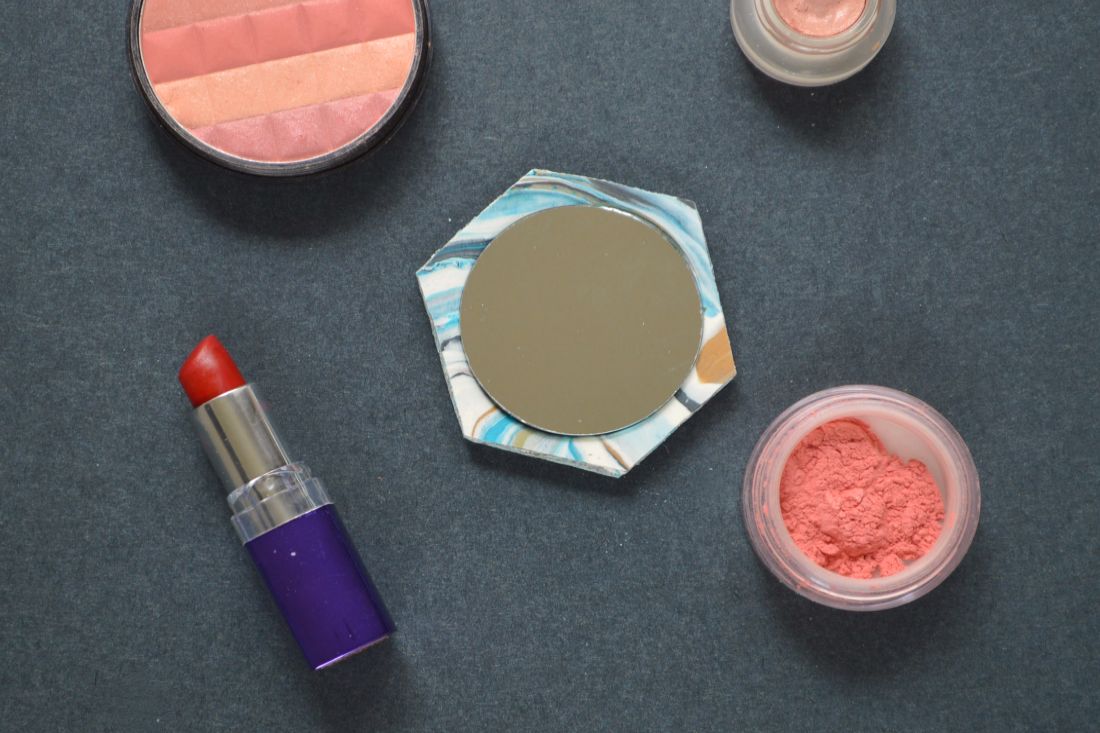
Confession: I used to be a makeup junkie. And for someone who doesn’t like a full face of makeup, it got crazy. These days, I go for my tried-and-true basics with the occasional just-for-fun purchase. So, in effort to make useful projects, I made handheld hexagon mirrors… Clearly, my DIY junkie days will never be over. I’m cool with it.
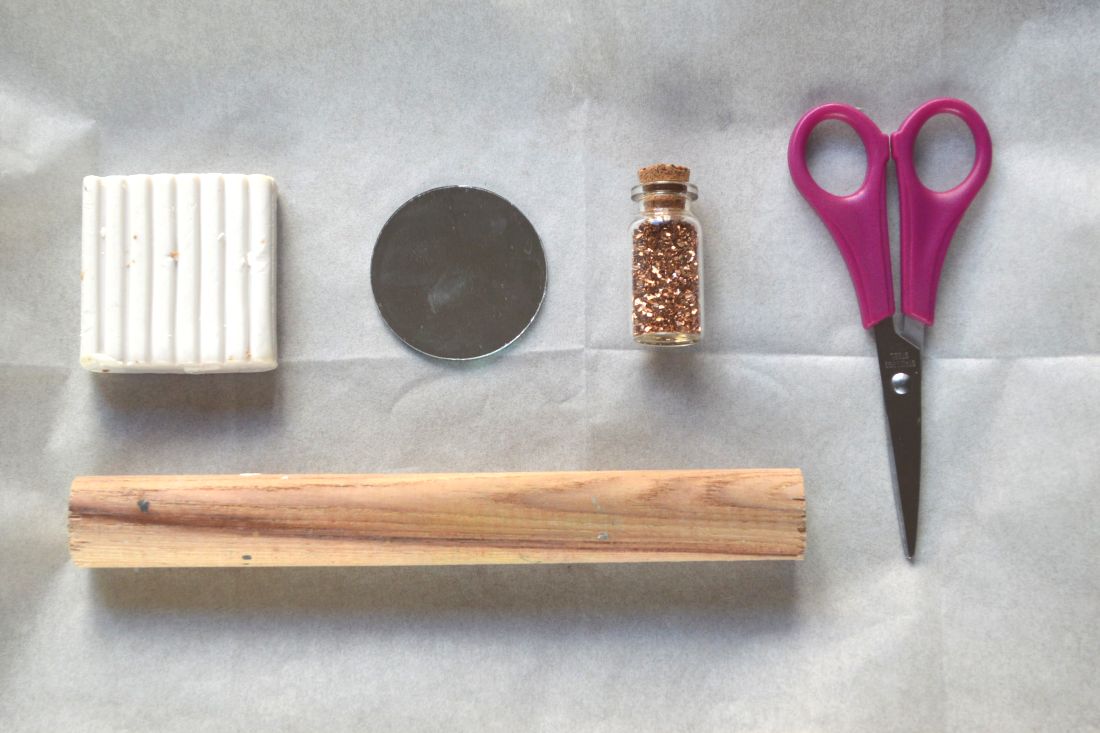
Supplies:
- Baking sheet
- Parchment paper
- 2 oz. oven-bake polymer clay
- 1.5-inch round mirror*
- Glitter (I used chunky glass glitter)
- Wood rolling pin
- Scissors
* You can find blank mirrors at your local craft store. Keep an eye out for the brand Darice; they make a wide variety of mirrors in shapes and sizes.
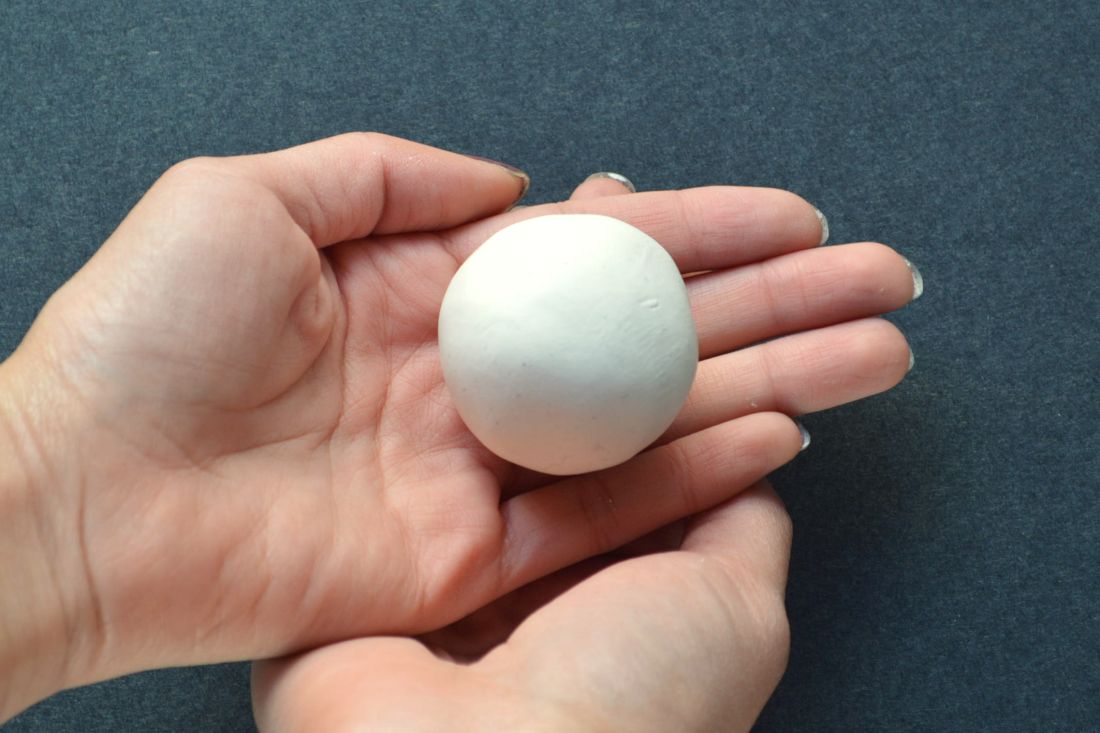
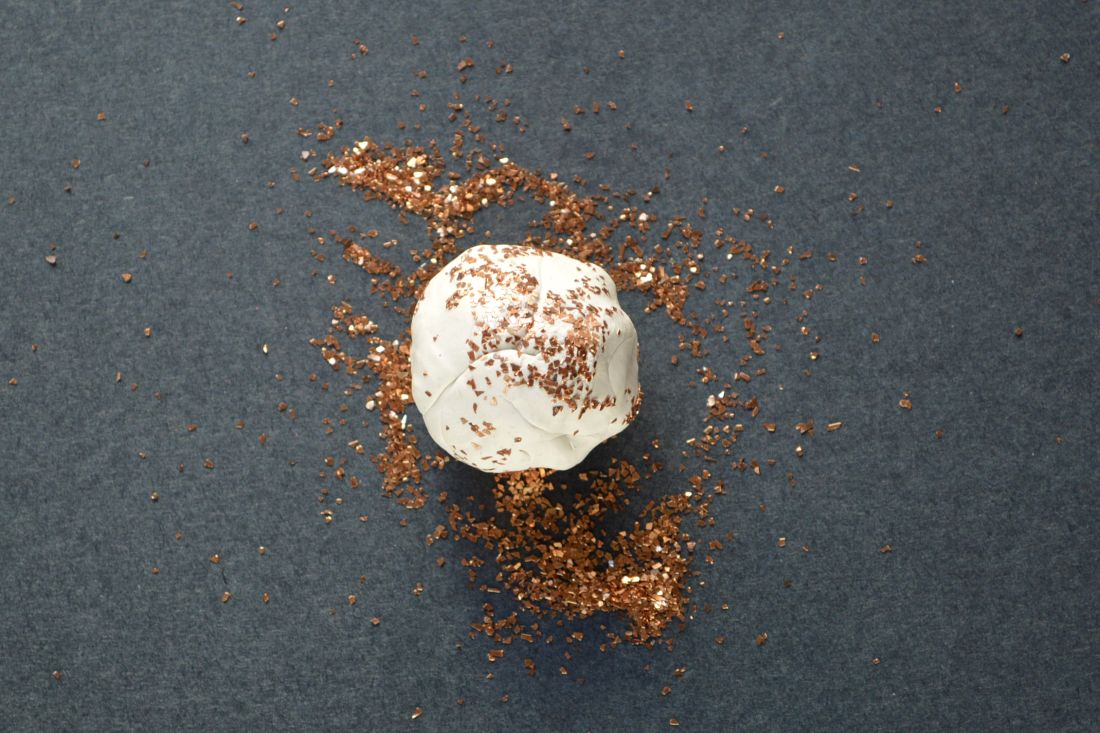
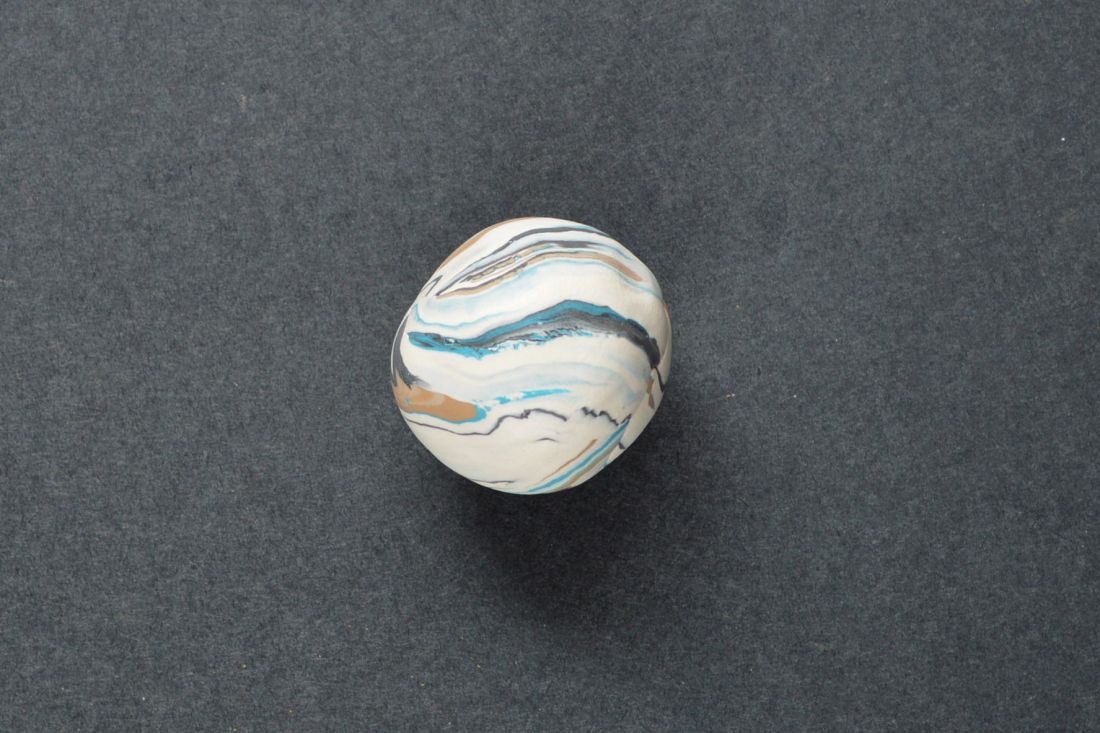
1. Knead and roll the clay into a ball. It may take a few minutes before the clay warms up and becomes easier to work with.
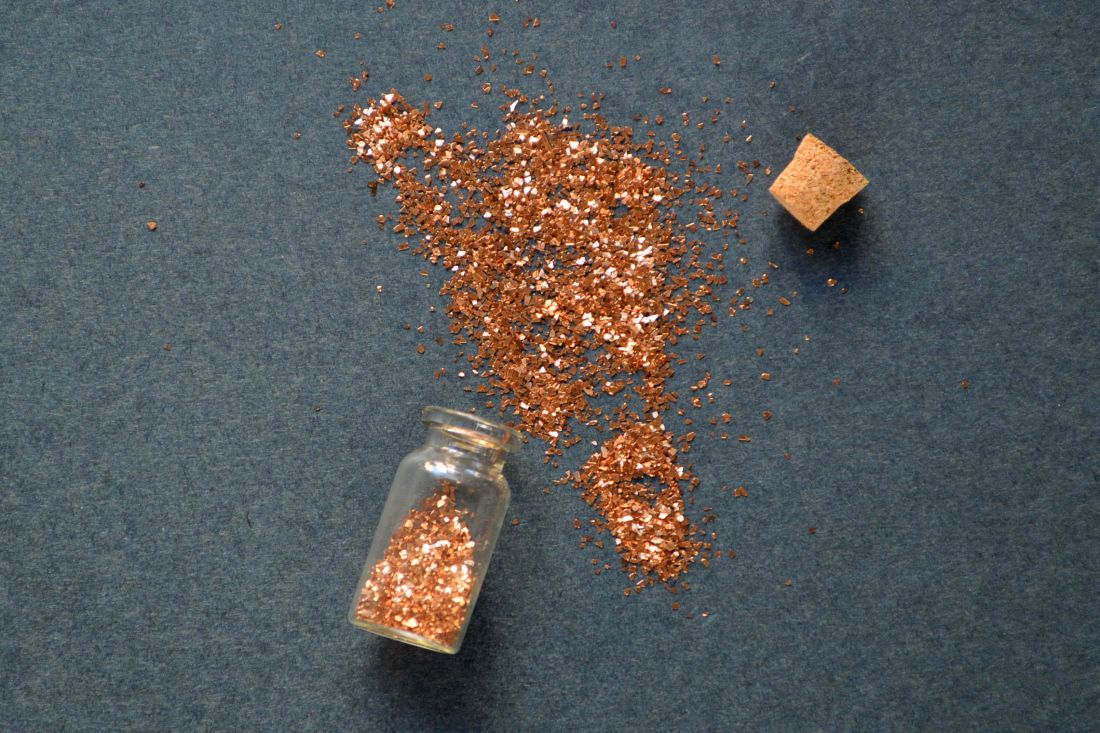
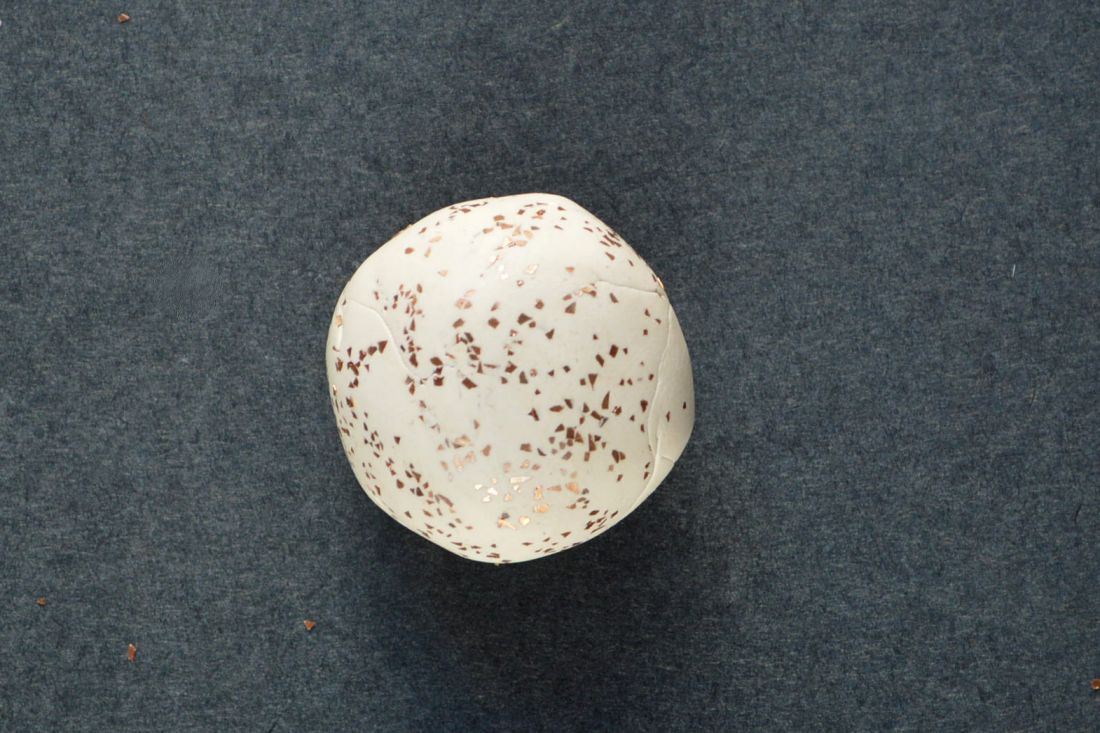
2. Roll the clay into the glitter. Re-form the clay into a ball, roll again, and re-form once more.
3. Repeat several times until the glitter is thoroughly dispersed throughout the clay.
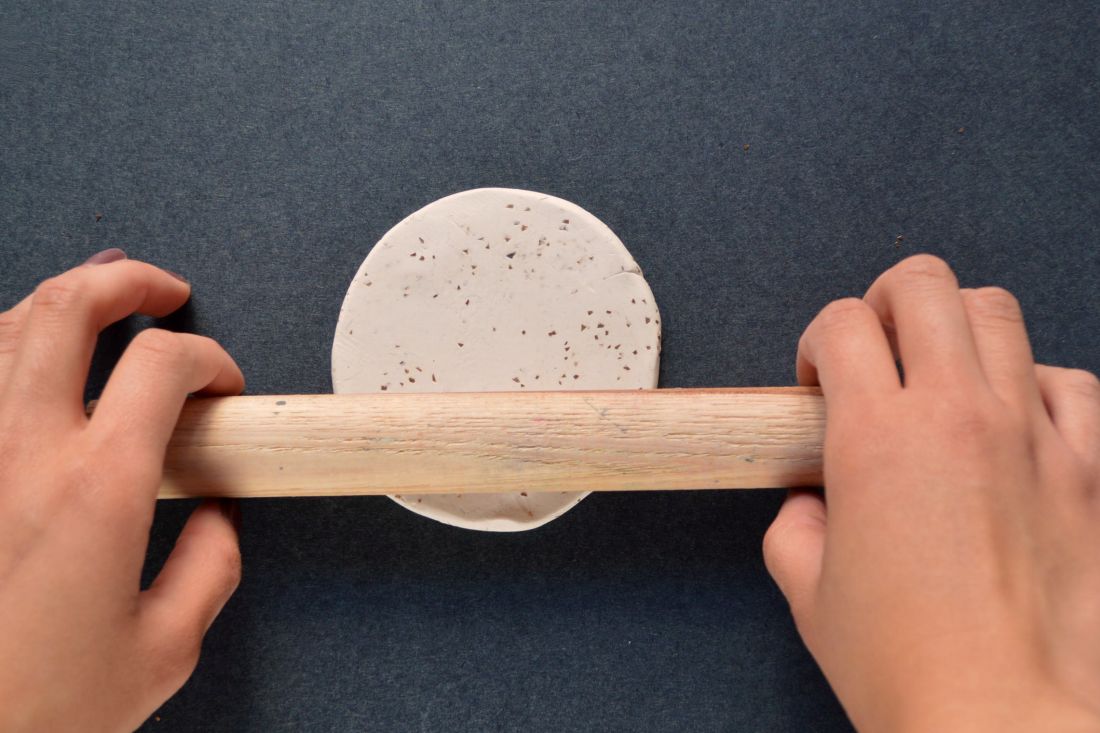
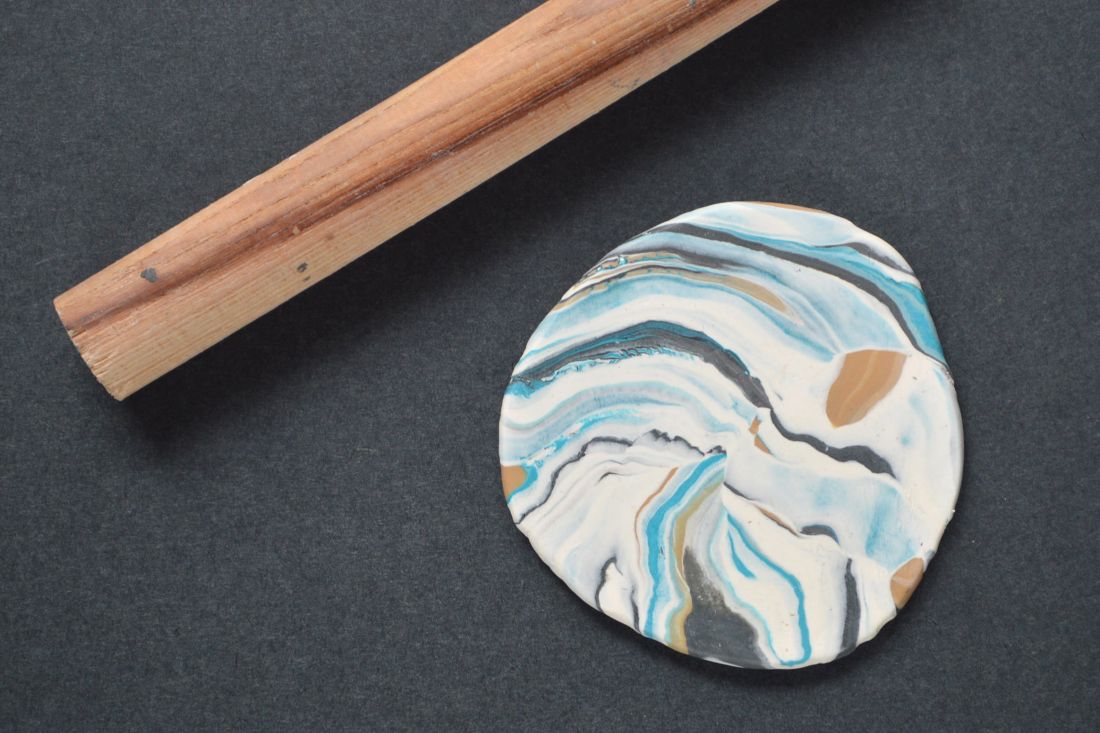
4. Using the wood rolling pin, flatten the clay into a circle; this should be slightly bigger than the mirror. Try your best to make the thickness of the clay as even as possible throughout the entire circle.
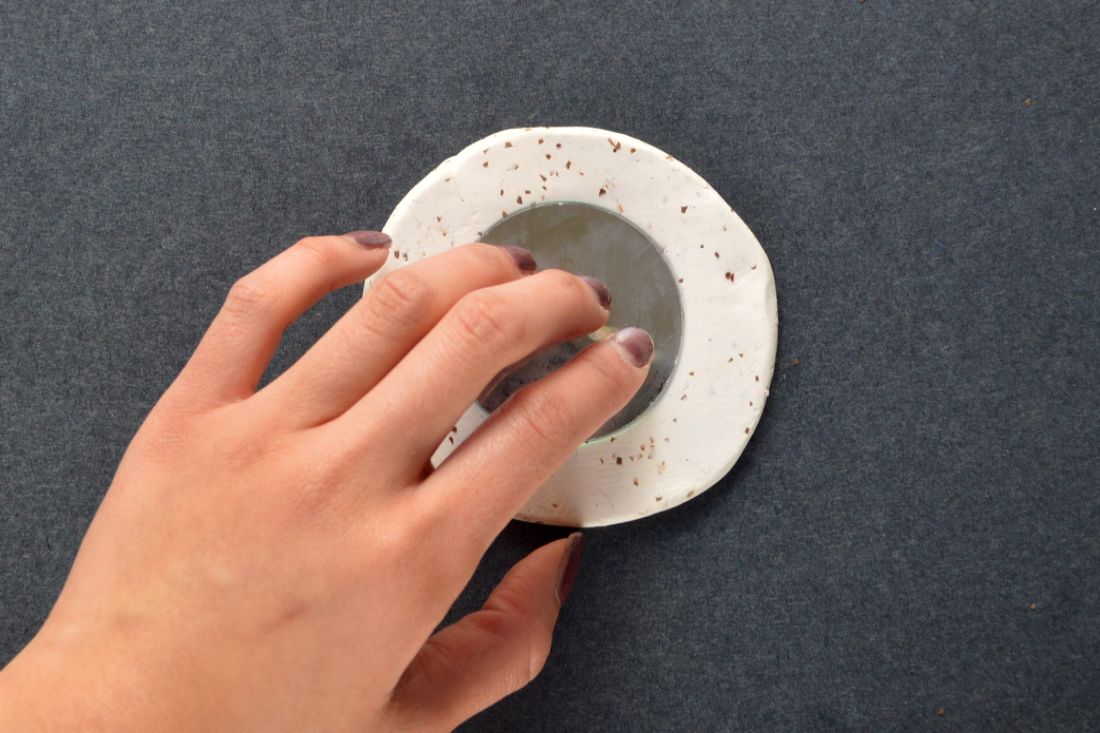
5. Firmly press the mirror into the center of the clay. The outside edge of the mirror should be completely concealed by the clay. Bake the clay according to the package’s directions. For most brands of oven-bake clay, this will be about 15 minutes at 275 degrees F.
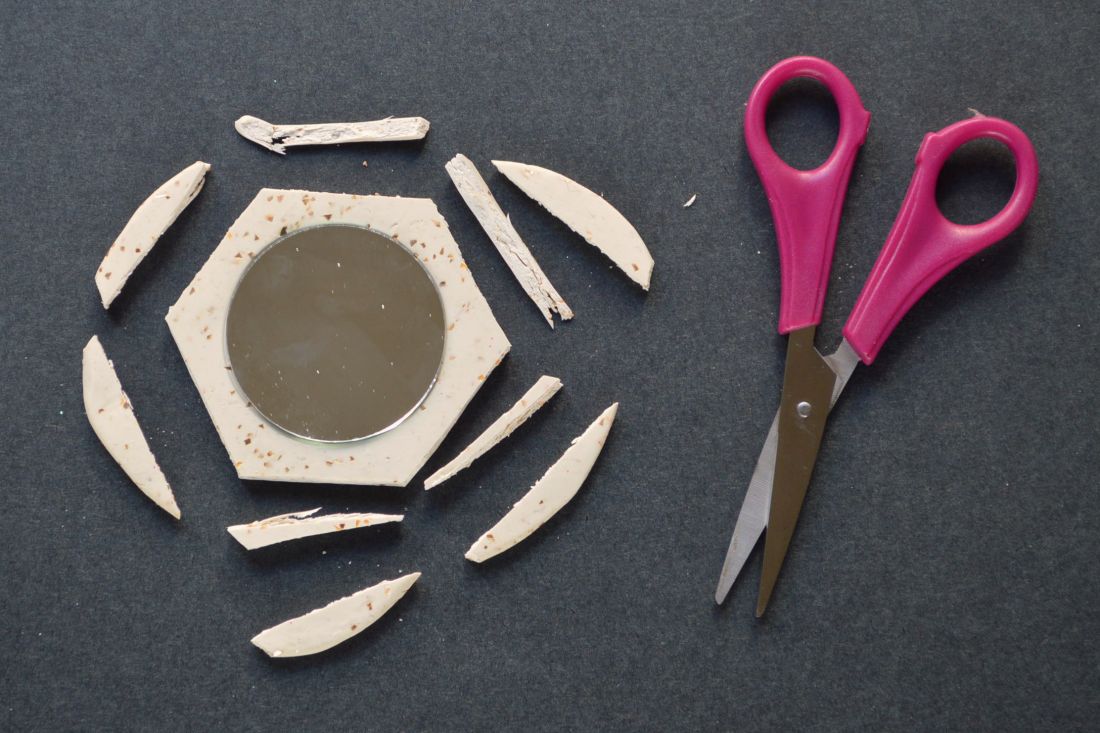
6. Once the clay is ready, remove from the oven. Let sit until it is cool enough to handle but still warm. Using the scissors, cut six straight edges around the circle.
Again, if you don’t want to eyeball your hexagon, use a pre-prepared cardboard pattern.
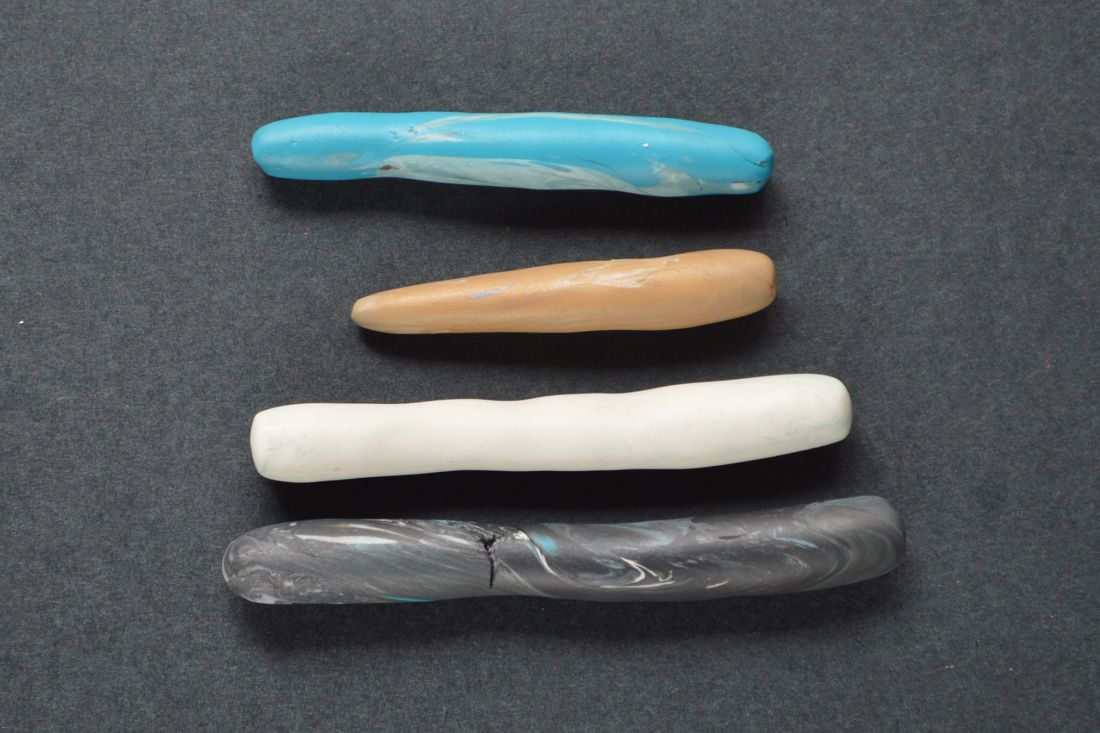
7. While we’re at it… here’s how to make a marbled version! For this one, you’ll need at least two different colors of clay. I used four segments of leftovers from past projects. Roll each color into a log.
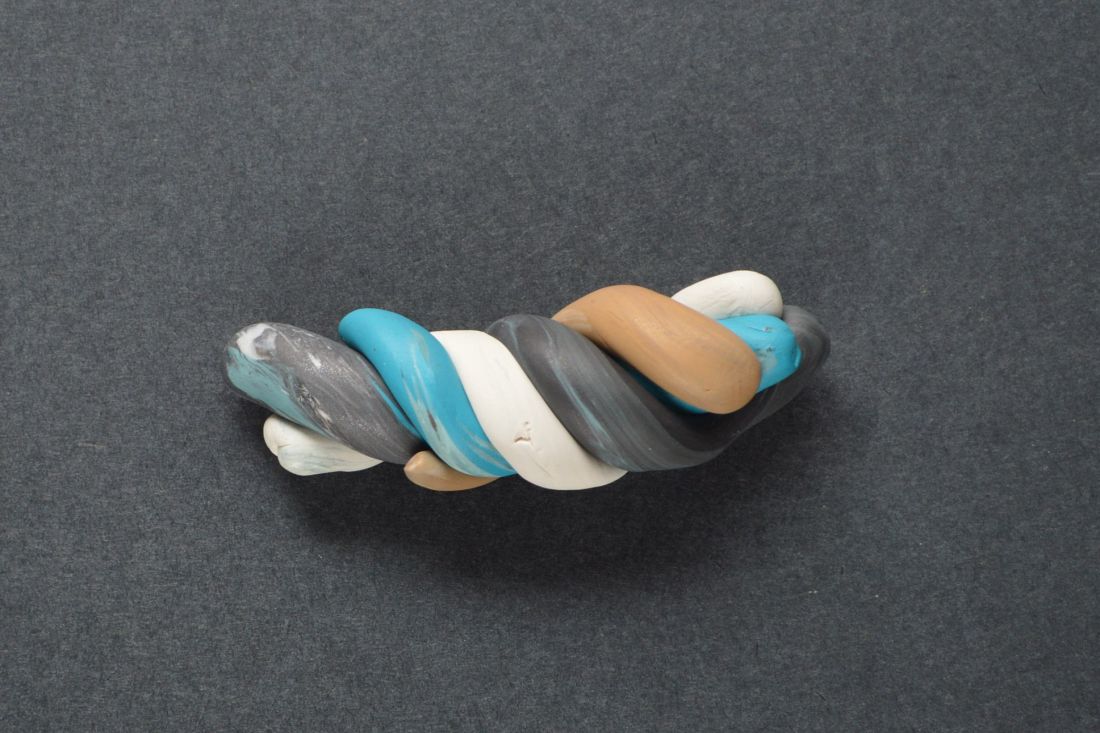
8. Twist the logs together.
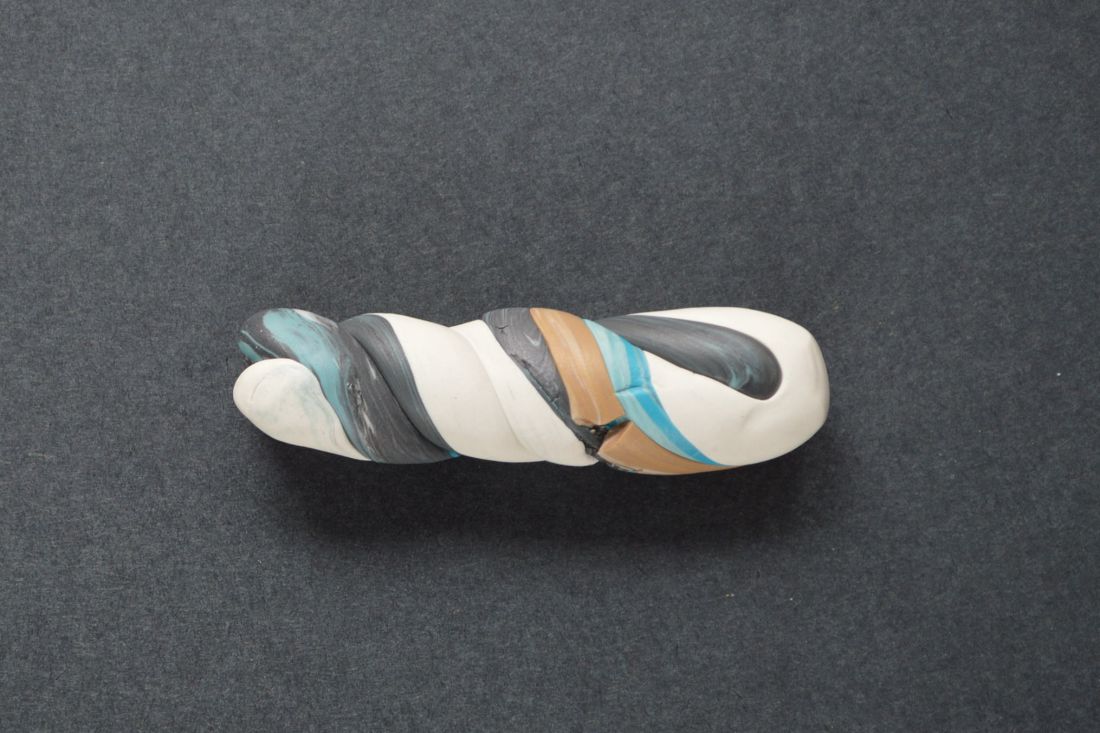
9. Roll into a thicker log, fold, twist. Repeat a few times.
10. Once the colors have blended together, roll the clay into a ball. Remember, don’t over blend the colors together. Otherwise, you’ll end up with a muddled gray/brown shade. Not cool.
11. Repeat Steps 4-6 to roll the clay out and add the mirror.
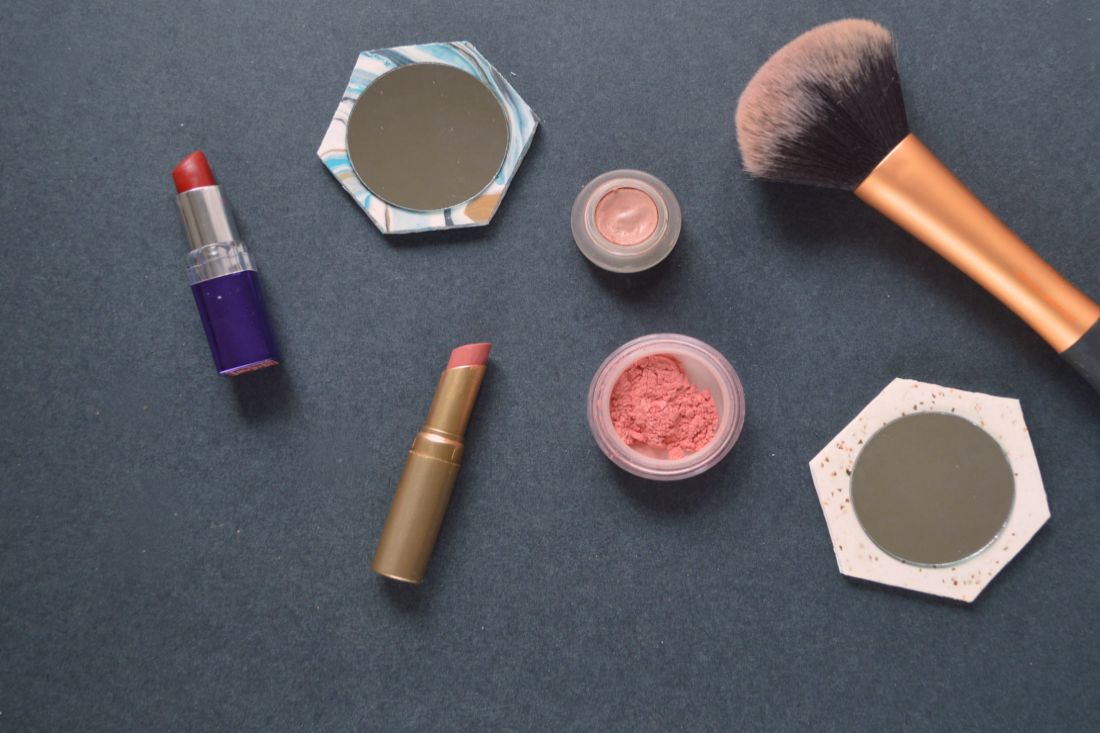
I use both of my mirrors on the daily! One in my makeup train case and another in my purse.
Come holiday season, these mirrors would make awesome stocking stuffers or party favors. Customize them with your favorite colors or simply put those clay leftovers to goo use. Love love love.
xx K

