
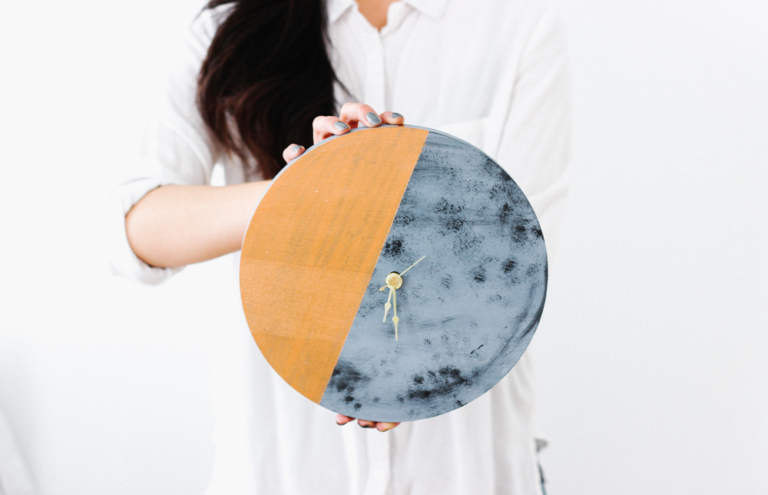
Color blocked metallics? Yes please. Whimsical night themes? Yes please, again! I’m adoring this week’s home decor project, especially considering how easy it is to achieve the depth and dimension of the “moon” portion. A little paint can really go a long way — and you don’t have to be a veteran artist to make it happen. Here’s how!

Supplies:
– Wood Clock Base (I bought this one at Michael’s)
– Clock Movement Kit (Also from Michael’s)
– Masking/Painter’s Tape
– Acrylic Paints (Base + darker shade for accents)*
– Liquid Gilding (I used a pretty bronze shade)
– Foam Brush (For acrylic paint)
– Soft-Bristled Brush (For liquid gilding; a popsicle stick might be useful for mixing!)
– Sponge
*I mixed black and white to achieve the shade of gray I wanted, then used the black as the accent shade.
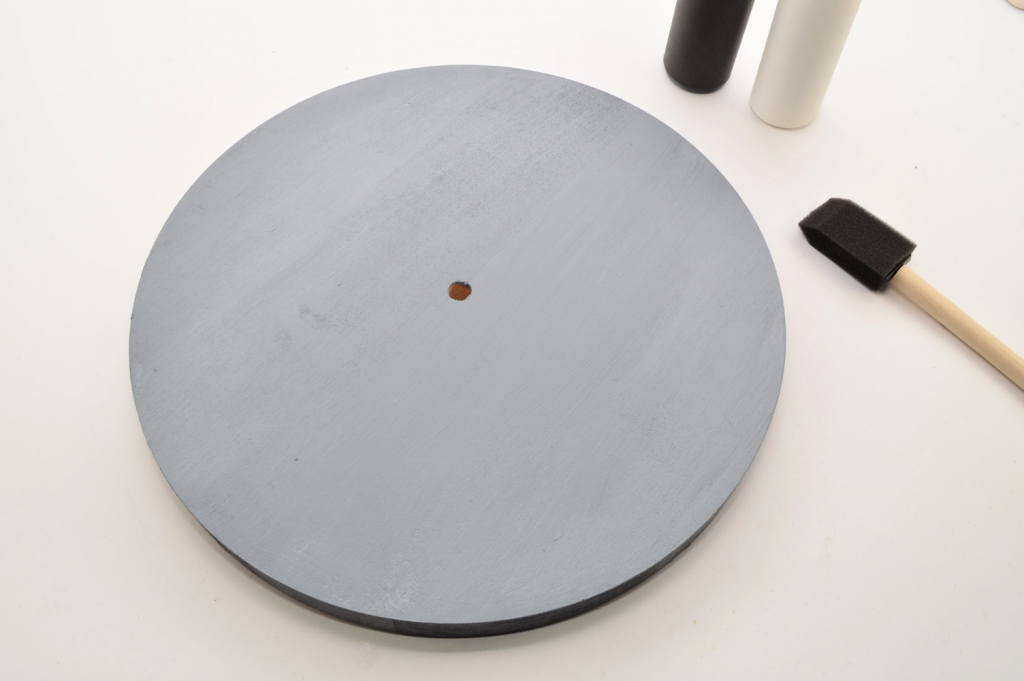
1) Paint the wood clock base. Let dry.
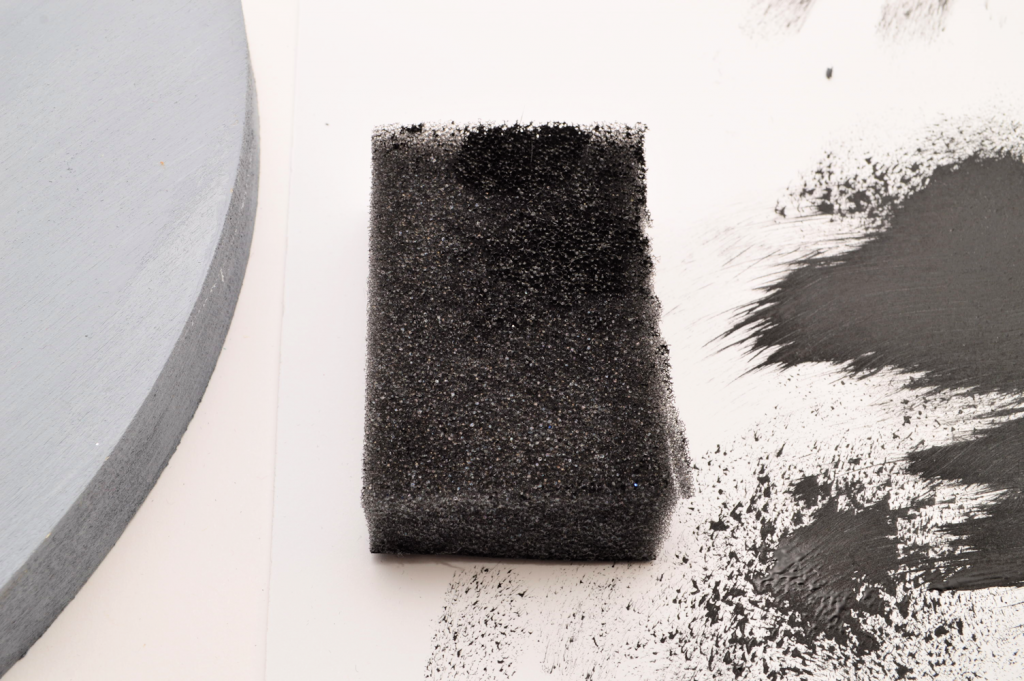
2) Lightly dip the sponge into the darker shade of acrylic paint. Wait a few seconds to let the paint dry a bit, which will allow for the “scratchy” look on the wood.
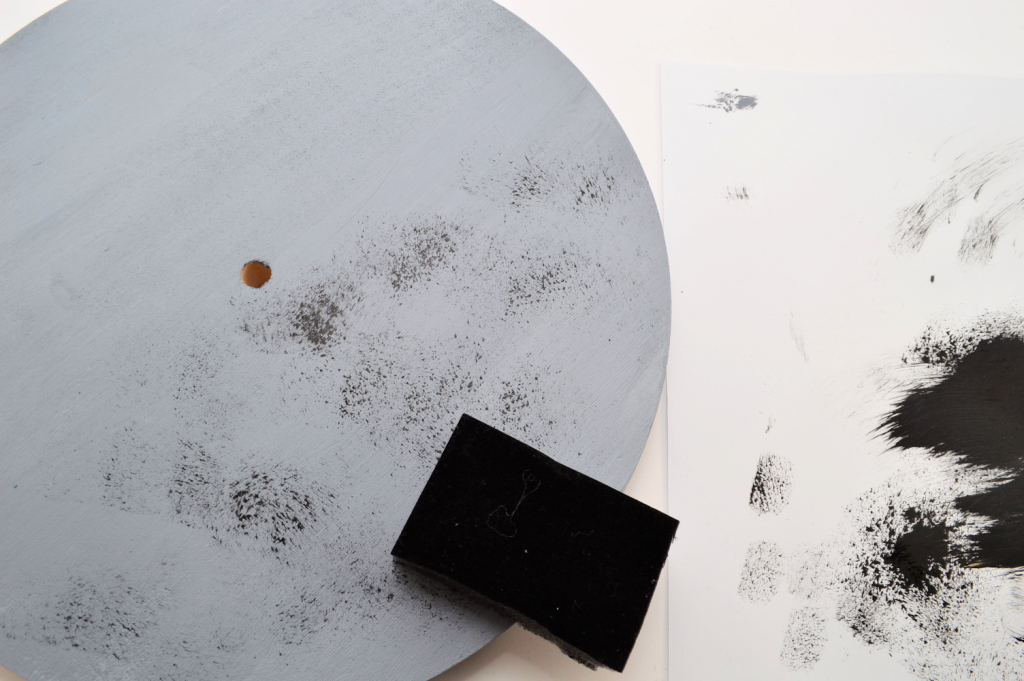
3) Randomly dab the sponge onto the wood.
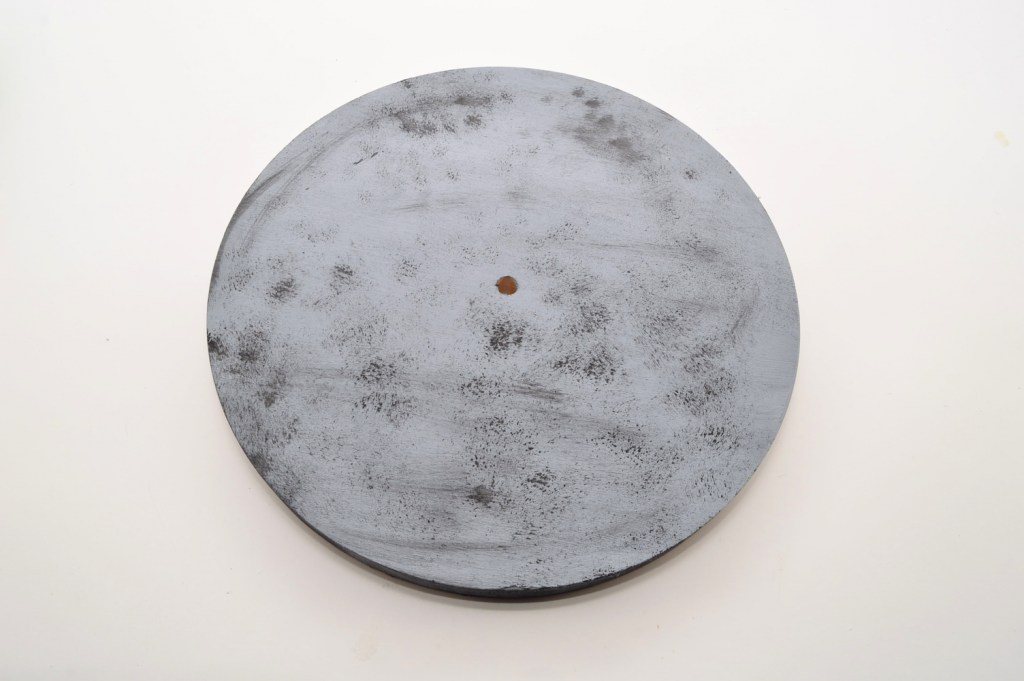
4) You can also drag the sponge around for added depth and dimension.
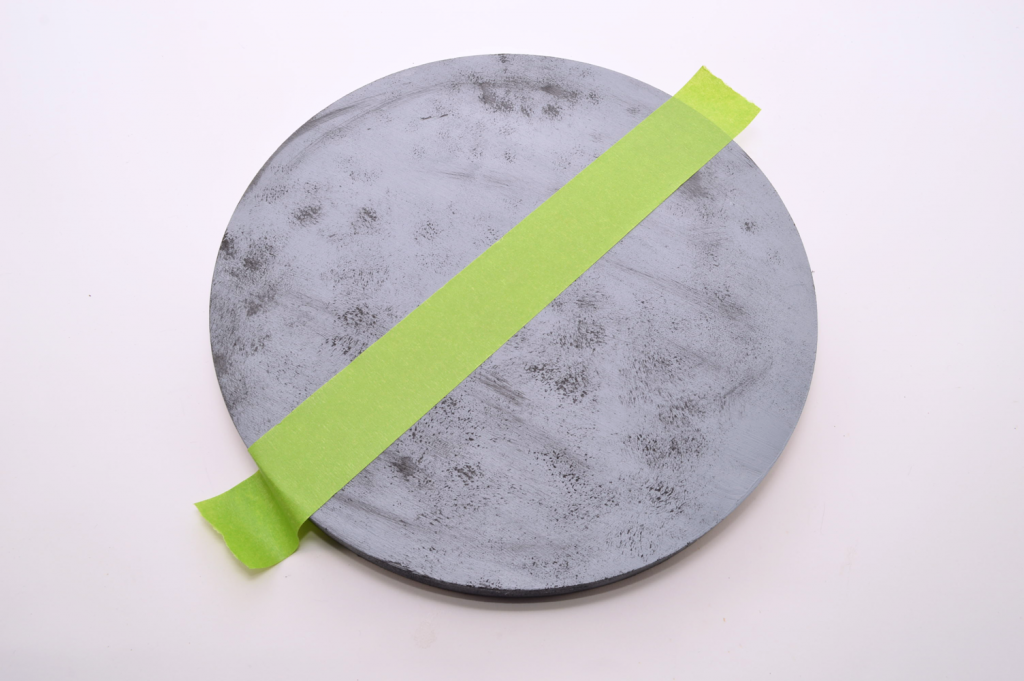
5) Add a strip of masking/painter’s tape across the clock base. Placement is up to you!
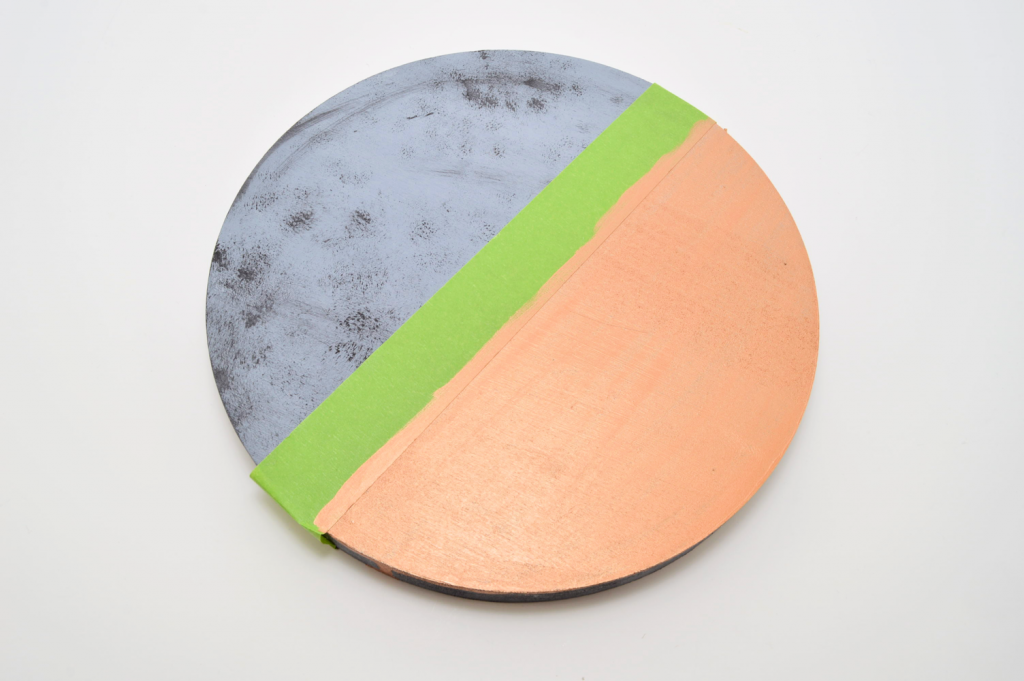
6) Apply a layer of liquid gilding on one side of the tape. Don’t forget to mix the gilding really well before applying, as gilding is oil-based and separates and settles when untouched. Do this in a well-ventilated area, too!
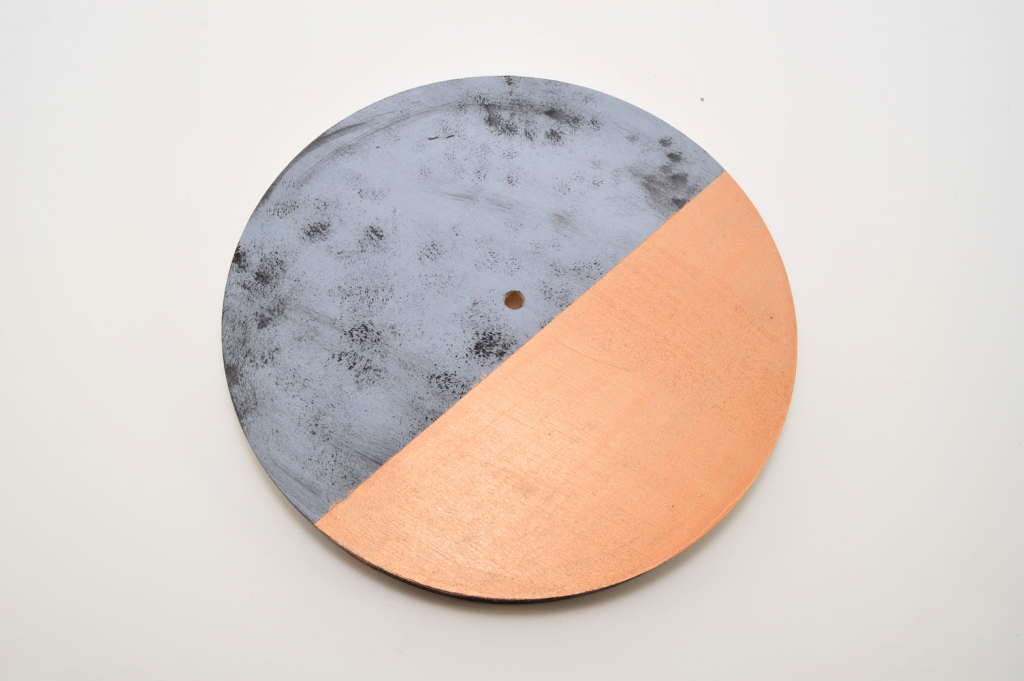
7) Let dry completely.
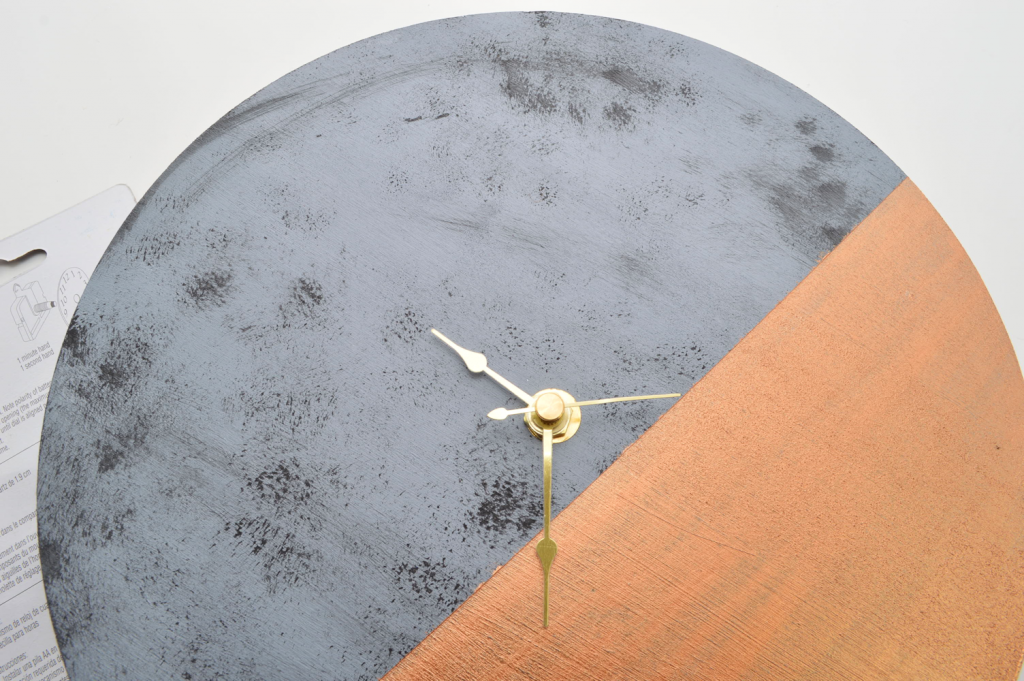
8) Add the clock parts as directed by the packaging.
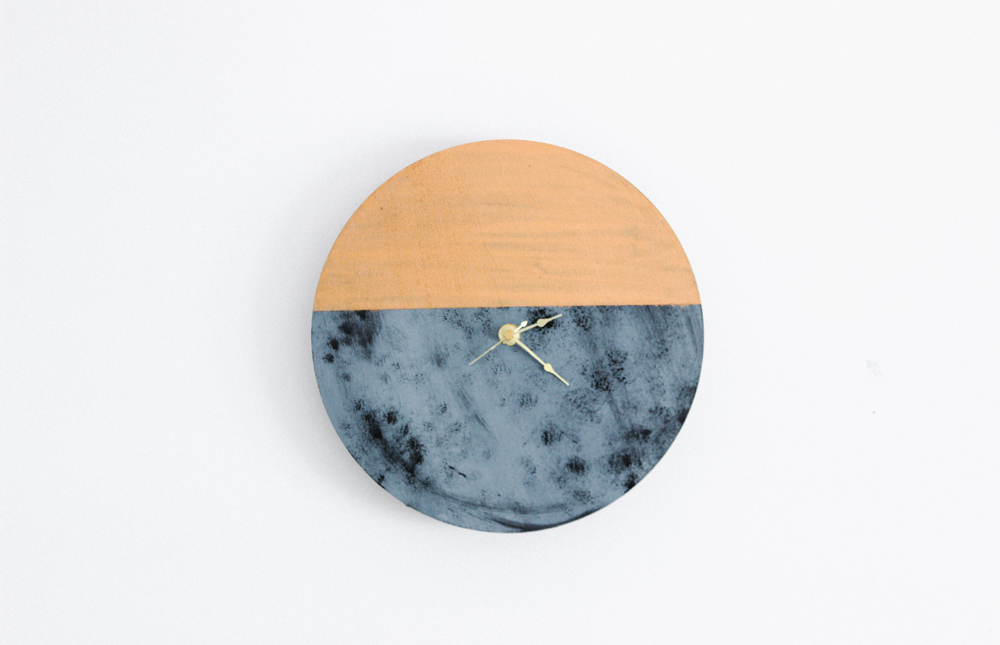
Hang it up and admire your own personal glistening moon!

Styled Images: Haruka Sakaguchi (The Denizen Co.)