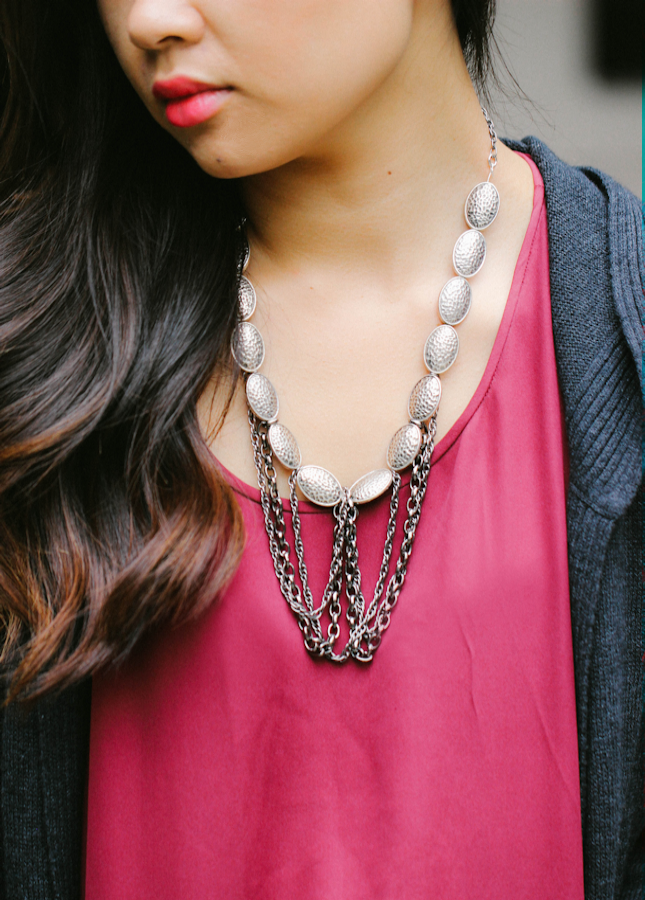
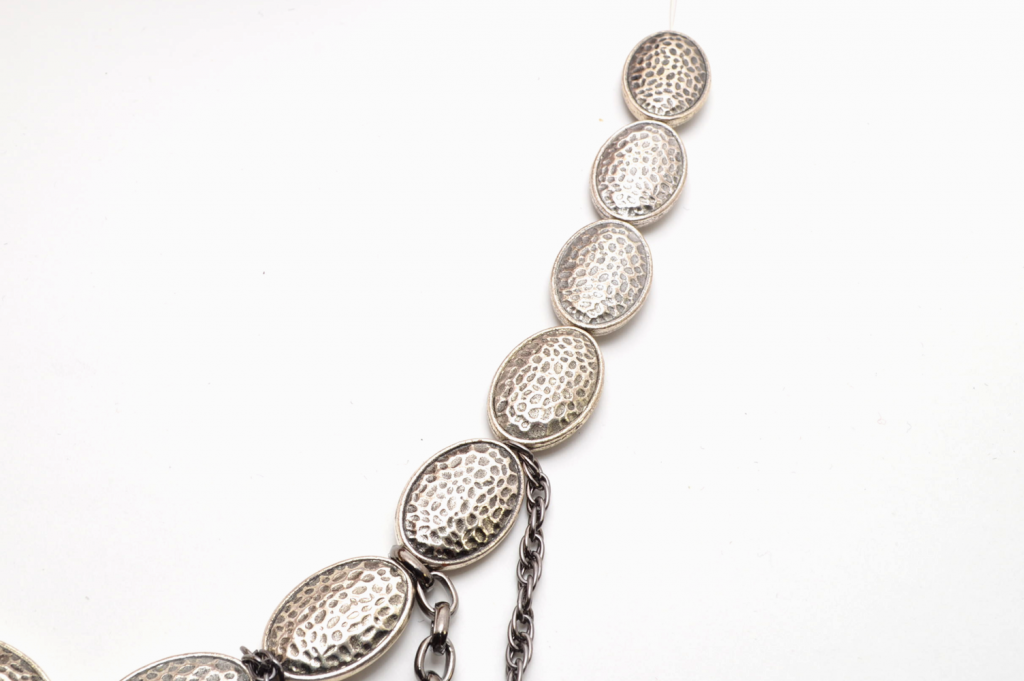
I’ve been head over heels for all-metal statement jewelry, lately… especially tarnished silver, gunmetal and brass. I came up with this idea when trying to find a use for my massive collection of chains; I love the waterfall look that the chain creates when worn. It also looks a lot more complicated than it really is. Enjoy!
Supplies:
– Beading Wire (I used .38mm thick/0.15in silver wire by Beadalon)
– Chain (5 strands, at least 7 inches/17.78 centimeters each + 6 inches/15.24 inches extra) *
– Chunky Metal Beads (Measuring 1 inch/2.54 centimeters wide, at least 16 pieces)
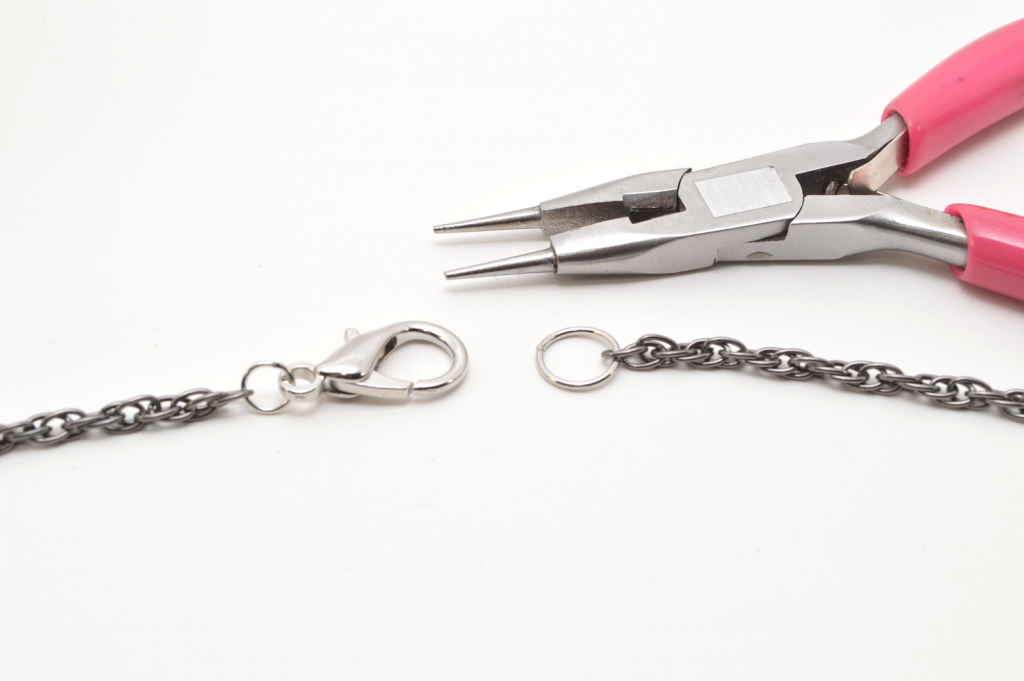
– 3-in-1 Jewelry Pliers
– Large Jewelry Clasp
– 8-10mm Jump Rings (2)
– 12mm Jump Ring (1)
– Crimp Beads (2)
* You can use the same kind of chain for all 5 strands, or use 2 different kinds with 3 of one style and 2 of the other. In the latter case, you would alternate between each one just as I did.
Before Starting:
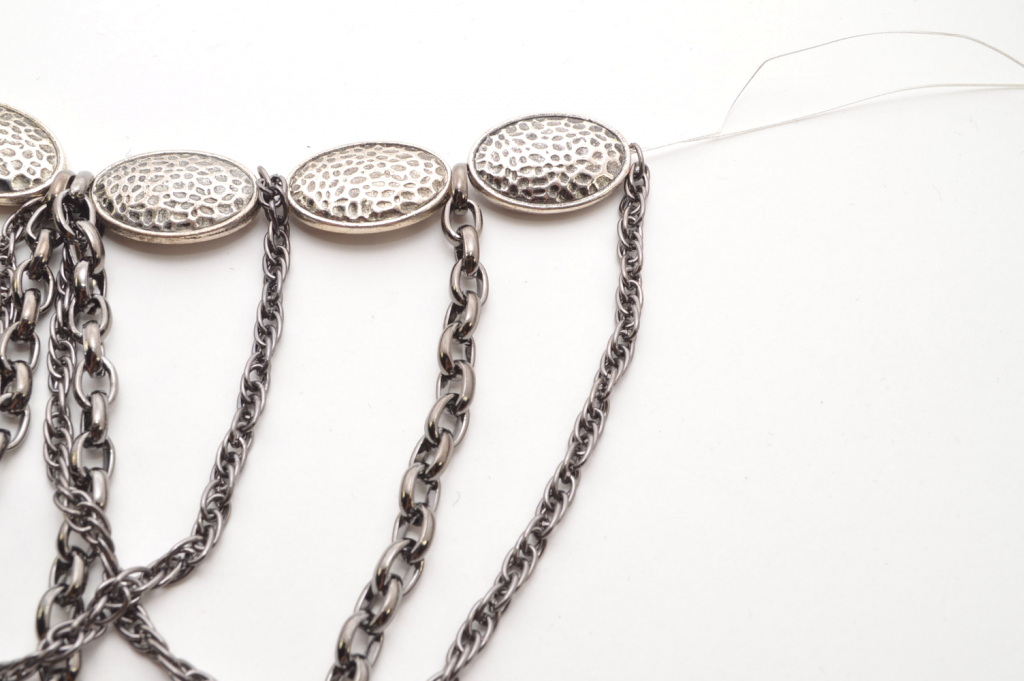
Cut two strands of beading wire measuring 36 inches (91.44 centimeters) long.
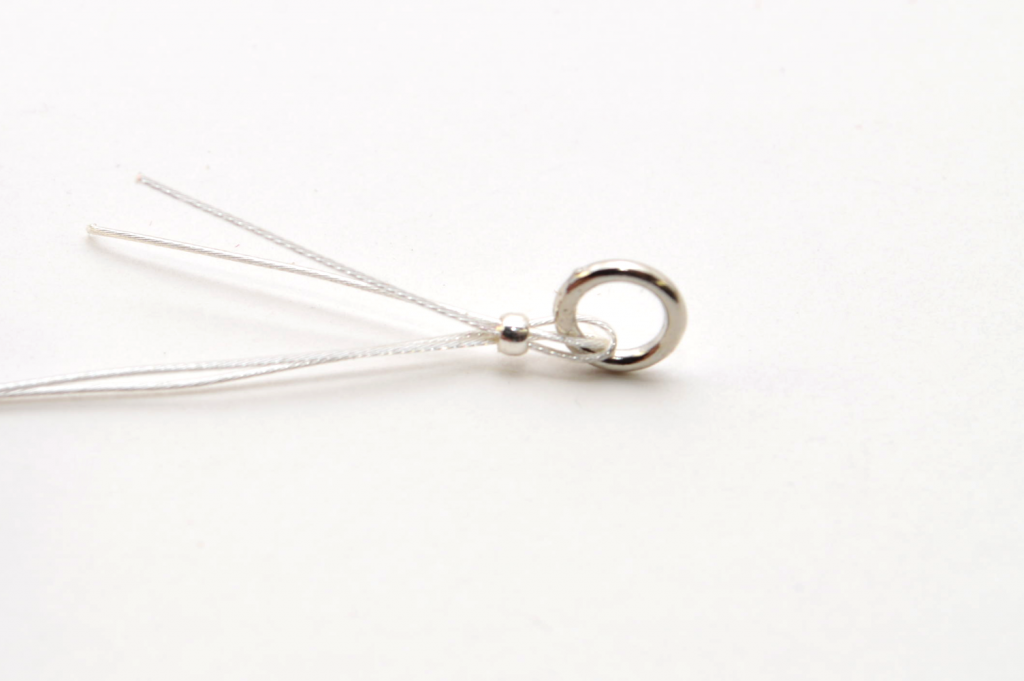
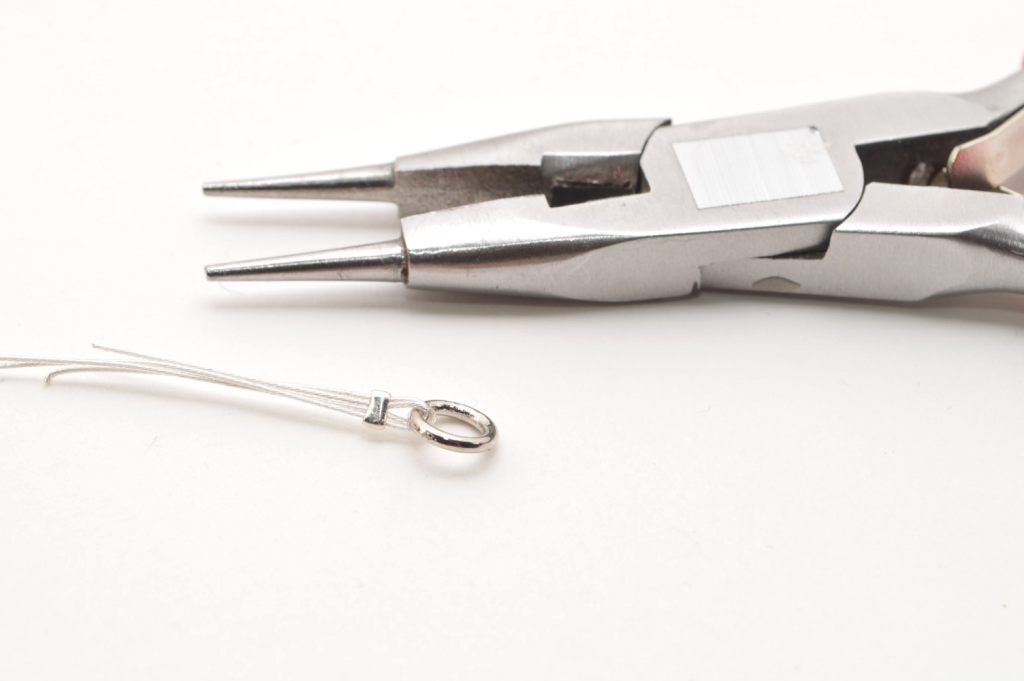
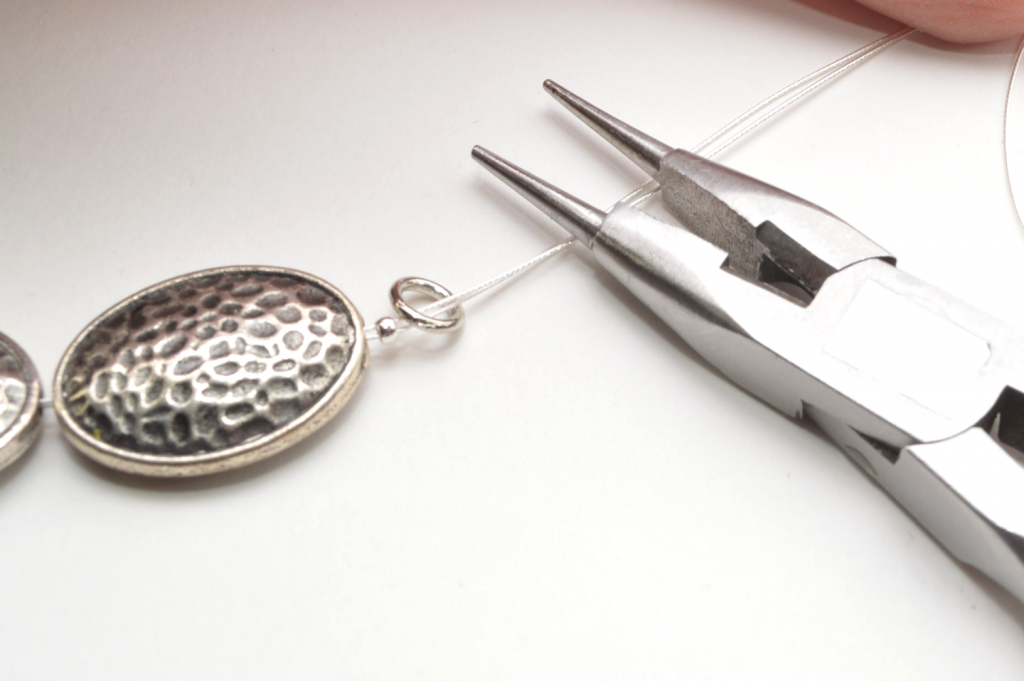
1) Insert both strands of wire through a crimp bead. Insert through one of the smaller jump rings and back through the crimp bead.
2) Using the flat portion of the pliers, flatten the crimp bead until the wire is secure.
3) Add 5 metal beads.
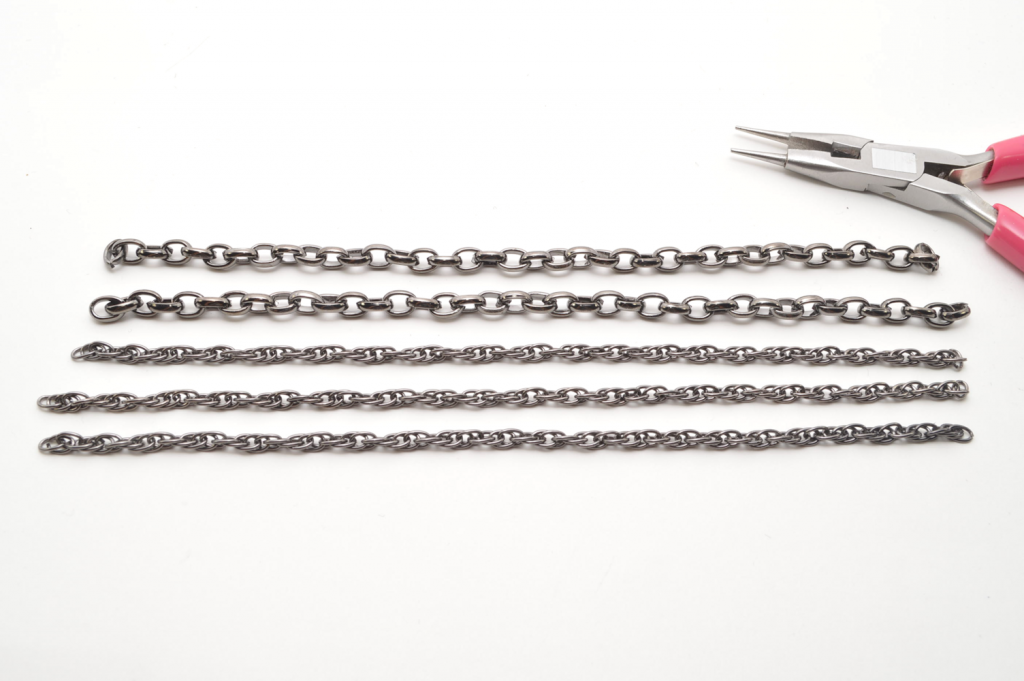
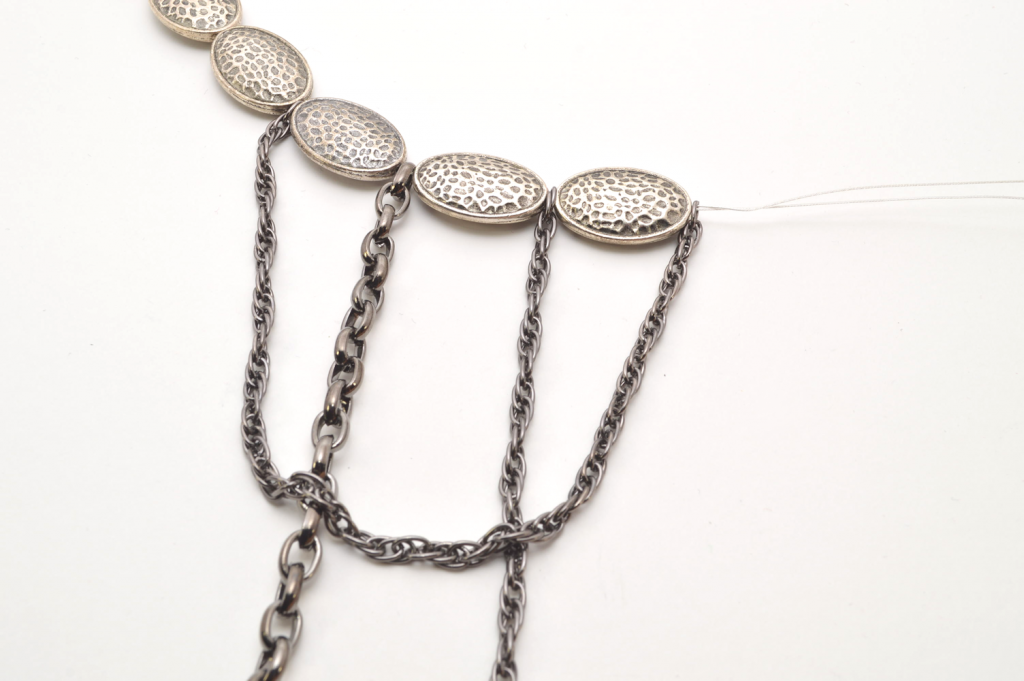
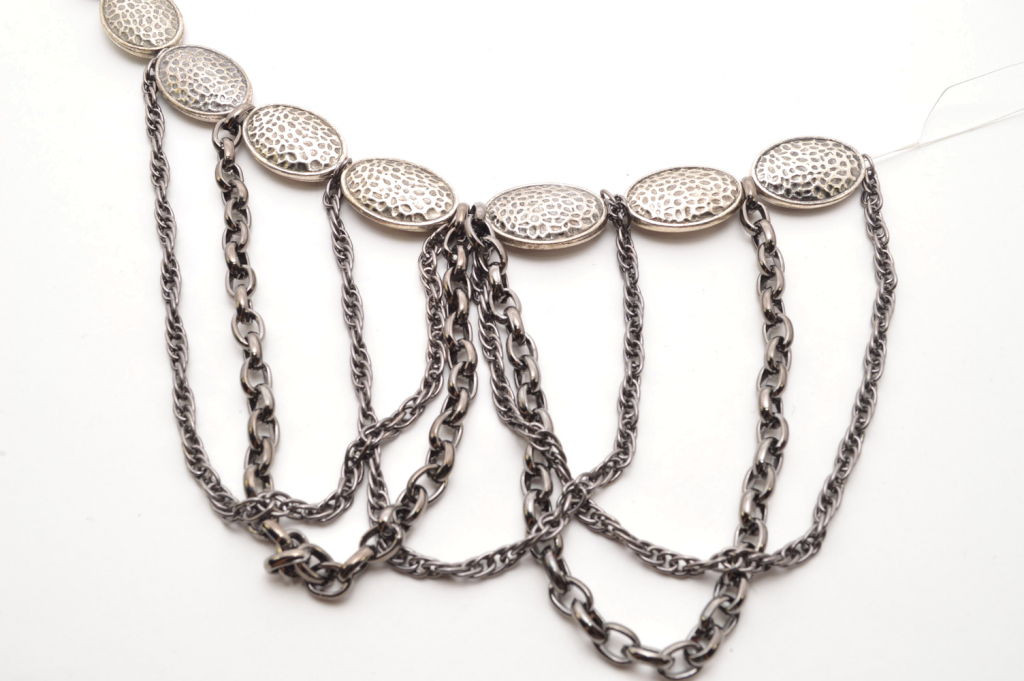
4) If you haven’t already, trim the chain into 5 strands measuring 7 inches (17.78 centimeters) long. I chose to use 2 strands of the first style (top) and 3 strands of the second style (bottom). Let’s call them Style A and Style B, respectively.
Essentially, the chain would be used in B-A-B-A-B order. Therefore, there are strands #1-2 of A and strands #1-3 of B. The layering and sequence may seem confusing at first, but if you break it down step by step, I promise it’s pretty easy!
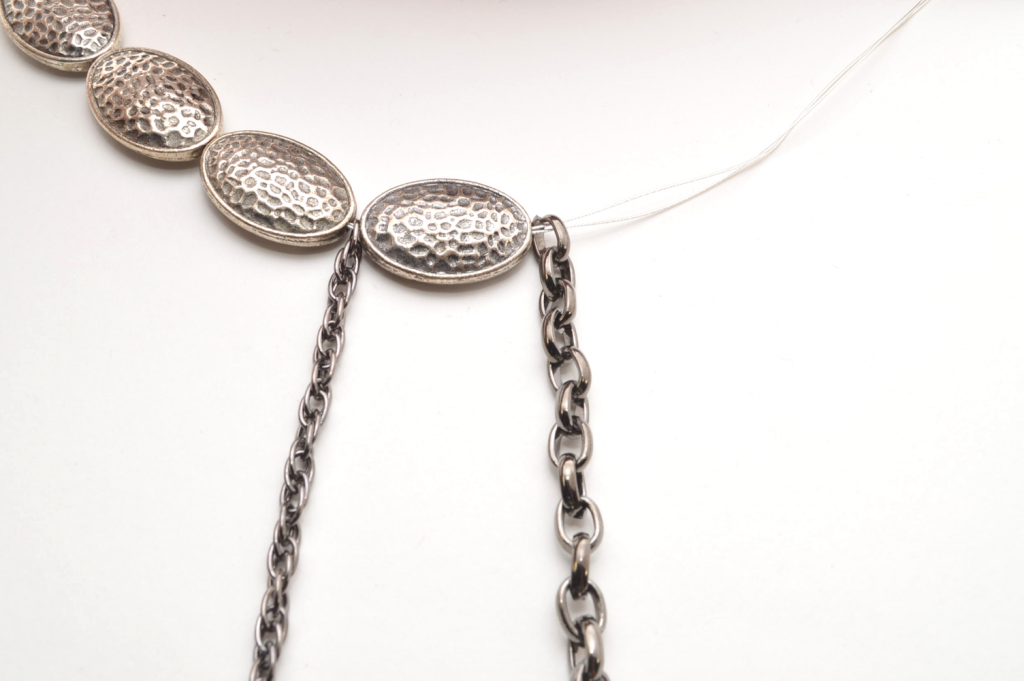
5) Add strand #1 of chain B.
6) Add another bead, followed by strand #1 of chain A.
7) Add another bead, followed by strand #2 of chain B. When all is said and done, this particular strand will fall right in the middle of the chain sequence.
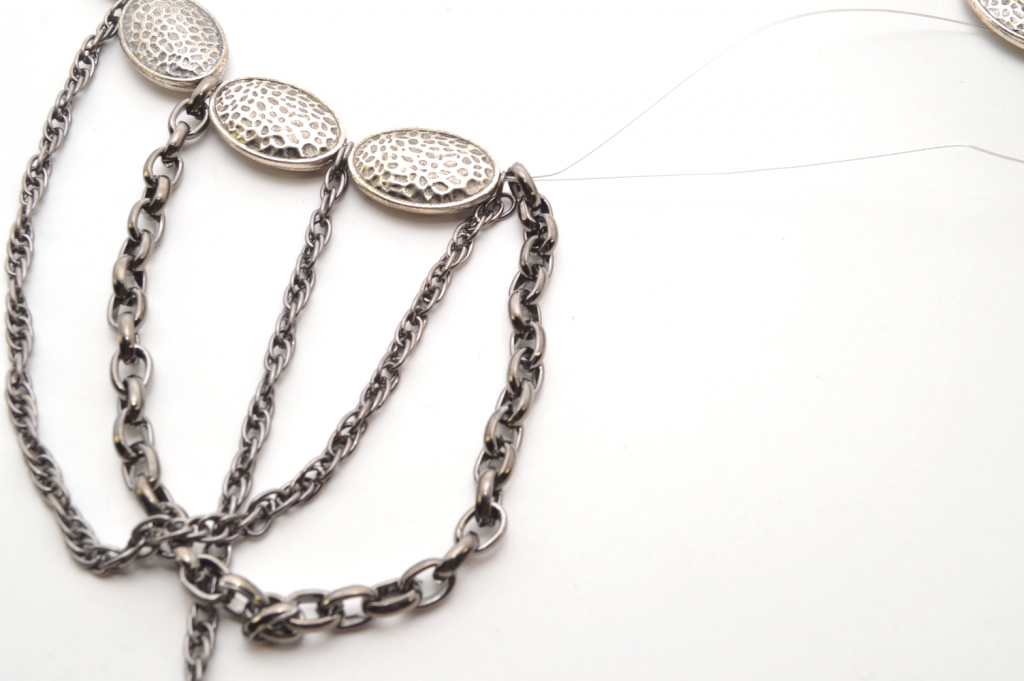
8) Add another bead, followed by the end of strand #1 of chain B.
9) Take the end of strand #1 of chain A and add that to the wire. This completes the left side of the necklace.
10) Continue along by adding strand #2 of chain A and strand #3 of chain B. This should be the last of the chain that you have prepped for this project. Note that it looks like a mirror image of the left side.
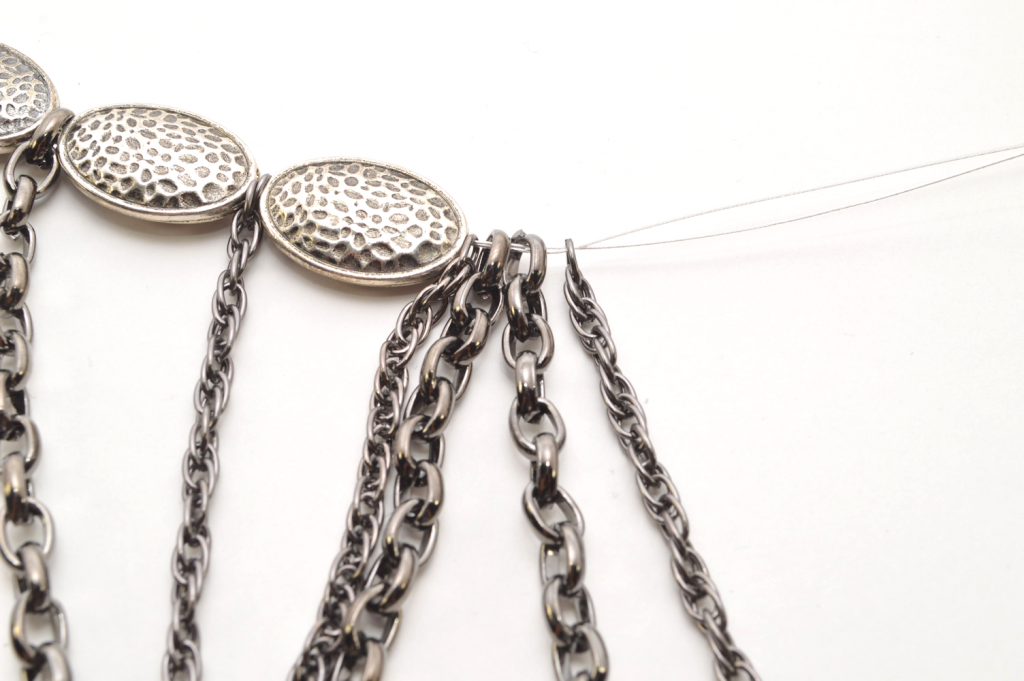
11) Add a bead, followed by the end of strand #2 of chain B. This finishes off the center.
12) Add another bead, followed by strand #2 of chain A. Again, this is a mirror image of this particular style of chain.
13) Add another bead, followed by strand #3 of chain B.
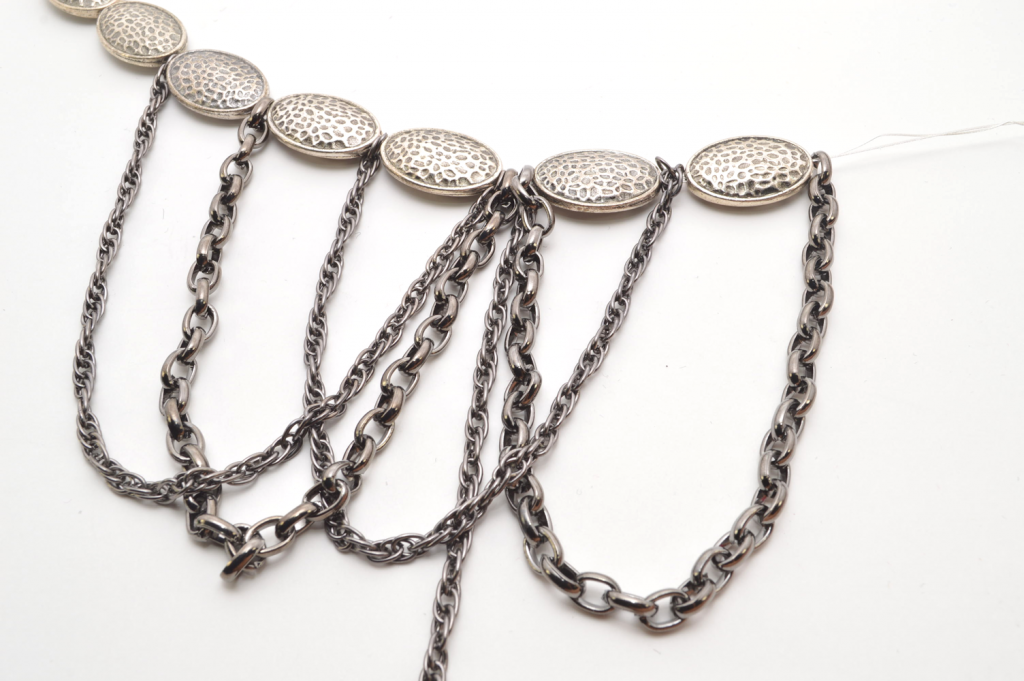
Note that the outermost chains have 3 metal beads in between it, while the rest of the chains have 2 metal beads in between.
14) Add another 5 beads (the same number as you did in Step 3).
15) Add a crimp bead and a small jump ring.

16) Insert the wire through the crimp bead and through the first bead. Use the flat portion of the jewelry pliers to flatten and secure the crimp bead.
17) Add an equal amount of chain to each side of the necklace, depending on your desired length. I added 3 inches (7.62 centimeters) to each side.
18) Add a jewelry clasp and large jump ring to the ends.
Definitely one of my favorite necklaces in my collection. What do you think?