
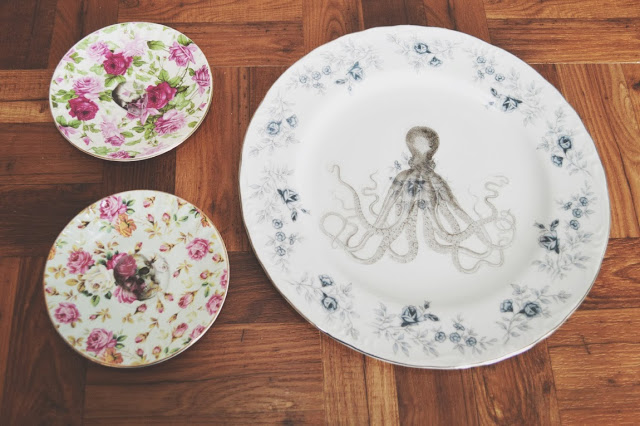

I’ve been trying to figure out a way to add printed images to vintage floral plates to create edgy yet girly decorative piece.
One day, a light bulb went off in my head. Why not try vellum and clear acrylic sealer? I have a personal love for vellum, thanks to the layering abilitcnies of the paper.

With that said, I tried printing images onto vellum (right at home, with my own personal printer) and it worked out pretty well. You can also try this method with transparencies…perhaps by printing out your images on regular paper and having a place like Fed Ex photo copy them onto transparencies. That was actually my original idea, but vellum is more accessible and convenient. To see how I made these decorative plates, keep reading! >>


Supplies:
- Vintage floral plates
- Vellum paper, 12×12 inches (Found in the scrapbook section of craft stores)
- Standard piece of paper, 8.5×11 inches
- Paper cutter
- Scissors
- Clear acrylic sealer (I used one by Mod Podge)
- Wide paint brush or popsicle stick (Not shown, but recommended)
- Printer
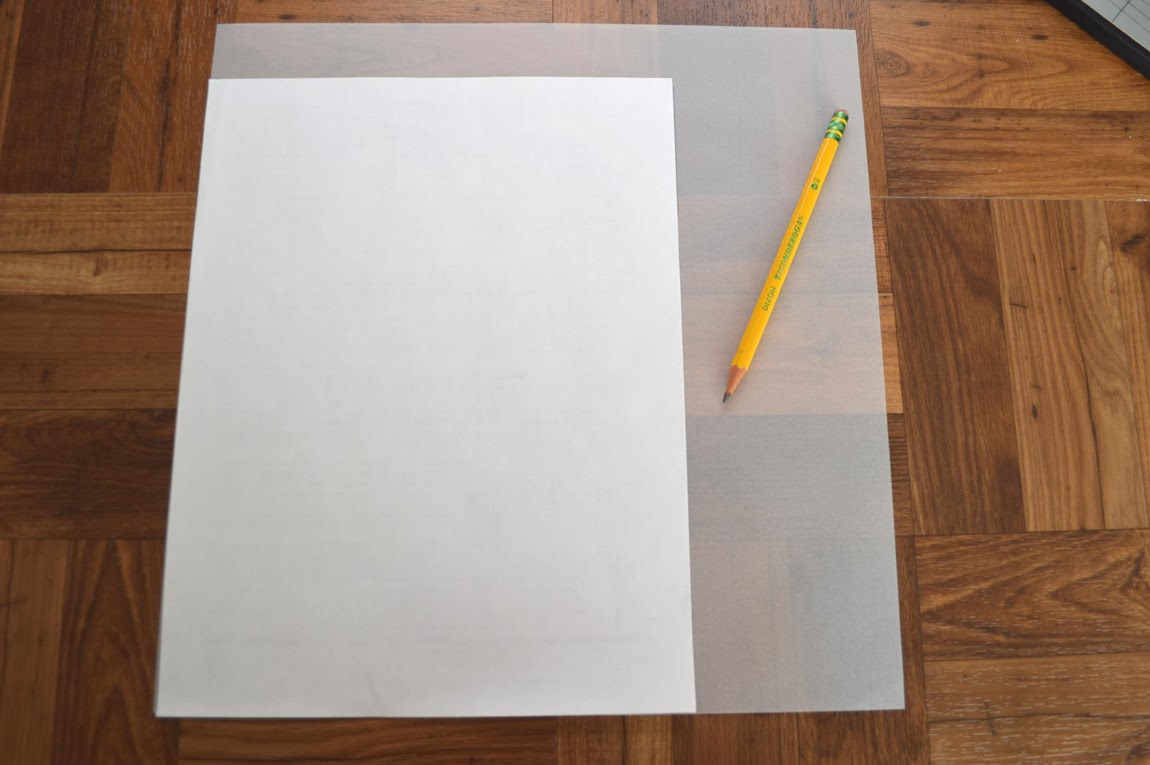
1) Lay the paper on top of the vellum, along the corner/edge. Mark the top and bottom, as a guide for trimming.
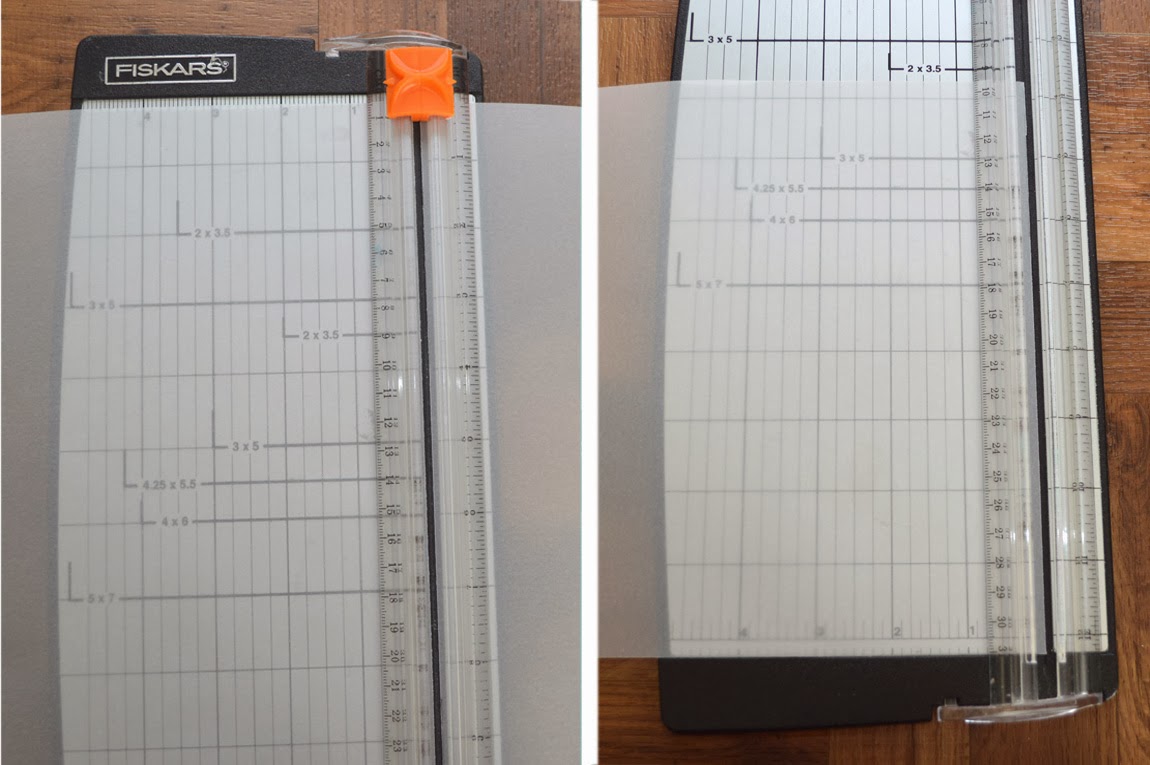
2) Trim the vellum. You can do this by hand; however, I recommend a paper cutter for a perfectly straight cut, as the vellum will be going through a printer. A straighter edge will be less likely to mess with the printing alignment, and the printer itself.

Vellum trimmed to standard paper size.

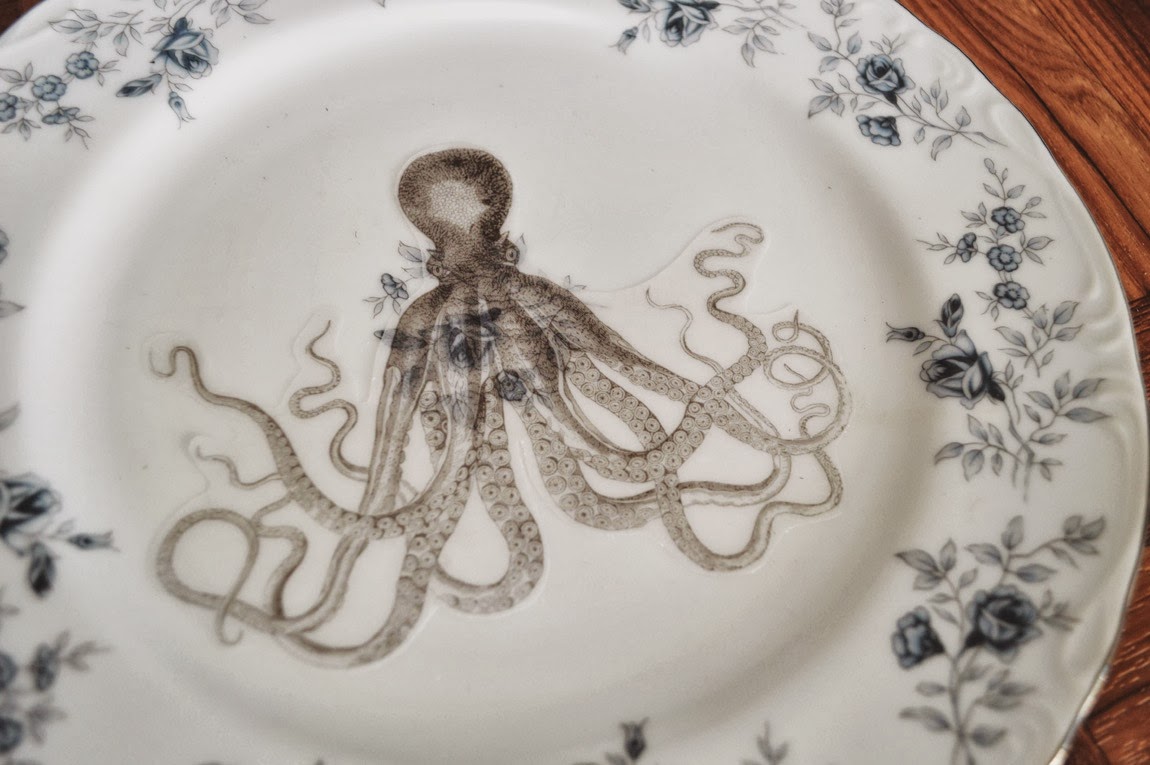
3) Print images of your choice onto the vellum. Vintage black and white photos definitely work best for this project. I found quite a few royalty free images, but if you’re making this a personal project and NOT selling any of your pieces, you can use almost any photo that you come across.
You may have to resize your images. If you aren’t sure how big or small to make them, try printing the photos onto regular paper to gauge sizing against the plates.

4) Carefully cut around the images. Vellum is pretty forgiving when it comes to cutting. I found it easier to hold your scissors still and turn the vellum page as needed.
5) This is the slightly tricky part, but once you get the hang of it, you’re good to go.
Head outside and spray the plate with a heavy layer of clear acrylic sealer. Place the vellum image onto the plate. The liquid may cause some of the ends to curl up (especially for something like the octopus’ tentacles). This is where that brush handle or popsicle stick can come in. I used a nearby brush and pressed down the curling vellum with the brush’s handle. This way, I wasn’t directly touching the clear acrylic sealer. I held this in place for a couple seconds, until the vellum edge set into the sealer. I alternated between doing this and adding sealer here and there.
It’s easier to do than explain so don’t be afraid to test it out on an extra plate as a test run.
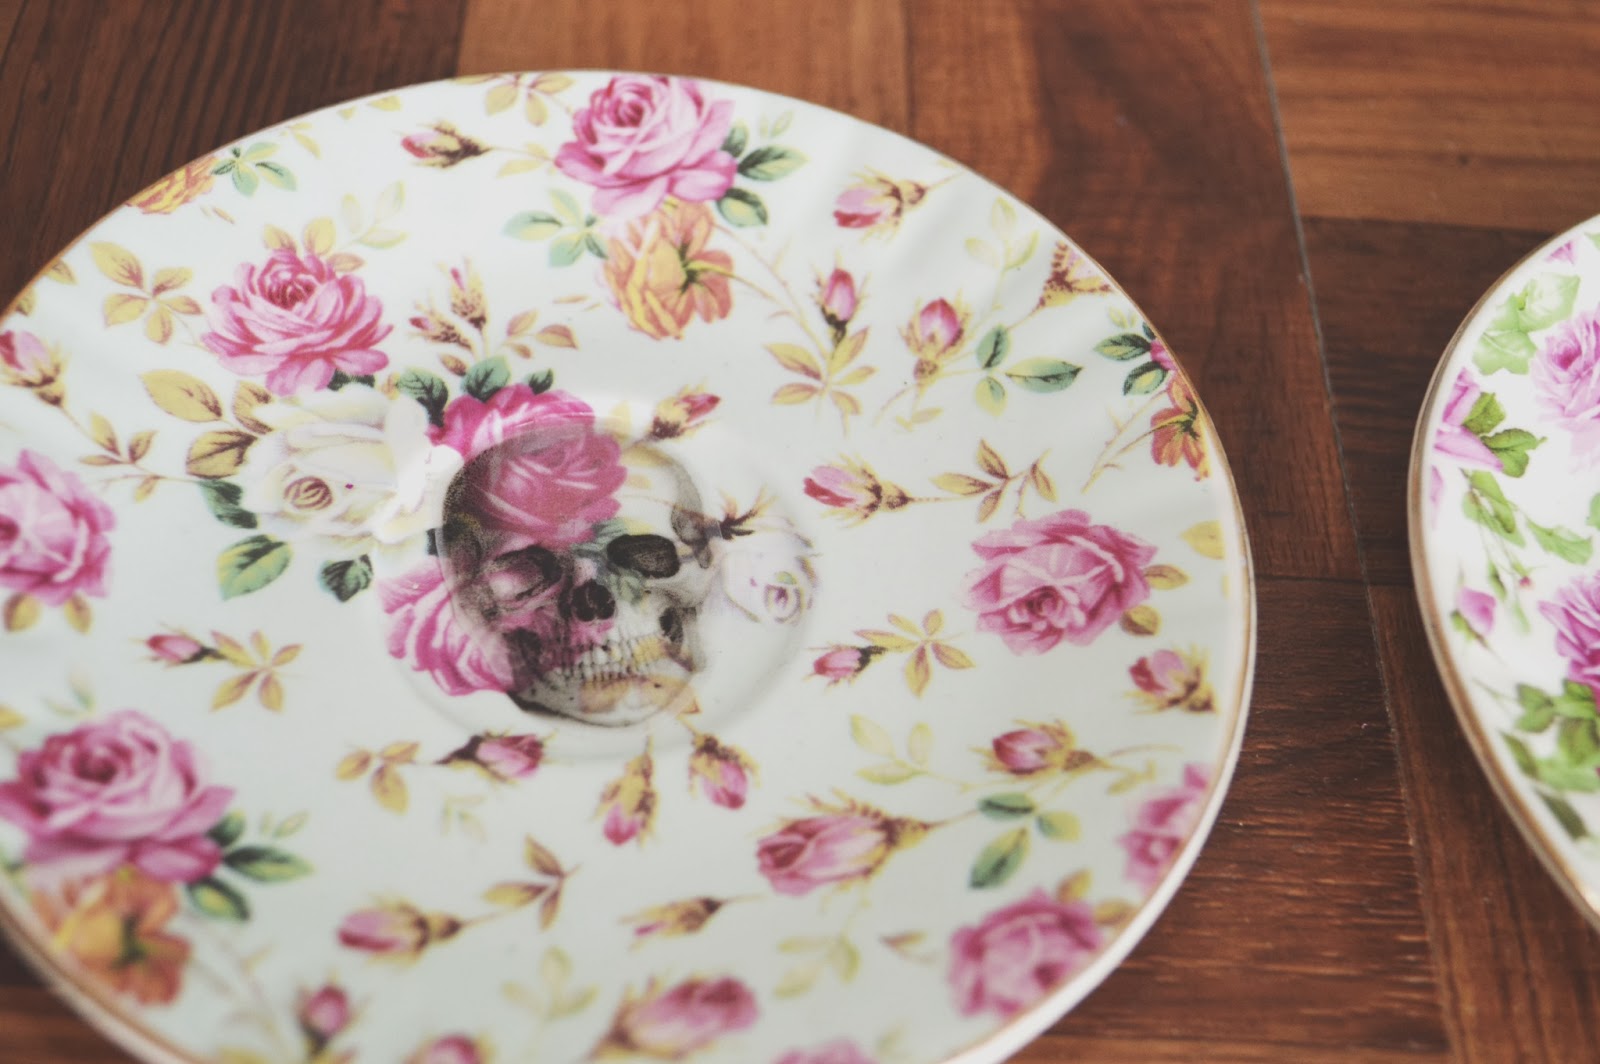
For my smaller plates, I added small skull images to the center.

Let the plates dry completely. Remember, these are just for decorative purposes…no food contact.
