
.JPG)
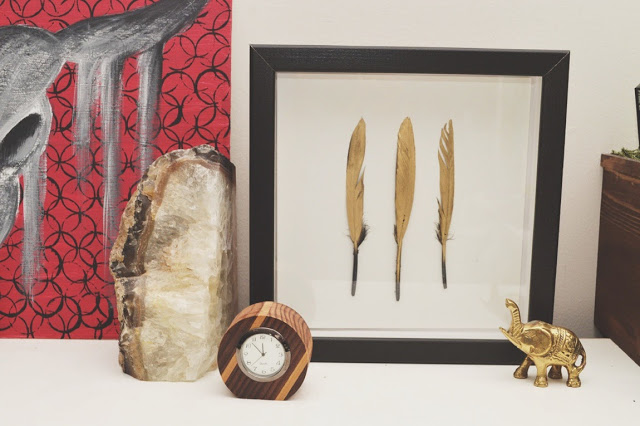
During a trip to Target a few weeks ago, I spotted some feather wall art that caught my eye. It was totally my style and taste, but I took one glance at it and knew I could easily re-create it. All I needed was a shadow box.
.JPG)
My version is super easy to make; check out the tutorial, below! >>

Supplies:
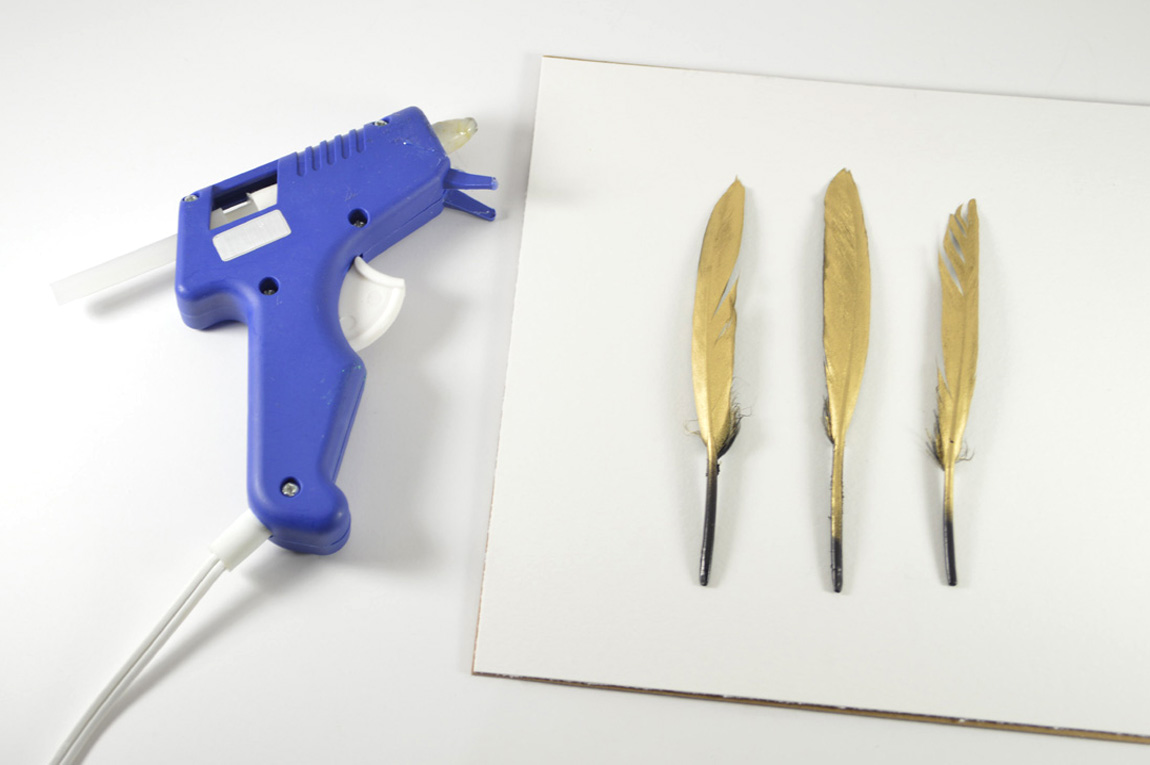
- Hot glue gun
- Metallic spray paint
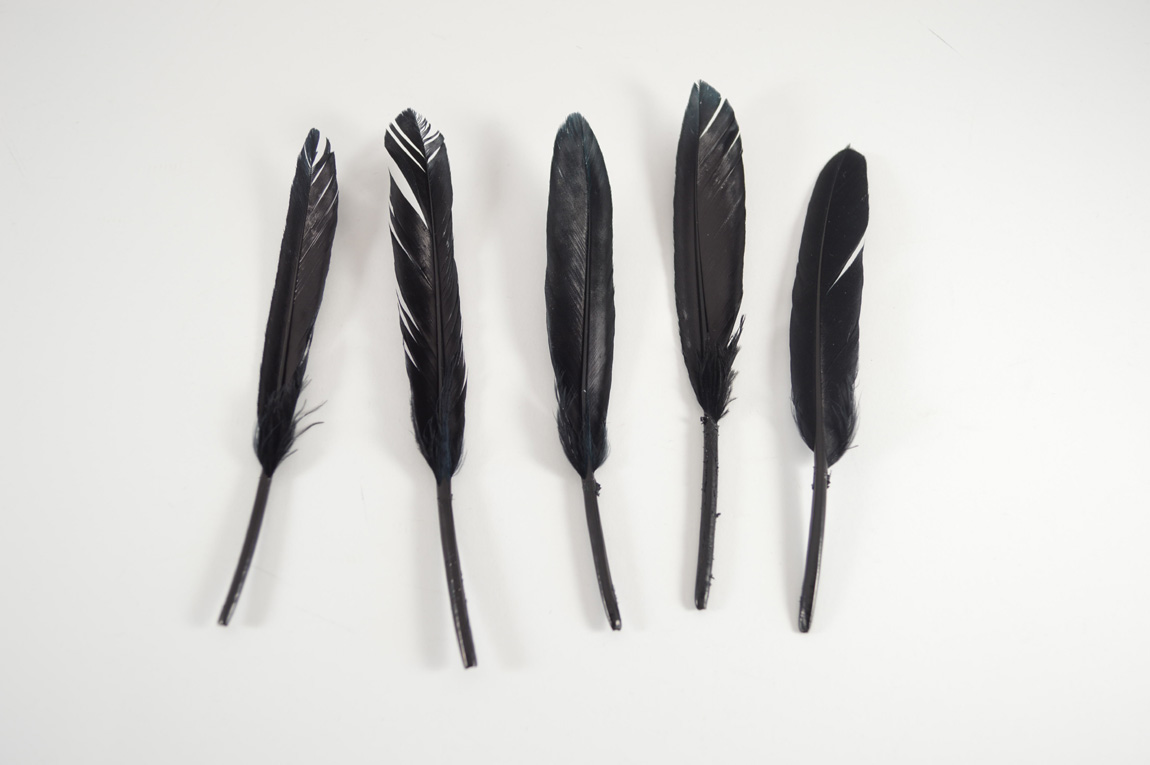
- 3-5 craft feathers
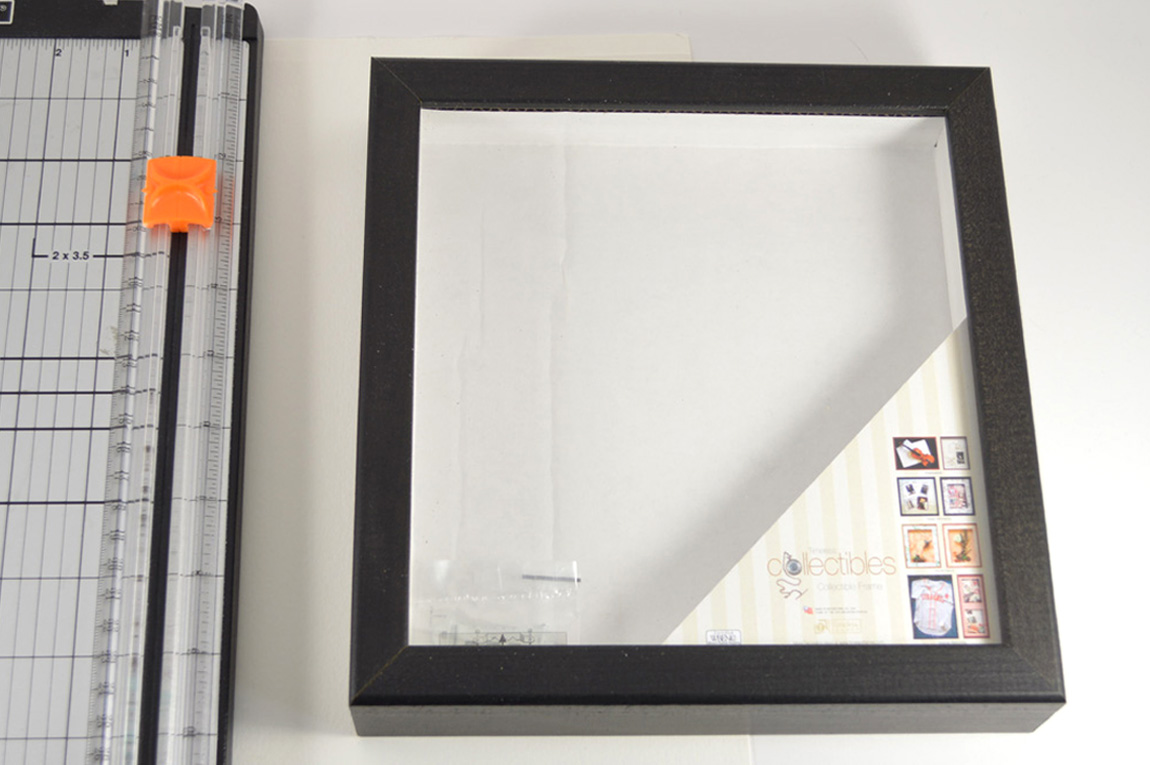
- Paper cutter + card stock or watercolor paper
- Square shadow box (I used an 8″x8″ shadow box)
- Recommended: rubber glove and a garbage bag to protect your surface

1) Spray paint your feathers. I’d recommend heading outside for this. I protected my surface with a large garbage bag. I held each feather (while wearing gloves) and spray painted them one by one.
I found this was easier than laying them down prior to spray painting; they are so lightweight, that the force of the paint simply moves them around!
Let them dry completely. Meanwhile, trim down paper to fit the inside of your shadow box.

.JPG)
.JPG)
The Target version was $19.99 – because I had spray paint, feathers, hot glue and paper on hand, I only spent about $8 on this project (which was really just on the shadow box).
Some other ideas would be to use a colored card stock (maroon or turquoise, maybe?) or to “color block” the feathers and spray paint only the top or bottom. So many possibilities!
xx K